


How to grow Delphinium
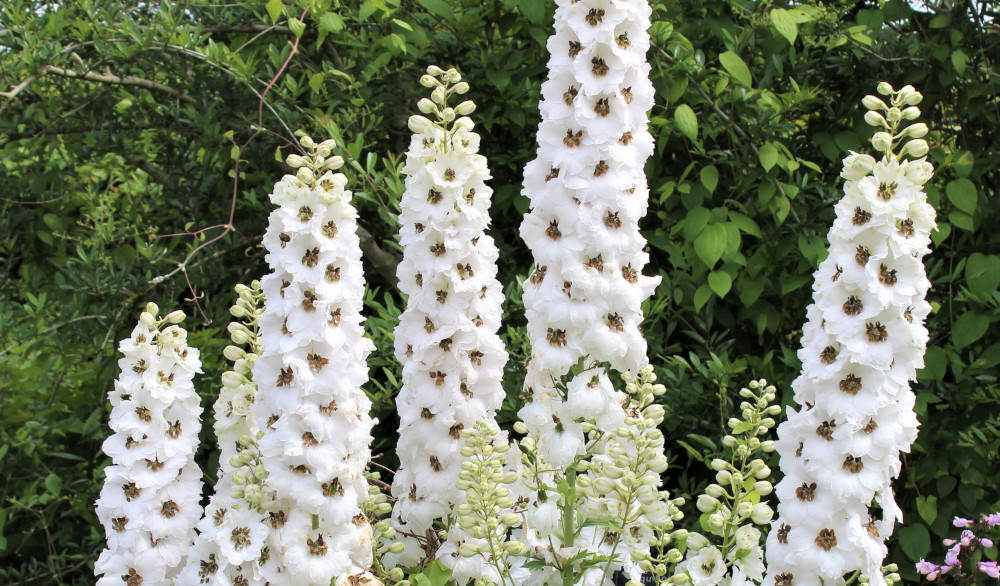
Delphiniums are glorious, regal looking plants which flower in summer and tower above the borders in shades of blue, pink, purple, red and white with single or double flowers. They are a plant which many of us associate with the classic cottage garden, often planted in masses or groups where they look even more spectacular.
Delphiniums are tough herbaceous perennials which will return and reward you year after year with their dramatic and showy blooms with some simple care.
Key Information
Soil pH

Position
Hardiness


Where & when to plant Delphinium
Position- Full sun, with shelter from strong winds
Soil- Moist but well-drained and fertile
Flowering Period- June to September (2 flushes of blooms)
Hardiness- Hardy perennial
Here at Hayloft, we sell Delphiniums as bare roots and young plants. If you are purchasing bare roots, these can be planted straight into the ground providing it is not frozen or waterlogged using the same advice as for potted plants and fresh growth will appear in spring. Or you can pot your bare roots up into a mix of multipurpose peat-free compost with added grit and place in a greenhouse or cold-frame to grow on ready for planting out in early spring.
Young plants may not flower until the second year when they become much larger and established.
Delphiniums are hardy perennials and will survive our winters if they are not sat in waterlogged soil. They are best planted in autumn or spring.
How to plant Delphinium
These sun-loving, towering beauties can grow very tall, some varieties up to almost 2m high. So be sure to choose a spot for your Delphiniums which receives plenty of sunshine along with some protection from wind, perhaps near the back of your border. The plants should be spaced at least 30cm apart.
Dig a hole twice the width and depth of your plant and add a good layer of grit to the bottom - good drainage is essential for Delphiniums to ensure they do not rot away and disappear over winter. Delphiniums are hungry feeders so add plenty of organic matter next - homemade compost or well-rotted cow or horse manure is perfect. A handful of chicken-manure pellets will also provide a great slow-release fertiliser.
Tease your Delphinium gently out of its pot and loosen the roots before placing in the hole with the top of the root-ball level with the surface of your soil. Back fill the edges with soil and firm around the base of the plant before watering in well.

What to plant with Delphinium
Delphiniums are graceful plants which stand proudly in the garden, adding wonderful soft spires to a cottage garden look or informal planting scheme. They make excellent cut flowers, lasting a week or longer in the vase.
Please do contact our lovely Cusomer Care Team at Hayloft if you would like any help or planting suggestions for your Delphiniums. Below are a few ideas for some complimentary companions for these impressive blooms.
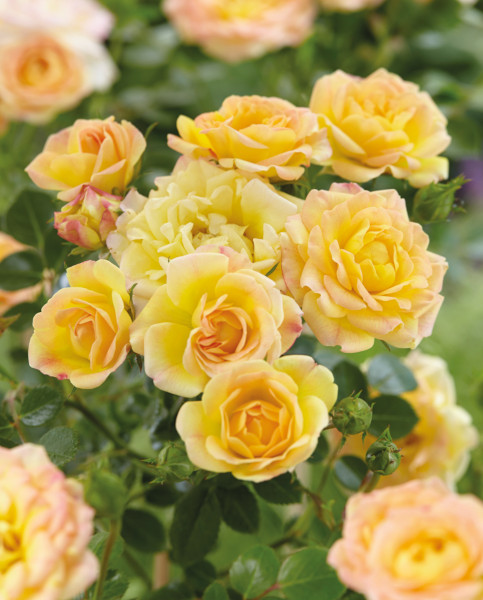
Alchemilla mollis, Dahlias, Roses, Foxgloves, Grasses, Lupins, Phlox, Antirrhinums, Cosmos, Scabious, Rudbeckia, Oriental poppies, Lavender, Astrantia, Hardy geraniums, Achillea, Geums, Echinacea, Heuchera, Salvias, Hostas, Stachys byzantina

How to care for Delphinium
Delphiniums will provide you with two flushes of majestic blooms once established, provided they are well-nourished and well-supported over the summer months.
Water your plants well for a few weeks, and then again during dryer periods. Regular watering, along with adequate spacing to allow airflow will help to avoid mildew which some Delphinium varieties can be prone to.
Fresh Delphinium shoots are a particular favourite of slugs! Try to encourage native wildlife such as birds, frogs, and toads to your garden to keep your slug and snail population low. A generous layer of horticultural grit around the base of your plants, or beer-traps can act as good repellents.
By May, your plants will be growing rapidly, so this is the time to add some support. Insert a cane (3 for larger plants) into the soil close to the plant and tie the main stem to it quite loosely with twine to ensure it will not topple over under heavy rain or strong winds. Tie the stem in at intervals as it grows. As your plants become bigger and bushier, the canes will be barely visible.
A slow-release fertiliser applied twice over the summer will keep your Delphiniums healthy and blooming well. A scattering of dried blood, fish and bone, or chicken manure pellets is ideal.
After the initial flush of blooms in early summer, cut the stems right back and feed your plants. They will quickly grow back and produce another show in late summer to early autumn.
Once the first frosts hit, cut your plants down to 15 to 20cm above ground level and apply a thick layer of mulch which will protect the crown of the plant and help to smother any weeds over winter.
How to propagate Delphiniums
The easiest and quickest way to create more Delphinium plants is to take basal root cuttings (a cutting from the base) from an established plant. The new plants will be a clone of the mother plant.
In spring, when your plants are growing rapidly, use a sharp knife to remove a shoot approximately 15cm long, just below the surface of the soil. Only take one or two cuttings from each plant.
Remove the larger leaves from your cuttings with a clean sharp knife and pot them immediately into a small pot of compost with added perlite or grit. You can place 3 or 4 in each pot, around the edge.
Place the pot on a warm windowsill or greenhouse and keep the humidity levels high with regular misting or place a small clear plastic bag over the top for a week or two.
Once you notice roots appearing at the base of the container, your cuttings are ready to pot on. Carefully tip your cuttings out and without disturbing the roots too much, pot each one into its own container to grow on, ideally in a greenhouse before hardening off and planting outside.
Every 3 years or so, Delphiniums should be divided in spring when the new shoots are emerging. This will not only keep the original plant healthy, but will increase your collection of plants.
Water the plant well, then dig your new holes and add grit and organic matter, or have pots with gritty compost ready for the divisions.
Dig around your plant, approximately 20cm wider than the visible growth using a fork or spade to remove the whole clump. Carefully separate the plant into no more than 5 smaller sections. Plant your new divisions into their holes or pots as before, and within a year they should have doubled in size.