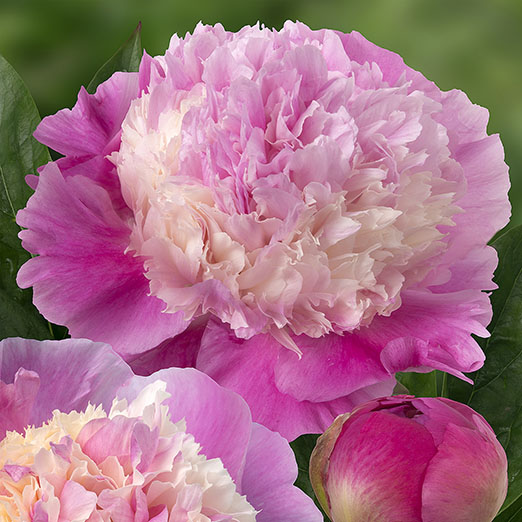
How to grow Dahlias
Dahlias are one of the most rewarding plants to grow. You can expect to pick bunches of these beautiful cut-and-come-again blooms from high summer until the first frosts, filling vase after vase.
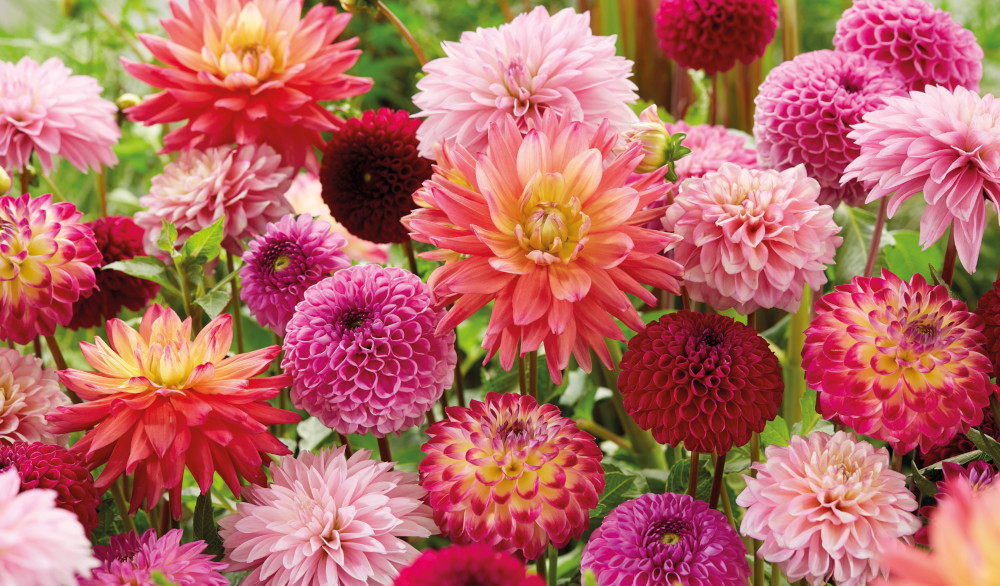
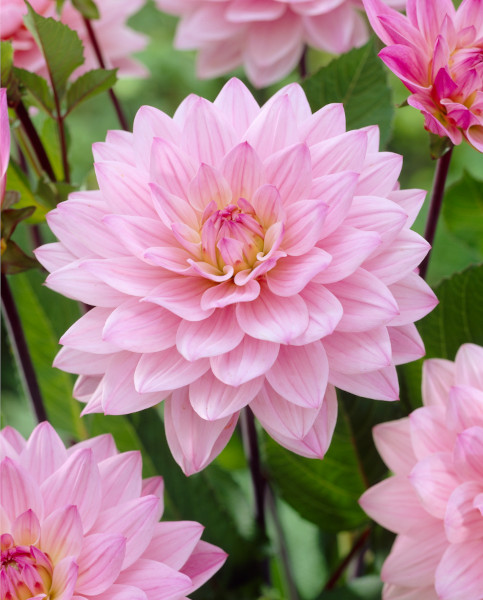
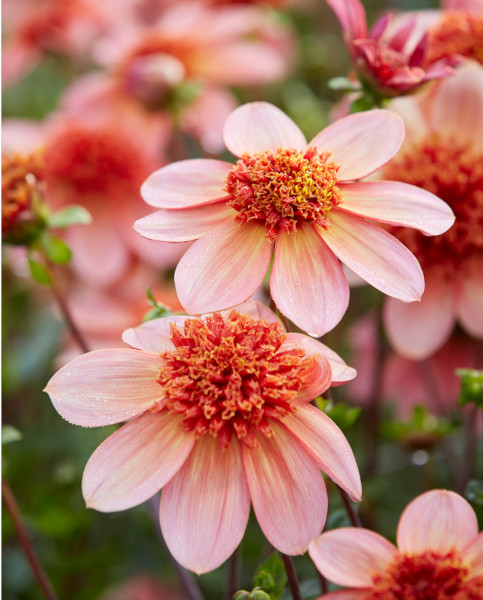
Dahlias come in an enormous range of interesting forms and colours. The main classification groups for Dahlias are Waterlily, Pompon, Decorative, Anemone, Single, Ball, Cactus, and Semi-cactus. Colours range from pure white, to pinks and purples, reds and oranges, to almost black. The only shade Dahlias do not appear in is blue.
There is a lot of conflicting advice on growing and storing Dahlias, but they do not have to be tricky. In fact, these generous plants are quite simple to grow once you know the basics and no garden should be without them!
Dahlias have made a huge comeback in recent years and are now one of the most popular and fashionable flowers to grow.
Whether you have come to Hayloft for a few handy tips or are needing a little extra help getting started, we will show you how to get the best from these gorgeous perennial plants!
Key Information
Position- Full sun, with shelter from strong winds
Soil- Fertile and well-drained
Flowering Period- Late June until first frosts (November/December)
Hardiness- Tender perennial, protection against frost and overly wet conditions may be required
Soil pH
Position
Hardiness

Where & when to plant Dahlias
At Hayloft, we sell Dahlias as bare roots (tubers), young plants, and potted plants. If you are choosing to purchase bare roots, these will be sent to you in spring, for potting up in a warm place until you are ready to plant into their final space.
Dahlias should be planted out after the danger of frost has passed, usually at the end of May, or beginning of June. They are sun lovers and need at least 6 hours of sunshine per day to perform best, so pick a suitably bright spot for your plants in well-drained soil.
How to plant Dahlias
Check the height and spread of your chosen Dahlia as some can grow quite large - ensure it has plenty of growing space and will not impose on, or overshadow, any of its new neighbours.
Dahlias are prolific bloomers, which means they are hungry feeders. Ensure your plants get off to the best start by giving them a shovel-full of organic matter at the time of planting - homemade compost or well-rotted manure is perfect, or a handful of chicken-manure pellets will provide a good slow-release fertiliser.
Dig a hole large enough to accommodate your plant, loosening the soil below to allow space for the roots to grow and incorporating your chosen nutrient-rich matter. Tease your Dahlia out of its pot and place in the hole, firming in and covering the base over with soil before watering in well.
Dahlias can also be grown in pots, however they will need plenty of watering and additional feeding to those grown in the ground, so choose a large, deep pot which will give the plant plenty of room to grow. Smaller varieties tend to be better suited to pots such as Dreamy Kiss, a stunning single-flowered variety with fuchsia-pink blooms and lush dark foliage which will reach a height and spread of 40cm.
What to plant with Dahlias
Dahlias make great focal plants in the garden, adding colour all summer and autumn long. They are highly versatile and will fit into many planting schemes. Contact our lovely Customer Care team if you would like any help or planting ideas. We have a small list of ideas below to help get you started.
Traditional beds and borders/Cottage garden:
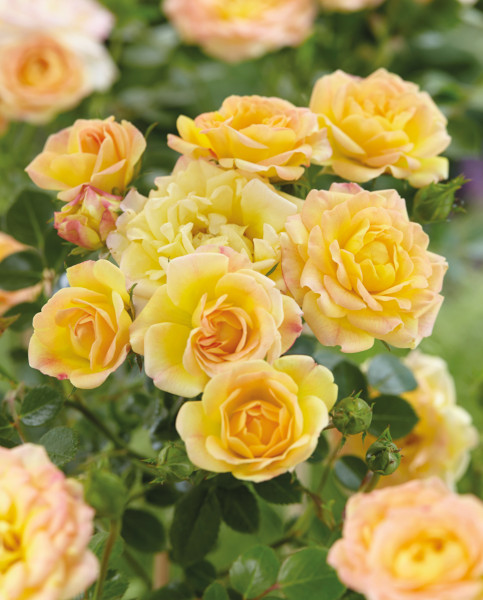
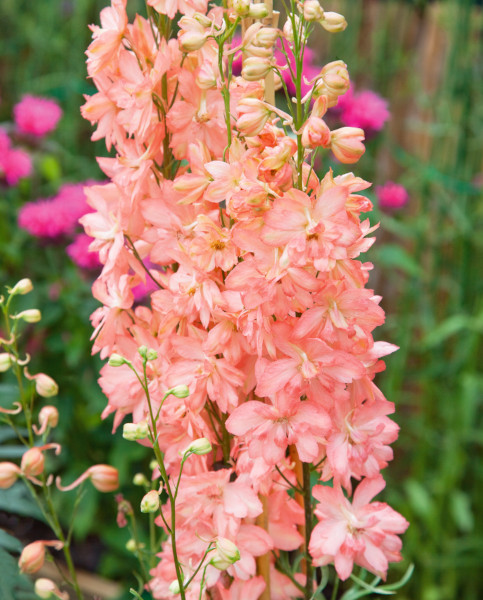
Roses, Foxgloves, Grasses, Phlox, Antirrhinums, Cosmos, Scabious, Rudbeckia, Delphiniums, Poppies, Astrantia, Geums, Echinacea
Tropical/Exotic scheme:
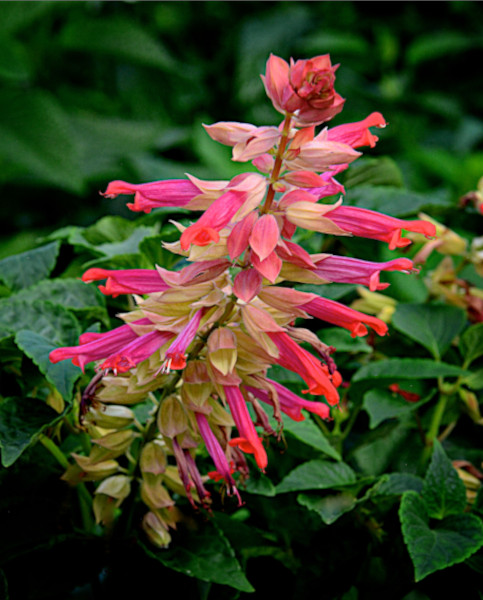
Canna Lilies, Agapanthus, Salvias, Hardy Banana, Ferns, Hostas, Fatsia, Ricinus, Crocosmia, Colocasia, Cordyline
How to care for Dahlias
Dahlias will reward you with blooms for months on end providing they are well-nourished. A feed of high-potash fertiliser every two weeks once buds appear and until the end of flowering will keep your plant happy.
Water your Dahlias well for a few weeks until they have established themselves, and then again during hotter periods, or if you notice the soil at the base of the plant is dry.
Dahlias are rapid growers and once the plants reach around 30cm tall, you can pinch out the growing tips of the shoots (above 3-4 sets of leaves) to help form a bushier, stronger, and more floriferous plant.
If the plant has too many shoots, then these will ultimately form weaker stems which will exhaust the plant. 5-7 initial growing shoots are more than adequate for a healthy plant, so if you notice your plant has many more than this, remove them at the base and discard or grow on as cuttings.
Fresh Dahlia shoots are loved by slugs! Encourage wildlife such as birds, frogs, and toads to your garden to keep your slug population down. A layer of grit or eggshells around the base of the plant, or a beer-trap can act as good repellents. If growing in pots, copper tape should help to keep slugs and snails away.
Support your Dahlias with one of our supports when they reach around 60cm tall.
Overwintering Dahlias
Once the first frosts hit, your Dahlia plants will be zapped by the cold and become blackened overnight. This is the best time to cut back stems to a couple of inches above ground level, and not before as the frost signals dormancy for your Dahlias.
In many parts of the UK, Dahlias will be fine left in the ground over winter, provided you add a thick (15cm) layer of mulch in the form of compost or straw to the top of your plants. However, Dahlias are not hardy plants and if the winter is severe, or if your ground is waterlogged, you risk losing your precious plants.
For this reason, many gardeners choose to lift and store Dahlias. Once you have cut back the frost-bitten stems, dig up your Dahlias. Use a fork rather than a spade to avoid damaging the tubers and remove as much of the soil as you can as this can rot the tubers and harbour bacteria and pests which may damage them over winter. Place the tubers upside down in a dry place for a week or so to dry out before packing them away. Place them in containers such as mushroom crates on a layer of newspaper and cover over with sawdust or spent compost, tucking them away in a cool dry place such as a garage, cellar or shed until spring.
How to propagate Dahlias
Build your collection by dividing large plants or taking cuttings when the stems reach 8cm long in late spring or early summer. It can be fun to try both methods to see what works best for you.
If you choose to lift and store your Dahlias, then the tubers can be split and divided in spring. Take your tubers out from their winter sleep in April and inspect them for damage. Cut away any soft or damaged section of tuber with a sharp knife first and then with a pair of secateurs, or a knife, divide the clump up into two or more sections, ensuring each section has at least one eye (like those you would see on a potato) as these will become the growing shoots. Pot up each section of tuber in fresh compost and place in a warm, bright spot to grow on.
You can also take cuttings from potted Dahlia tubers. When potting up tubers, leave the top section visible above soil level so it is easier to see the shoots. When the shoots are 7-8cm long, using a sharp knife remove the shoot, along with a slither of tuber. Pot the cutting up into gritty, peat-free compost and place in a warm spot to take root. Once the cutting has rooted, pot it on into a larger container before hardening off and planting outside.


