How to grow Dactylorhiza
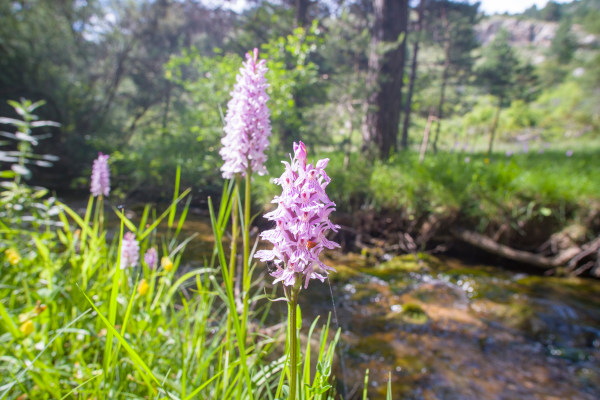
Also known as the spotted or marsh orchid, dactylorhiza is a genus of around 30 species of deciduous orchid which typically bear spikes of purple flowers with dotted, darker lips. They are usually found growing in marshy areas, or in meadows or heathland where there is a moist subsoil. Perhaps most familiar in the UK is Dactylorhiza fuchsia (the common spotted orchid) – the most widespread wild orchid in the British Isles. There are several other native species; D. maculata (the heath spotted orchid), D. majalis (the broad-leaved marsh orchid), and D. praetermissa (southern marsh orchid) are a few examples. All look remarkably similar and can be variable in their appearance, which makes distinguishing between the species tricky. There are some differences in preferred habitat which can help with identification, though aside from this even the experts can be stumped.
In the garden, dactylorhiza is an easy, low input plant which requires little care once established. It is named for the shape of its tuberous roots, ‘daktylos’ meaning ‘finger’ in Greek, and ‘rhiza’ meaning ‘root’.
It is important to buy ethically source orchids, i.e., those which have been commercially propagated rather than ripped from their natural habitat. At Hayloft we only ever source our orchids from reputable suppliers.
Zantedeschia is a genus of flowering plants from the family Araceae and is native to southern Africa. With a rich history dating back to the Ancient Romans, these deciduous or semi-evergreen perennials have been used as a symbol of celebration. Zantedeschia was Named after Professor Giovanni Zantedeschia, an Italian botanist.
There are two main forms of Zantedeschia: hardy and tender. Hardy forms of the plant can be grown outdoors, enjoy moist soil and full sun or partially shaded conditions - these are known as Arum lilies. Tender forms of Zantedeschia prefer being grown in containers or pots and should be brought inside over the winter - these are known as Calla lilies.
With tuberous flora in all colours from whites, yellows and oranges to deep reds and purples, Zantedeschias are not to be overlooked in any garden, as long as they have sufficient sunlight to grow in.
Ready to learn more about growing Zantedeschia? Read on for all there is to know...

Key Information
Soil pH

Position
Hardiness


Where & when to plant Dactylorhiza
Position - Some direct morning sun is needed for successful flowering. After this, either full sun or shade is fine. Avoid full, all-day shade.
Soil - Reliably moist throughout the year
D. fuchsii prefers an alkaline pH
D. maculata an acidic pH
Other species are generally somewhere in between
Flowering Period - Late spring and summer
Hardiness - Hardy. Most species are rated H5 i.e., able to withstand temperatures dipping to between -10 and -15°C.
Dactylorhiza is best planted in either early autumn or early spring. An autumn planting can be done by those gardening in mild conditions (and broadly speaking, this is the southern half of the UK). For those liable to cold, wet winters, it is best to wait until spring (generally the northern half of the UK). Summer planting is a last resort and requires lots of watering to aid establishment.
Dactylorhiza is suitable for a rock or woodland garden, or a wildflower meadow. Given the right conditions it can be a wonderful self-seeder and gradually naturalise to form a beautiful colony. Container-growing is also an option and a good way to grow this plant if your garden soil doesn’t meet the requirements. We recommend planting several together for decent impact (at least three).
How to plant Dactylorhiza
- For planting in the garden, dig the soil area removing any large stones and weeds and breaking up any lumps. Mix in some organic matter such as manure or garden compost, or for acid-loving species something like composted pine needles or leaf mould. Rake level and firm with your heels. Rake level again.
- Water plants well and allow to drain before planting.
- Dig a hole twice the size of the root-ball.
- Place the plant in the hole, ensuring the top of the root ball sits level with the surface of the soil. Too low and the plant may rot, too high and the roots can dry out.
- Backfill with soil and firm in gently with your foot.
- Soak well with water.
- Mulch around the base with well-rotted organic matter.
- For planting in containers, choose a pot just a few centimetres larger than the current rootball, ensuring there are plenty of drainage holes in the bottom.
- Use a good quality potting compost (ericaceous for acid-loving species), with a little horticultural grit mixed in.
- Start by partially filling the pot with compost; enough so that when placed on it the upper surface of the root ball is about 3cm lower than the top of the pot.
- Fill around the plant with compost, firming down with your fingers then adding a little more so it is held tight.
- Pick up the container and lightly tap on the potting bench or ground a few times to help further settle the compost around the plant.
- Soak well with water.
- A mulch with horticultural grit will look attractive and help to prevent a ‘cap’ or crust forming on the top of the compost (something container plants can suffer due to the artificial nature of their watering).
What to plant with Dactylorhiza
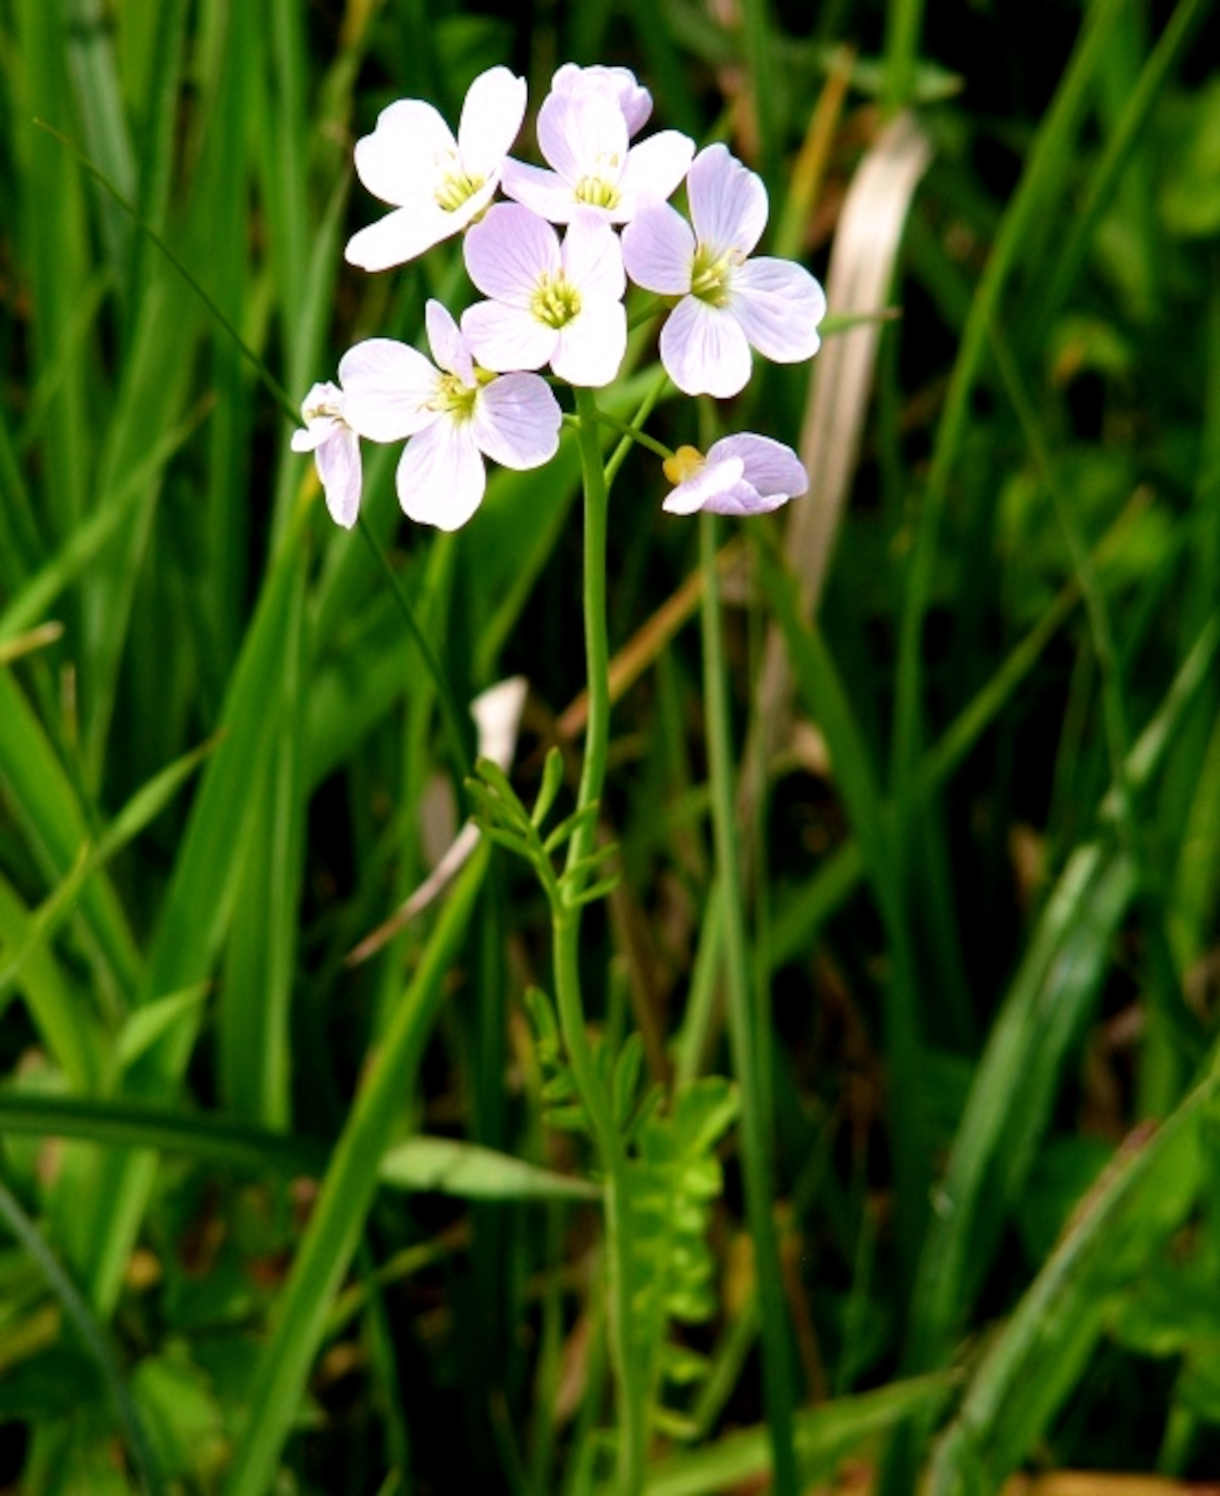
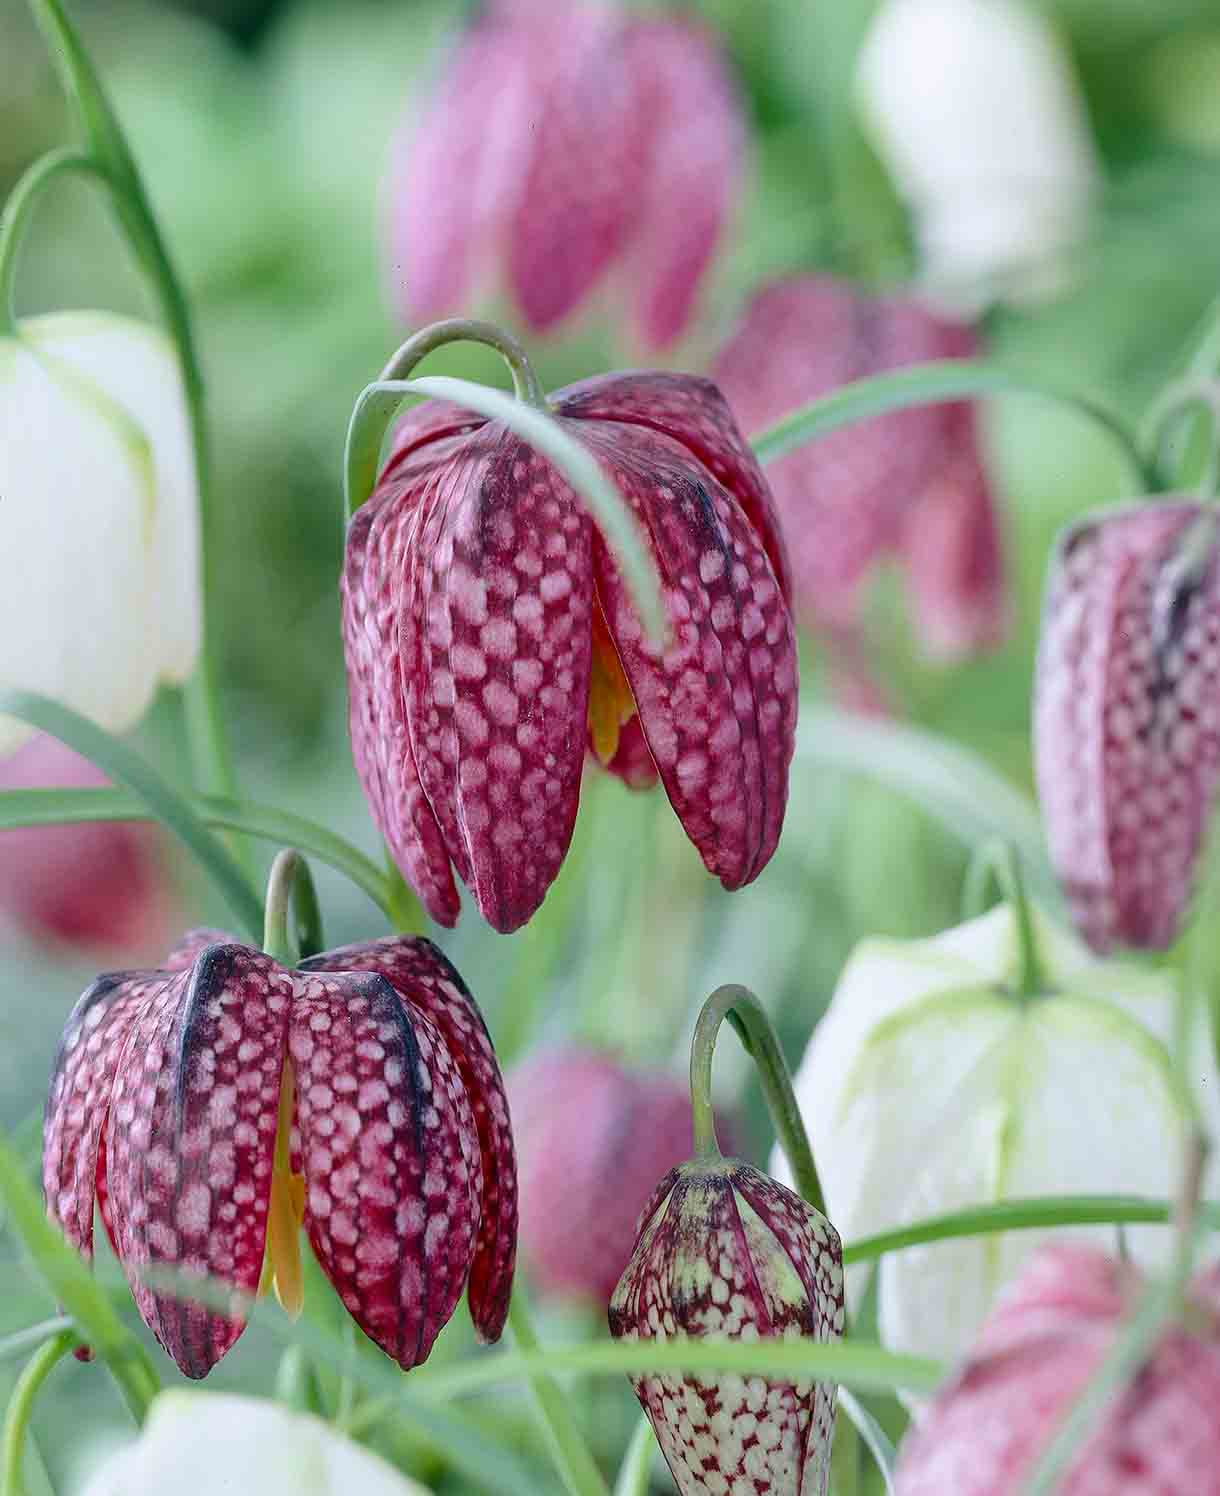
In moist meadow conditions, try growing dactylorhiza alongside other pretty, similarly inclined native plants including cuckoo flower (Cardamine) , ragged robin (Lychnis) and snakeshead fritillary (Fririllaria).

How to care for Dactylorhiza
Pruning and Deadheading
No pruning required when grown in the ground. Dactylorhiza naturally dies back for winter and re-emerges the following spring. Leaving it to do this untouched allows self-sowing and the gradual formation of a naturalised drift, though deadheading is advised for container-grown specimens to encourage bigger flower spikes the following year.
When growing dactylorhiza in a meadow, try to do the end of season ‘cut back’ once the seeds have fallen (usually by September). Any earlier and they are unlikely to naturalise in a significant way.
Watering
Dactylorhiza enjoys consistently moist conditions, so keep those in the ground well-watered until established and in any prolonged hot, dry spells after this.
An annual mulch in spring will help lock moisture in, while also providing welcome nutrients (more on this below).
Container-grown dactylorhiza will require regular watering throughout the growing season – as much as once a day during the height of summer. Positioning it in partial shade will help prevent the compost drying out too quickly, and putting a saucer underneath the pot will help conserve moisture.
Feeding
On healthy, fertile soil, a mulch of well-rotted organic matter should provide enough nutrients for your dactylorhiza. This has the added benefit of suppressing weeds and locking in moisture. Mulch when planting, and then again each spring.
Container-grown plants are different as they rely solely on the gardener for nutrition. Get off to a flying start by making sure you use a good quality compost with slow-release granules mixed in. These generally provide nutrients for around 6 to 8 weeks, after which you’ll need to apply a balanced liquid feed every 2-3 weeks until the end of the growing season.
Cold Protection
Dactylorhiza is hardy enough to withstand winter in the UK without the need for special attention, though as is the case with all plants, container-grown specimens can be more vulnerable to the cold. If you garden in a very cold or exposed spot it may be worth moving these to a sheltered spot for winter, or wrapping the pot in hessian, horticultural fleece, or bubble wrap.
Pests and Diseases
Dactylorhiza tends to be trouble free, apart from slugs and snails which are sometimes partial to emerging shoots and young plants. Encouraging natural predators into your garden, such as birds, frogs, toads, and hedgehogs, will make a big difference. Torchlight searches after dark (when slugs and snails are at their most active) are also effective, allowing you to collect the offending molluscs in a bucket and dispose of as you see fit. Relocating to a nearby woods or bagging up and putting in your freezer before popping them in the bin are said to be the most humane approaches.
How to propagate Dactylorhiza
To encourage naturalised drifts of dactylorhiza in your garden the best approach is to simply do nothing, allowing existing plants to die back naturally, setting seed in the process.
It is one of those bafflingly difficult plants to manually propagate by seed, so if you do wish to make your own new plants, division in early spring is best. Use large clumps, just as the new shoots start to appear:
- Choose a day when the soil is not frozen or waterlogged.
- Dig the plant out of the ground.
- Shake off any excess soil.
- Either tease apart by hand or use two forks inserted back-to-back with tines touching, handles then pushed together to prise the clump apart.
- Discard old, damaged, or surplus pieces, keeping healthy, vigorous material.
- Replant decent-sized pieces where desired, and any smaller bits can be potted up.
- Water well until fully established.
* Many plants carry Plant Breeders Rights and cannot be propagated for commercial purposes.
Common Dactylorhiza questions
When can I repot dactylorhiza?
This is best done in early spring, just as the plant starts back into growth.
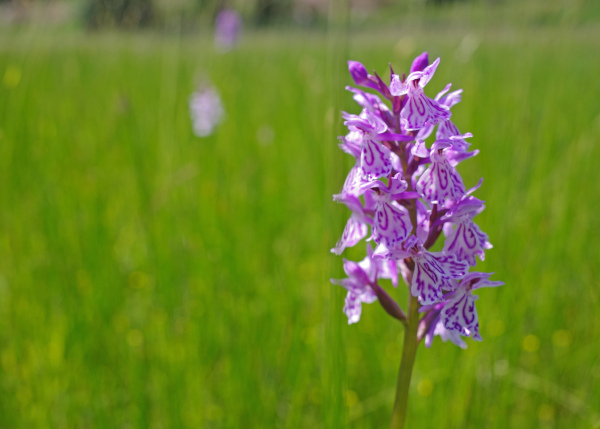
Some of my dactylorhiza flowers are coming up white. What’s going on?
This is perfectly normal. Dactylorhiza is very variable with flowers ranging from deep mauve with rich markings, to white with scarcely any markings at all (and everything in between). The leaves can vary too – some may be heavily spotted, others completely clear.
Will dactylorhiza grow in full sun?
It will, although this needs to be in conjunction with plenty of moisture.