How to grow Cytisus
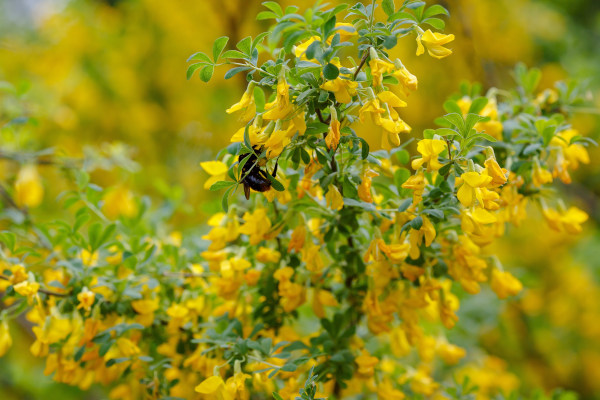
Also known as broom, cytisus is a shrubby member of the pea family found growing in well-draining, open sites across North Africa, West Asia, and Europe. It is grown for its abundance of pea-like and often very fragrant flowers which smother stems when in bloom. These are usually yellow (though there are pink, red, cream, and bicolour forms), followed by fuzzy seed pods. Of the most widely grown species most are deciduous, an exception being the popular semi-evergreen form ‘Porlock’.
Like most members of the pea family cytisus resents transplanting, so needs to be planted in its ‘forever home’ at as young an age as possible. It is often confused with genista, a similar-looking close relative which also, rather confusingly, goes by the common name of broom. The main difference between the two is genista’s greater tolerance for an alkaline pH (cytisus prefers acidic soil). They are also set apart by the fact that genista requires no pruning, unlike cytisus which is best trimmed annually.

Key Information
Position
Soil Conditions

Hardiness


Where & when to plant Cytisus
Position - Full sun. Cytisus is tolerant of wind so can be grown in an exposed site.
Soil - Thrives in poor, well-draining, acid soil, though will tolerate light alkalinity so long as the soil is not shallow and chalky.
Flowering Period - Can be spring or summer depending on the species
Hardiness - Fully hardy, rated H5 to H7 depending on the species and cultivar.
For best results, plant in autumn or spring. An autumn planting can be done by those gardening in mild conditions (and broadly speaking, this is the southern half of the UK). For those liable to cold winters, it is best to wait until spring (generally the northern half of the UK). Planting can also be carried out in summer, though be prepared to water regularly.
As mentioned above, it’s important to get the planting location right first time as cytisus doesn’t respond well to being moved. Smaller species such as Cytisus x praecox and C. x boskoopii are well-suited to a rock garden, dry bank, or large container, while taller ones like C. battandieri or C. ‘Porlock’ are best in a shrub border or against a wall. Prostrate forms such as C. decumbens or C. x kewensis make excellent ground cover, while tender species C. racemosus makes a large and formidable greenhouse or conservatory plant.
How to plant Cytisus
- For planting in the garden, dig the soil area removing any large stones and weeds and breaking up any lumps. Mix in some organic matter – ideally with an acidic pH, such as ericaceous compost, composted pine needles, or leaf mould. Rake level and firm with your heels. Rake level again.
- Water the plant well and allow to drain before planting.
- Dig a hole twice the size of the root-ball.
- Place the plant in the hole, ensuring the top of the root ball sits level with the surface of the soil. Too low and the plant may rot, too high and the roots can dry out.
- Backfill with soil and firm in gently with your foot.
- Soak well with water.
- Mulch around the base with well-rotted organic matter. Mulch around the base with the same, slightly acidic organic matter – ericaceous compost, composted pine needles, or leaf mould.
- For planting in containers (remember, small species are best for this), first choose an appropriately sized pot. The best practice is to start just a few centimetres larger than the rootball and repot into a slightly larger size every year or two. Always ensure there are plenty of drainage holes in the bottom.
- If you are using a large or heavy pot, it can be a good idea to fill and plant it in situ to save yourself the trouble of moving once full.
- Use a good quality compost, ericaceous if you can, with a generous amount of horticultural grit mixed in, and, if not already present (check the description on the bag) some slow-release fertiliser granules – again ericaceous is best.
- Start by partially filling the pot with compost; enough so that when placed on it the upper surface of the root ball is about 3cm lower than the top of the pot.
- Infill all the space surrounding the root ball with compost, firming down with your fingers then adding a little more so the plant is held tight.
- Pick up the container and lightly tap on the potting bench or ground a few times to help further settle the compost around the plant.
- Soak well with water.
- A mulch with horticultural grit will look attractive and help to prevent a ‘cap’ or crust forming on the top of the compost (something container plants can suffer due to the artificial nature of their watering).

What to plant with Cytisus
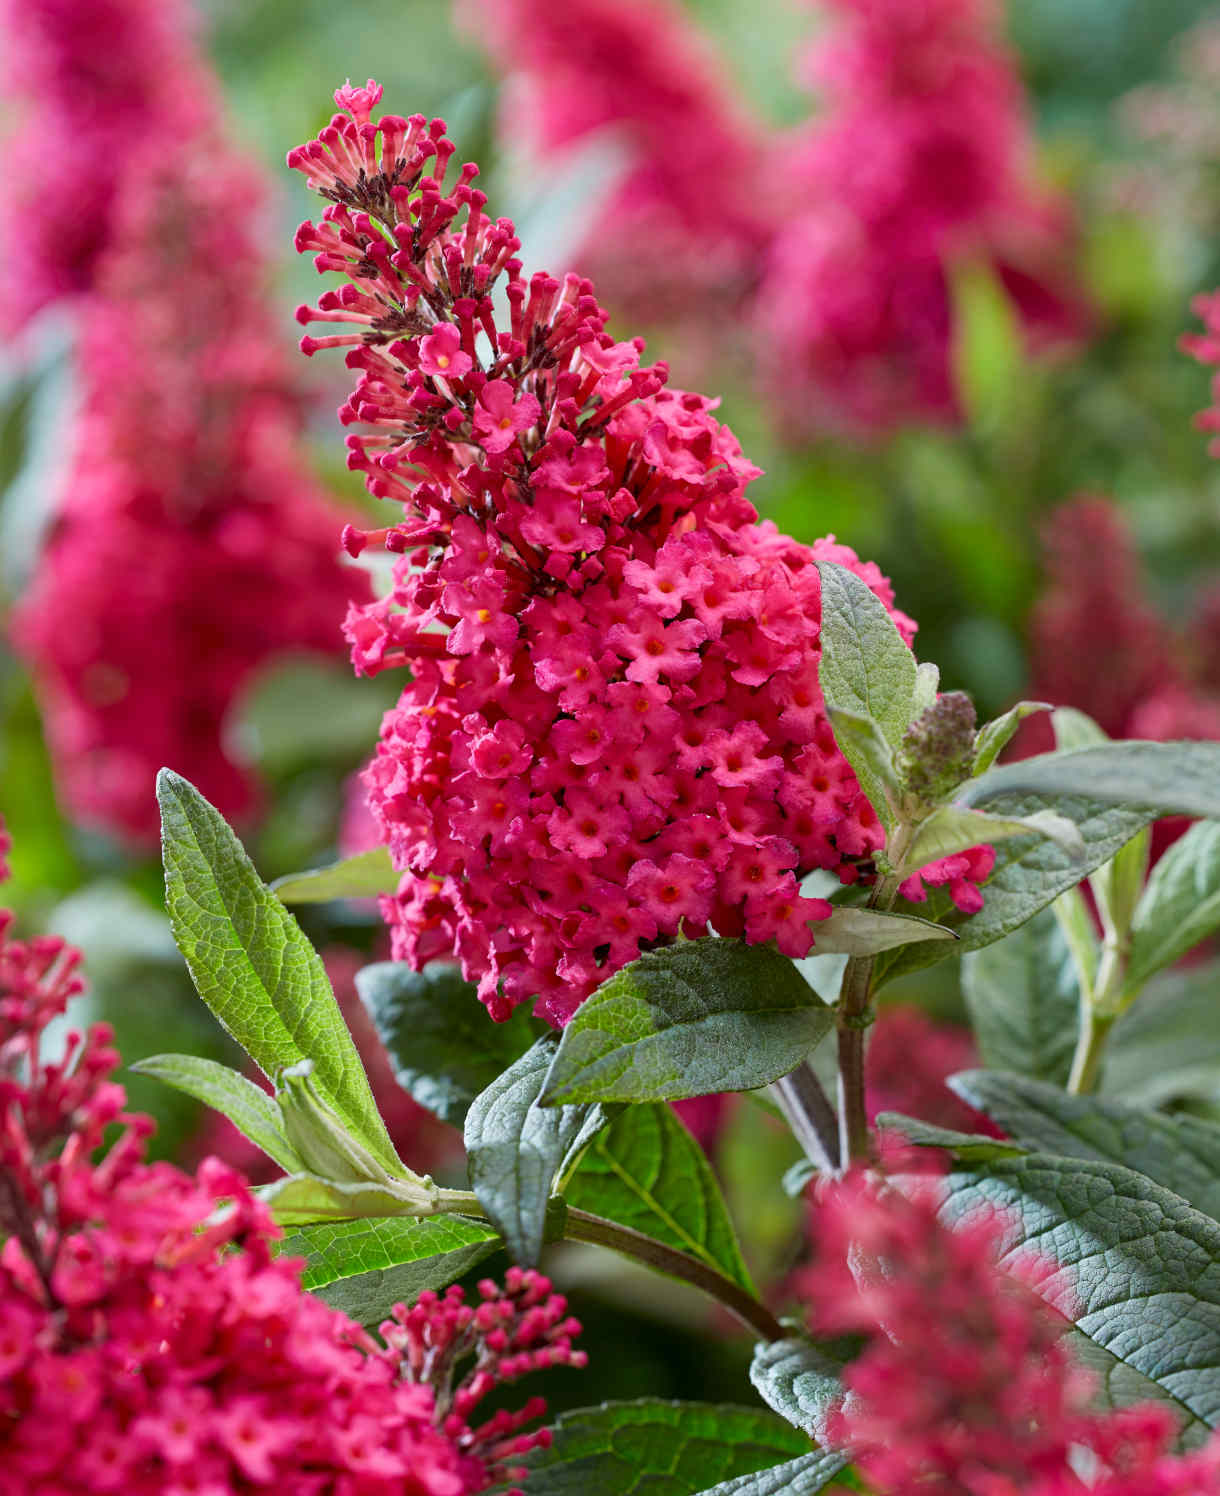
Such is the flower power of this shrub, we think it’s best given full chance to shine during its bloom period. This can vary between species, so check what you’re dealing with and consider choosing companions which offer interest at other times of year. For example, you may wish to surround a spring flowering form such as Cytisus x praecox or C. scorparius with a few clipped evergreen shrubs including buxus and Euonymus japonicus ‘Green Spire’, along with some later floral interest, perhaps in the form of abelia, buddleja, and caryopteris (all tolerant of acidic conditions and full sun).
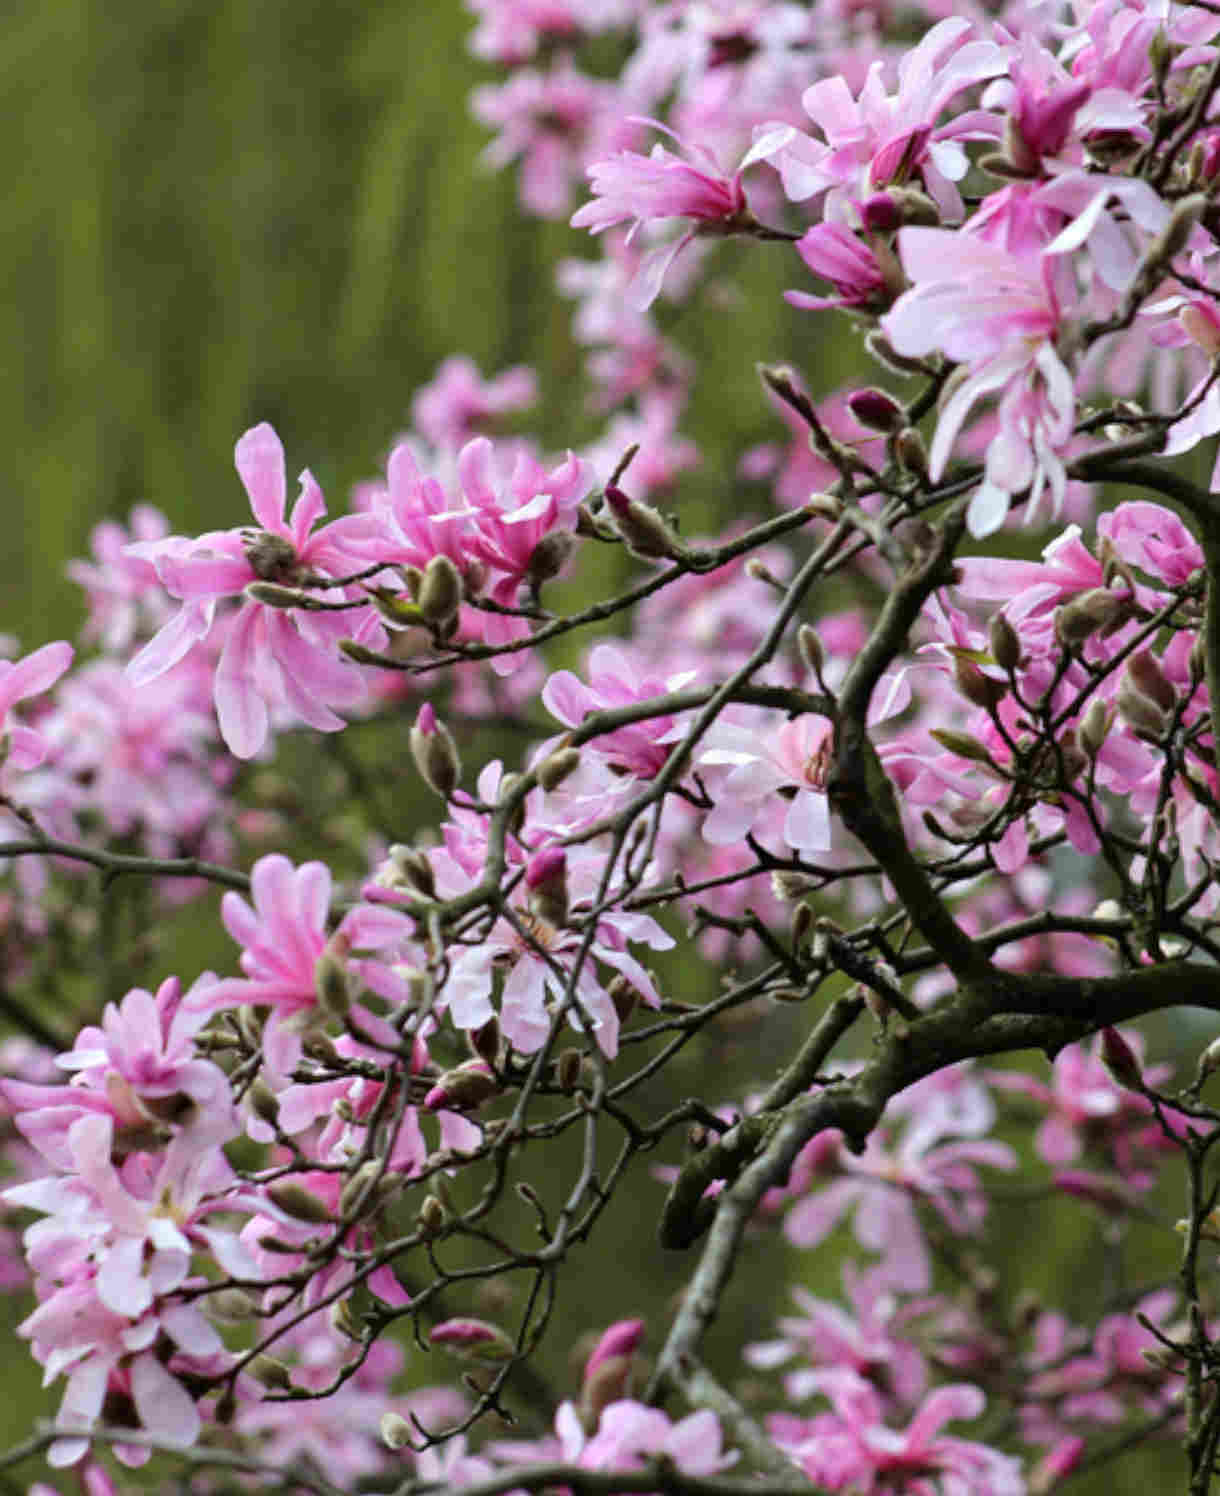
On the other hand, a later flowering form like C. battandieri would benefit from spring-flowering neighbours, such as magnolia, vaccinium, and choisya. Again, these are all happy in the same growing conditions.

How to care for Cytisus
Pruning and Deadheading
It is best to prune cytisus after flowering, both to maintain a neat, compact shape and to prevent it exhausting itself with seed production. Cytisus can be a relatively short-lived shrub (10-15 years), so anything you can do to prolong life expectancy is a good idea.
Simply cut flowered growth back to just above old wood. Take care not to cut into the old wood, as it won’t reshoot from here and you’ll be left with permanent bare patches.
Watering
Like all woody plants, cytisus should be regularly watered during its first couple of growing seasons in the ground while its roots become established. After this, it should need watering only in prolonged periods of hot, dry weather. An annual mulch is also useful for locking in moisture – more on this in our ‘Feeding’ section below.
Container-grown cytisus has less access to moisture so will need regular attention. Water regularly when in growth, and moderately at other times (i.e., just enough to stop the compost drying out). A good tip to avoid overwatering during the growing season is to allow the top few centimetres of compost to dry out each time. A finger wiggled down until it hits moisture is the best way to check this.
Feeding
Cytisus is not a hungry plant and shouldn’t require feeding when grown in the ground. An annual application of mulch (again – ericaceous if you have it) should provide more than enough sustenance, as well as having the added benefit of supressing weeds and locking in moisture.
Container-grown plants however, rely more on the gardener for nutrition. Start by making sure you use a good quality compost, then from March to September apply an ericaceous liquid feed once a month.
Remember also to repot your cytisus every year or two, going up slightly in pot size and using fresh, compost containing ericaceous feed. Once the plant reaches full size an annual top dress is advisable: each spring, scrape off the top 5cm of compost and replace with fresh, remembering to mix in a little ericaceous feed too.
Cold Protection
Cytisus is hardy enough to withstand a UK winter without the need for additional protection. Having said this, like all plants, those grown in a container can be more susceptible to the cold. If you are in a very cold or exposed spot, in can be worth wrapping these in fleece or hessian for the winter months. As well as insulating the roots, this will also help prevent the pot cracking in the frost.
Pests and Diseases
Cytisus is considered trouble free.
How to propagate Cytisus
The quickest way to propagate this shrub is by taking cuttings in mid to late summer, using healthy, non-flowering growth.
- Snip cuttings off the plant, if possible taking a longer piece than the ideal eventual length of around 10cm (to allow for trimming).
- Put them in a plastic bag straight away to prevent drying out.
- Fill several pots with a well-draining compost mix.
- Trim the end of the cutting to just below a node (point at which leaves grow).
- Remove lowest leaves and tip if it is soft, leaving 2-4 leaves.
- Insert the cuttings into the compost and water lightly. Several cuttings can be put in the same container if there is enough space to do this without them touching.
- Place in a greenhouse or propagating unit if you have one or covered with a plastic bag on a windowsill if not (out of direct sunlight).
- Keep the cuttings misted and occasionally watered until they root. You will know this has happened when roots emerge out of the bottom of the container.
- Gently remove rooted cuttings and pot them into individual pots. Grow on in a cool yet frost-free environment such as an unheated conservatory, greenhouse, or cold frame, until they are large enough to be planted out.
* Many plants carry Plant Breeders Rights and cannot be propagated for commercial purposes.
Common Cytisus questions
Can you grow cytisus in a pot?
You can, though it is best to go for a smaller variety.
My cytisus isn’t flowering, is there a problem?
Don’t worry, these shrubs can take 2-3 years to settle in and flower. If a mature specimen isn’t flowering, if could be a case of mistimed pruning or insufficient sunlight.
Can I grow cytisus in a coastal garden?
This shrub is highly tolerant of wind and a popular choice for exposed gardens such as those along the coast.