


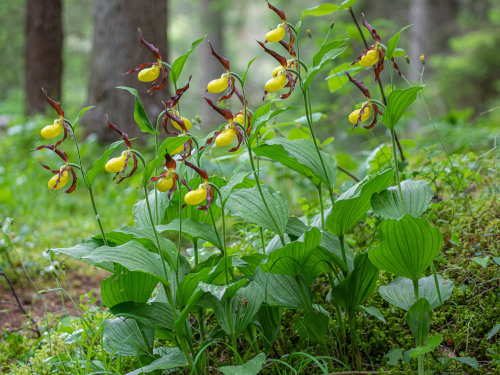
How to grow Cypripedium
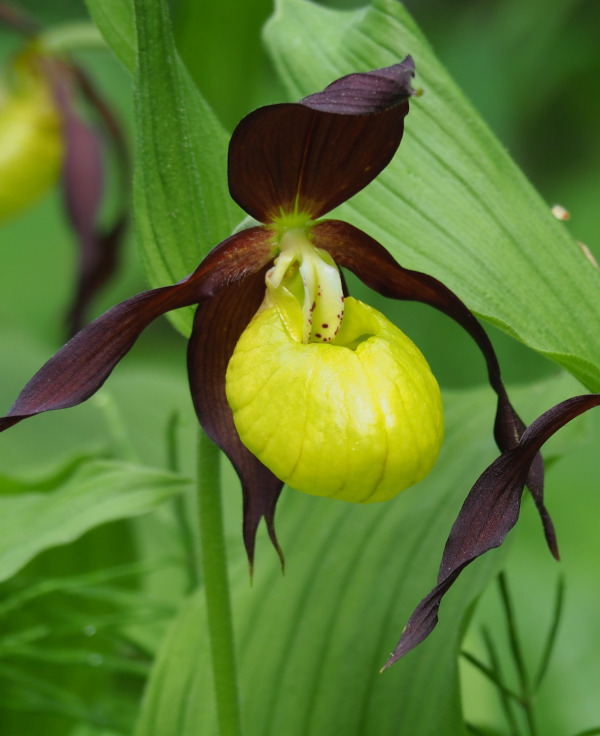
Until recent years this hardy orchid was relatively difficult and expensive to get hold of, however exciting advances in breeding have now made it more readily available. Hailing from woodland and marshy places throughout the world, cypripedium is cultivated for its distinctive and beautiful flowers, each made of three tepals and a slipper-shaped pouch. The plants grow from slender, underground rhizomes which have a growth bud at one end (from which the stem emerges each spring). The rhizome puts on growth at this end each year, with the opposite end simultaneously dying out a little. Each plant produces several soft, folded leaves. All species of cypripedium are deciduous.
Cypripedium is also known as lady’s slipper orchid.
Key Information
Position- Light dappled or partial shade. Sheltered from winds. Avoid anywhere with midday sun.
Soil- Moist, fertile, leafy, humus-rich. Avoid heavy, compacted soils. Preferred pH can vary depending on the species (see in ‘Horticultural Divisions’ table below).
Flowering Period- Varies depending on the species (see below).
Hardiness- All cypripedium species are hardy, though to what extent can vary (see below).
Position
Soil Conditions

Hardiness

Where & when to plant Cypripedium
Horticultural Divisions-
Species | Flowering period | Preferred soil pH | Hardiness |
Cypripedium acaule | Early summer | Neutral to acid (alkaline tolerated) | H5 (-10°C to -15°C) |
C.calceolus | Summer | Slightly alkaline | H5 (-10°C to -15°C) |
C. flavum | Late spring | Neutral to acid (alkaline tolerated) | H6 (-15°C – -20°C) |
C. kentuckiense | Late spring | Neutral to acid (alkaline tolerated) | H5 (-10°C to -15°C) |
C. macranthos | Late spring to early summer | Neutral to acid (alkaline tolerated) | H7 (-20°C and beyond) |
C. parviflorum | Late spring to early summer | Neutral to acid (alkaline tolerated) | H5 (-10°C to -15°C) |
C. pubescens | Late spring to early summer | Neutral to acid (alkaline tolerated) | H5 (-10°C to -15°C) |
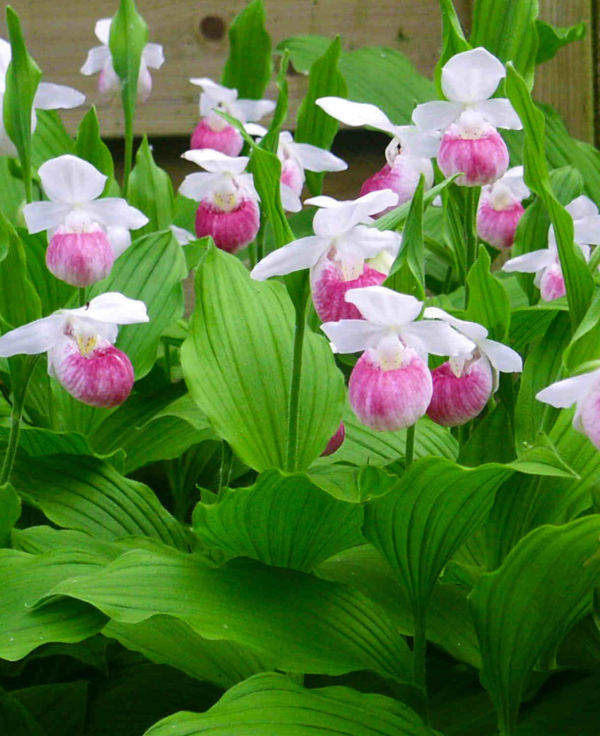
C. reginae | Spring to summer | Acidic | H5 (-10°C to -15°C)/ H6 (-15°C – -20°C) depending on the cultivar |
C. ventricosum | Late spring | Neutral to acid (alkaline tolerated | H5 (-10°C to -15°C)/ H7 (-20°C and beyond) depending on the cultivar |
For best results, plant in autumn or spring. An autumn planting can be done by those gardening in mild conditions (and broadly speaking, this is the southern half of the UK). For those liable to cold winters, it is best to wait until spring (generally the northern half of the UK). Planting can also be carried out in summer, though be prepared to water regularly.
Cypripedium enjoys consistent moisture and some shade, making it ideal for a woodland garden or shady border. Try to avoid planting it around the base of any large, thirsty trees, as these can outcompete the orchid for water. Cypripedium is suitable for a container and can even make a dramatic houseplant. Simply keep somewhere not too warm (so not near a radiator or on a baking hot windowsill), in bright yet indirect light. The perfect spot might be on a table slightly set back from a window, or on an east or west facing windowsill. A cool porch or utility room would also be ideal.
How to plant Cypripedium
- For planting in the garden, dig the soil area removing any large stones and weeds and breaking up any lumps. Mix in some organic matter – ideally leaf mould – and add a generous helping of horticultural grit. Some experts also advocate mixing in Seramis at this stage (porous clay granules often recommended for use in orchid growing), or a high-quality cat litter alternative such as Sophisticat (which contains much the same stuff!). Rake level and firm with your heels. Rake level again.
- Water plants well and allow to drain before planting.
- Dig a wide, shallow hole. If you can, carefully tease out the roots and spread them across the surface, aiming to have the rhizome sitting approximately 3cm beneath the surface of the soil, with the growing tip just visible.
- Backfill with soil and firm in gently.
- Soak well with water.
- Mulch around the base with well-rotted organic matter (again – leaf mould if you have it).
- For planting in containers, first choose an appropriately sized pot, which for one cypripedium means at least 30cm wide. Ensure there are plenty of drainage holes in the bottom.
- Use a good quality potting compost with plenty of horticultural grit mixed in, and, if not already present in the compost (check the description on the bag) some slow-release fertiliser granules. Again, some Seramis or porous-clay-particle-based cat litter may be included at this point.
- Start by partially filling the pot with compost; enough so that when the roots are spread out over it the rhizome is about 6cm lower than the top of the pot.
- Backfill with about 3cm of compost so the growing tip is just showing above the surface. Firm down with your fingers then add a little more so the plant is held tight.
- Pick up the container and lightly tap on the potting bench or ground a few times to help further settle the compost around the plant.
- Soak well with water.
- A mulch with horticultural grit will look attractive and help to prevent a ‘cap’ or crust forming on the top of the compost (something container plants can suffer due to the artificial nature of their watering).
What to plant with Cypripedium
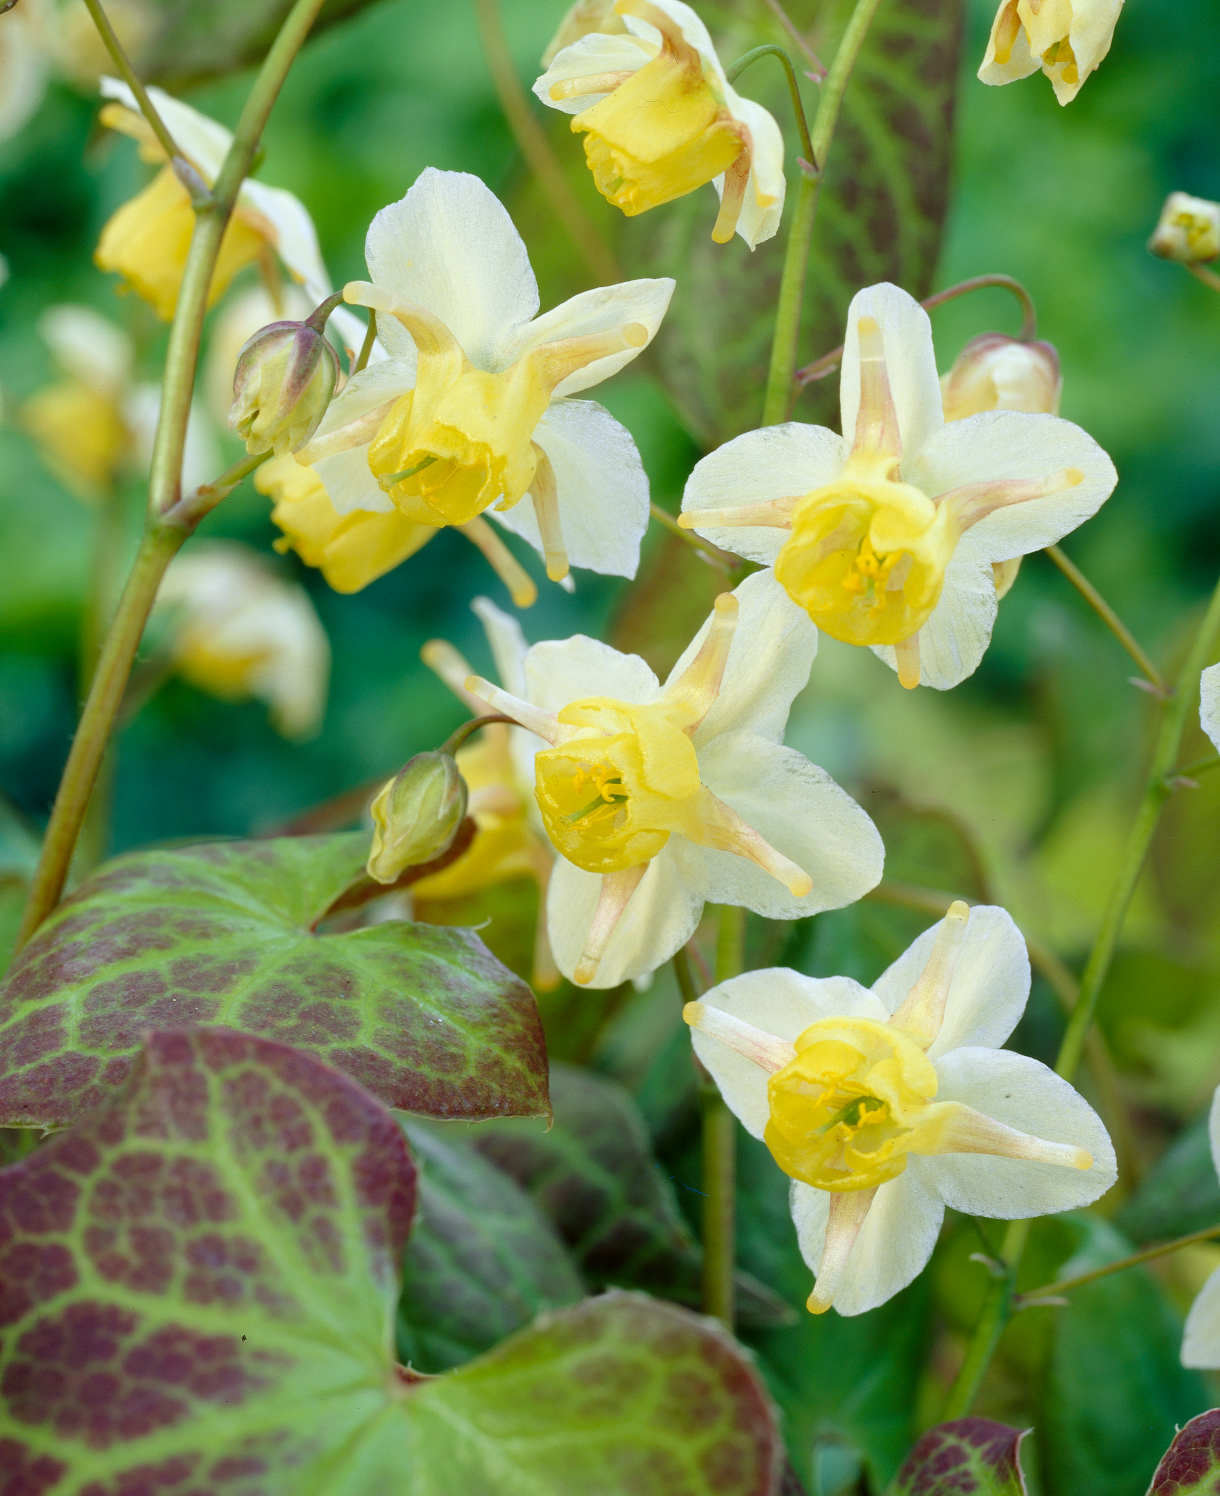
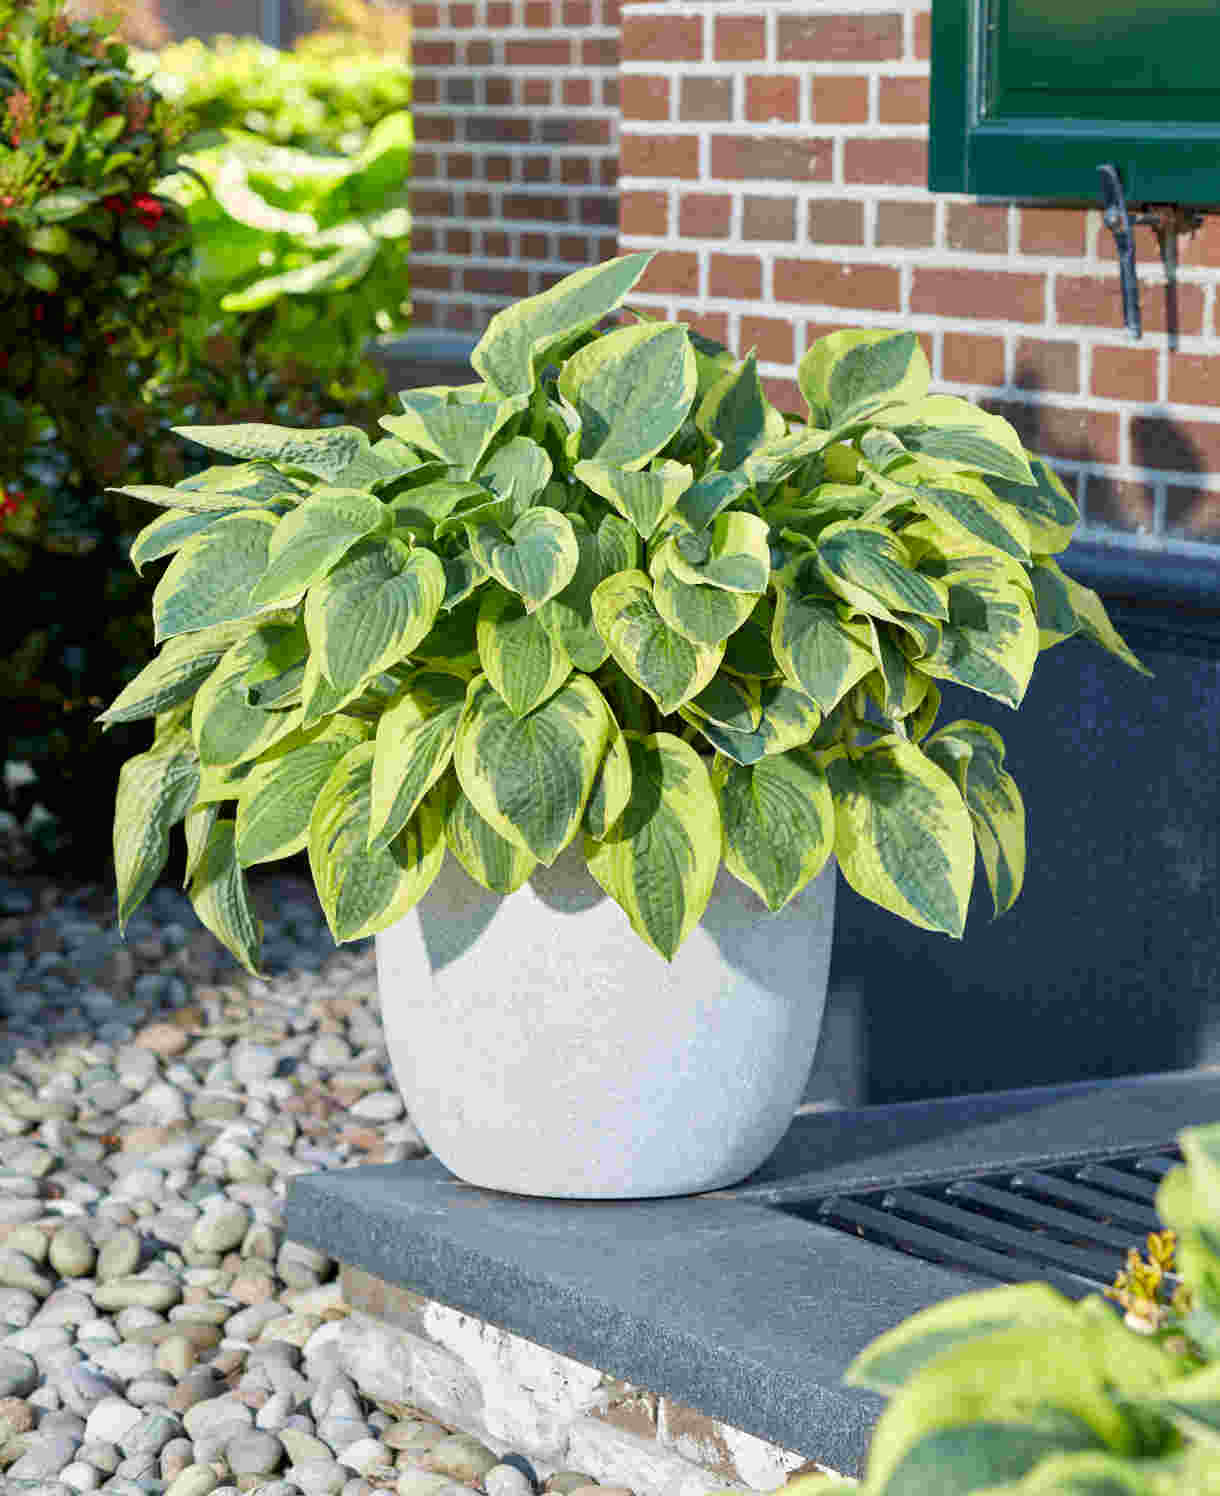
We love using this moist, shade dweller alongside other similarly inclined beauties such as epimedium, actaea, hosta, asarum, and candelabra primroses. Of course, a shady spot wouldn’t be complete without a few ferns – think along the lines of dryopteris, phyllitis, and adiantum.

How to care for Cypripedium
Pruning and Deadheading
Cypripedium requires no pruning, and in fact it is advisable to allow the plant to die back naturally each year.
Watering
Cypripedium likes consistent moisture levels, meaning when grown in the ground it should be watered during hot, dry spells to avoid drying out. Aim for consistently moist, but not soggy soil. Mulch can be a big help in locking in moisture – see next section.
Container-grown cypripedium will need to be watered regularly. In very hot, dry spells this might be as often as every day.
Feeding
For the strongest growth and most impressive flowering possible, it pays to give cypripedium a helping hand when it comes to nutrients.
When planting in the ground, give each plant a generous mulch, i.e., a thick layer (around 5cm deep) of well-rotted organic matter spread on the soil around it. This will ideally be leaf mould but if not, manure or garden compost will do. As well as providing nutrients to the plant, the mulch supresses weeds and locks in moisture. Reapply every winter. Leaving a marker earlier in the year (such as a cane or label) can be helpful for this. Cypripedium dies back completely each year, making it all too easy to forget its location.
Container-grown cypripedium rely on the gardener more for their nutrient supply. In addition to a slow-release fertiliser initially mixed through the potting compost, apply a balanced liquid feed at fortnightly intervals throughout the growing season. Mix this to half the recommended strength.
Cold Protection
All our cypripedium are hardy enough to withstand a cold winter in most parts of the UK without the need for additional protection. However, if you follow our advice of applying a thick winter mulch each year, your plants will be even more well-equipped against extreme drops in temperature.
Pests and Diseases
Cypripedium tend to be largely pest and disease free, though you may find slugs and snails develop a taste for its leaves, particularly when young. Encouraging natural predators into your garden, such as birds, frogs, toads, and hedgehogs, will make a big difference. Torchlight searches after dark (when slugs and snails are at their most active) are also effective, allowing you to collect the offending molluscs in a bucket. Place on the compost heap, or in a part of the garden containing less vulnerable plants.
Like most plants, once cypripedium is well established it tends to be better able to tolerate the actions of slugs and snails without the need for intervention.
How to propagate Cypripedium
The quickest and most effective way to propagate cypripedium is by dividing in early to mid-spring and replanting immediately. Do this once the plant has formed a large clump (expect for this to be every few years). Not only will it give you new plants, but it will also reinvigorate existing clumps as they begin to tire.
- Carefully lift the clumped rhizomes from the ground or container.
- Genty tease apart individual rhizomes.
- Replant where desired or pot up if you wish. Follow our ‘How to plant cypripedium’ section above with this one key extra tip – including some of the soil from the root ball in the planting of each division. This contains beneficial fungi and can be a big help in getting the plants reestablished.
- Inherited wisdom is that divided rhizomes take several years to reach flowering maturity, however many of the newer cultivars and hybrids have been known to reach this stage within a year or two.
* Many plants carry Plant Breeders Rights and cannot be propagated for commercial purposes.
Common Cypripedium questions
- Are lady’s slippers easy to grow?
Despite the tricky reputation of orchids, this genus is wonderfully straightforward and easy. As long as you ensure it has rich, moist, yet well-draining conditions and not too much sun, you should be rewarded with a healthy, thriving plant. In the right conditions, cypripedium can double in size each year. - Are lady’s slippers carnivorous?
While its flower resembles the carnivorous ‘pitcher plant’ found in swamps, cypripedium is not itself a carnivorous plant. - Do lady’s slippers come back every year?
Given the right conditions, this plant will come back year after year each spring. Allow it to die back naturally in autumn/ winter to boost energy reserves.