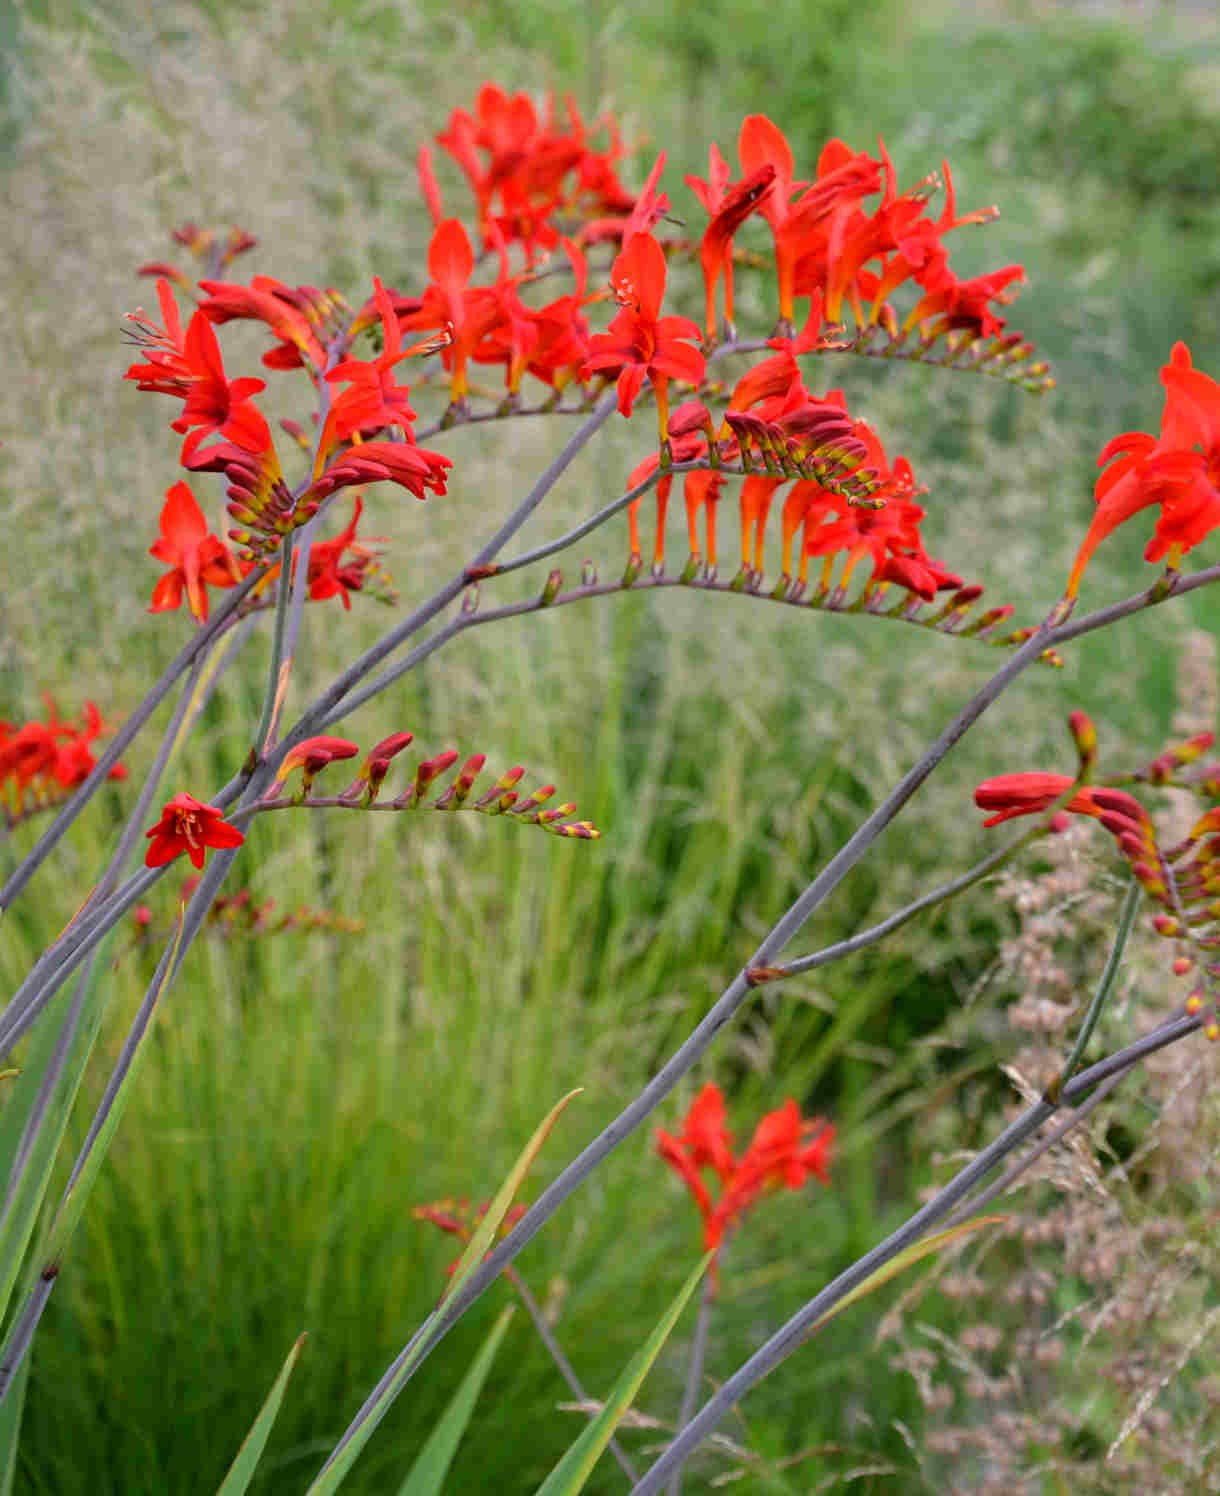
How to grow Crocosmia
Also known as monbretia, crocosmia is a clump-forming, cormous perennial in the iris family originating from the grasslands of South Africa. It is grown for long-lasting, brightly coloured flowers which bloom from mid-summer to early autumn, opening in succession along the arching stem and injecting life and vigour as many other border perennials begin to wane. The foliage is strappy and sword like and is a useful feature for contrasting with other leaf forms.
Crocosmia is quick to settle and usually flowers in its first year. Some species (namely Crocosmia x crocosmiiflora) can become invasive, though most garden cultivars tend to be more well-behaved – gently expanding to form larger clumps. There is a huge range of these cultivated forms available, ranging considerably in size and colour.
Despite its exotic looks crocosmia is hardy, though may benefit from an autumn mulch to insulate the roots in very cold regions or frost pockets.

Key Information
Soil pH
Position
Hardiness


Where & when to plant Crocosmia
Position - A warm, sunny spot is best. Some light shade will be tolerated, though is likely to mean reduced flowering. Avoid deep shade.
Soil - Any moderately fertile, moist, well-draining soil. Avoid the extremes of waterlogging or very dry.
Flowering Period - Mid-summer to early autumn
Hardiness - Hardy, rated H4, meaning minimum temperatures of -5°C to -10°C Should be fine in the average UK winter.
Crocosmia can be bought either as bare corms during dormancy, or container-grown plants.
Bare corms are best planted in spring, while container-grown plants can be planted at any time during the growing season. Just avoid very hot and dry conditions, as this makes it more difficult for plants to establish.
When choosing a spot, it’s useful to know the eventual size of your crocosmia. Smaller cultivars such as ‘Emily McKenzie’, ‘Emberglow’, ‘Carmin Brilliant’, ‘Metoere’, and ‘John Boots’ are suitable for the front of a border or a container display. Other, taller forms, such as the ever-popular ‘Lucifer’, ‘Paul’s Best Yellow’, or Crocosmia masoniorum grow into towering presences which are much better towards the back of a bed. These are best given a spot out of the wind, otherwise they’re likely to flop and will need staking. Plant in large groups for maximum impact.
Crocosmia produces excellent cut flowers, and is a popular choice for cutting gardens.
How to plant Crocosmia
- For planting in the garden, dig the soil area removing any large stones and weeds and breaking up any lumps. Crocosmia loves soil which is humus-rich, so mix in plenty of well-rotted organic matter, such as manure or garden compost. Rake level and firm with your heels. Rake level again.
- For container-grown plants:
- Water well and allow to drain before planting.
- Dig a hole twice the size of the root-ball.
- Place the plant in the hole, ensuring the top of the root ball sits level with the surface of the soil. Too low and the plant may rot, too high and the roots can dry out.
- Backfill with soil and firm in gently.
- Soak well with water.
- Mulch around the base with well-rotted organic matter.
- For bare corms:
- Plant with the slightly pointed end facing up, around 8-10cm deep and 10-20cm apart. Try to aim for a naturalistic drift rather than anything too symmetrical. A handful of corms scattered on the ground and planted where they land (the position slightly tweaked if they’re too close), offers natural results.
- Backfill with soil and firm in gently.
- Soak well with water.
- For planting in containers (remember, smaller forms are best for this), first choose an appropriately sized pot with plenty of drainage holes. Crocosmia is shallow rooted, so the pot needn’t be especially deep. As with all cormous or bulbous plants, crocosmia can be planted slightly closer together in pots than in the open ground.
- If you are using a large or heavy pot, it can be a good idea to fill and plant it in situ to save yourself the trouble of moving once full.
- Use a good quality potting compost with plenty of horticultural grit mixed in, and, if not already present in the compost (check the description on the bag) some slow-release fertiliser granules.
- Start by partially filling the pot with compost. For container-grown plants you’re aiming for the upper surface of the root ball to sit about 3cm lower than the top of the pot. For corms, plant at a depth of 8-10cm, slightly pointy end facing up.
- Top up with compost, leaving a gap of a few centimetres between the surface and the top of the pot (this makes watering easier and more efficient). Firm down with your fingers then add a little more to hold the plants/ corms tight.
- Pick up the container (if you can!) and lightly tap on the potting bench or ground a few times to help further settle the compost around the plant.
- Soak well with water.
- A mulch with horticultural grit will look attractive and help to prevent a ‘cap’ or crust forming on the top of the compost (something container plants can suffer due to the artificial nature of their watering).
What to plant with Crocosmia
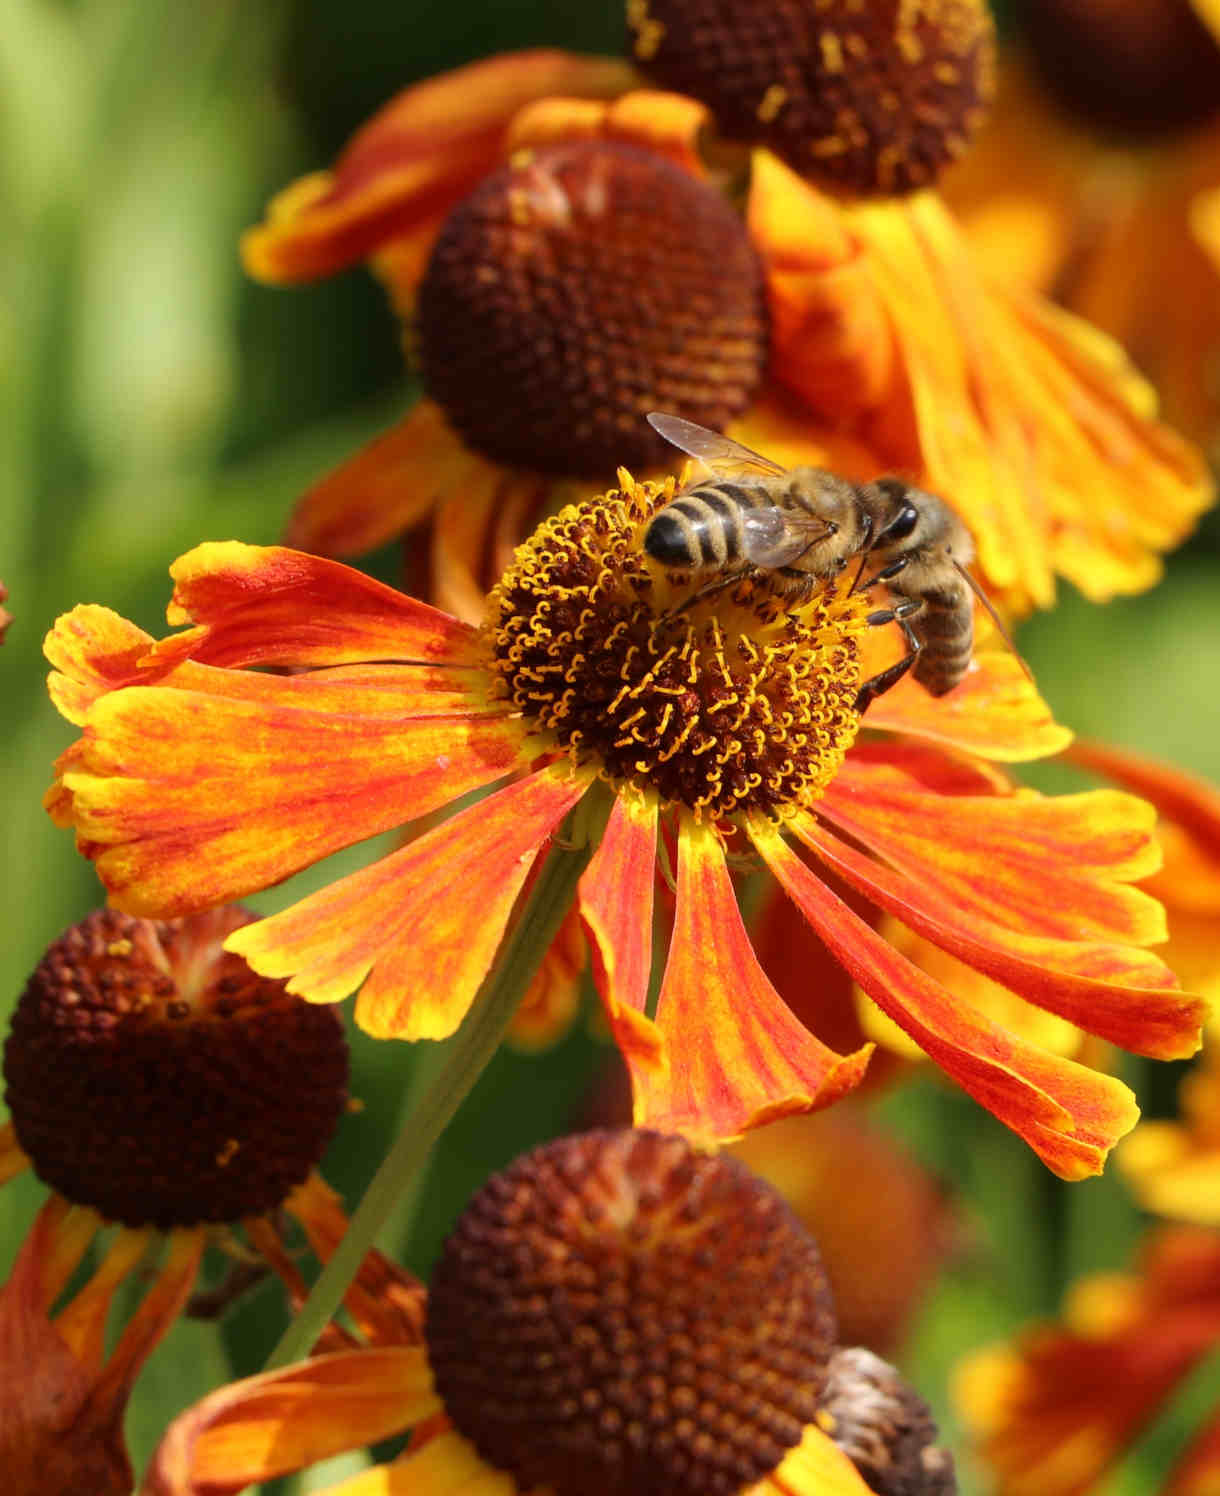
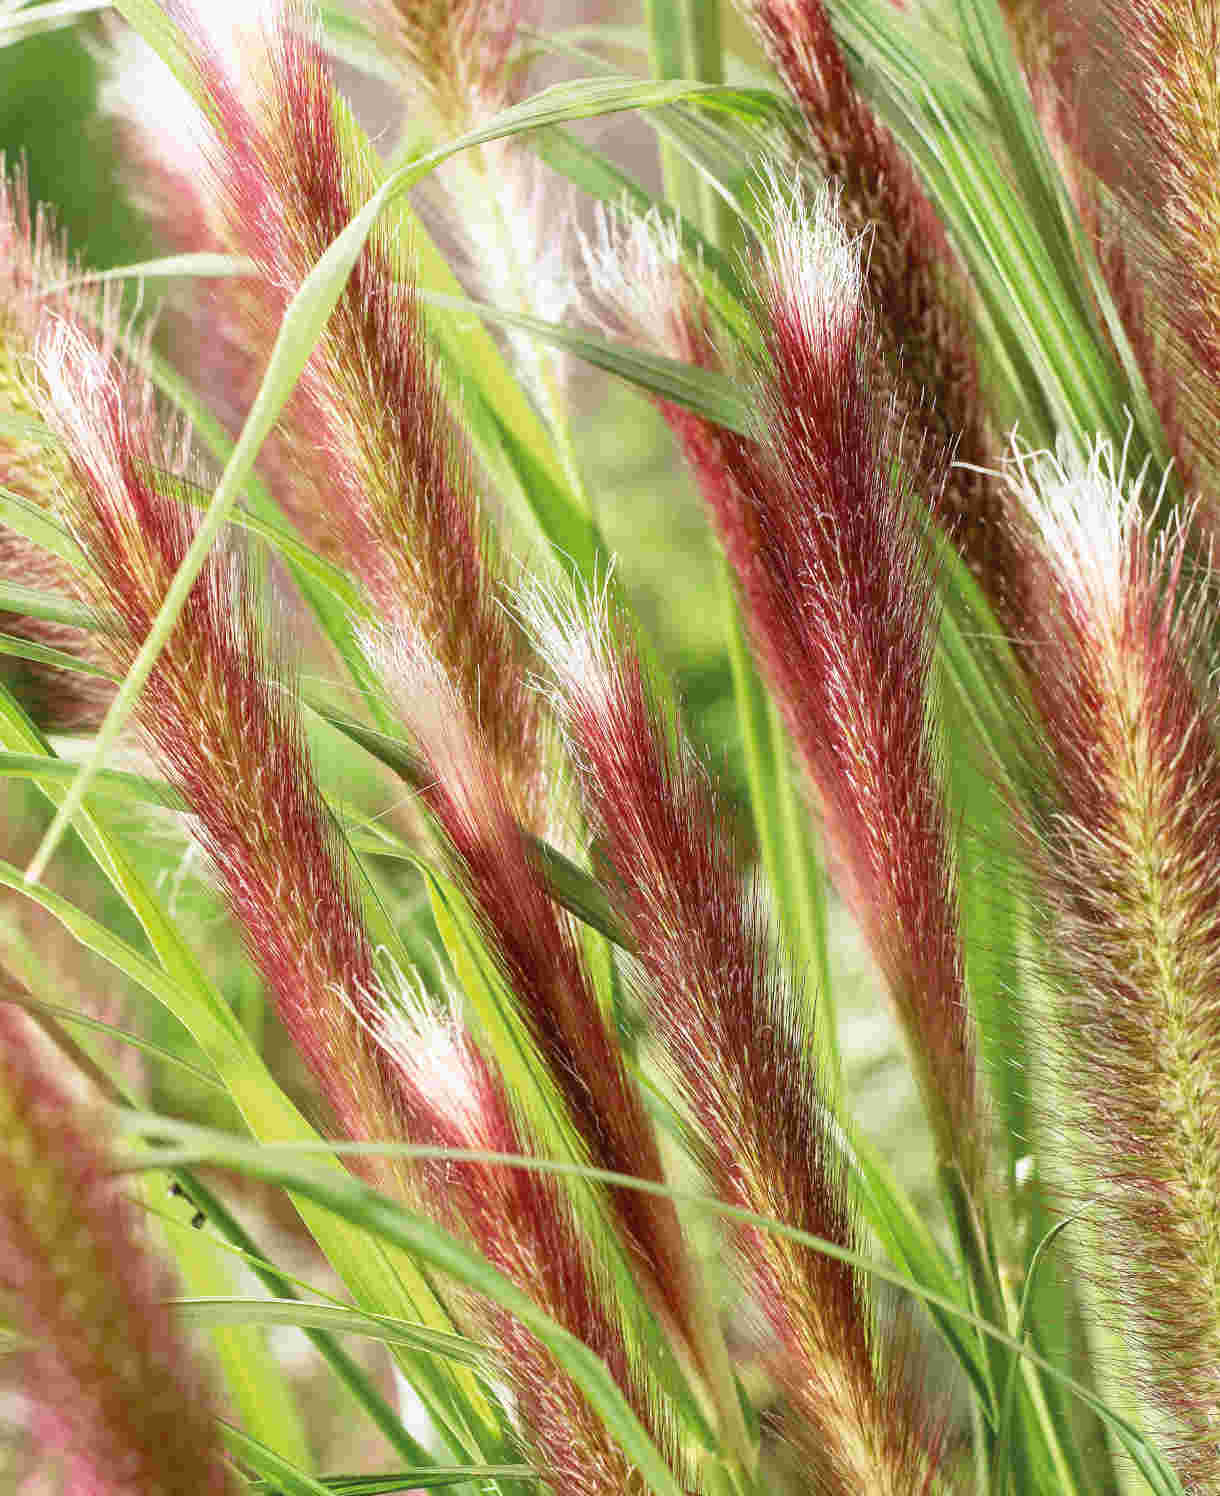
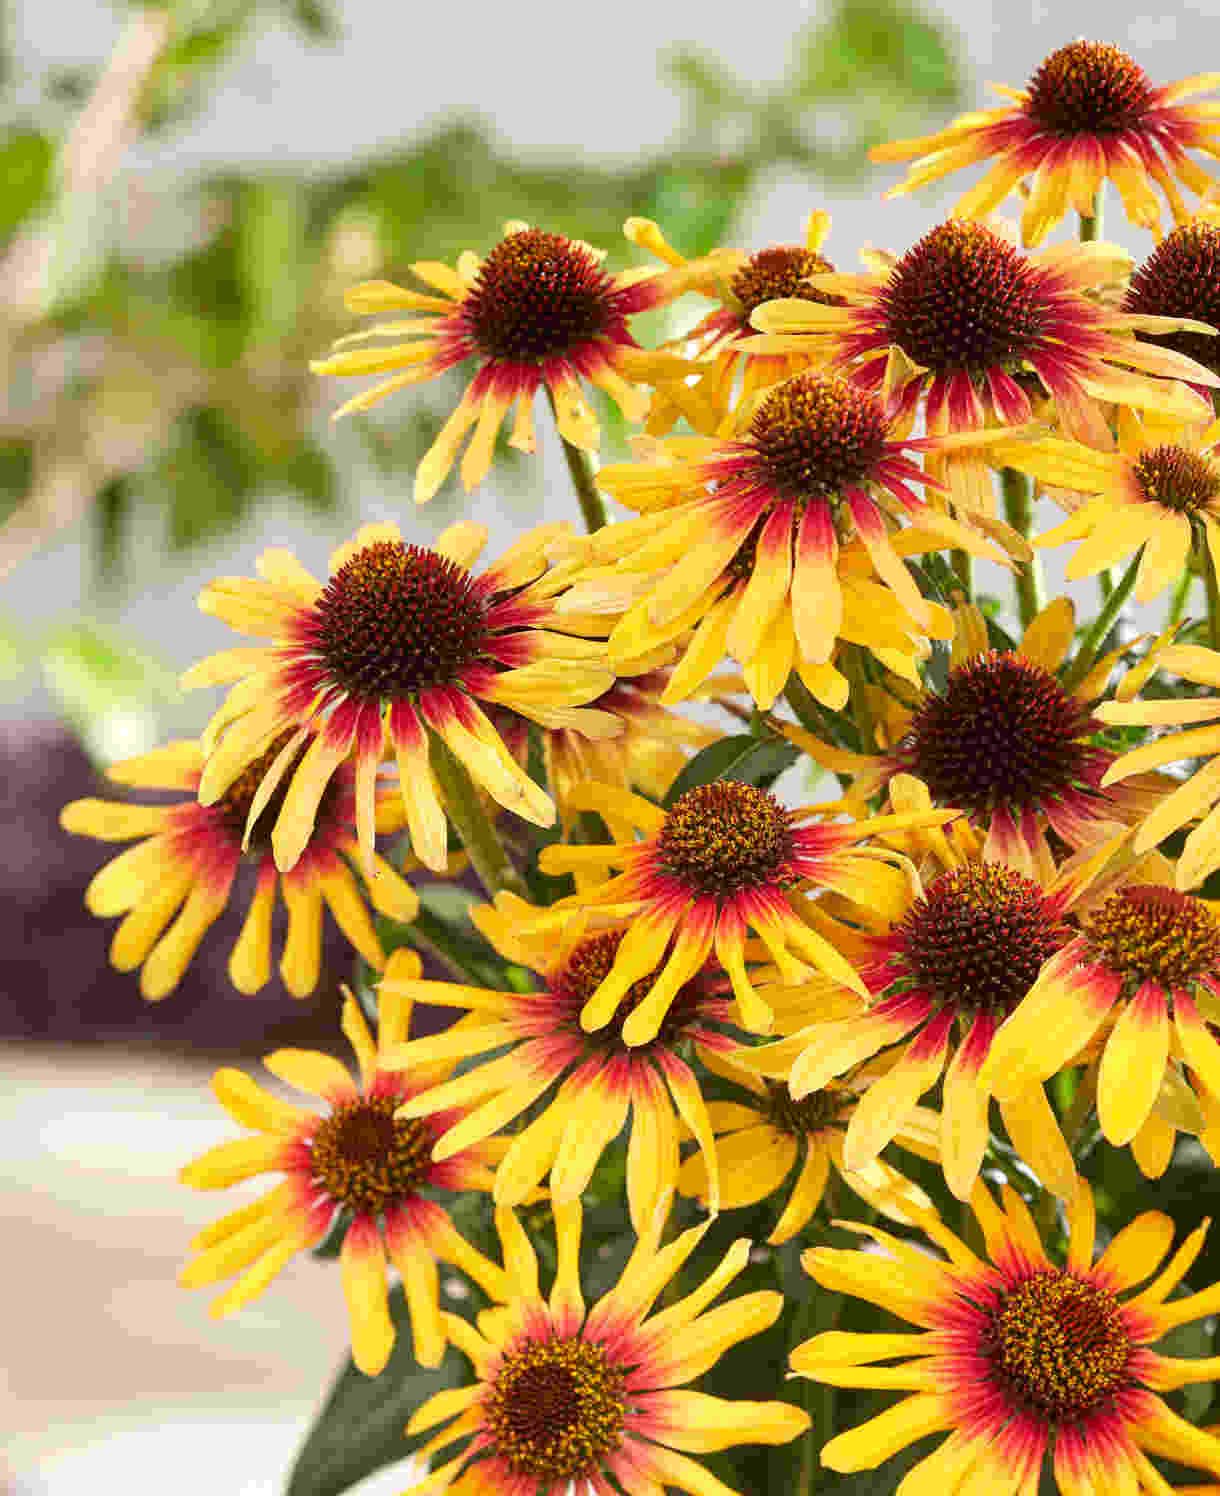
Usually in warm, fiery hues, crocosmia mixes beautifully with other rich, late summer flowers such as dahlias, salvias, rudbeckia, echinacea, and helenium. It also fits easily in a prairie style scheme with ornamental grasses such as pennisetum, stipa, and miscanthus.
How to care for Crocosmia
Pruning and Deadheading
Deadheading can be carried out if you wish, though we prefer to leave seedheads intact as they offer structure and interest into winter.
The foliage naturally dies back for winter. Resist the urge to tidy straight away if you can, as the withered leaves and stems provide valuable overwintering opportunities for wildlife. Much better is to cut back in spring, before new shoots appear.
Over time, crocosmia will naturally spread by producing new corms. Some may do this rapidly and require control, others more slowly. Fortunately, crocosmia is a shallow-rooting plant which can be easily restricted with digging out.
Watering
Crocosmia is not a particularly thirsty plant, though does still need some watering. When planting it in the open ground, give a good initial soaking, then a few more over that first summer while its roots establish. Allowing the top few centimetres of soil to dry out between each time is a good way to avoid overwatering (to check, wiggle your finger down until you feel moisture). Once established, your crocosmia should be self-sufficient in all but the hottest, driest of weather.
Crocosmia grown in a container requires a little more attention. Water regularly throughout the growing season – again allowing the top few centimetres of compost to dry out each time, though being aware this can happen in as little as 24 hours during the height of summer. During dormancy, either leave outside or move somewhere sheltered (this is a good idea if you experience particularly cold winters). Water just enough to prevent the compost from drying out completely.
Feeding
On healthy, fertile soil, an annual mulch of well-rotted organic matter (i.e., a layer of manure or garden compost applied to the soil around the plant) should provide sufficient nutrients for your crocosmia. This has the added benefit of suppressing weeds and locking in moisture.
If yours looks in need of an extra boost (perhaps you garden on poor soil), applying a general purpose granular feed to the surface of the soil and lightly working in (known as a ‘top dress’) can reap benefits. Aim to do this in spring, and then again in midsummer if needed.
Container-grown plants rely more on the gardener for nutrition. Get off to a flying start by making sure you use a good quality compost with some slow-release fertiliser granules mixed in, then to encourage flowering, apply a high potassium liquid feed (tomato food is ideal) once a fortnight throughout the growing season. Repotting every few years into fresh compost with slow-release granules is also important and offers the opportunity to divide clumps for renewed vigour.
Cold Protection
Crocosmia is hardy enough to withstand the average UK winter without the need for protection, though for those in very cold regions (usually this means in the northern half of the UK), or gardening in a particularly exposed spot, a little help may be required. Plants in the ground can be cut back and covered with a thick layer of mulch, while those in containers are best moved to a sheltered spot or wrapped in fleece or hessian.
Pests and Diseases
Crocosmia is generally problem free, although can be a host for red spider mites, particularly during a hot dry summer. These microscopic pests can be tricky to see though cause mottling on the leaves, and you may sometimes spot their fine webbing too. They’re usually found on indoor plants, though can occasionally be a problem outdoors.
The first course of action should be to regularly spray the leaves with water. Where infestations really take hold, try introducing biological controls (often sachets or tubes containing miniscule natural predators), or in the worst cases, remove the affected plant/s altogether.
How to propagate Crocosmia
The quickest and easiest way to propagate crocosmia is by lifting and dividing established clumps in spring. You will find lots of newly produced corms, which can simply be teased apart by hand. As well as producing new plants, this is also a recommended maintenance practice, best carried out every 3-5 year to breathe renewed vigour into tiring clumps.
- On a dry, frost-free day, carefully use a fork to lift a clump out of the ground.
- Shake and rub off any soil.
- Gently pull apart corms.
- Replant or pot as above in the ‘How to plant crocosmia’ section above.
* Many plants carry Plant Breeders Rights and cannot be propagated for commercial purposes.
Common Crocosmia questions
Is crocosmia easy to grow?
One of the easiest! This is a long-lived, low-maintenance plant which requires little attention and flowers generously year after year.
Does crocosmia come back every year?
Yes, this is a perennial, meaning it dies back each winter and regrows each spring. If ever it doesn’t reappear, it is likely to have become too wet and/ or cold over winter. Avoid soil prone to waterlogging and consult our ‘Cold Protection’ advice to see if you might need to offer a helping hand to get yours through the winter months.
When should crocosmia corms be planted?
Spring is the best time for this. You should see flowers in summer of the same year.
Should I cut back crocosmia?
Yes, it’s a good idea to clear away withered leaves to make way for the new shoots in spring. See ‘Pruning and Deadheading’ advice for the best time to do this.
Does crocosmia bloom all summer?
Most species and cultivars get going in mid-summer, lasting for many weeks into autumn. We think it’s one of the most invaluable, late season plants in the garden!
Is crocosmia invasive?
x crocosmiiflora can be a problem in this respect. Avoid planting it if your garden is adjacent to the countryside and there’s a possibility it may escape. Most other forms are more restrained.


