


How to grow Craspedia
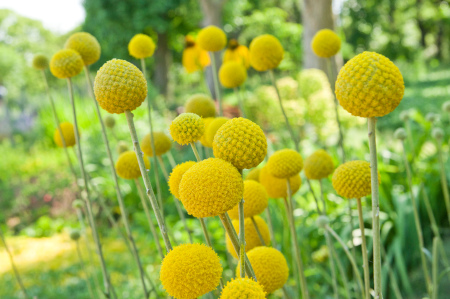
As well as being a favourite among florists, this member of the Asteraceae family is also becoming increasingly well known as a garden plant. Hailing from mountainous areas in Australia, Tasmania, and New Zealand, it bears dense, yellow, spherical flowerheads, held at the top of stiff stems emerging from basal rosettes of narrow foliage. There are several species available, though Craspedia globosa is the most widely cultivated. Its flowerheads usually measure around 3cm across.
Craspedia is also known by the common names of bachelor’s buttons or Billy buttons. You may also sometimes see C. globosa referred to by its synonym Pycnosorus globosaa.
Key Information
Position
Soil Conditions

Hardiness

Where & when to plant Craspedia
Craspedia should be planted out only once all risk of frost has passed in your area. This can vary from region to region, though tends to be around mid to late May. If you receive your craspedia before this, we recommend potting up the young plants (or large plugs) into 9cm pots and growing on somewhere bright and frost-free until you’re confident it is safe to plant them outside. A conservatory, greenhouse, cold-frame, sunny porch, or cool windowsill (not too near a radiator) are all ideal spots.
Once the time comes for an outdoor move, craspedia is perfect for the front to middle of a sunny, well-draining border. It also makes an excellent container plant and is handy for plugging any gaps in rock garden planting. Wherever you plant it, it’s your job to try and make this southern hemisphere, mountain-dwelling plant feel as ‘at home’ as possible, meaning as much sun and drainage as you have to offer!
How to plant Craspedia
- For planting in the ground, dig the soil area removing any large stones and weeds and breaking up any lumps. While we usually recommend adding well-rotted organic matter at this stage, craspedia thrives most where nutrients are low so don’t bother on this occasion. Now is the time, however, to add a generous helping of horticultural grit if your soil is even remotely heavy. Rake level and firm with your heels. Rake level again.
- Prior to planting, water the plants well and allow to drain.
- A good tip is to dig a hole twice the size of the root-ball. Fill with water and allow to drain before placing in the plant.
- Place the plant in the hole, ensuring the top of the root ball sits level with the surface of the soil. Too low and the plant may rot, too high and the roots can dry out.
- Backfill with soil and firm in gently with your foot.
- Soak well with water.
- Mulch around the base with horticultural grit. Organic matter should be avoided for the reason stated above (too rich in nutrients), though a grit mulch is useful for both supressing weeds and reducing the likelihood of water pooling around the plant (which would spell bad news for craspedia).
- For planting in containers, first choose an appropriate pot with plenty of drainage holes. You might wish to use craspedia as part of a large, mixed container display, or on its own in a smaller container. It can be worth filling large containers in situ to save yourself the trouble of moving once full.
- Prior to planting, water the plants well and allow to drain.
- Use a good quality potting compost with a generous amount of horticultural grit mixed in. If there is already fertiliser in the compost, there is no need to add any more for the reasons explained above. If not, add a very small amount (about a quarter of the recommended dose).
- Start by partially filling the pot with compost; enough so that when placed on it the upper surface of the root ball is about 3cm lower than the top of the pot.
- Infill all the space surrounding the root ball with compost, firming down with your fingers then adding a little more so the plant is held tight.
- Pick up the container (if you can!) and lightly tap on the potting bench or ground a few times to help further settle the compost around the plant.
- Soak well with water.
- A mulch with horticultural grit will look attractive and help to prevent a ‘cap’ or crust forming on the top of the compost (something container plants can suffer due to the artificial nature of their watering).
What to plant with Craspedia
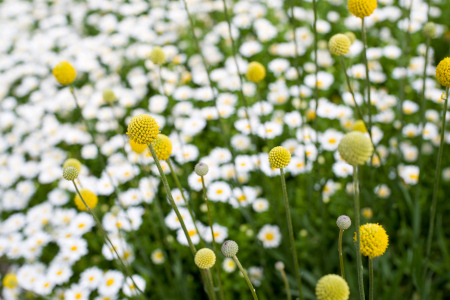
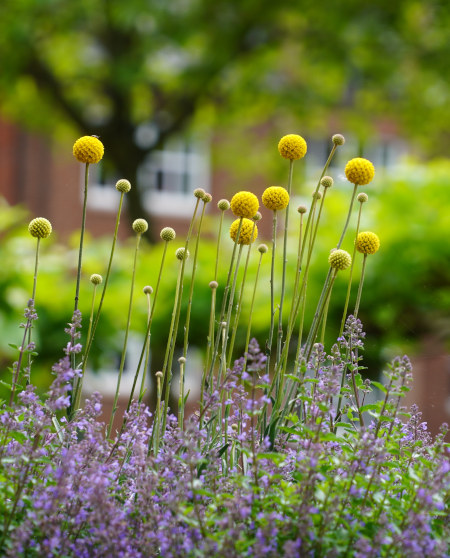
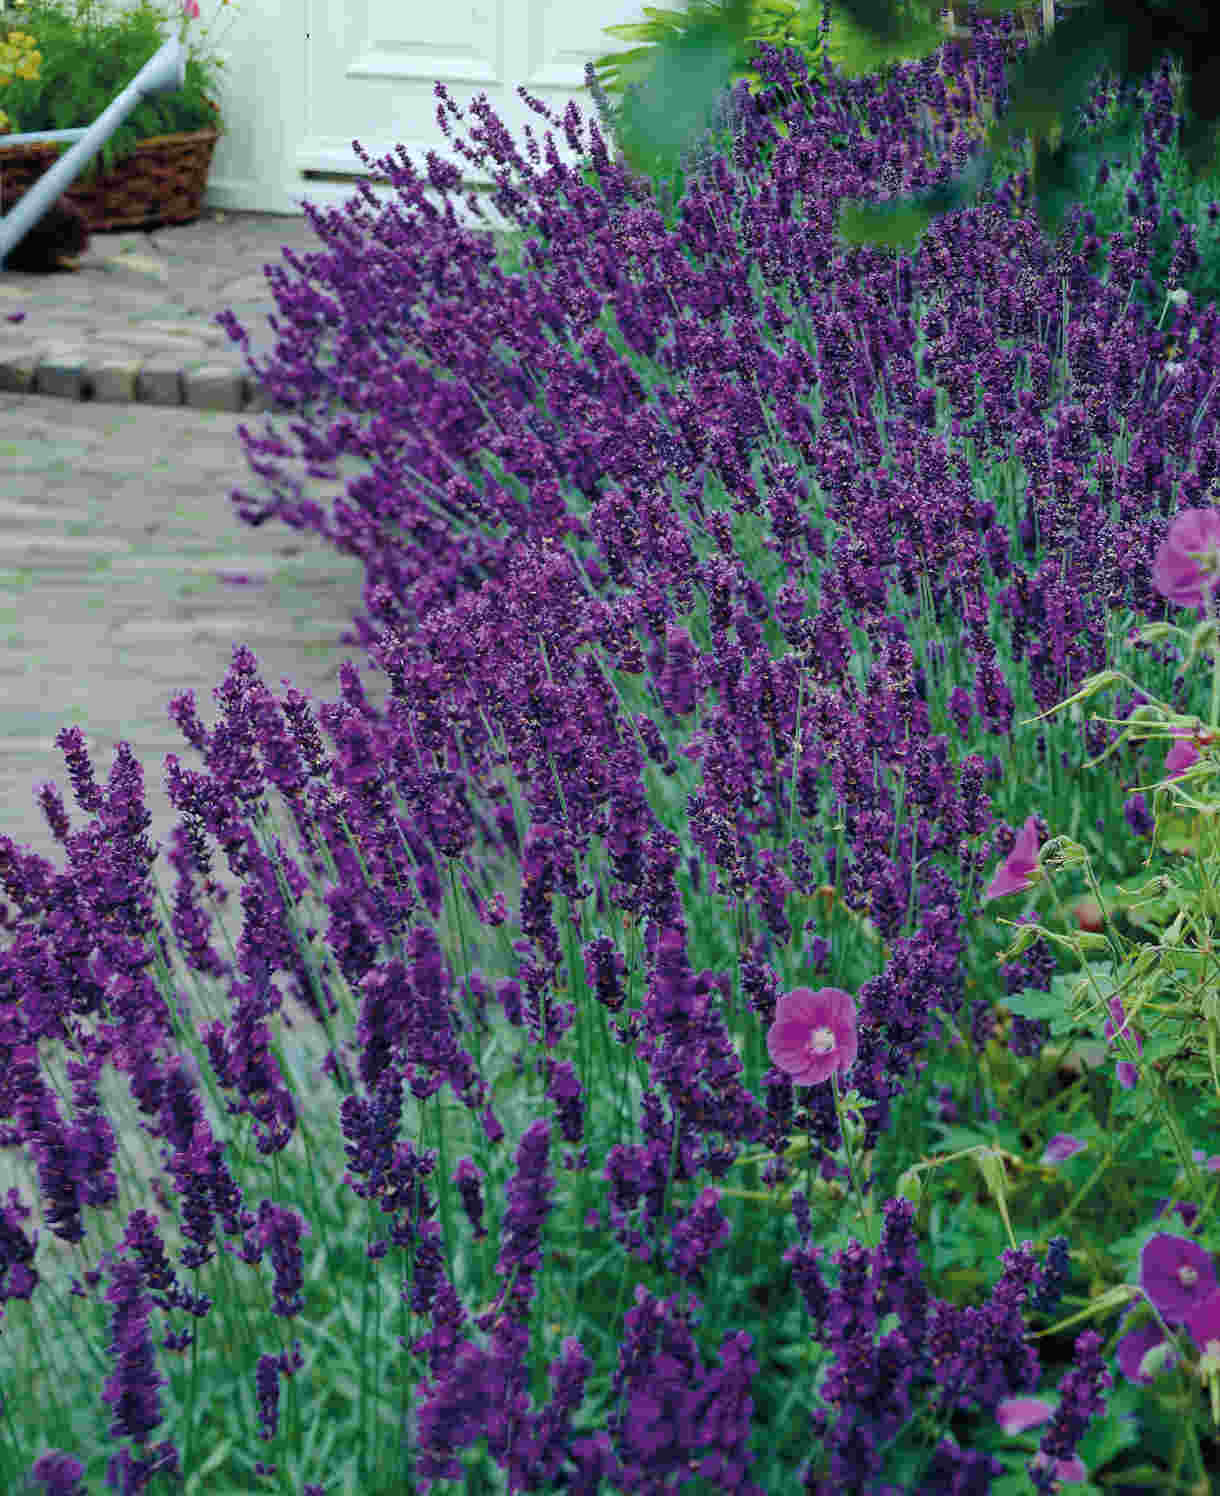
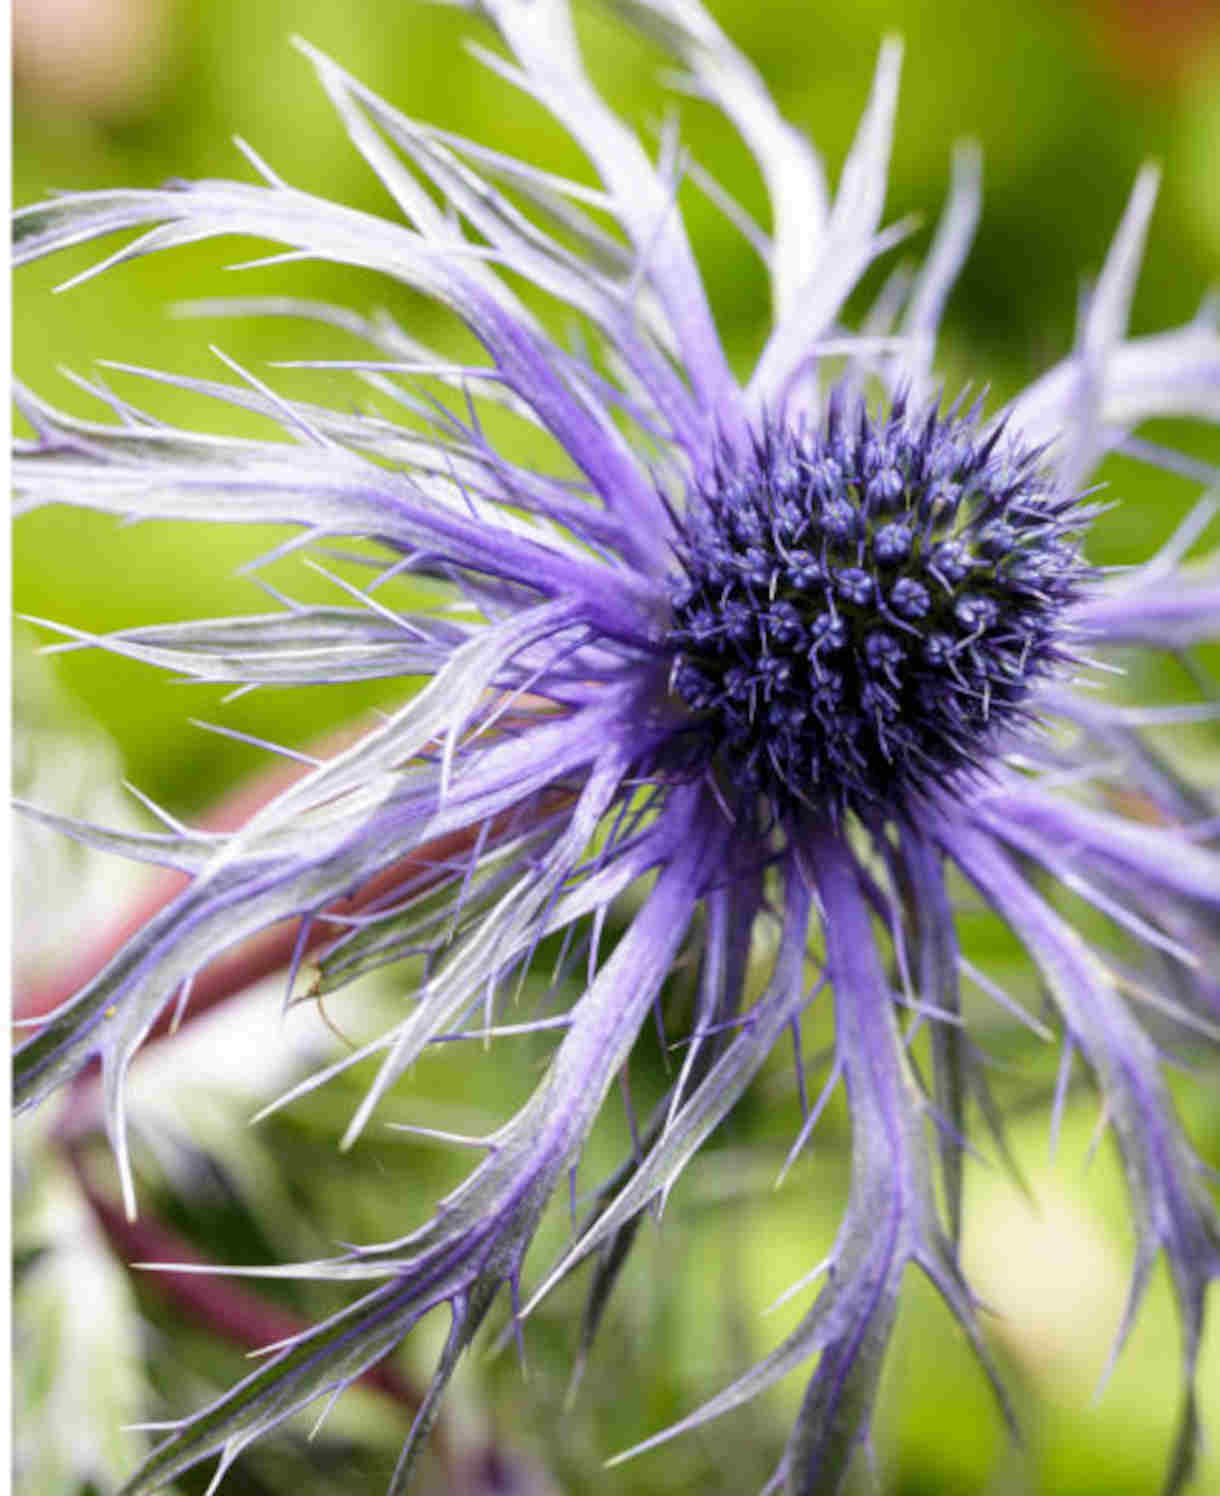
In being a sun and drainage lover, craspedia shares a lot in common with many Mediterranean plants. For this reason it makes a natural companion for things such as thyme, cerinthe, rosemary, and lavender. We also love it combined with the steely blue-purples of eryngium – what a colour pop!
How to care for Craspedia
Pruning and Deadheading
If, like most gardeners, you intend to treat your craspedia as an annual, there is no pruning required. Simply remove the plant at the end of the growing season and discard onto the compost heap.
If you did want to try your hand at overwintering, simply cut back after flowering and move to a frost-free environment (container-grown) or place a cloche over the plant (ground).
Watering
Although drought tolerant once established, craspedia still requires watering in the early weeks until it becomes established. Give a good soaking each time, allowing the top few centimetres to dry out between (check this with your finger).
Container-grown craspedia will require regular watering throughout the growing season. Again, allow the top few centimetres of compost to dry out between soakings.
If you are overwintering a container-grown craspedia, keep barely moist whilst under cover (though don’t allow it to dry out completely).
Feeding
Unlike many plants, craspedia prefers a poor, not very fertile soil (think of its mountain origins, where water rushes downhill washing away any soil nutrients in the process). As a result, it requires the bare minimum of feeding, if at all.
Craspedia grown in the ground will not need any additional feed or fertiliser. Container-grown craspedia needs a very small amount. If it is growing in compost with fertiliser already mixed in, this will suffice for the growing season. If not, add your own slow-release fertiliser at around a quarter of the recommended dosage. Subsequent feeding should not be necessary.
Cold Protection
Craspedia is not fully hardy and is therefore unlikely to make it through a UK winter unaided. This means most gardeners treat it as an annual and start afresh each year.
If you did wish to try and overwinter yours, either move its container to a protected spot such as a greenhouse, conservatory, cold frame, or porch, or place a cloche over it if it is growing in the ground.
With this plant, excess moisture is more damaging than the cold, so do whatever you can to keep it barely moist without drying out completely.
Pests and Diseases
Craspedia tend to be largely pest and disease free, though you may find slugs and snails develop a taste for its leaves, particularly when young. Encouraging natural predators into your garden, such as birds, frogs, toads, and hedgehogs, will make a big difference. Torchlight searches after dark (when slugs and snails are at their most active) are also effective, allowing you to collect the offending molluscs in a bucket. Place on the compost heap, or in a part of the garden containing less vulnerable plants.
Like most plants, once craspedia is well established it tends to be better able to tolerate the actions of slugs and snails without the need for intervention.
How to propagate Craspedia
Craspedia is easy to grow from seed. This should be collected from plants when ripe and sown in pots from late March (with bottom heat if you have it).
- Seeds are typically ready for collecting in late summer.
- Snip the seedheads from the plant using scissors or secateurs. Try to do this in dry conditions.
- Separate the seeds into a small paper bag or envelope, seal, label, and store somewhere cool and dry until spring.
- From late March: fill a seed tray or pot with a well-draining compost mix and compress lightly with a flat piece of wood or the bottom of another pot.
- Sprinkle the seeds evenly over the surface.
- Use a garden sieve to cover with a fine layer of compost.
- Water the soil gently with a fine spray until it is evenly moist but not waterlogged.
- Place the tray or pot in a propagating unit if you have one, or on a warm windowsill if not. In the latter situation, covering with a clear plastic lid or plastic wrap will speed germination by creating a mini-greenhouse effect. Remove this once you notice seedlings emerge (expect this to take around 2 weeks).
- When the seedlings have grown large enough to handle, transplant them into individual pots filled with a very gritty mix.
- Water regularly but avoid overwatering.
- Plant out once all risk of frost has passed, following our ‘How to plant craspedia’ guide above.
* Many plants carry Plant Breeders Rights and cannot be propagated for commercial purposes.
Common Craspedia questions
- Can craspedia flowers be dried?
Yes, these flowers are suitable for both fresh and dried arrangements. - Is craspedia poisonous?
This plant is known to be harmful to horses, so avoid growing anywhere these animals may have access to.