How to grow Corylus
Also known as hazel, corylus is a genus of 10-15 species of trees and shrubs belonging to the birch family. These naturally occur throughout temperate regions in the northern hemisphere, though UK gardeners are likely to be most familiar with the native species Corylus avellana (common hazel, or cobnut). This tree-like shrub can be seen throughout our hedgerows and woodland, distinguished by its long catkins on bare stems in spring.
Hazel can be grown for ornamental purposes (variants with colourful foliage or twisted stems are popular for this), or for its edible nuts. It also responds well to coppicing, producing lots of strong, straight growth which can be used for basketry, fencing, plant supports, wigwams, or firewood, depending on how long it is left to grow and thicken.
Regularly coppiced hazel can live for several hundred years, and as a source of food, weaving material, and wood, plant played a vital role in ancient life. It also supports a vast array of our native wildlife, providing a food source for birds, moths, dormice, squirrels, insects, and bees, as well as a habitat for butterflies and shelter for birds.
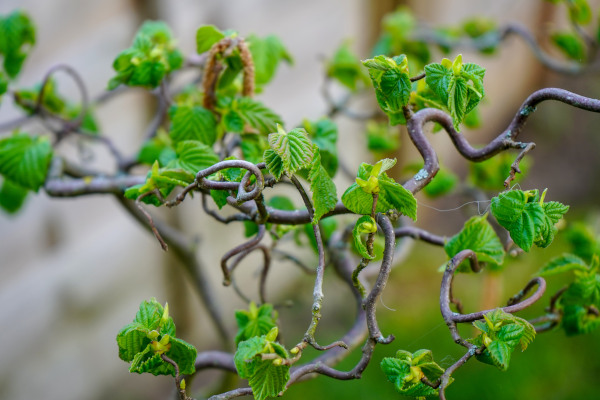
Zantedeschia is a genus of flowering plants from the family Araceae and is native to southern Africa. With a rich history dating back to the Ancient Romans, these deciduous or semi-evergreen perennials have been used as a symbol of celebration. Zantedeschia was Named after Professor Giovanni Zantedeschia, an Italian botanist.
There are two main forms of Zantedeschia: hardy and tender. Hardy forms of the plant can be grown outdoors, enjoy moist soil and full sun or partially shaded conditions - these are known as Arum lilies. Tender forms of Zantedeschia prefer being grown in containers or pots and should be brought inside over the winter - these are known as Calla lilies.
With tuberous flora in all colours from whites, yellows and oranges to deep reds and purples, Zantedeschias are not to be overlooked in any garden, as long as they have sufficient sunlight to grow in.
Ready to learn more about growing Zantedeschia? Read on for all there is to know...
Key Information
Soil pH
Position
Hardiness

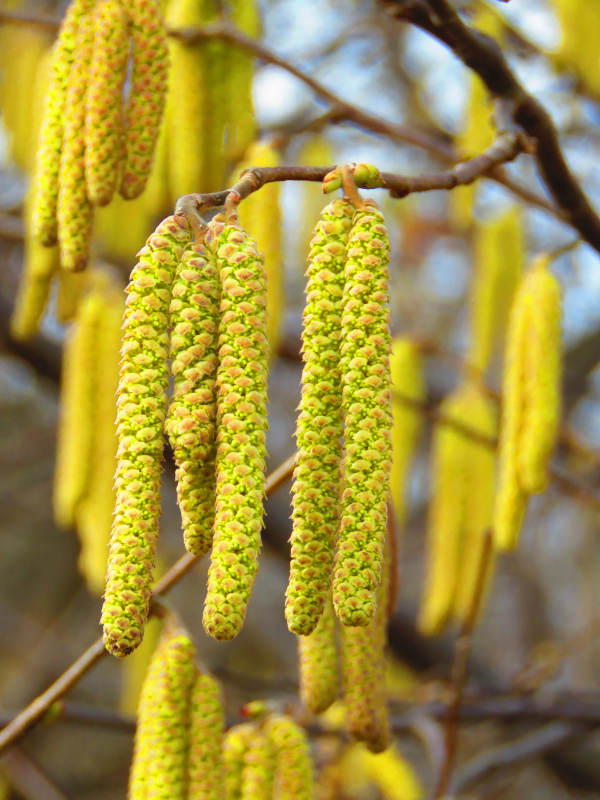
Where & when to plant Corylus
Position - Full sun to partial shade, with best nut crops seen in full sun. Forms with purple leaves develop the most intense colour in full sun.
Soil - Fertile, moist, well-drained. A neutral to alkaline pH is best.
Flowering Period - Spring
Hardiness - Hardy. Rated H6, meaning able to survive even a very cold UK winter (15-20°C).
Corylus can be bought in two forms, bare root and container grown.
Bare root corylus is available during its dormant period, usually October to March. This should be planted straight away, though not if conditions are frozen or waterlogged. If necessary, it can be ‘heeled in’ (temporarily planted in soil or compost to keep the roots from drying out) or soaked in a bucket of water for a few days.
In theory, container-grown corylus can be planted at any time of year, though for best results go for autumn or spring. An autumn planting can be done by those gardening in mild conditions (and broadly speaking, this is the southern half of the UK). For those liable to cold winters, it is best to wait until spring (generally the northern half of the UK). Try to avoid a summer planting, as woody plants struggle to establish well from this.
Hazel can be grown as a single or mixed species hedge, a coppiced, multi-stemmed shrub, or a specimen tree. Although it is fully hardy and tolerant of a windy, exposed spot, the production of nuts can be affected by temperatures lower than 10°C. It’s therefore best to go for a sheltered location if you are growing it as an edible crop.
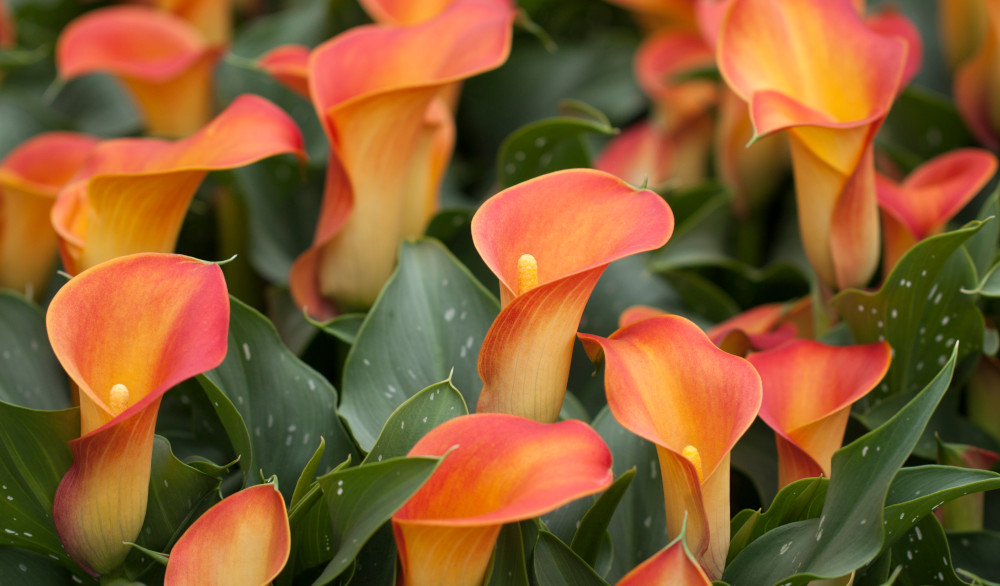
Hazel can naturally become quite large, though is easily kept smaller with regular pruning. More compact cultivars are a good option for smaller spaces, examples including ‘Contorta’ and ‘Red Majestic’.
How to plant Corylus
Water container-grown plants well and allow to drain before planting. Soak the roots of bare root plants in a bucket of water for a few hours prior to planting.
- Dig the soil area over, removing any large stones and weeds and breaking up any lumps. Mix in plenty of organic matter such as manure or garden compost.
- Rake level and firm with your heels. Rake level again.
- Dig a hole twice the size of the roots. Fill with water and allow to drain.
- Place the plant in the hole, ensuring the top of the root ball or the previous soil mark sits level with the surface of the soil. To high and the roots can dry out, too low and the stem can rot. Some named cultivars are grafted, so look out for the graft union (bulge at the base of the stem), and ensure it sits just above soil level. Planting this too deep can result in vigorous suckers as well as increasing the risk of dieback.
- Backfill with soil and firm in gently with your foot.
- Soak well with water.
- Mulch around the base with well-rotted organic matter such as manure or garden compost.
- For planting in containers (best for compact varieties only), first choose an appropriately sized pot. The best practice is to start just a few centimetres larger than the rootball and repot into a slightly larger size every year or two. Always ensure there are plenty of drainage holes in the bottom.
- If you are using a large or heavy pot, it can be a good idea to fill and plant it in situ to save yourself the trouble of moving once full.
- Use a good quality potting compost with plenty of horticultural grit mixed in, and, if not already present in the compost (check the description on the bag) some slow-release fertiliser granules.
- Start by partially filling the pot with compost; enough so that when placed on it the top of the roots sit about 3cm lower than the top of the pot.
- Infill all the space surrounding the roots with compost, firming down with your fingers then adding a little more so the plant is held tight.
- Pick up the pot (if you can!) and lightly tap on the potting bench or ground a few times to help further settle the compost around the plant.
- Soak well with water.
- A mulch with horticultural grit will look attractive and help to prevent a ‘cap’ or crust forming on the top of the compost (something container plants can suffer due to the artificial nature of their watering).
What to plant with Corylus
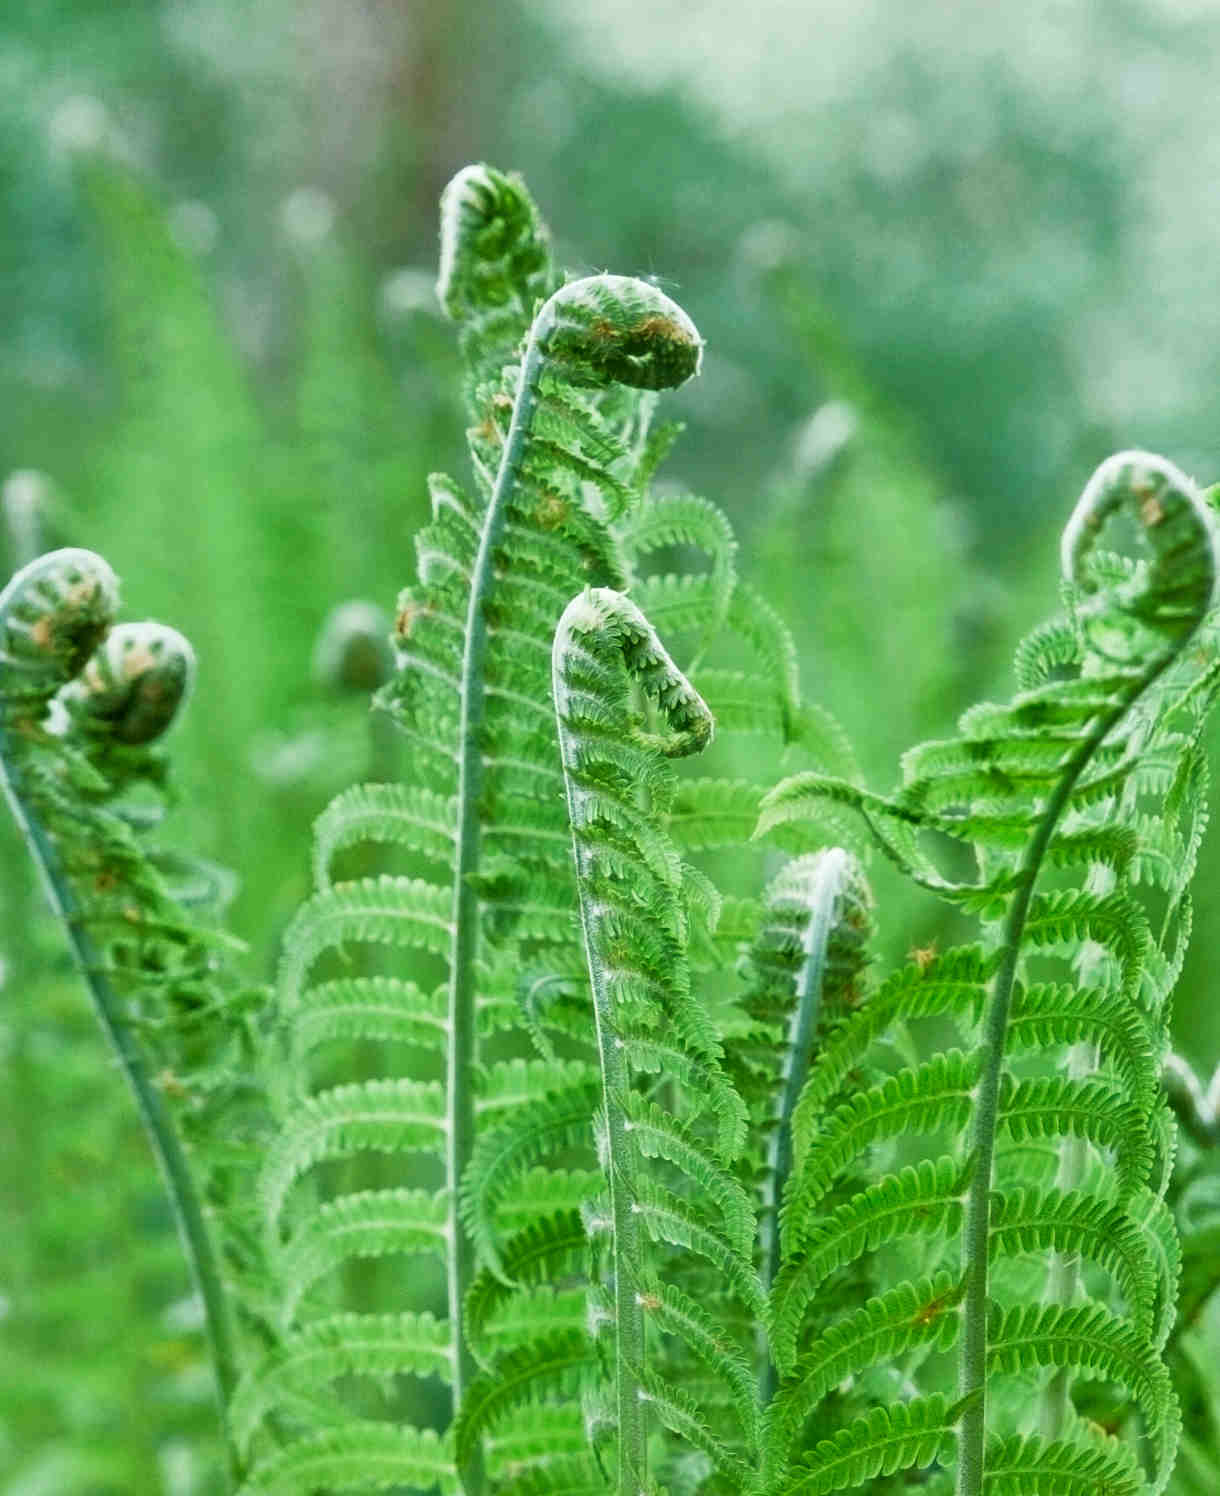
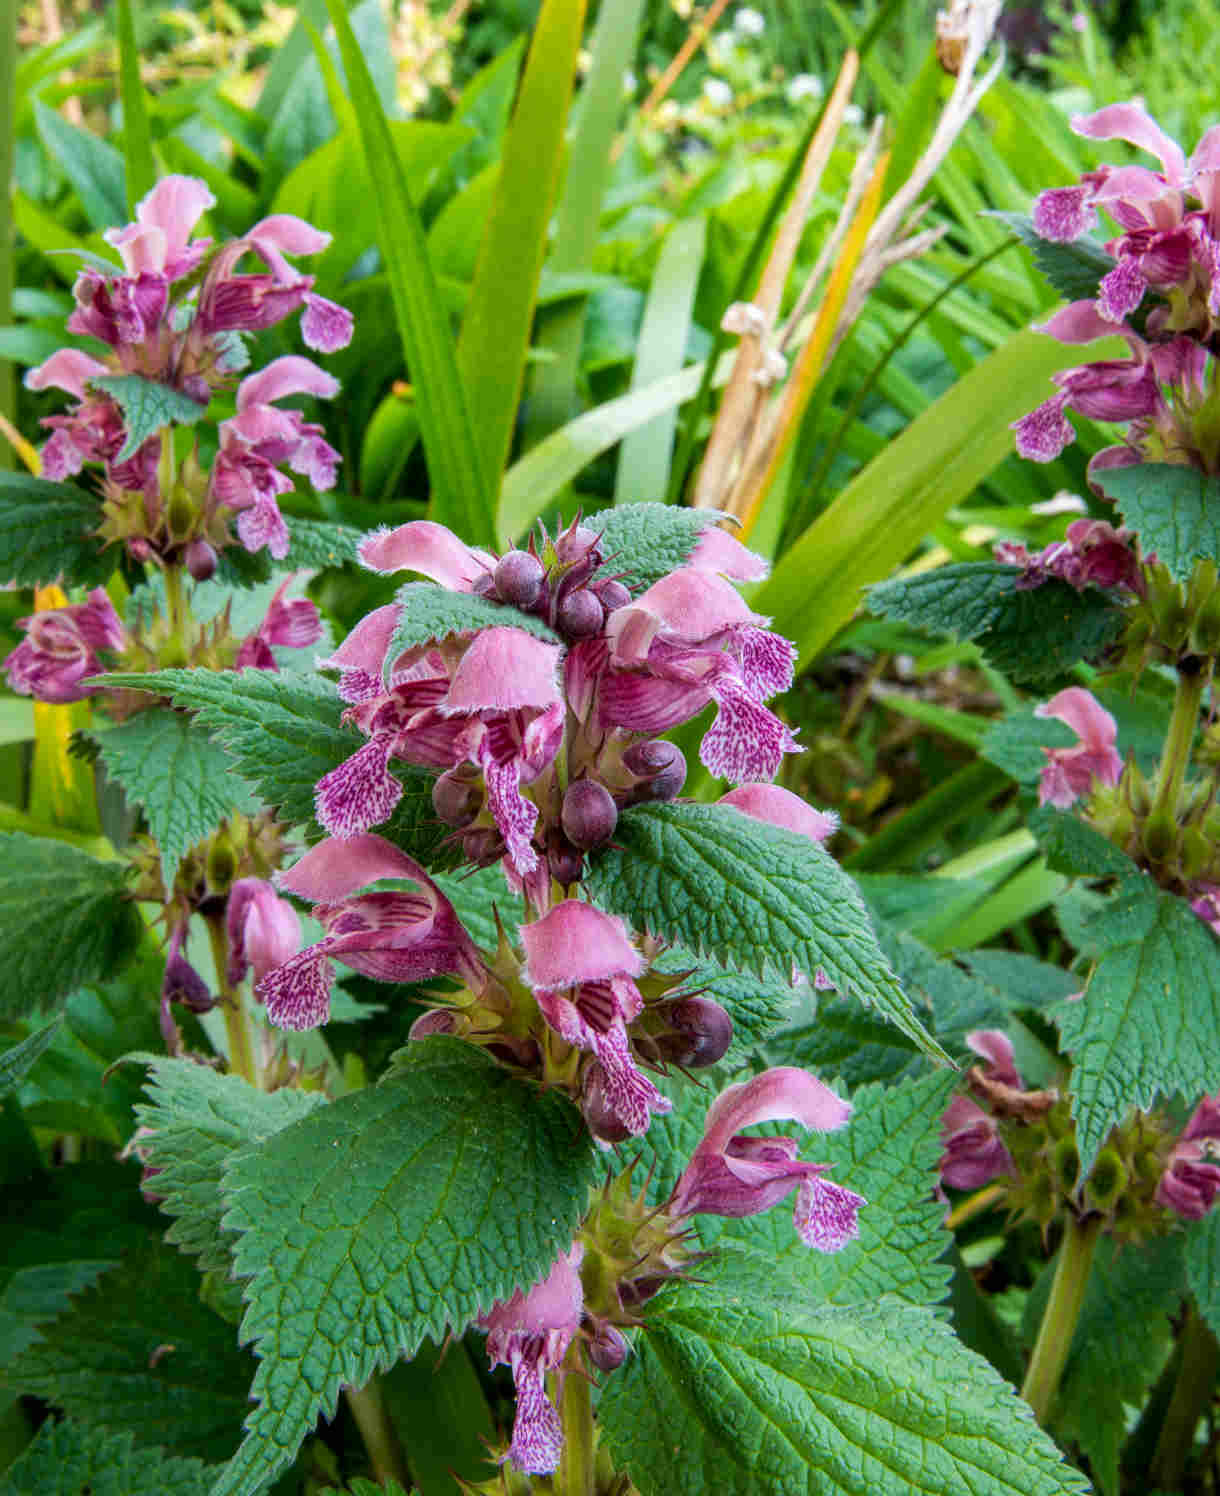
The roots of hazel are not invasive, and when grown as a specimen tree, the ground at the base of the trunk is ideal for establishing shade-loving perennials such as ferns, galium, lamium, and Geranium phaeum.
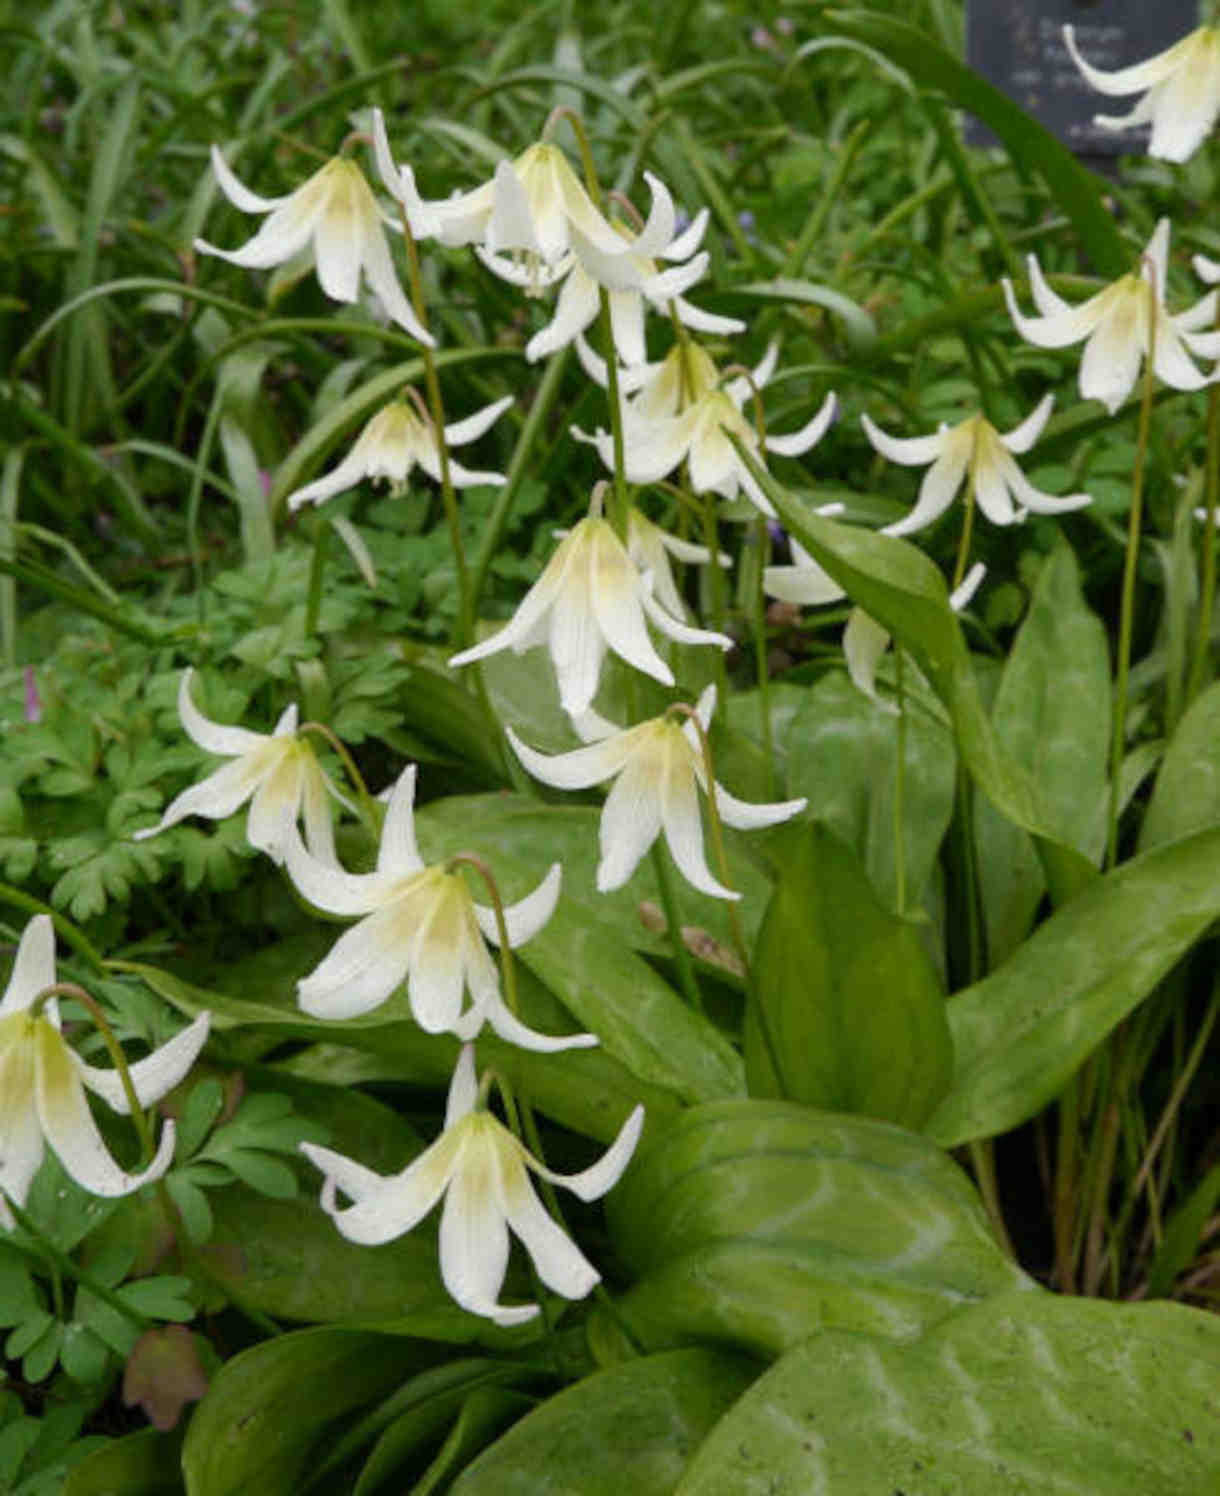
Or take inspiration from the nuttery at Sissinghurst, and underplant coppiced hazel with spring-flowering bulbs such as snowdrops, erythronium, and chionodoxa.
To create a mixed, native hedge, combine hazel with beech, dogwood, and holly.
How to care for Corylus
Pruning and Deadheading
How you prune hazel depends on the way you choose to grow it.
Hazel grown as a free-standing specimen is classed as RHS Pruning Group 1, which means pruning is not only unnecessary but actively discouraged as it is likely to spoil its overall appearance. The only intervention needed is the occasional light tidy, i.e., the removal of any dead, diseased, damaged, or badly placed growth; best done in late winter or early spring.
Coppiced hazel comes under Pruning Group 7, i.e., cut right back to just above ground level in February or March to generate a rush of straight, upright new growth. Hazel should be given 3-5 years to establish before the first coppice is carried out. As a rough guide, it’s ready when the main stem is approximately 5cm across. This is to ensure there is a strong enough root system to power all that regrowth.
In terms of how often to coppice after this, it depends on the thickness of the material required. Flexible stems for weaving might be ready for cutting after 2 or 3 years. Slightly sturdier branching pea sticks to support vegetables and climbers can be more like 4-5 years, while thicker poles for fencing hurdles and firewood can be 6-7 years in the growing. It’s useful to plant a group to be coppiced on rotation (which looks good too!).
Hazel grown as a hedge can be trimmed each year in autumn. Try to avoid hedge trimming between March and September as this disturbs nesting birds.
Watering
Like all woody plants, hazel does best with regular watering for its first couple of growing seasons in the ground (to encourage root establishment). After this it should be largely self-sufficient, though it still pays to water in prolonged periods of hot, dry weather. An annual mulch is also useful for locking in moisture – more on this in our ‘Feeding’ section below.
Container-grown hazel has less access to moisture and needs to be watered regularly throughout every growing season. Aim for infrequent big soakings, rather than little and often, allowing the top few centimetres of compost to dry out before each time. Try to avoid the compost drying out completely, being aware that this can happen in as little as 24 hours during the height of summer, and sometimes even less for very full containers. From mid-autumn, the British climate tends to take over watering needs, though do remember to step in in the event of an unseasonably dry spell.
Feeding
On healthy, fertile soil, an annual mulch of well-rotted organic matter should provide sufficient nutrients for your hazel. This has the added benefit of suppressing weeds and locking in moisture. Autumn and spring are the best times to carry out mulching.
For an extra boost (most needed in the first few years of the plant being in the ground, immediately after coppicing, or annually if growing in poor soil), apply a general-purpose granular feed to the surface of the soil and lightly work it in. This is known as a ‘top dress’ and is best done in late winter or early spring.
Container-grown plants rely even more on the gardener for nutrition. Get off to a flying start by making sure you use a good quality compost, then throughout the growing season (March to September) apply a liquid feed every 3-4 weeks. Once the plant is in the largest container possible for the situation and repotting is no longer feasible, an annual topdress is advised. Each spring, scrape away the top 5cm of compost and replace with fresh, remembering to mix in a little general-purpose slow-release feed.
Cold Protection
Hazel is hardy enough to withstand a UK winter without the need for additional protection.
Pests and Diseases
You may find aphids crowding along the stems and leaves of your hazel, particularly in spring when the growth is soft and tender. Our advice is that these are part of a balanced garden ecosystem, and the best approach is to leave them to their natural predators (e.g. birds, ladybirds, wasps, frogs). When numbers are so large, however, that their feeding starts to inhibit and disfigure growth, you may feel it necessary to act. Regularly blasting off with a hose or wiping away with a cloth or piece of kitchen paper can help to keep numbers down without harming other members of the ecosystem.
Powdery mildew can also be a problem. This appears as a white, powder-like coating on the foliage and is generally a sign that a plant is stressed – often through lack of water – though other causes can include poor airflow, over fertilizing, and insufficient sunlight. Prune off and dispose of any affected leaves if you can, and thin out stems to improve airflow and light levels. A little TLC also works wonders, i.e., a good soak and a mulch.
When it comes to the nuts, we have plenty of rivals. Squirrels can strip an entire crop, usually before you’ve managed to sample a single nut as they take them when still green. Netting is an option though delivers variable results – some determined squirrels simply gnaw through.
Nut weevils can also be a problem – their burrowing spoiling nuts with telltale holes. The only remedy for this is to clear and cultivate the soil beneath your hazel in winter to interrupt the overwintering phase of their life cycle.
How to propagate Corylus
We’ve found the most effective way to propagate hazel is layering. Best done in spring or autumn, this simple and effective technique involves pegging a wounded stem to the ground to develop roots while still attached to the parent plant. It requires far less input than most other methods of propagation as the plant is largely left to do the work.
- Choose a few flexible outer shoots that can easily be bent down to the surface of the soil.
- Make a 5cm long incision where the stem will touch the ground, ensuring you slice through a leaf bud.
- Insert a matchstick to wedge the incision open slightly.
- Dig a small, shallow trench where the shoot will touch the ground (adding a little grit if the soil is heavy).
- Peg the shoot into the trench using thick wire or a strong forked twig.
- Fill with soil, firm in, and water.
- Mark the spot with a cane. Roots can take 12 months to form, making it easy to forget what you have done and where...!
- When a good root system has formed, sever from the parent plant and either replant elsewhere or put in a pot for growing on.
* Many plants carry Plant Breeders Rights and cannot be propagated for commercial purposes.
Common Corylus questions
Is corylus self-fertile?
Self-pollination ranges from sporadic to non-existent. For reliable pollination (and therefore good nut crops), grow at least two different yet compatible forms together. This page on the RHS website lists pollination partners: Cobnuts and filberts / RHS Gardening
How far apart should I plant corylus?
Coppiced hazel should be spaced 2.5 to 5m apart, depending on how long you plan to leave between each coppice.
How do I know when hazelnuts are ready to harvest?
The nuts are ready to pick when their husks begin to turn yellow, usually around late September. These are then best dried in a shed, spread out in slatted boxes or hung up in nets. Turn regularly to ensure even drying. Remove the husks once they are dry, and continue to store in the same way.
What’s the difference between a cobnut and a filbert?
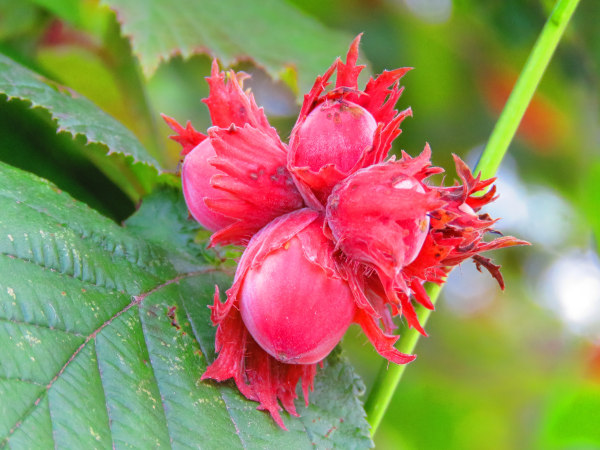
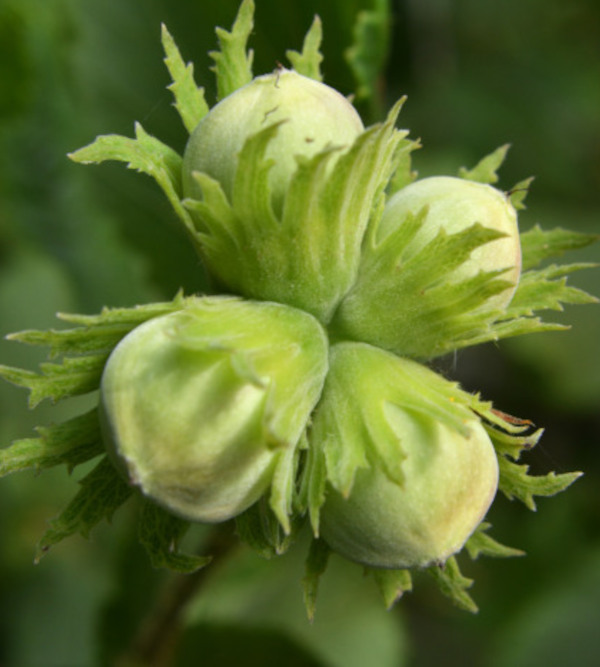
Both are species of hazel. Cobnut is the UK native avellana, and can be identified by the short husks from which nuts protrude. Filberts were introduced from northern Europe more than 2000 years ago, and are distinguished by their much longer husks which encase the nuts.
