


How to grow Cordyline
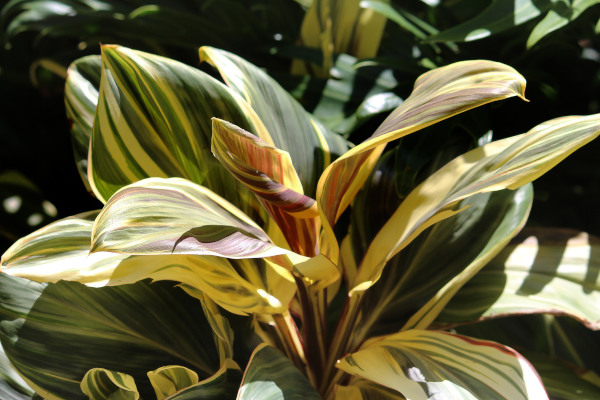
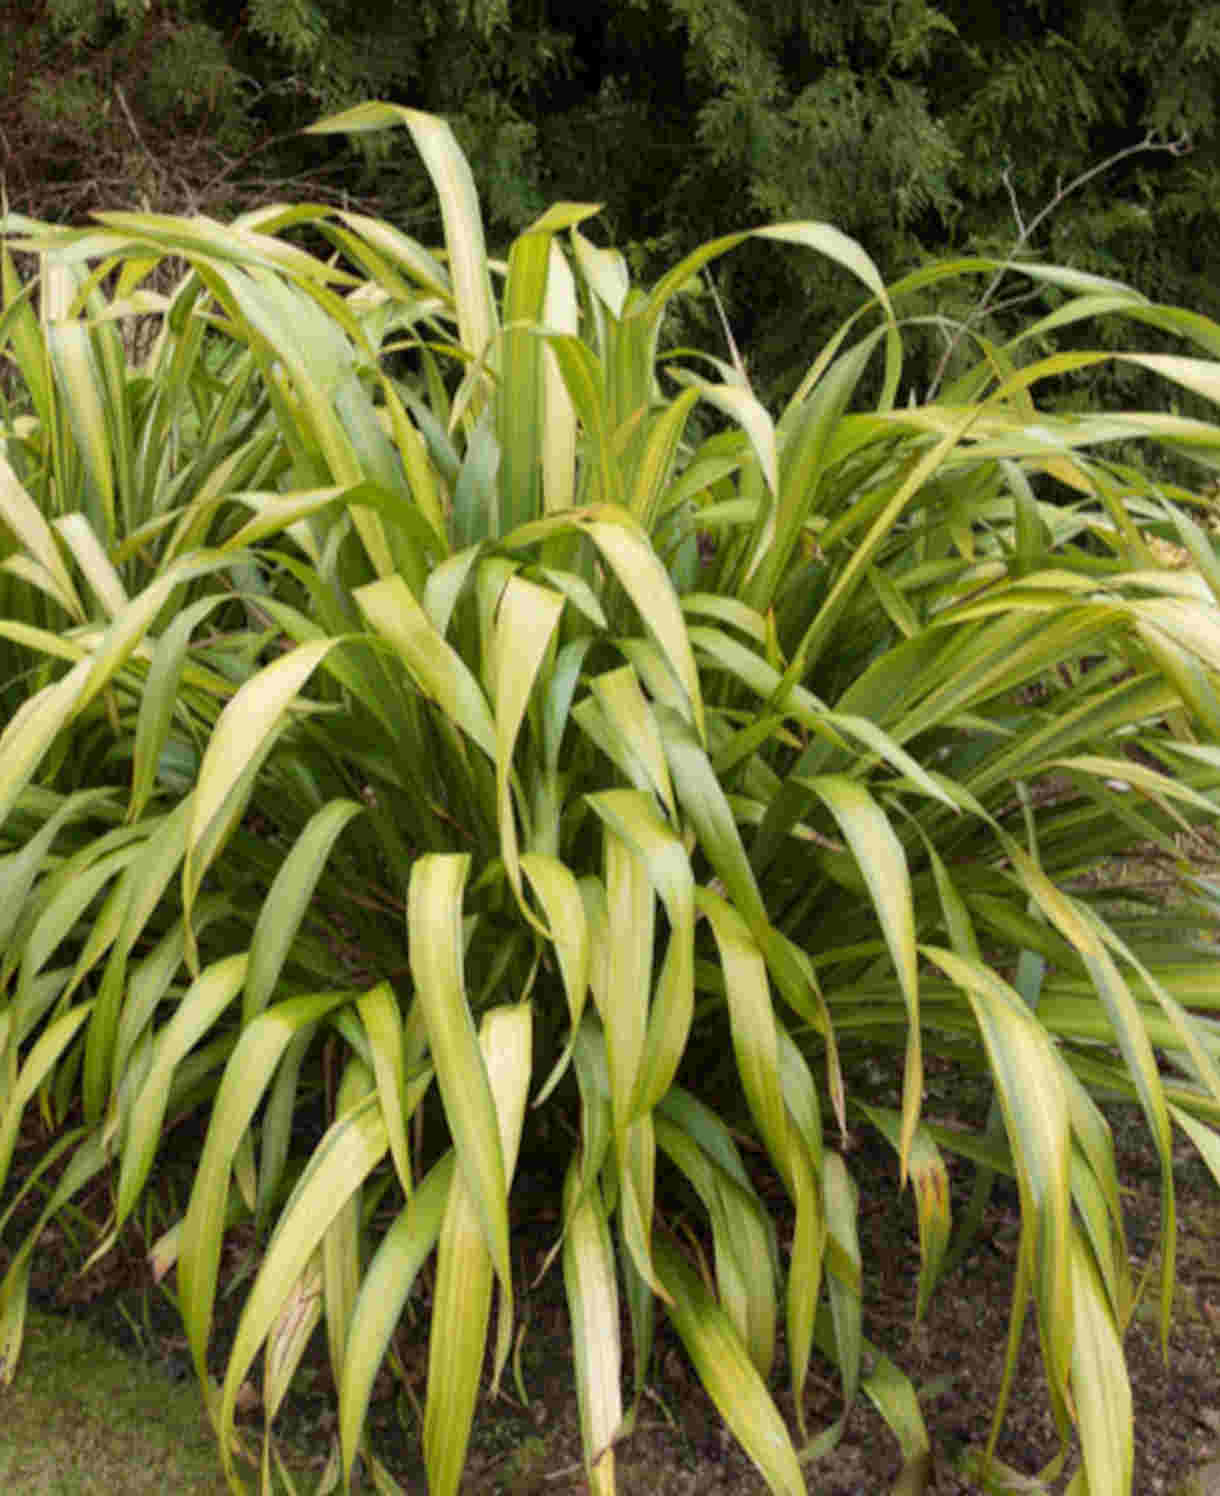
Also known as the cabbage palm (although technically it is neither!), cordyline is an evergreen perennial with a striking mass of leathery, sword-like leaves. When young, the foliage mass sits at ground level (looking much like phormium), however as the plant grows and matures it develops a woody stem, gradually elevating the leaves off the ground and creating a palm tree-like form.
Although there are many different species (most of them originating from New Zealand), just one – Cordyline australis, is widely grown in the UK. Hardier than the rest (although still only half-hardy) it is hugely popular among UK gardeners who can either provide a warm, sheltered spot, or are prepared to offer a little winter protection. There is an enormous range of cultivated forms available, from simple greens to exotic dark reds and purples, along with striping and variegation. Green forms tend to be the largest and fastest growing, often reaching up to 5m, while the coloured and variegated forms tend to be less vigorous and will rarely grow beyond 3m. Some remain much smaller and are suitable for summer bedding displays and containers.
Once it is well established (around 15-20 years old), a cordyline may flower during a hot summer. This is nothing to worry about – unlike close relative agave it does not die after flowering and will often live for 40-60 years.
Zantedeschia is a genus of flowering plants from the family Araceae and is native to southern Africa. With a rich history dating back to the Ancient Romans, these deciduous or semi-evergreen perennials have been used as a symbol of celebration. Zantedeschia was Named after Professor Giovanni Zantedeschia, an Italian botanist.
There are two main forms of Zantedeschia: hardy and tender. Hardy forms of the plant can be grown outdoors, enjoy moist soil and full sun or partially shaded conditions - these are known as Arum lilies. Tender forms of Zantedeschia prefer being grown in containers or pots and should be brought inside over the winter - these are known as Calla lilies.
With tuberous flora in all colours from whites, yellows and oranges to deep reds and purples, Zantedeschias are not to be overlooked in any garden, as long as they have sufficient sunlight to grow in.
Ready to learn more about growing Zantedeschia? Read on for all there is to know...

Key Information
Soil pH

Position
Hardiness


Where & when to plant Cordyline
Position - Full sun or partial shade. Full sun is best for green forms, while coloured or variegated forms are best given a little shade to prevent fading. Shelter from cold winds is also important, though coastal winds are fine as they tend to be considerably warmer (cordyline is a popular plant along the south-west England coast).
Soil - Fertile, well-drained soil
Flowering Period - Summer
Hardiness - Varies according to species. Some are tender or need heat, and best grown as houseplants in the UK; while others are half hardy and can spend some or all the year outside. See below for more details on the most widely cultivated species.
Species | Hardiness | Minimum temp. |
Cordyline australis | Half-hardy (H3) | 1 to -5°C |
C. indivisa | Half-hardy (H3) | 1 to -5°C |
C. stricta | Tender (H2) | 1 to 5°C |
C. fruticosa | Heat needed (H1B) | 10 to 15°C |
Unless stated otherwise, from now on this growing guide will refer to half-hardy cordyline species, thinking mainly of the popularly grown Cordyline. australis.
Plant out once all risk of frost has passed. This varies from region to region, though tends to be mid to late May. If your plant arrives before you’re confident of there being no more frosts, keep it in a protected environment such as a conservatory, greenhouse, or a sunny window or porch until the time is right.
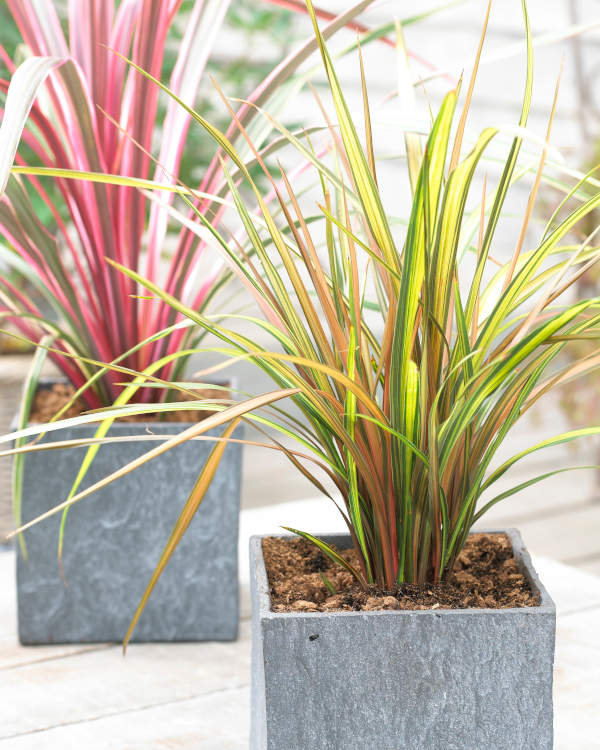
Cordyline is suited to life in a container as this makes it easy to move indoors for winter, however you may get away with growing it in the open ground all year if you plant it at the base of a warm, sheltered wall and follow the advice in the ‘Cold Protection’ section below. Alternatively, you can keep it as a permanent indoor plant in a cool conservatory, or, if you are lucky enough to offer a mild microclimate (perhaps you live in a coastal or city centre location), you can grow it outdoors year-round without concern.
How to plant Cordyline
- For planting in the garden, dig the soil area removing any large stones and weeds and breaking up any lumps.
- If your soil is poor or dry, now is the time to dig in plenty of well-rotted organic matter, such as garden compost or manure.
- Rake level and firm with your heels. Rake level again.
- Water the plant well and allow to drain before planting.
- Dig a hole twice the size of the root-ball.
- Place the plant in the hole, ensuring the top of the root ball sits level with the surface of the soil. Too low and the plant may rot, too high and the roots can dry out.
- Backfill with soil and firm in gently with your foot.
- Soak well with water.
- Mulch around the base with well-rotted organic matter.
- For planting in containers, first choose an appropriately sized pot. Cordyline is fast-growing, so its fine to go straight into a large pot. A half barrel sized container is about right, making sure there are plenty of drainage holes.
- It can be a good idea to fill and plant the pot in situ to save yourself the trouble of moving it once full.
- Use a good quality potting compost with some horticultural grit mixed in, and, if not already present in the compost (check the description on the bag) some slow-release fertiliser granules.
- Start by partially filling the pot with compost; enough so that when placed on it the upper surface of the root ball is about 3cm lower than the top of the pot.
- Infill all the space surrounding the root ball with compost, firming down with your fingers then adding a little more so the plant is held tight.
- Pick up the container and lightly tap on the potting bench or ground a few times to help further settle the compost around the plant.
- Soak well with water.
- A mulch with horticultural grit will look attractive and help to prevent a ‘cap’ or crust forming on the top of the compost (something container plants can suffer due to the artificial nature of their watering).
What to plant with Cordyline
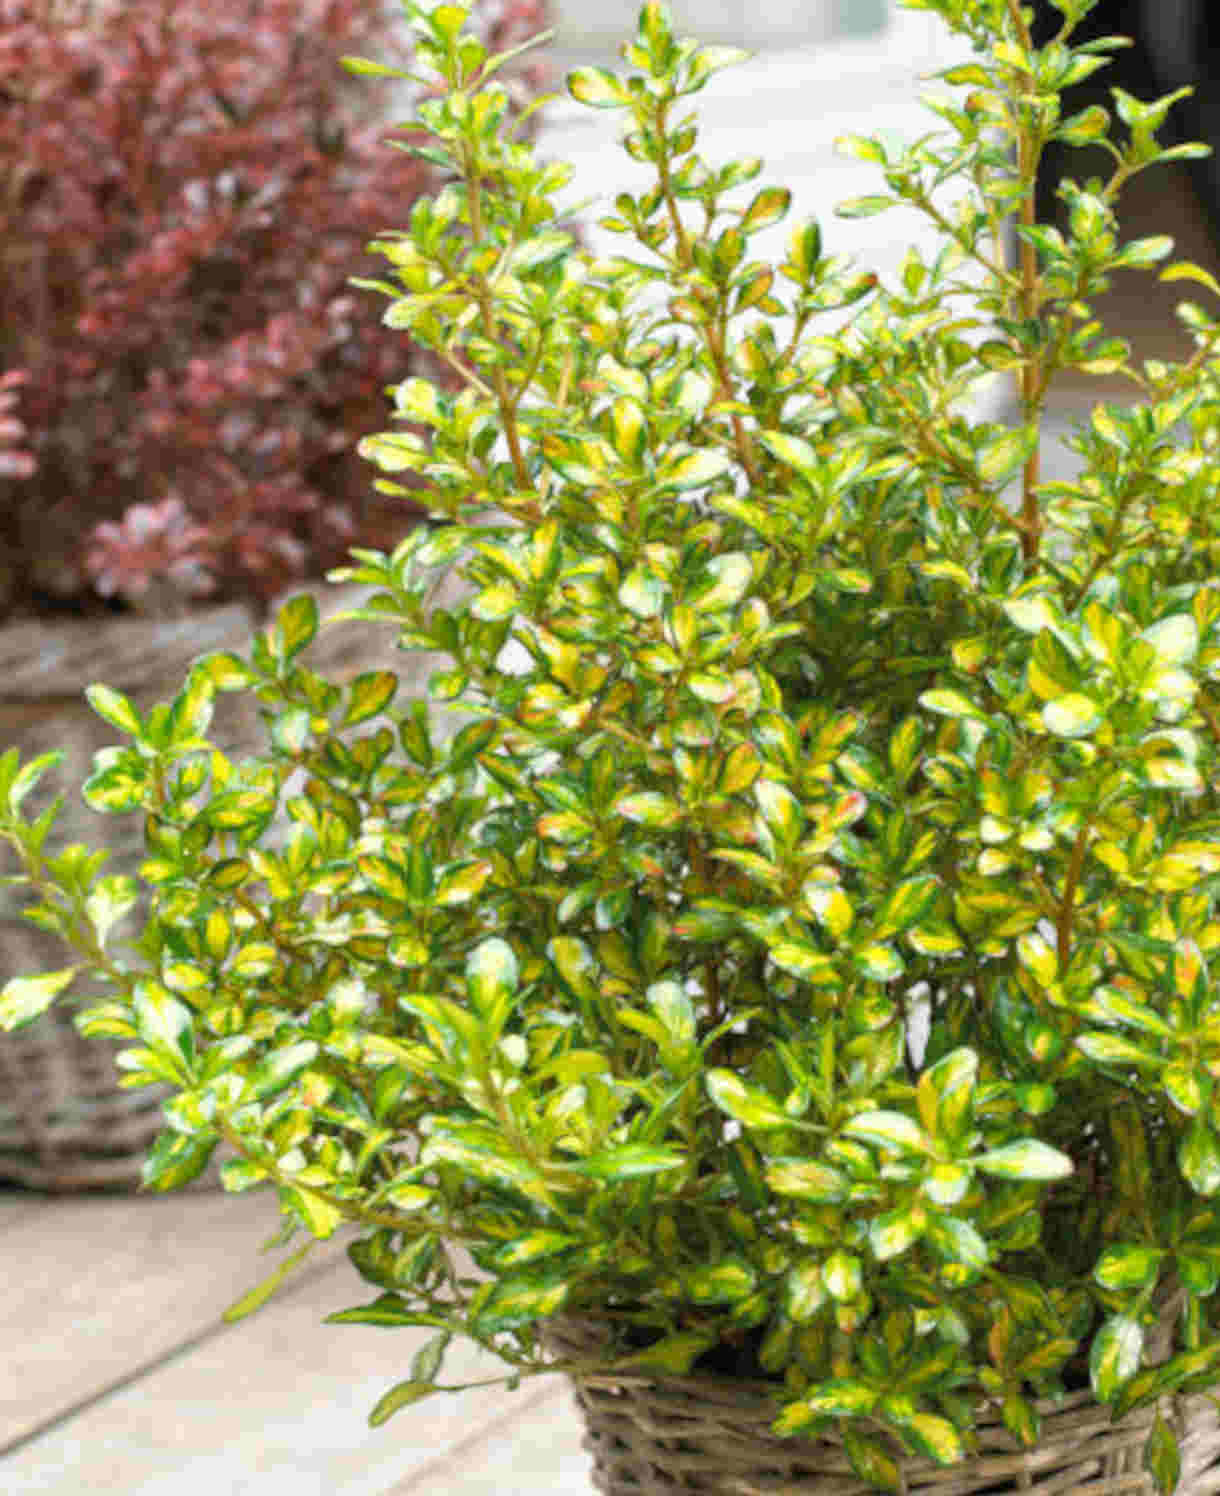
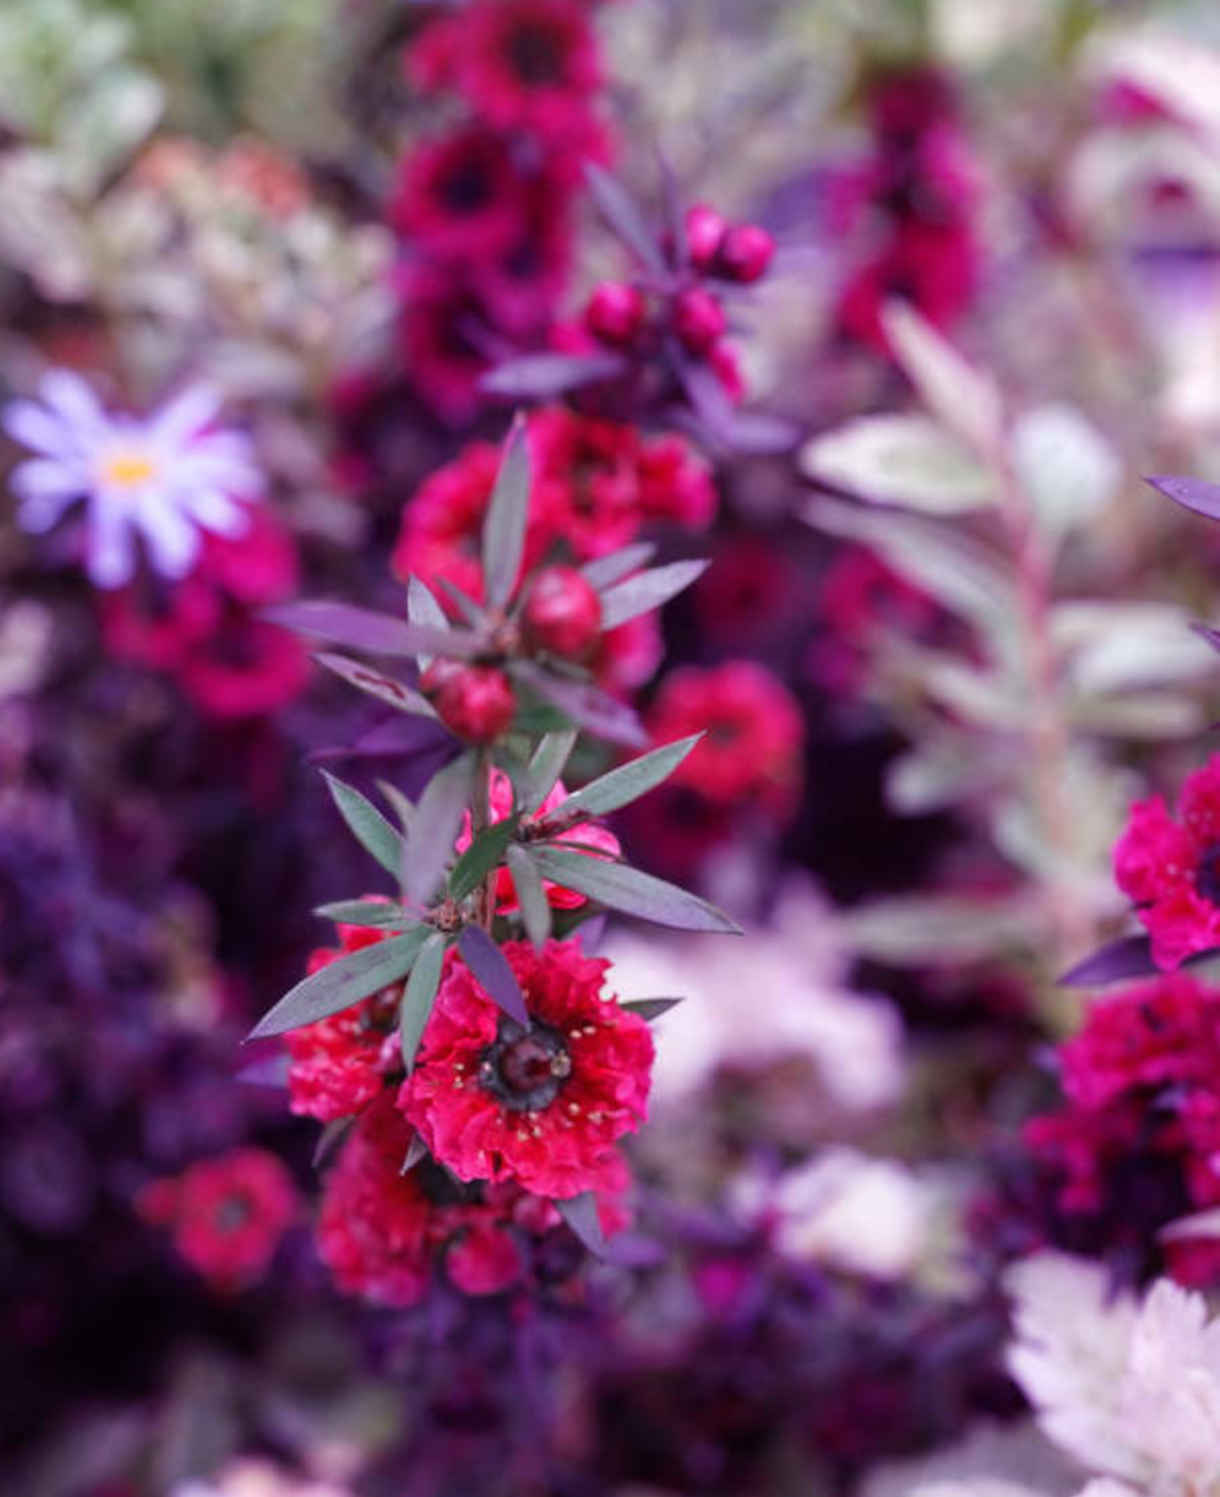
Cordyline mixes easily with a range of planting styles, though to see it look really at home why not combine with fellow New Zealand natives, such as leptospermum, libertia, pittosporum, coprosma, and phormium?
How to care for Cordyline
Pruning and Deadheading
Expect the lower leaves to yellow and die off as your cordyline grows. Removing these will maintain a neat appearance and reveal the woody ‘trunk’: simply pull the old leaves off, steadying the plant with your other hand if it is still young and at risk of snapping.
If your cordyline has become too large for the space or sustained winter damage, it can be cut back to any point on the woody stem, from which it should regrow quickly. Do this in mid spring – sawing through the stem just above a sideshoot or even down to ground level (you may need to enlist help with this if it’s a large specimen!). This is likely to encourage the formation of a multi-stemmed form.
When it comes to flowers, you may deadhead cordyline if you wish, or leave spent flowers intact to produce small red or purple berry-like fruits.
Watering
Cordyline is not a particularly thirsty plant, though does still need some watering. When planting it in the open ground, give a good initial soaking, then a few more over that first summer while its roots establish. Allowing the top few centimetres of soil to dry out between each time is a good way to avoid overwatering (to check, wiggle your finger down until you feel moisture). Once established, your cordyline should be self-sufficient in all but unusually prolonged periods of drought.
Cordyline grown in a container requires a little more attention as its root run is limited. Water regularly throughout the growing season – again allowing the top few centimetres of compost to dry out, checking this with the finger wiggle technique as above. Keep almost dry in winter, giving it just enough moisture to prevent the compost drying out completely.
Feeding
On healthy, fertile soil, an annual mulch of well-rotted organic matter (i.e., a layer of manure or garden compost applied to the soil around the plant) should provide sufficient nutrients for your cordyline. This has the added benefit of suppressing weeds, locking in moisture, and – if applied in autumn – insulating the roots during winter.
For an extra boost (perhaps your cordyline is looking stressed or you garden on poor soil), applying a general-purpose granular feed to the surface of the soil and lightly working in (known as a ‘top dress’) can reap benefits. Aim to do this once or twice a year if needed, firstly in spring and then again in midsummer.
Container-grown plants rely more on the gardener for nutrition. Get off to a flying start by making sure you use a good quality compost, then throughout the growing season (March to September) apply a liquid feed at regular intervals according to instructions. An annual top dress is also advisable: each spring, scrape off the top 5cm of compost and replace with fresh compost containing a little general purpose granular feed.
Cold Protection
Unless you can offer a mild microclimate, you’ll need to provide winter protection for your cordyline. When grown in a container, this can be as simple as moving it indoors between October and May. A bright, cool, frost-free environment such as a greenhouse, conservatory, or porch is ideal. Failing this, move your container right up against a sheltered, south-facing wall and protect as below.
For cordyline left outside over winter (either growing in the open ground or in a container), the following steps will significantly reduce the chances of winter damage:
- Wrap up the leaves, both as a protection against wind damage and to prevent water collecting in the growing points. Using a non-abrasive tie such as soft string or raffia, knot around the top of the trunk and wind upwards, bunching all the leaves into a point.
- Insulate the roots. In the open ground this can be done with a thick, autumn mulch, whilst containers can be wrapped in fleece or hessian.
- In very cold areas, it can also be worth wrapping the trunk too.
Remove any ties or wrapping in late winter/ early spring as the temperature begins to warm.
Pests and Diseases
Pests and diseases are rarely a problem for cordyline, though scale insects and red spider mites can be a problem for plants that spend a significant amount of time indoors. Keeping plants as healthy as possible is the key to warding off problems, and by this we mean proper ventilation, adequately spaced plants (for good air flow), keeping everything well-watered and fed, and repotting into larger containers when necessary. Thoroughly cleaning the indoor environment every winter can also help to remove overwintering populations of pests.
Where infestations do take hold, try introducing biological controls (often sachets or tubes containing miniscule natural predators), or in the worst cases, remove the affected plant/s altogether.
How to propagate Cordyline
Once established cordyline usually produces suckers, which are shoots arising from the base of the plant and the quickest mode of propagation. It is possible to grow new plants from seed, though it takes many years for these to become a usable size.
- In spring, sever the suckers closely to the plant using a sharp knife.
- Pot into individual 9cm pots filled with a well-draining, gritty compost.
- Water lightly and grow on in a well-lit greenhouse or windowsill.
- Water regularly throughout the warmer months, keep barely moist during winter.
- Plants will be ready to plant out the following year.
* Many plants carry Plant Breeders Rights and cannot be propagated for commercial purposes.
Common Cordyline questions
Can I grow cordyline as a houseplant?
There are several small, tender species of cordyline which are perfect for this, including forms of fruticosa and C. stricta.
My cordyline has been damaged by winter weather. What should I do?
If the central growing point of the plant is brown and dead (even if there are still green leaves), swift action in spring should save the rest of it. Simply cut off the top, taking it down to a healthy section of the trunk.
If the whole lot looks dead, there’s a good chance it will regrow from the base, especially if you gave it a thick mulch around the roots in autumn. Cut down to the ground in spring, apply a balanced granular feed to the soil, and cross your fingers!
If the problem is tatty, wind battered leaves, remove these in spring. If, having done this, there’s little left, it can be best to cut the top off down to a healthy side shoot to generate lots of fresh, new growth.
Is cordyline hard to grow?
No, this is an easy plant which usually settles in quickly and asks very little in the way of maintenance. Its only real demand is to be shielded from the coldest of our winter weather.
