


You have no items in your shopping basket.
How to grow Convallaria
Convallaria are an ancient plant variety belonging to the Asparagaceae family. Evidence shows this plant growing as early as 1000 BC, so have a long-lived popularity with gardeners and apothecaries alike. Commonly referred to as ‘Lily of the Valley’ or ‘May Lily’ - although you may also see them referred to as the ‘Happiness Flower’ because they were once used as a liquor to be smeared on the forehead, which was said to improve common sense and memory. In a bouquet or as a gift Convallaria can also symbolise purity, youth, sincerity, and discretion.
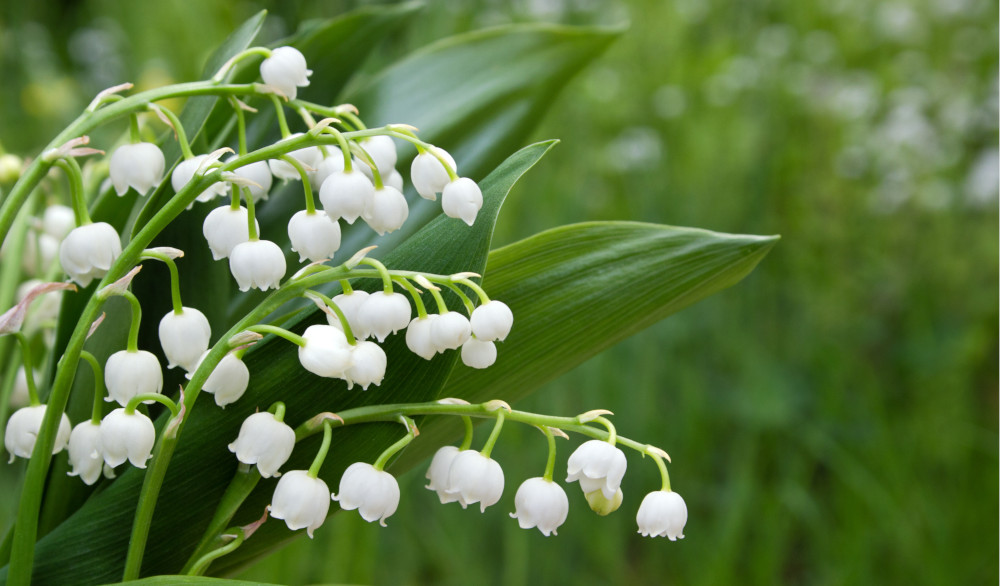
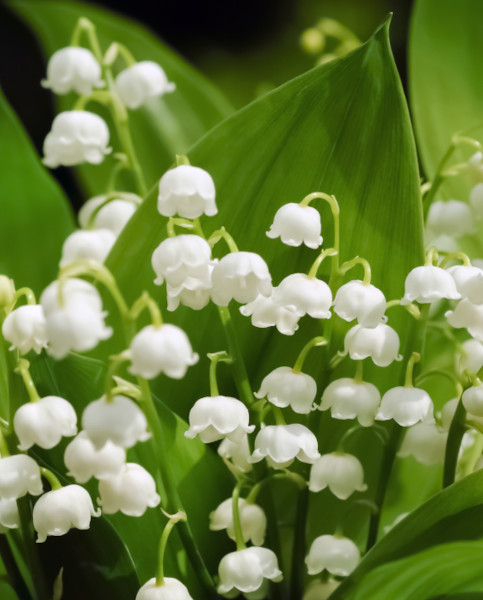
Convallaria are a rhizomatous, deciduous perennial with upright racemes of nodding, bell-shaped, highly scented white flowers. These arise alongside the paired, elliptic leaves in springtime and are shortly followed by plump red seed pods or berries. Convallaria are a stalwart of the garden and will happily naturalise in grass, under shrubs and roses, in a cottage or informal garden. A great accompaniment to modern planting schemes or containers where the purity and simplicity of their dainty white flowers can be a detailed, sculptural addition. The blooms are, of course, perfect for bouquets and other arrangements and their scent will fill a room despite their diminutive size.
Convallaria will grow to an optimum height and spread of approximately 25cm and mature to this size in 2-5 years, dependent upon growing conditions.
All parts of the plant are toxic if ingested and can, in rare cases, cause a dermatological reaction too. We recommend using gloves if handling seeds and where special caution is needed due to sensitivity.
Key Information
Soil pH

Position
Hardiness

When, where and how to plant Convallaria
Grown from rhizomes called ‘pips’, once they are planted the roots extend quickly underground, naturalising to create a wonderful, weed-suppressing blanket of foliage and spring flowers.
Plant Convallaria in the autumn as a colder, winter dormancy period is required in order to prompt the plant to flower in spring. Plant in moist, well-drained to poorly drained soil (ideally loam or clay based) in partial shade. If you plan on planting your Convallaria in a container then make sure you use good quality, multi-purpose compost. You may find it beneficial to add organic matter, or leaf mould, if your soil has poor fertility as this will promote healthy growth and development. If you soil has very poor drainage, then this may become too waterlogged, and we would recommend you add grit to aid drainage and prevent the ‘pips’ rotting away.
Plant approximately 3-4cm below the surface of the soil and spread out the roots as much as possible. Space the ‘pips’ around 10cm apart. Cover over with soil and water to settle in and keep the area moist as required until the shoots appear.
What to plant with Convallaria
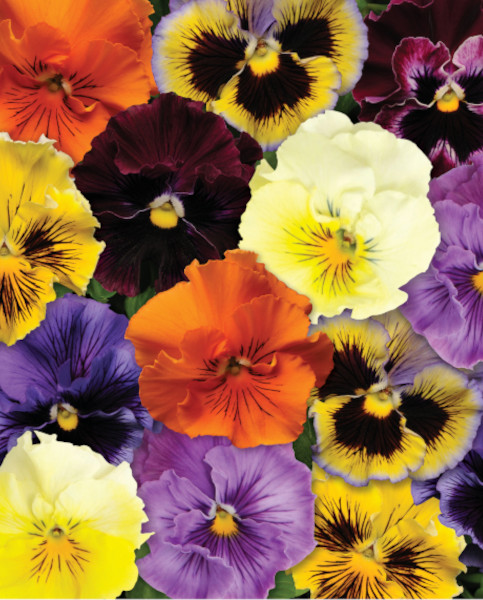
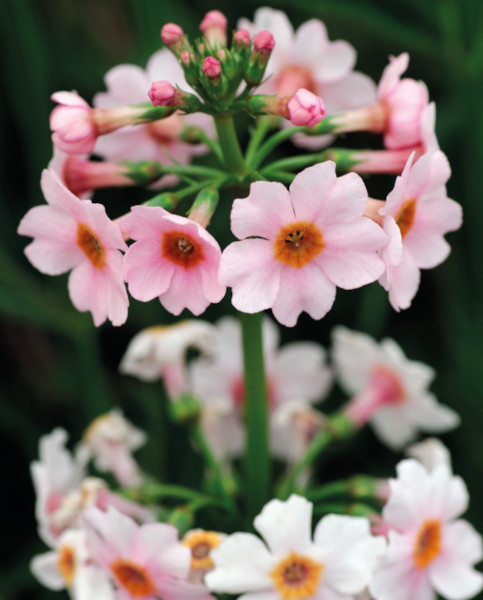
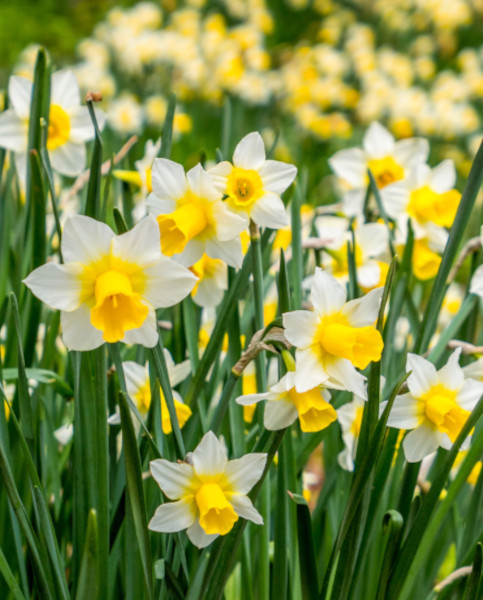
As a popular spring flowering plant Convallaria provide an excellent companion to most other spring flowering bulbs or perennials. A few suggestions are to plant with pansies and primula for an attractive edge along a border or path; they would also look superb with this combination in a special container. For a more natural look plant alongside small daffodils such as tete a tete, or plant in woodland border with bluebells for a beautiful contrasting display.
How to care for Convallaria
Convallaria are low maintenance plants which will need only occasional watering in order to retain moisture in the soil until established. In the autumn we would recommend mulching with a generous layer of leaf mould as this will further help to retain moisture levels and will also protect the roots and stems from hard winter frosts.
After blooming, leave the foliage in place in order to gather sunlight, photosynthesise, and thus strengthen the plants for the following year. If you have planted your Convallaria in a lawn or grassy area, then remember to delay mowing until the foliage has died back completely (usually in the autumn).
How to propagate Convallaria
Convallaria can be propagated from seed sown in containers then stored in a cold frame. As soon as the berries are ripe remove the fleshy coating to access the seeds and sow them in a tray of seed compost. Remember to wear gloves where necessary. Once this is done, cover seed with a sprinkling of sand or soil and water in. Light is needed for germination to occur, so it is best to expose seeds to natural autumn warmth followed by winter cold - this offers ideal conditions for germination to occur in spring as the weather warms. Alternatively, propagate by division in autumn.
Convallaria are resistant to most pests because of the high levels of toxicity, although slugs, leaf beetles and some caterpillars are immune and may eat the plant. Keep a watchful eye, pick off, then dispose of any insect you see ‘tucking-in’. The plant is more susceptible to fungus attack, mainly because of its preference for moist environments. Look out for yellowing on the leaves, brown spots and discoloured veins. As a preventative measure make sure you water the soil, not the plant, and keep a decent fungicide spray handy, just in case. The most serious concern regarding Convallaria is southern blight, which is characterised by yellow balls at the bottom of the plant. If your plant contracts this infection, there is no treatment available at present. The best course of action is to remove the plant and burn it to prevent it spreading to its neighbours.