


How to grow Clematis
One of the UK’s favourite garden plants, this popular twining climber is beloved for its easy nature and masses of flowers each year. Over time, breeders have used the 200 or so species to create more than 400 different cultivars, meaning that with a little careful selection it is possible to have a clematis in flower every day of the year. From small and compact to large and vigorous, or even a non-climbing border version, there is a clematis to suit almost any situation.
Key Information
Horticultural Divisions-
Species | Foliage | Growth habit | Flowering period | Hardiness | Pruning group | Aspect | |||
Evergreen | Deciduous | Climbing | Non-climbing | Full sun | Part shade | ||||
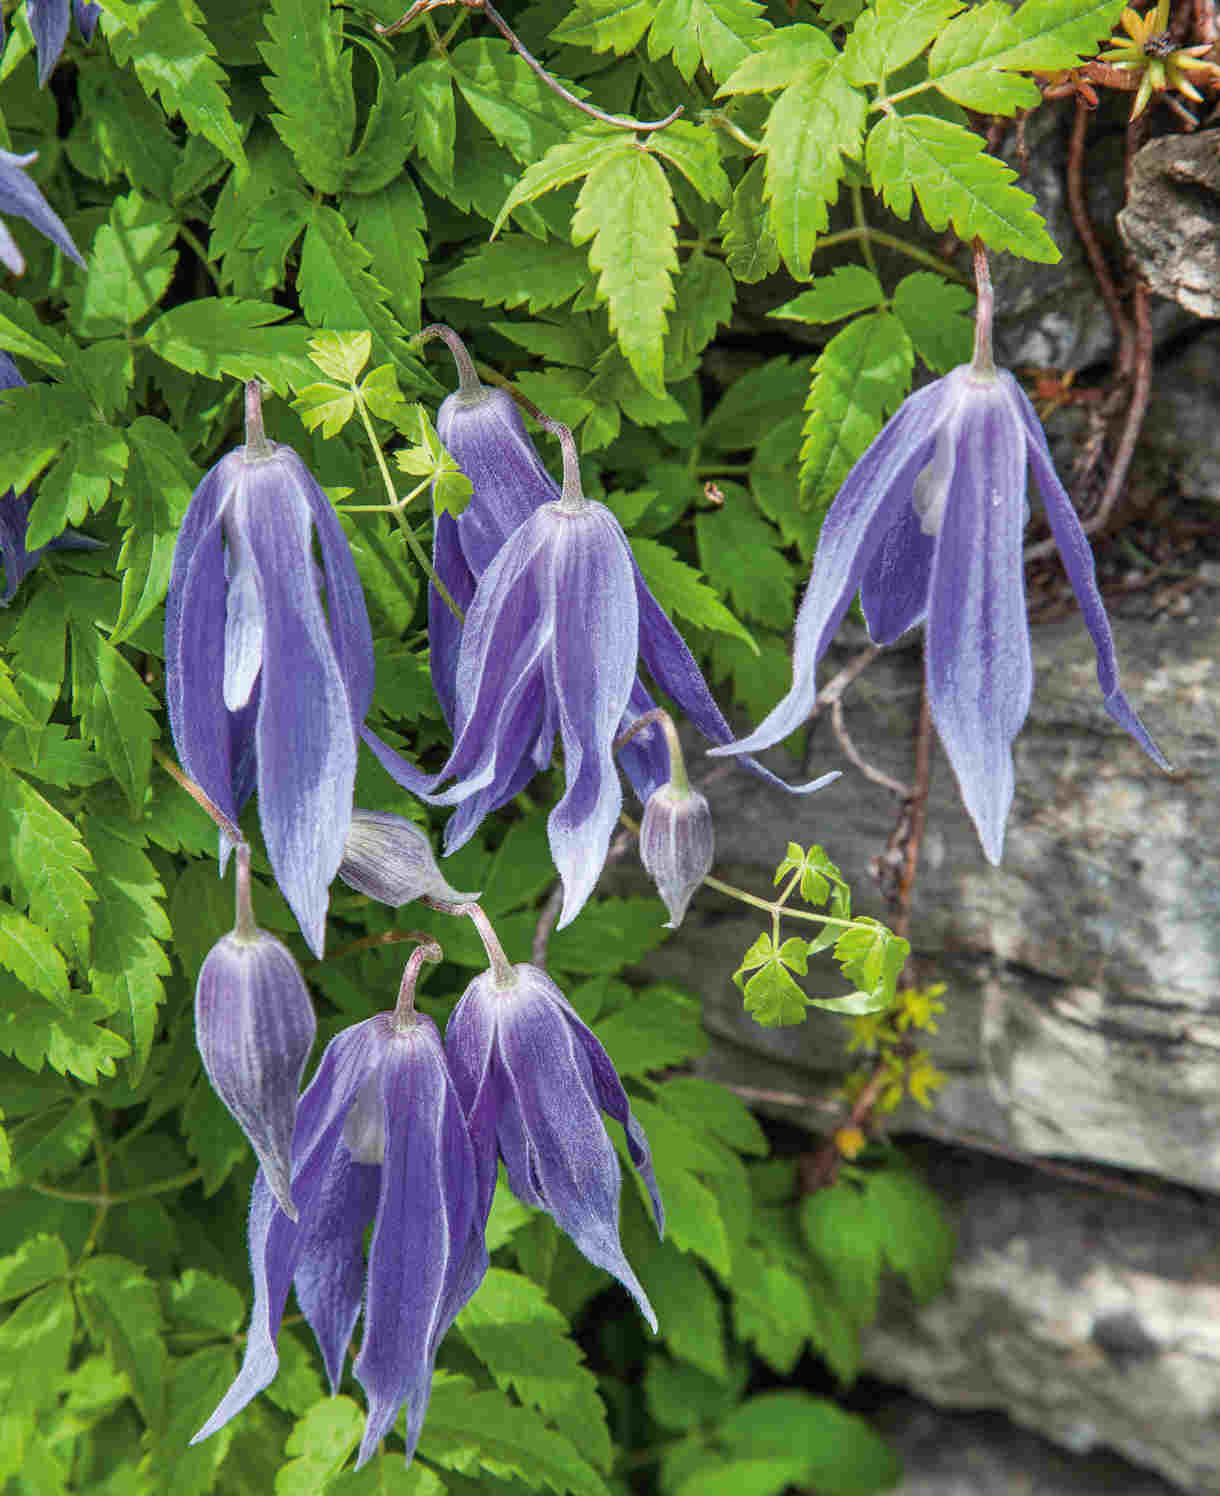
Clematis alpina
|
| ü | ü |
| Spring (sometimes beyond) | H6 | 1 | ü | ü |
C. armandii
| ü |
| ü |
| Early spring (sometimes beyond) | H4 | 1 | ü |
|
C. cirrhosa
| ü |
| ü |
| Winter to early spring | H4 | 1 | ü |
|
C. clarkeana
| ü |
| ü |
| Winter | H3 | 1 | ü |
|
C. crispa |
| ü |
|
| Summer to autumn | H6 | 3 | ü | ü |
C. florida
|
| ü | ü |
| Midsummer to early autumn | H3 | 2 | ü |
|
C. integrifolia |
| ü |
| ü | Midsummer to early autumn | H6 | 3 | ü | ü |
C. montana
|
| ü | ü |
| Late spring to early summer | H5 | 1 | ü | ü |
C. texensis
|
| ü | ü |
| Midsummer to early autumn | H4 | 3 | ü |
|
C. viticella
|
| ü | ü |
| Summer to early autumn | H6 | 3 | ü | ü |
C. x cartmanii
| ü |
| ü |
| Spring | H3 | 1 | ü | ü |
Position
Soil Conditions

Hardiness

Where & when to plant Clematis
For best results, plant in autumn or spring. An autumn planting can be done by those gardening in mild conditions (and broadly speaking, this is the southern half of the UK). For those liable to cold winters, it is best to wait until spring (generally the northern half of the UK). Planting can also be carried out in summer, though be prepared to water regularly.
As a rule, climbing clematis enjoy a ‘head in the sun, feet in the shade’ arrangement. If you struggle to find an ideal spot, roots can be kept artificially cool with a mulch of pebbles, or by planting some low-growing groundcover plants around the base. Non-climbing, herbaceous clematis are the exception, preferring a fully sunny spot.
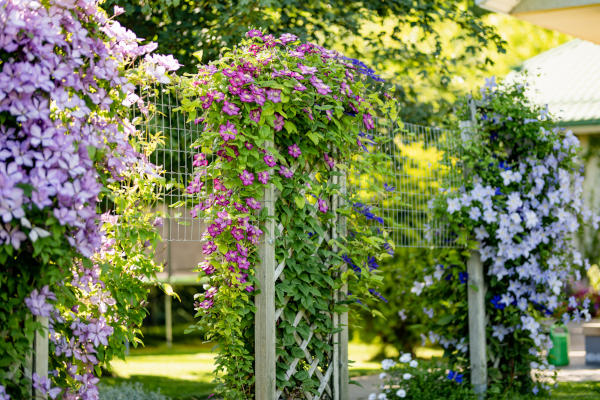
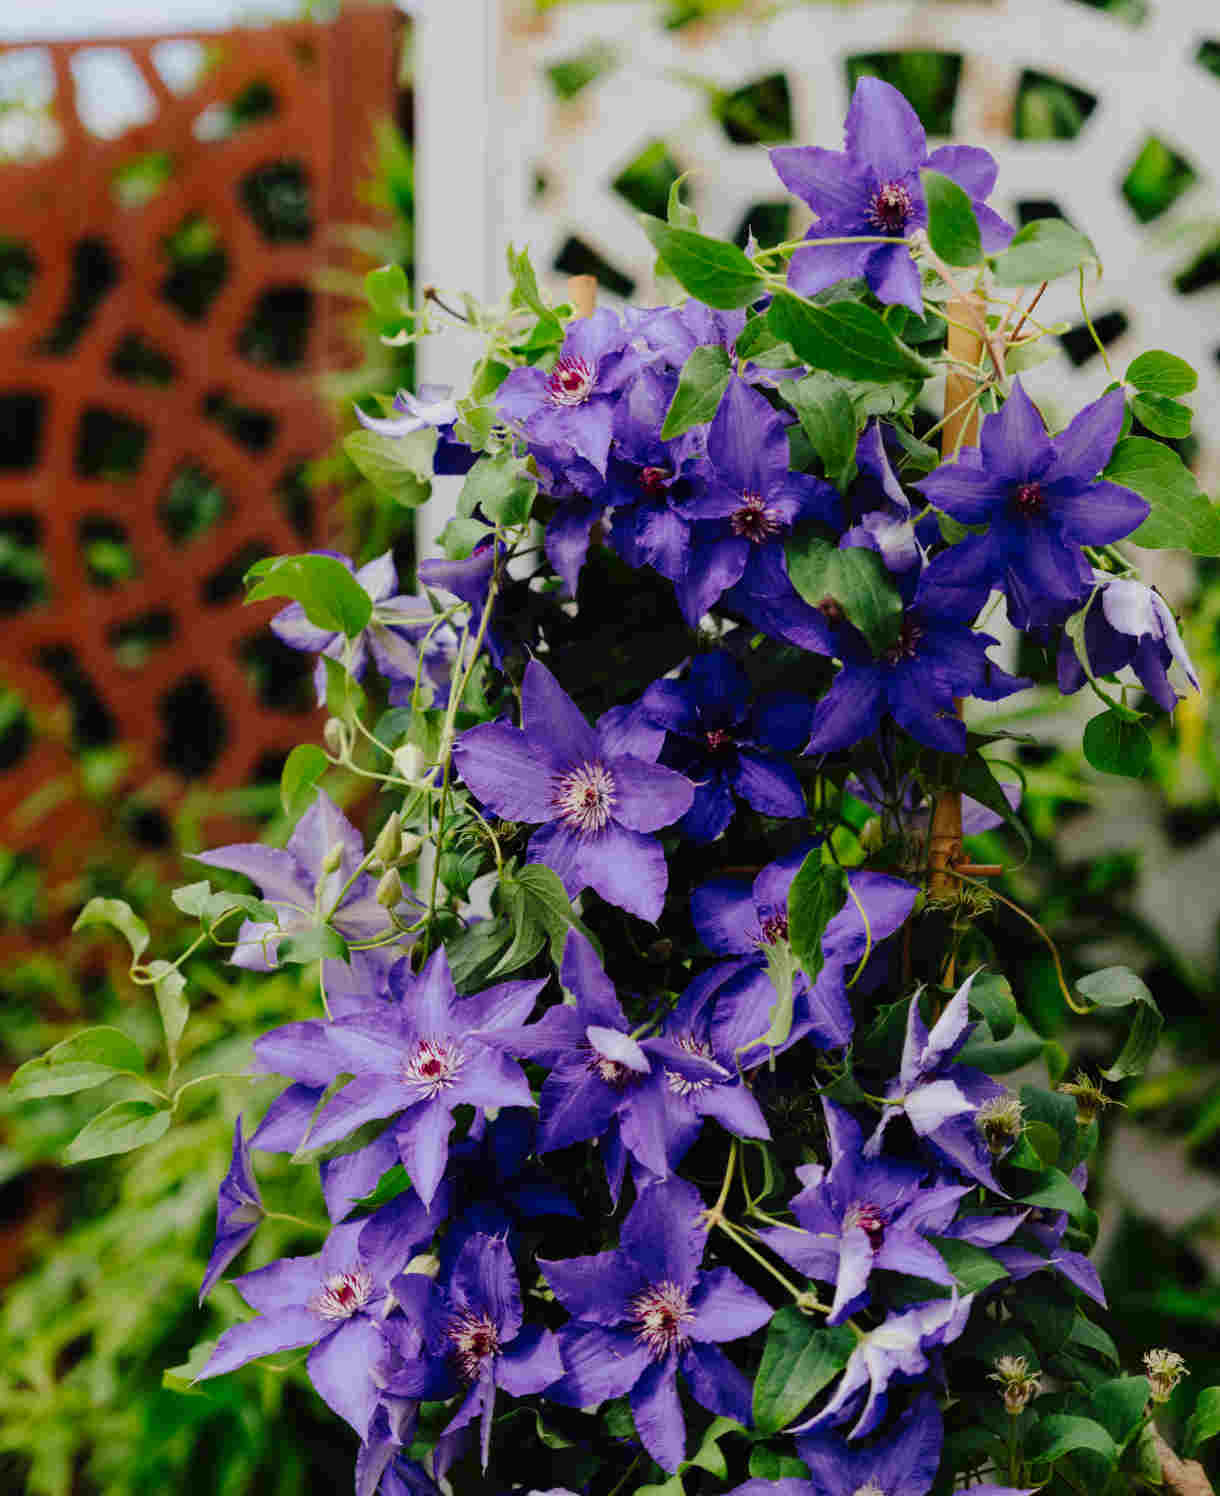
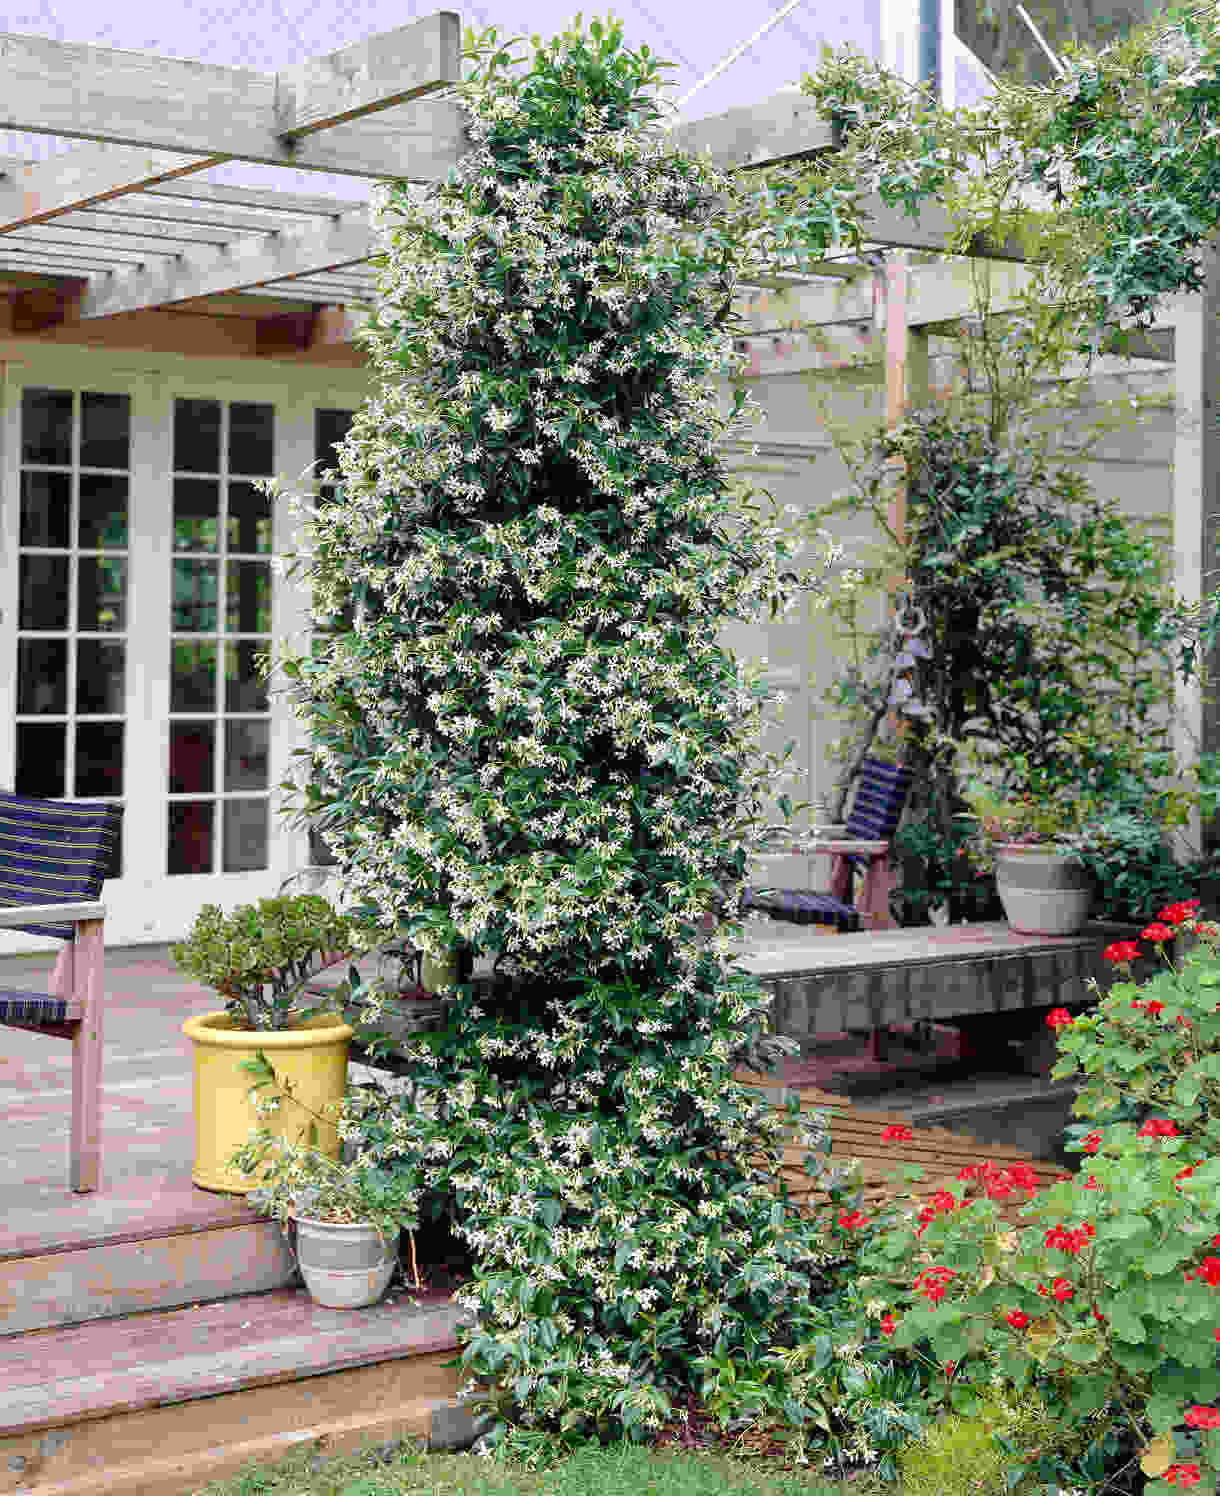
Other things to consider when choosing a spot for your clematis include support – climbing species will need something such as a pergola, trellis, large established tree to scramble up. Space – some species are very large and vigorous, others remain small and compact. Make sure you know what kind of clematis you’re getting so you can choose a position with enough room for it to grow happily. Shelter – while all clematis enjoy this, less hardy species are particularly in need of protection from cold, drying winds. A sunny, south-facing wall with some sort of windbreak is perfect. Smaller varieties can also make good container plants, using a wigwam for support.
How to plant Clematis
- For planting in the garden, dig the soil area removing any large stones and weeds and breaking up any lumps. Mix in some organic matter such as garden compost. If your soil is heavy, now is also the time to add a generous helping of horticultural grit. Rake level and firm with your heels. Rake level again.
- Water plants well and allow to drain before planting.
- A good tip is to dig a hole twice the size of the root-ball. Fill with water and allow to drain before placing in the plant.
- Place the plant in the hole, a little deeper than you would normally. It is widely accepted that when it comes to clematis, positioning the top of the rootball slightly below the surface of the soil can help encourage shooting from the base and reduce susceptibility to clematis wilt.
- Backfill with soil and firm in gently with your foot.
- Soak well with water.
- Mulch around the base with well-rotted organic matter.
- For planting in containers, first choose an appropriately sized pot. The best practice is to start just a few centimetres larger than the rootball and increase in size every year or two. Always ensure there are plenty of drainage holes in the bottom.
- If you are using a large or heavy pot, it can be a good idea to fill and plant it in situ to save yourself the trouble of moving once full.
- Use a good quality potting compost with plenty of horticultural grit mixed in, and, if not already present in the compost (check the description on the bag) some slow-release fertiliser granules.
- Start by partially filling the pot with compost and placing the rootball on top. Again do this a little deeper in the pot than you would do normally, aiming for the top of the rootball to sit just below the surface of the compost (see above).
- Infill with compost, firming down with your fingers then adding a little more so the plant is held tight.
- Pick up the pot (if you can!) and lightly tap on the potting bench or ground a few times to help further settle the compost around the plant.
- Soak well with water.
- A mulch with horticultural grit will look attractive and help to prevent a ‘cap’ or crust forming on the top of the compost (something container plants can suffer due to the artificial nature of their watering).
What to plant with Clematis
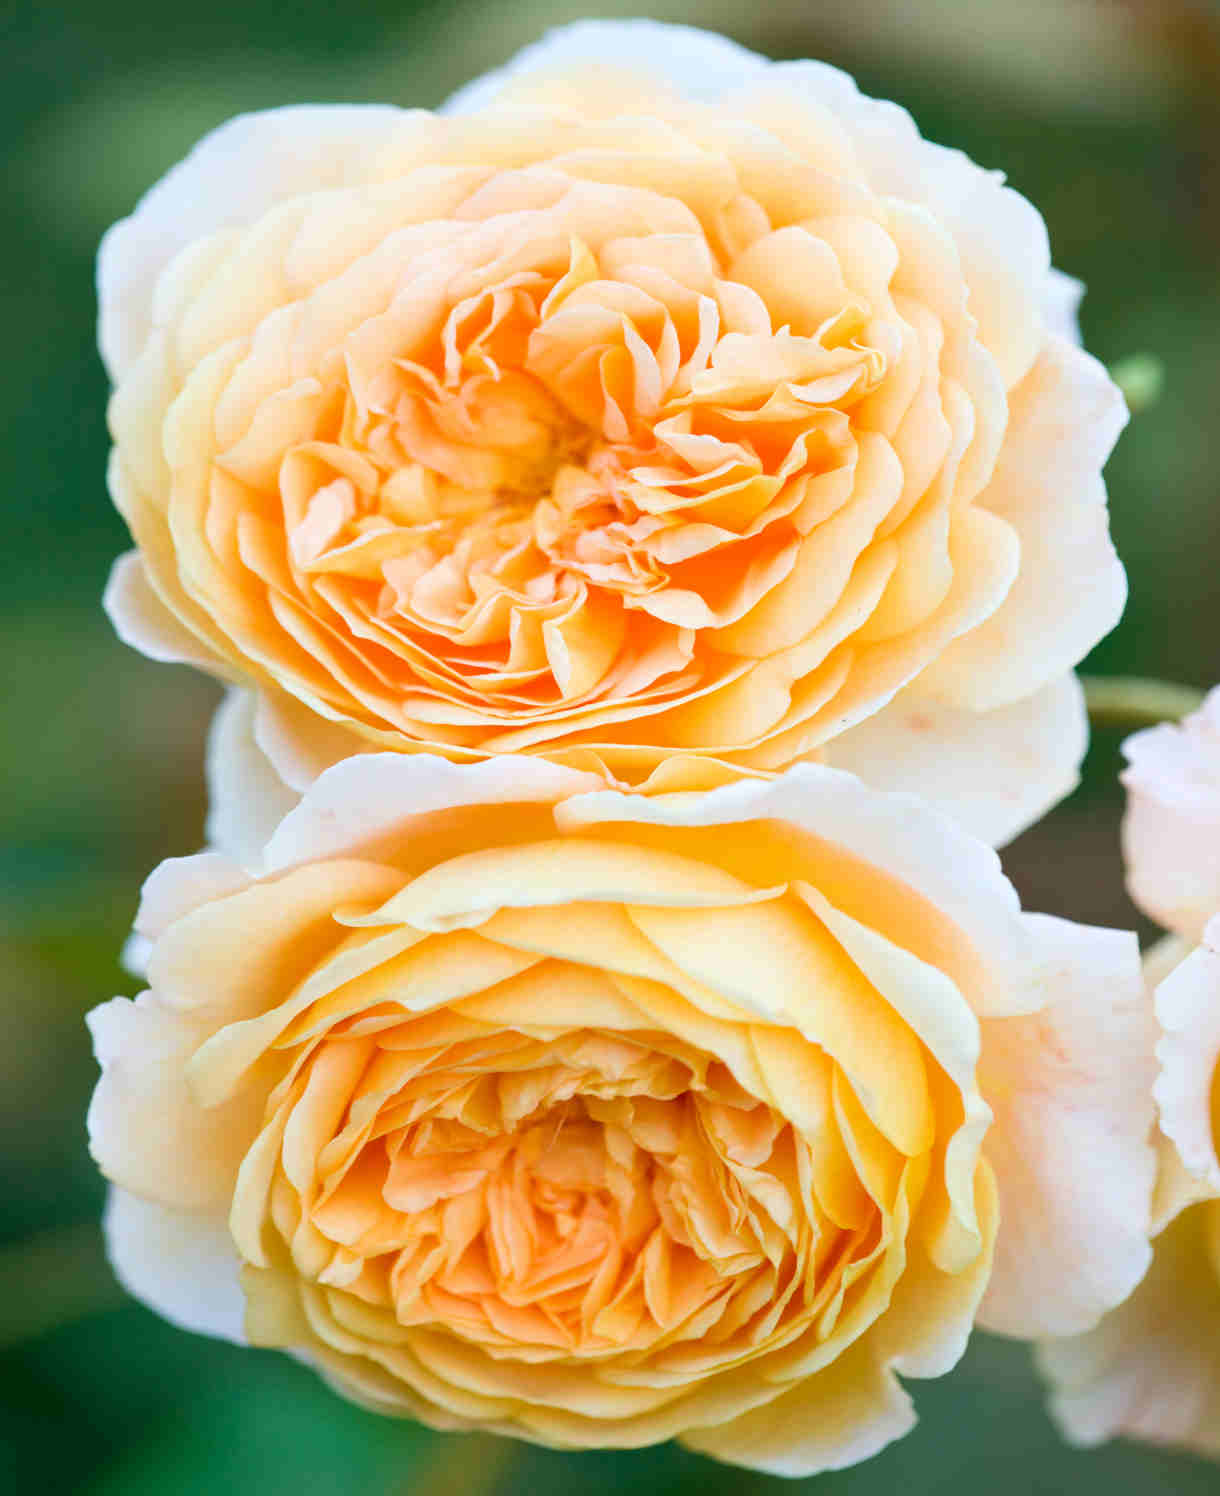
With such a wide and varied range of colours, shapes, and sizes, the beauty of clematis is its ability to fit in with almost any style of garden and planting. A couple of our absolute favourite combinations include the velvety purple C. viticella ‘Etoile Violette’ contrasted against the peachy tones of Rosa ‘Buff Beauty’. Or the sumptuous C. ‘Rouge Cardinal’ adding depth to the sugary pink blooms of Trachelospermum asiaticum 'Pink Showers'. Divine!
How to care for Clematis
Pruning and Deadheading
- Group 1: Early-flowering clematis (spring bloomers):
This group can be left largely untouched, apart from some light thinning if needed. This can be done immediately after flowering, in mid to late spring, once risk of frost has passed. - Group 2: Large-flowered clematis (summer bloomers):
This group can be lightly tidied in early spring, by simply removing any dead shoot ends. If you wish, you can also cut all flowering stems back to a healthy bud as soon as flowering is over. - Group 3: Late-flowering clematis (autumn bloomers):
Cut back hard each year in February to the lowest pair of buds. Left unpruned, this group will become a tangled mass with an unsightly ‘bare bottom’.
Watering
Clematis are generally quite thirsty, and new plantings require more regular watering than established plants. During the first growing season in the ground, a really good soaking (i.e., four watering cans per square metre) every couple of weeks should ensure long-term success. After this, clematis should need watering only in very dry spells, unless you garden on very free-draining soil. An annual mulch in autumn or spring helps lock moisture into the soil (see also ‘Feeding’ section below). Do this again in summer (following a good soaking with water) if your soil is prone to drying out in hot weather.
Container-grown clematis need to be kept consistently moist throughout the growing season, which can mean watering most days from mid spring to autumn.
Feeding
Clematis does best given plenty of extra nutrients. In late winter or early spring, we recommend applying a general-purpose granular feed to the surface of the soil and lightly working in (known as a ‘top dress’). Follow this with a mulch of well-rotted organic matter (i.e., a good layer of manure or garden compost applied to the soil around the plant). This has the added benefit of suppressing weeds and locking in moisture.
This annual dose of food should be adequate, however if your clematis is looking in need of an extra boost you can repeat the process in midsummer.
Container-grown plants rely even more on the gardener for their nutritional needs. Get off to a flying start by making sure you use a good quality compost, then throughout the growing season (March to October) apply a liquid feed at monthly intervals, mixed according to the manufacturer instructions. Alternatively, top dress with a general-purpose granular feed every three months.
Cold Protection
The hardiness of clematis can vary from species to species, so do make sure you check individual descriptions to make sure you choose the right one for your garden.
For most of the UK, anything rated H4 (-5°C to -10°C) or higher should be able to withstand winter without the need for any additional protection. H3 (1°C to -5°C) and below may struggle and should be grown either in a greenhouse or conservatory. In mild areas you may get away with growing an H3 rated clematis against a sunny, sheltered wall.
Pests and Diseases
Clematis wilt can sometimes occur on this plant, presenting as rapid wilting of the leaves. This can be caused by two things – a fungal infection, or the thankfully more common reasons of environmental stress. As a first line of defence give your clematis some TLC, meaning a granular feed top dress, a good soak, and a thick mulch. Keep watering in dry spells, and there is a good chance your plant will make a recovery. If you suspect the culprit to be fungal (often identified by black streaking inside cut plant material), remove and dispose of all affected parts of the plant as quickly as possible.
How to propagate Clematis
There are many ways to propagate clematis, though we find the most easy and efficient method to be semi-ripe cuttings in mid to late summer. From the current year’s growth, choose cuttings that are firm and woody at the base, while still soft and pliable at the tip.
- Choose non-flowering stems which meet the description above and snip off the plant.
- Put in a plastic bag straight away to prevent drying out.
- Fill a pot (or several, if you have a lot of cuttings) with a perlite-heavy compost mix (at least 50% perlite).
- Trim the end of the cutting to just below a node (point at which leaves grow).
- Remove lowest leaves and soft tip, leaving 2-4 leaves.
- If the remaining leaves are large, cut them in half with a sharp knife (to reduce water lost through transpiration).
- Insert the cuttings into the compost and water lightly. Several cuttings can be put in the same container if there is enough space to do this without them touching.
- Place in a greenhouse or propagating unit if you have one or covered with a plastic bag on a windowsill if not (out of direct sunlight).
- Keep the cuttings misted and occasionally watered until they root. You will know this has happened when roots emerge out of the bottom of the container, which should take around 6 to 8 weeks.
- Gently remove rooted cuttings and pot them into individual pots. Grow on in a cool yet frost-free environment such as an unheated conservatory, greenhouse, or cold frame, until they are large enough to be planted out as above. You can expect to have a flowering plant within two years.
* Many plants carry Plant Breeders Rights and cannot be propagated for commercial purposes.
Common Clematis questions
- Does clematis need a trellis?
All climbing species of clematis will require some form of support. This will depend on the eventual size of the clematis you have – small forms can grow up a wigwam or arch, while larger, more vigorous forms might need the wall of a house or a well-established tree.
Non-climbing species require no support and can be grown as you would any other herbaceous plant. - Are clematis easy to grow?
Providing you are able to meet their needs for plenty of water and food, as well as familiarise yourself with their simple pruning requirements, these plants can be one of the most easy-going and rewarding plants in the garden. - What are the 3 types of clematis?
Group 1 clematis flower on the previous years’ shoots in winter and early spring. They tend to do best in a sheltered, sunny spot with well-draining soil, and often have bell-shaped flowers.
Group 2 clematis flower in late spring and early summer on sideshoots coming from the previous years’ growth, and again in mid to late summer on the tips of the current years’ shoots. They are usually deciduous and tend to have the open, saucer-shaped flowers.
Group 3 clematis flower on the current years’ shoots in summer and early autumn. They tend to be deciduous with single, saucer-shaped flowers, and very hardy.
- What grows under clematis?
We love groundcover plants such as geranium, erigeron, alchemilla, and nepeta underneath clematis. Not only do they look great, but they provide cooling shade to clematis roots. - Are coffee granules good for clematis?
While putting coffee grounds around your clematis a handful of times won’t do any harm, doing so repeatedly can create a clogged up barrier which impedes the natural flow of water, air, and microorganisms. Far better is to add the coffee grounds to your compost heap and apply the end product to your clematis each spring.