


How to grow Cheiranthus
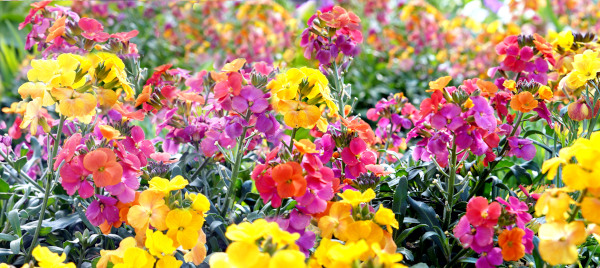
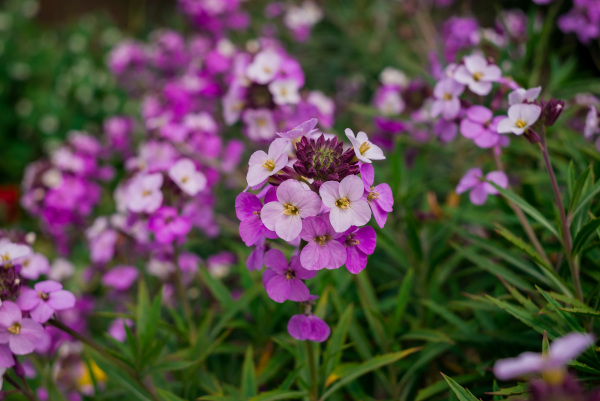
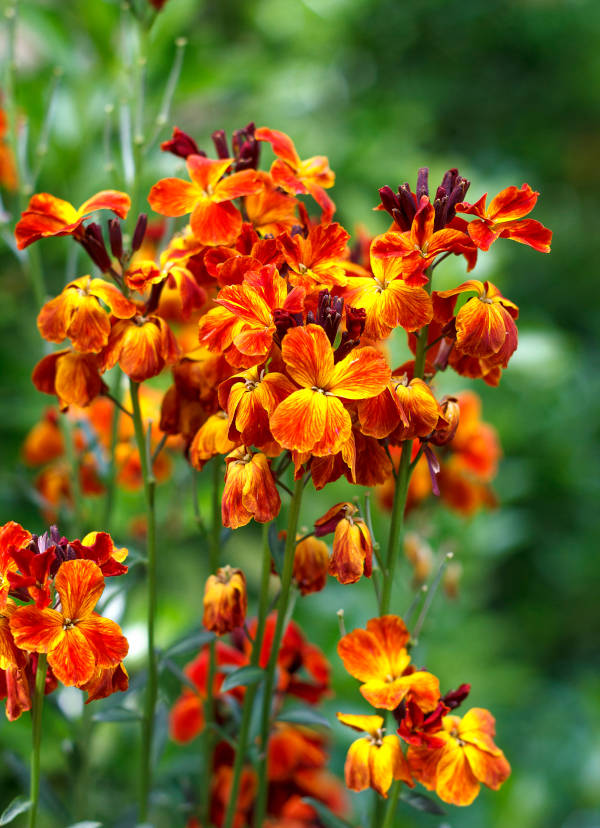
Though technically now included in the erysimum genus, many gardeners and growers (including us!) prefer to carry on using the name cheiranthus. For us, this instantly says ‘spring bedding’, as opposed to erysimum which encompasses everything from annuals to shrubby, evergreen perennials. Cheiranthus is native to Greece, though has naturalised throughout rocky areas in Central Europe. It has narrow, dark green foliage and is grown for its sweetly scented, bright spring flowers held on short spikes. Over the years there have been many new cultivars developed, offering a wide range of vibrant colours.
Cheiranthus is a short-lived perennial which tends to be grown as a biennial due to it becoming spindly and leggy after flowering. You may even see it referred to as an annual, as most growers send it out to customers at the start of its second year (i.e., the year it does its flowering), meaning they get to enjoy each plant for one growing season before consigning it to the compost heap.
Cheiranthus is also known by the common name of wallflower (as are many other species of erysimum). It can also be seen referred to as Erysimum cheiri.
Key Information
Position
Soil Conditions

Hardiness

Where & when to plant Cheiranthus
Cheiranthus is usually sold either as bare roots during autumn, or as young plants in spring. Plant bareroots straight into the ground on arrival, choosing a sunny spot with very good drainage – these plants hail from rocky, stony places and enjoy spots such as rockeries, in or next to walls (hence wallflower!), any border providing the soil isn’t too moist, or a container filled with a gritty compost mix. Cheiranthus is an invaluable plant for brightening the front of a border, lining a path edge, or bringing spring cheer to window boxes.
If you are not ready to plant bareroots out in autumn (perhaps the summer to autumn interest planting is still going strong and taking up space), an alternative is to pot them up and grow on in a coldframe, unheated greenhouse, or cool conservatory or porch before planting out in early spring (i.e., March).
How to plant Cheiranthus
Bare roots should be soaked in a bucket of water for a few hours as soon as they arrive. Following this, proceed as follows:
- For planting in the ground, dig the soil area removing any large stones and weeds and breaking up any lumps. Mix in some organic matter such as garden compost. If your soil is on the heavy side, now is also the time to add a generous helping of horticultural grit. Rake level and firm with your heels. Rake level again.
- Bareroots should be soaking nicely at this point. If you are planting pot-grown plants, give a good water prior to planting.
- Dig a hole approximately twice as large as the bareroot (or rootball if planting a pot-grown plant).
- Place the bareroot/ pot-grown plant in the hole. With bareroots you will be able to see a change in colour and texture indicating where the soil level has been previously – aim to keep this the same. Pot-grown plants should be positioned with the top of the compost level with the surface of the soil. This is all because planting too low can cause the plant to rot, and planting too high can dry out the roots.
- Backfill with soil and firm in gently with your foot.
- Soak well with water.
- For bareroots, apply a thick, insulating layer of dry mulch such as bracken, straw, or bark chippings. For pot-grown plants mulch with a little well-rotted organic matter.
- For planting in containers, first choose an appropriate pot with plenty of drainage holes. This might be a temporary, plastic pot in which the cheiranthus will overwinter before being planted out in spring, or a permanent decorative pot. With the latter, you might wish to use cheiranthus as part of a large, mixed container display, or on its own in a smaller container. It can be worth filling large containers in situ to save yourself the trouble of moving once full.
- Bareroots should be soaking nicely at this point. If you are planting pot-grown plants, give a good water prior to planting.
- Use a good quality potting compost with a generous amount of horticultural grit mixed in, and, if not already present in the compost (check the description on the bag) some slow-release fertiliser granules.
- Start by partially filling the pot with compost; enough so that when placed on it the top of the bareroot or upper surface of the root ball is about 3cm lower than the top of the pot.
- Infill all the space surrounding the bareroot or root ball with compost, firming down with your fingers then adding a little more so the plant is held tight.
- Pick up the container (if you can!) and lightly tap on the potting bench or ground a few times to help further settle the compost around the plant.
- Soak well with water.
- For permanent containers, a mulch with horticultural grit will look attractive and help to prevent a ‘cap’ or crust forming on the top of the compost (something container plants can suffer due to the artificial nature of their watering).
What to plant with Cheiranthus
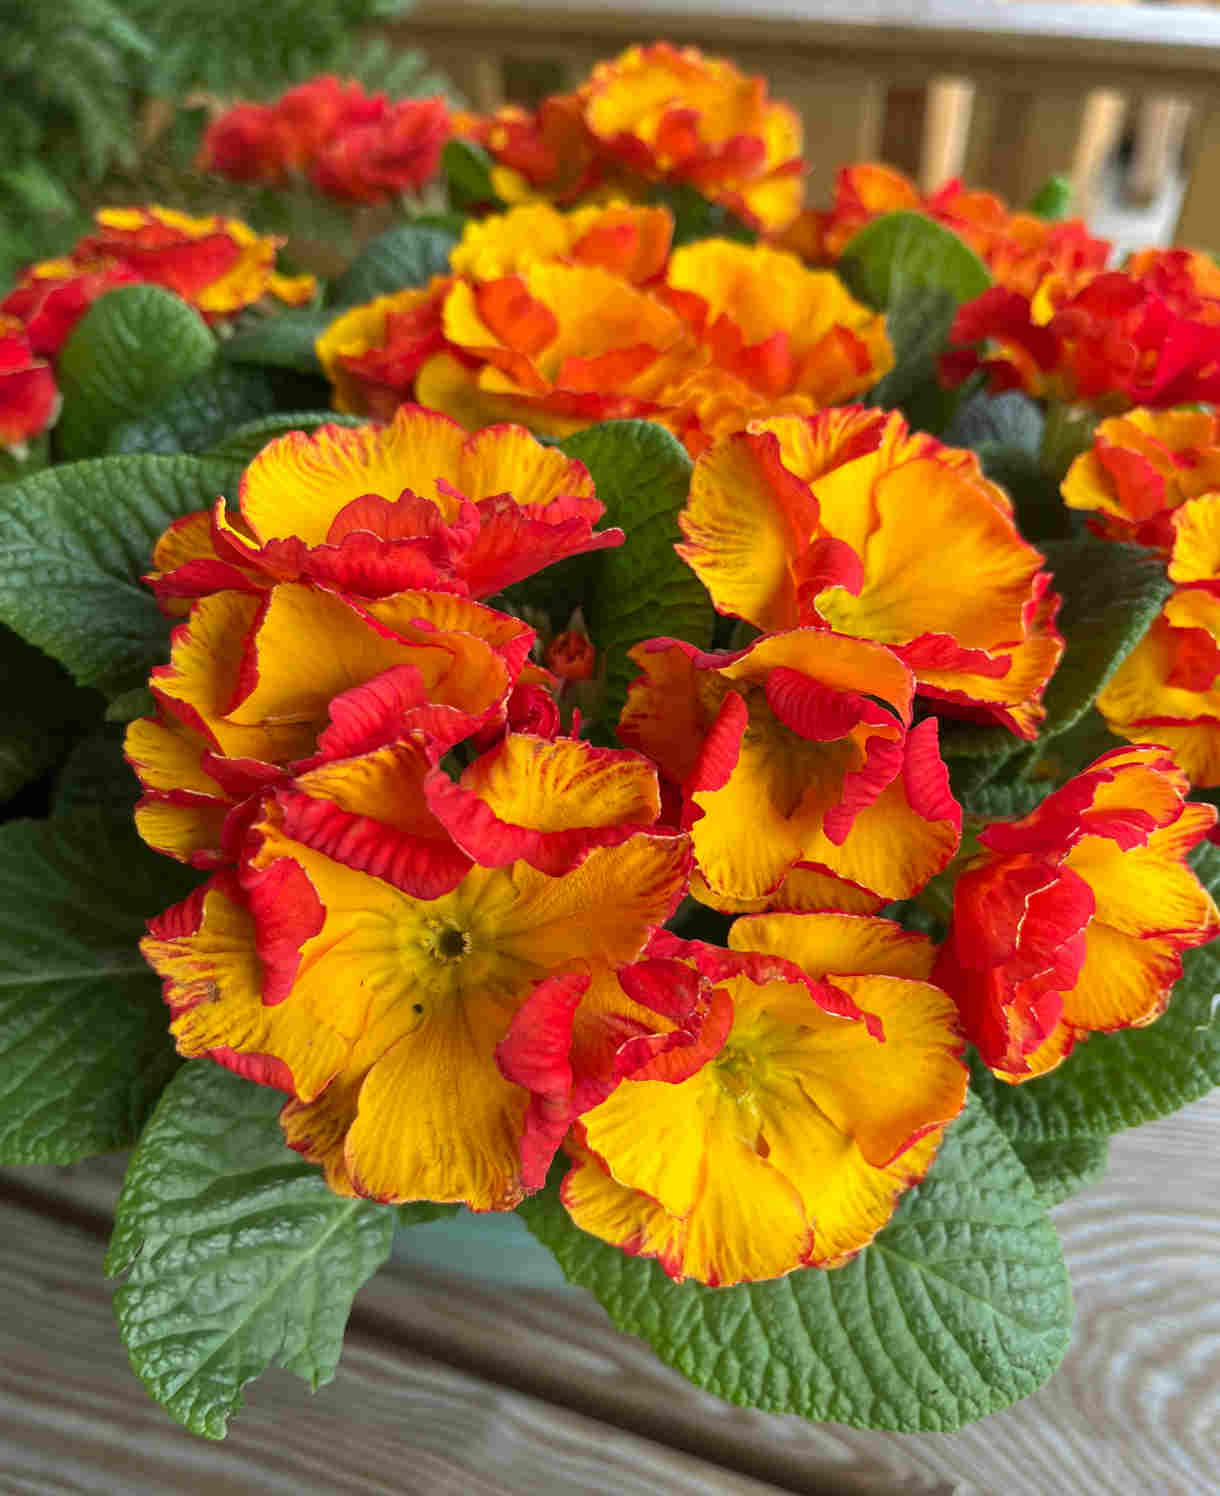
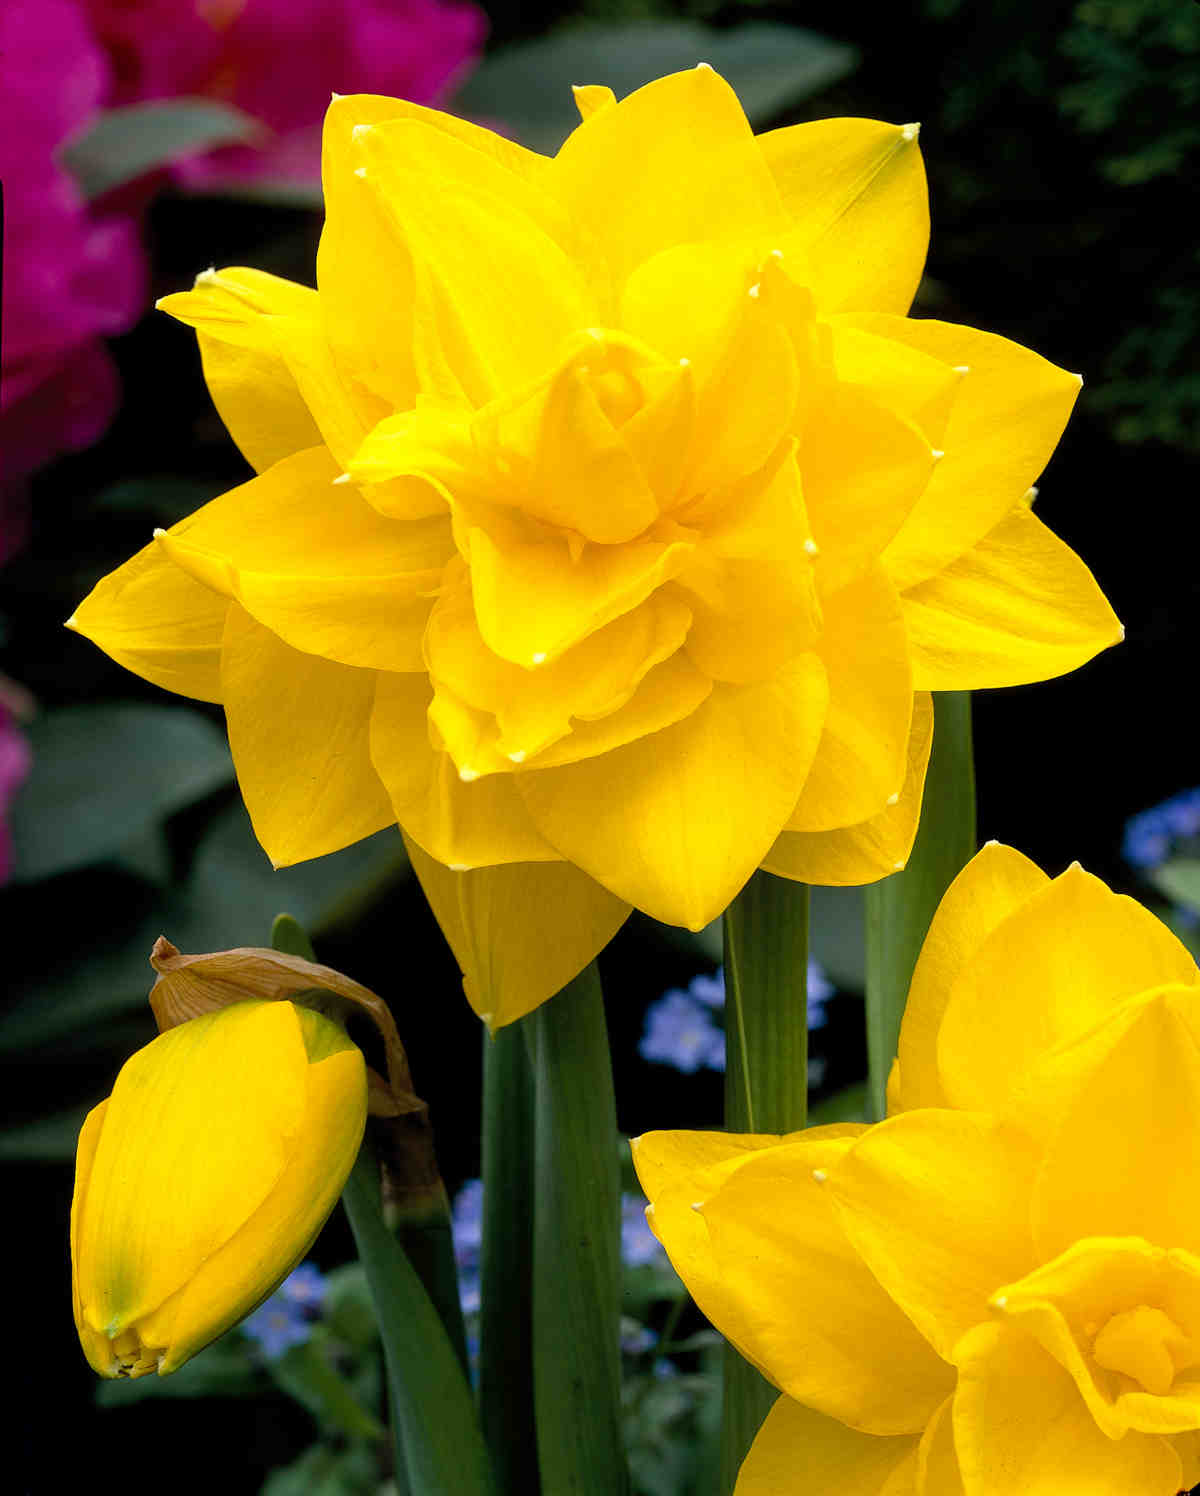
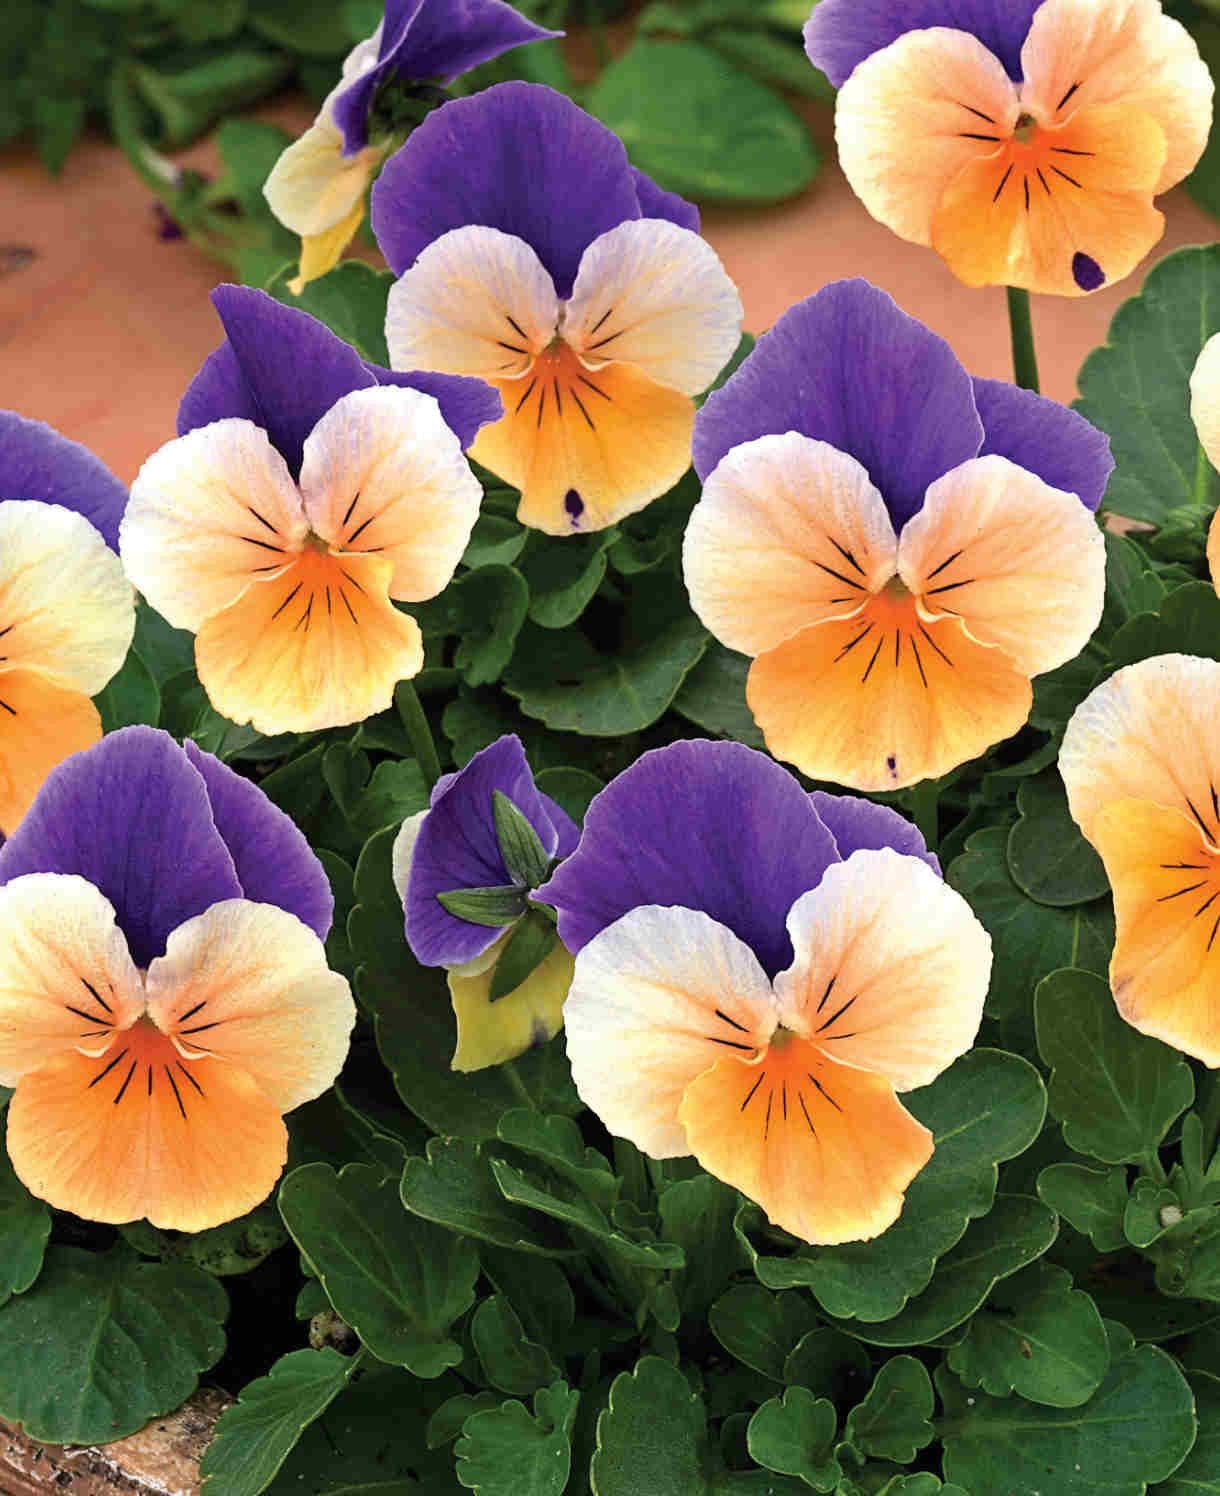
For a vibrant spring display, combine cheiranthus with other brightly coloured early-birds such as primula, narcissus, viola, tulip, hyacinth, and muscari.
How to care for Cheiranthus
Pruning and Deadheading
During flowering, trim back spent flower stalks to encourage further blooming.
At the end of the growing season, remove the entire plant to the compost heap.
Watering
Give bareroot cheiranthus a good soaking on planting, after which the winter weather usually takes care of watering. From spring onwards, you should need to water only in very dry conditions.
Cheiranthus in containers will require regular watering throughout the growing season. Allow the top few centimetres of compost to dry out between soakings (check this by inserting your finger into the compost to test for moisture).
Feeding
On healthy soil, a spring mulch of well-rotted organic matter (i.e., a good layer of manure or garden compost applied to the soil around the plant) should provide sufficient nutrients for your cheiranthus. This has the added benefit of suppressing weeds and locking in moisture.
Container-grown plants require more input from the gardener when it comes to nutrition. Get off to a flying start by using a good quality compost, then throughout the growing season (March to September) apply a liquid feed at monthly intervals, mixed according to its instructions. Alternatively, top dress with a general-purpose granular feed every three months.
Cold Protection
Providing they are given adequate drainage, cheiranthus bareroots should be hardy enough to withstand their first winter in the ground without the need for additional protection. Having said this, a thick, insulating mulch doesn’t do any harm. See our ‘How to plant cheiranthus’ section above for more information.
If you are starting your cheiranthus off in pots, like all container-grown plants these can be more vulnerable to the cold. If you can, keep them in a frost-free though not too warm location, such as a coldframe, unheated glasshouse, or cool conservatory or porch.
Cheiranthus tends to be discarded after a year in the garden, meaning cold protection during subsequent winters is not an issue.
Pests and Diseases
As a member of the brassicaceae family, cheiranthus can fall prey to the dreaded flea beetle, responsible for the riddling of leaves with many tiny holes. This tends not to affect the overall health of plants too much, though it can spoil their appearance. If you are really bothered by this, try exploiting the beetles’ habit of jumping when disturbed by coating a piece of card with insect barrier glue and brushing it over the top of plants. This allows you to trap and dispose of the offending pests, though does need to be done repeatedly.
How to propagate Acacia
Cheiranthus is easily propagated by seed, best collected and sown as soon as it is ripe.
- Seeds are typically ready for collecting in late spring to early summer when the seedheads have dried and turned brown.
- Snip the seedheads from the plant using scissors or secateurs. Try to do this in dry conditions, and place in a small paper bag or envelope.
- Fill a seed tray or small pot with a very well-draining compost mix.
- Sprinkle the seeds evenly over the surface of the compost, pressing lightly into the soil with a flat piece of wood or the bottom of another pot. Don’t bury them too deeply.
- Use a garden sieve to cover with a fine layer of compost.
- Water the soil gently with a fine spray until it is evenly moist but not waterlogged.
- Cover the seed tray with a clear plastic lid or plastic wrap to create a mini-greenhouse effect. This helps maintain consistent humidity. Label the tray or pots.
- Place the covered seed tray or pots in a coldframe, unheated greenhouse, or on a cool, bright windowsill.
- Check periodically to ensure the soil remains evenly moist but not waterlogged.
- Once you notice seedlings emerging, remove the cover.
- When the seedlings have grown large enough to handle, transplant them into individual pots filled with a very gritty mix.
- Water regularly but avoid overwatering.
- Plant out in autumn (following our ‘How to plant cheiranthus’ section above), for flowers the following spring
* Many plants carry Plant Breeders Rights and cannot be propagated for commercial purposes.
Common Cheiranthus questions
- Does cheiranthus come back?
Technically, cheiranthus is a short-lived evergreen perennial which will last a few years if you left it in the ground. In reality, after its first year of flowering it becomes straggly and untidy, loses its flowering vigour, and often succumbs to a disease known as club root. For these reasons, most gardeners treat it as a biennial and discard after flowering. - Is cheiranthus poisonous?
Cheiranthus has no toxic effects reported.