How to grow Chaenomeles
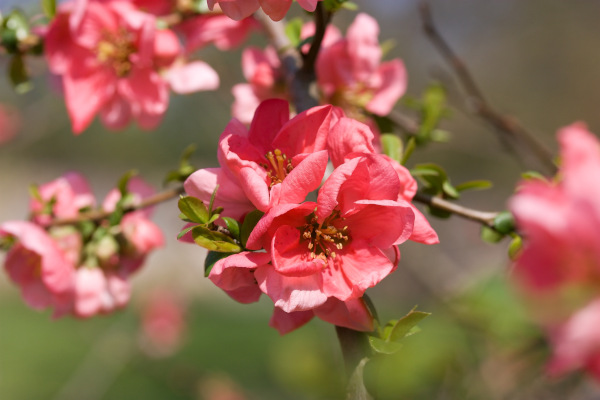
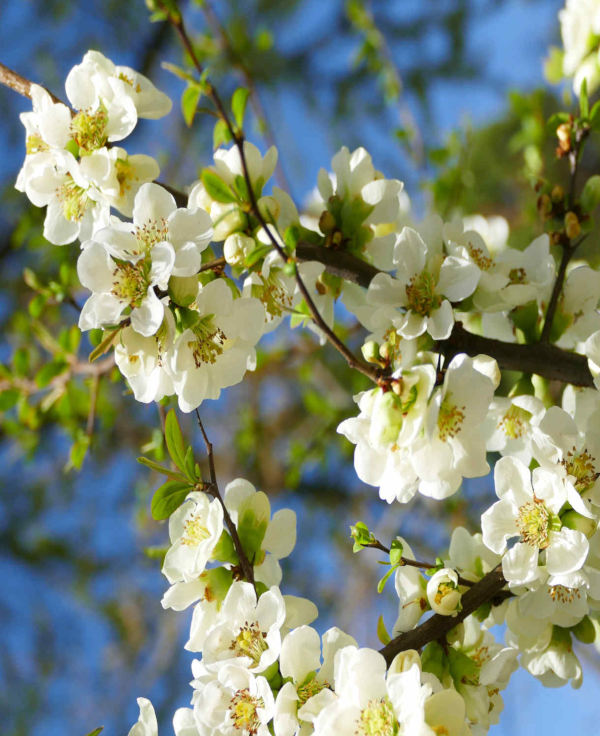
Also known as Japanese or flowering quince, chaenomeles is a small genus of deciduous shrub within the rose family. There are just three or four species, all hailing from mountain woodland in China and Japan, however these have been bred and hybridised over the years to offer a vast array of colours and forms.
Chaenomeles is notable for its early and long-lasting profusion of cup-shaped flowers on bare branches, coming at a time when there is otherwise little colour in the garden. An easy-going, fuss-free nature adds further to the appeal – it will grow in almost any soil (apart from that with a very alkaline pH, in which it is likely to become chlorotic), and is as happy in shade as it is in sun. It’s worth noting, however, that there is likely to be less flowering and fruiting in deep shade.
Speaking of fruit, the flowers give way to aromatic green or yellow fruits which are sometimes flushed pink and shaped somewhere between an apple and a pear. Though unpleasantly tart when raw, these contain high levels of pectin and are ideal for preserving in the form of jam or jelly.
Depending on the species and cultivar, chaenomeles can be self-supporting and suitable as standalone shrubs or hedging, or slightly floppier and in need of support. The latter are often grown against a wall or fence, where they can be trained into a fan or espalier shape. There are also low-growing, more ground-covering forms available, such as ‘Pink Trail’ and ‘Geisha Girl’.

Key Information
Position
Soil Conditions

Hardiness


Where & when to plant Chaenomeles
Position - Any light level, though best flowering and fruiting occurs in full sun or dappled shade
Soil - Almost any soil, apart from anywhere prone to waterlogging or very alkaline conditions.
Flowering Period - Some flowers may appear as early as November, though the main event is usually spring (March through to May). There may be an occasional smattering of repeat flowering in summer too.
Hardiness - Fully hardy. Mostly rated H6, meaning able to withstand temperatures dropping to between -15°C and -20°C.
Chaenomeles is usually available as a pot grown plant. This means it can be planted at any time of year, though for best results, plant in autumn or spring when the soil temperature and moisture content are at optimum levels for healthy root establishment. An autumn planting can be done by those gardening in mild conditions (and broadly speaking, this is the southern half of the UK). For those liable to cold winters, it is best to wait until spring (generally the northern half of the UK). Planting can also be carried out in summer, though be prepared to water regularly.
Self-supporting species and cultivars may be used as hedging or a specimen shrub, though a naturally tangled habit means prettiest results come from wall-training. Any aspect will do – even those tricky north-facing spots, though best flowering and fruiting occur in full sun and dappled shade. Chaenomeles is not good for mixing through a border – it likes plenty of light and airflow and resents competition from close neighbours.
Chaenomeles is also surprisingly content to spend life in a container and is a popular choice for bonsai.
How to plant Chaenomeles
- For planting into the ground, start by watering the rootball well and allowing it to drain before planting.
- Dig the soil area over, removing any large stones and weeds and breaking up any lumps. Mix in a generous amount of organic matter such as manure or garden compost.
- Rake level and firm with your heels. Rake level again.
- Now dig the planting hole, aiming for twice the width of the rootball.
- Place the plant in the hole, ensuring the top of the rootball sits level with the surface of the soil. Too low and the stem can rot, too high and the roots can dry out.
- Backfill with soil and firm in gently with your foot.
- Soak well with water.
- Mulch around the base with well-rotted organic matter such as manure or garden compost.
- For training against a wall, it is a good idea to install a support such as a trellis, or horizontal or vertical wires, prior to planting. The support should start 30cm above ground level, and, in the case of wires, be spaced 30-45cm apart. Try to have the support sitting approximately 5cm away from the wall to allow for optimum growth.
- Prepare the plant and soil as above.
- Dig a planting hole, aiming for there to be a gap of about 45cm between the plant and the wall. This is so it has room to develop and can catch the rain rather than sit in the dry rain shadow of the wall.
- Plant as above, angling the plant at a 45-degree angle towards the wall.
- Water and mulch as above.
- Using garden twine, tie in growth to the supports in an evenly spaced manner. If the growth is still too short for this, point it in the right direction by tying to some angled canes inserted in the soil.
- Prune out any unwanted growth, i.e., that which is growing towards or away from the wall.
- For planting in containers, first choose an appropriately sized pot. The best practice is to start just a few centimetres larger than the root ball and go up in size gradually every year or so. Always ensure there are plenty of drainage holes in the bottom.
- Again, soak the rootball with water and allow to drain before potting.
- It can be a good idea to fill and plant your pot in situ to save yourself the trouble of moving it once full.
- Use a good quality potting compost with plenty of horticultural grit mixed in, and, if not already present in the compost (check the description on the bag) some slow-release fertiliser granules.
- Start by partially filling the pot with compost; enough so that when placed on it the top of the roots sit about 3cm lower than the top of the pot.
- Infill all the space surrounding the roots with compost, firming down with your fingers then adding a little more so the plant is held tight. Again, remember to ensure the graft union sits just above the surface of the compost.
- Pick up the pot (if you can!) and lightly tap on the potting bench or ground a few times to help further settle the compost around the plant.
- Soak well with water.
- A mulch with horticultural grit will look attractive and help to prevent a ‘cap’ or crust forming on the top of the compost (something container plants can suffer due to the artificial nature of their watering).
What to plant with Chaenomeles
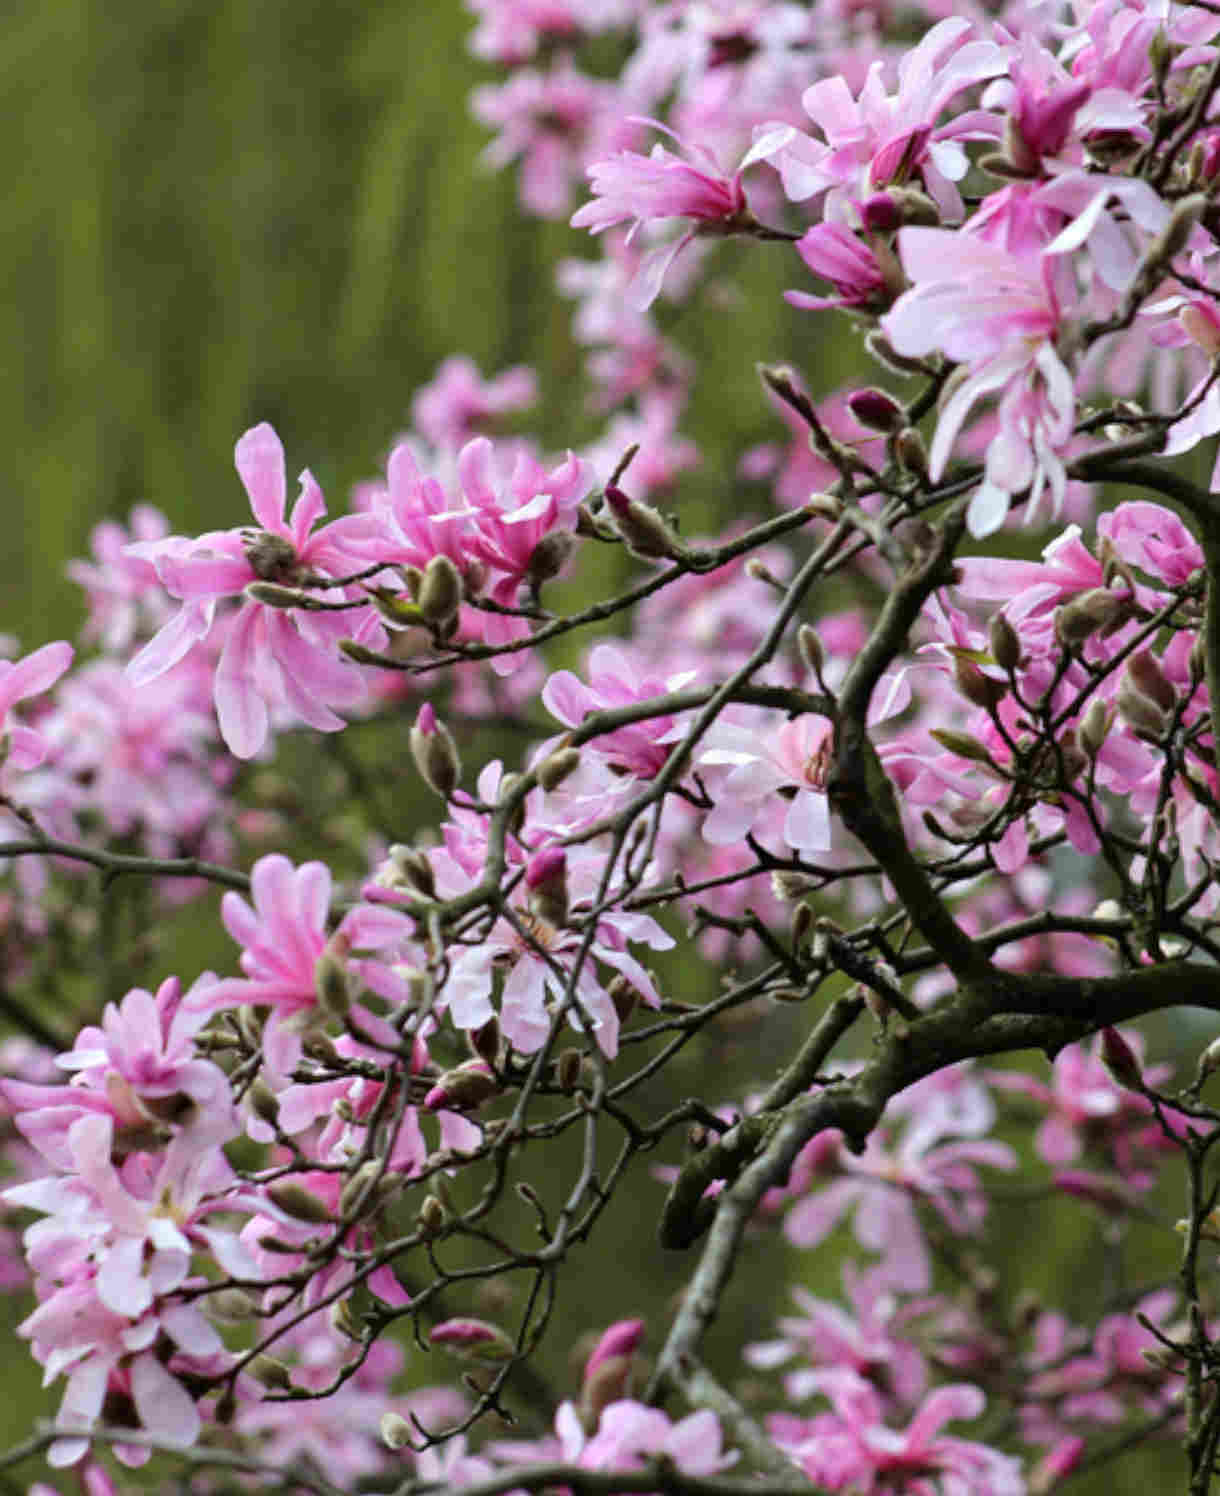
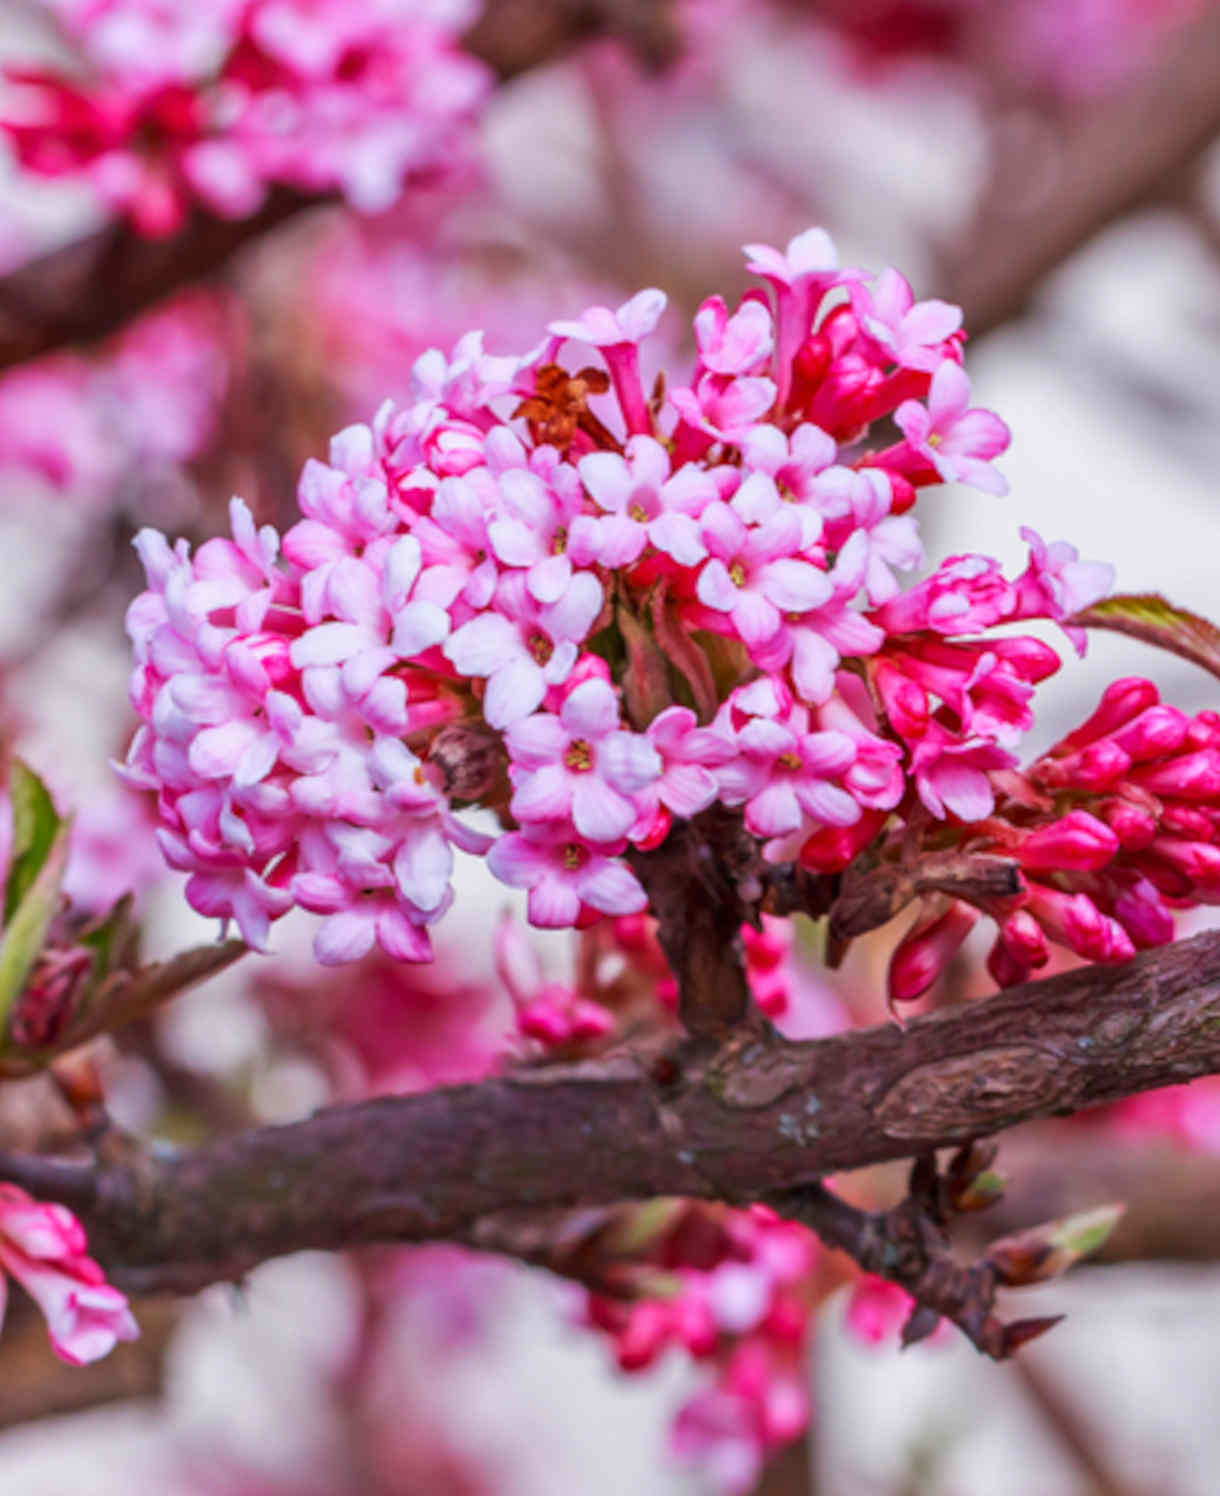
There is something magical about early blossom on bare, naked stems; perhaps it is to do with the stark backdrop giving greater prominence to the flowers. For an extra special, gloom-busting display, try weaving trees and shrubs of this sort throughout your garden. Think wintersweet, Viburnum x bodnantense, witch hazel, magnolia, and winter-flowering jasmine. A delicate carpet of snowdrops at ground level will complete the winter wonderland.
How to care for Chaenomeles
Pruning and Deadheading
When grown as a freestanding shrub, chaenomeles falls into RHS Pruning Group 2. Blooming on the previous year’s growth, it should be pruned straight after flowering to allow next year’s flowering stems plenty of time to form. Cut back any flowered shoots to a strong bud lower down, while also removing any dead, diseased, damaged, or badly placed stems. Thin out approximately 20% of older stems, taking them down to the ground to reduce congestion.
Wall-trained chaenomeles are classed as RHS Pruning Group 13. Again, prune straight after flowering, though here you’re looking to create a permanent woody framework distributed evenly across the wall. You can aim for a fan or espalier shape if you like, or something more informal. Once you’ve got the framework established, pruning simply involves shortening any sideshoots to 2-4 buds, removing completely any that are growing either towards or away from the wall.
Watering
Like all woody plants, chaenomeles should be regularly watered during its first couple of growing seasons in the ground while its roots become established. After this it is drought tolerant and should be largely self-sufficient, though it still pays to water in prolonged periods of hot, dry weather. An annual mulch is also useful for locking in moisture – more on this in our ‘Feeding’ section below.
Container-grown chaenomeles has less access to moisture so will need to be regularly watered throughout every growing season. Allowing the top couple of centimetres of compost to dry out between watering is a useful rule of thumb to help avoid overwatering, though be aware that during the height of summer this can happen in as little as 24 hours. Wiggle your finger into the compost to check. From mid-autumn, the British climate tends to take over watering needs, though do remember to step in in the event of an unseasonably dry spell.
Feeding
On healthy, fertile soil, an annual mulch of well-rotted organic matter (i.e., a layer of manure or garden compost applied to the soil around the plant) should provide sufficient nutrients for your chaenomeles. This has the added benefit of suppressing weeds and locking in moisture.
For an extra boost (perhaps your chaenomeles is looking stressed or you garden on poor soil), applying a general purpose granular feed to the surface of the soil and lightly working in (known as a ‘top dress’) can reap benefits. Aim to do this once or twice a year if needed, firstly in spring and then again in midsummer.
Container-grown plants rely more on the gardener for nutrition. Get off to a flying start by making sure you use a good quality compost, following which your chaenomeles will thank you for a balanced liquid feed mixed up to half the recommended strength every three weeks throughout the growing season. An annual top dress is also advisable: each spring, scrape off the top 5cm of compost and replace with fresh compost containing a high potassium granular feed.
Cold Protection
Chaenomeles is fully hardy, and able to withstand even a very cold UK winter without the need for additional protection.
Pests and Diseases
Like many members of the rose family, chaenomeles can be susceptible to canker, scale insect, and aphids.
Canker causes shoots to wilt and dead areas to appear on branches. It often enters through cuts and wounds, so take care when using a strimmer or mower nearby. Cut out any affected areas as soon as you can.
Scale insects and aphids can cause damage through their sap-sucking habits, though this is rarely serious enough to require treatment. Encouraging natural predators into the garden (including ladybirds, birds, frogs, and wasps) is the most sustainable line of defence.
How to propagate Chaenomeles
Chaenomeles can be propagated by semi-ripe cuttings in summer, using non-flowering growth that is becoming firm and woody at the base but is still flexible at the tip.
- Snip cuttings off the plant, if possible taking a longer piece than the ideal eventual length of around 10cm (to allow for trimming).
- Put them in a plastic bag straight away to prevent drying out.
- Fill several pots with a well-draining compost mix.
- Trim the end of the cutting to just below a node (point at which leaves grow).
- Remove lowest leaves and soft tip, leaving 2-4 leaves.
- If the remaining leaves are large, cut them in half with a sharp knife (to reduce water lost through transpiration).
- Insert the cuttings into the compost and water lightly. Several cuttings can be put in the same container if there is enough space to do this without them touching.
- Place in a greenhouse or propagating unit if you have one or covered with a plastic bag on a windowsill if not (out of direct sunlight).
- Keep the cuttings misted and occasionally watered until they root. You will know this has happened when roots emerge out of the bottom of the container.
- Gently remove rooted cuttings and pot them into individual pots. Grow on in a cool yet frost-free environment such as an unheated conservatory, greenhouse, or cold frame, until they are large enough to be planted out.
Layering is another effective approach. Best done in spring or autumn, this simple and effective technique involves pegging a wounded stem to the ground to develop roots while still attached to the parent plant. It requires far less input than most other methods of propagation as the plant is largely left to do the work.
- Choose a few flexible outer shoots that can easily be bent down to the surface of the soil.
- Make a 5cm long incision where the stem will touch the ground, ensuring you slice through a leaf bud.
- Insert a matchstick to wedge the incision open slightly.
- Dig a small, shallow trench where the shoot will touch the ground (adding a little grit if the soil is heavy).
- Peg the shoot into the trench using thick wire or a strong forked twig.
- Fill with soil, firm in, and water.
- Mark the spot with a cane. Roots can take 12 months to form, making it easy to forget what you have done and where...!
- When a good root system has formed, sever from the parent plant and either replant elsewhere or put in a pot for growing on.
* Many plants carry Plant Breeders Rights and cannot be propagated for commercial purposes.
Common Chaenomeles questions
Will chaenomeles grow in shade?
It will and is in fact a popular choice for tricky north-facing walls, though expect reduced flowering and fruiting.
Is chaenomeles evergreen?
No, all species and cultivars of this flowering shrub are deciduous. The flowers will always appear on bare wood.
How long does chaenomeles flower for?
A surprisingly long time! You can expect to enjoy flowers from 3-4 weeks from March until May – much longer than other, more fleeting spring blossom.