


How to grow Cercis
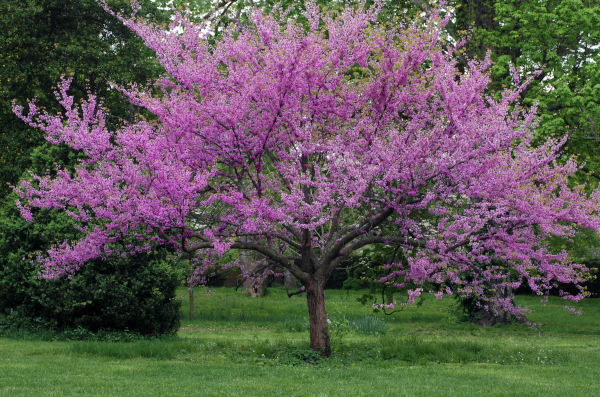
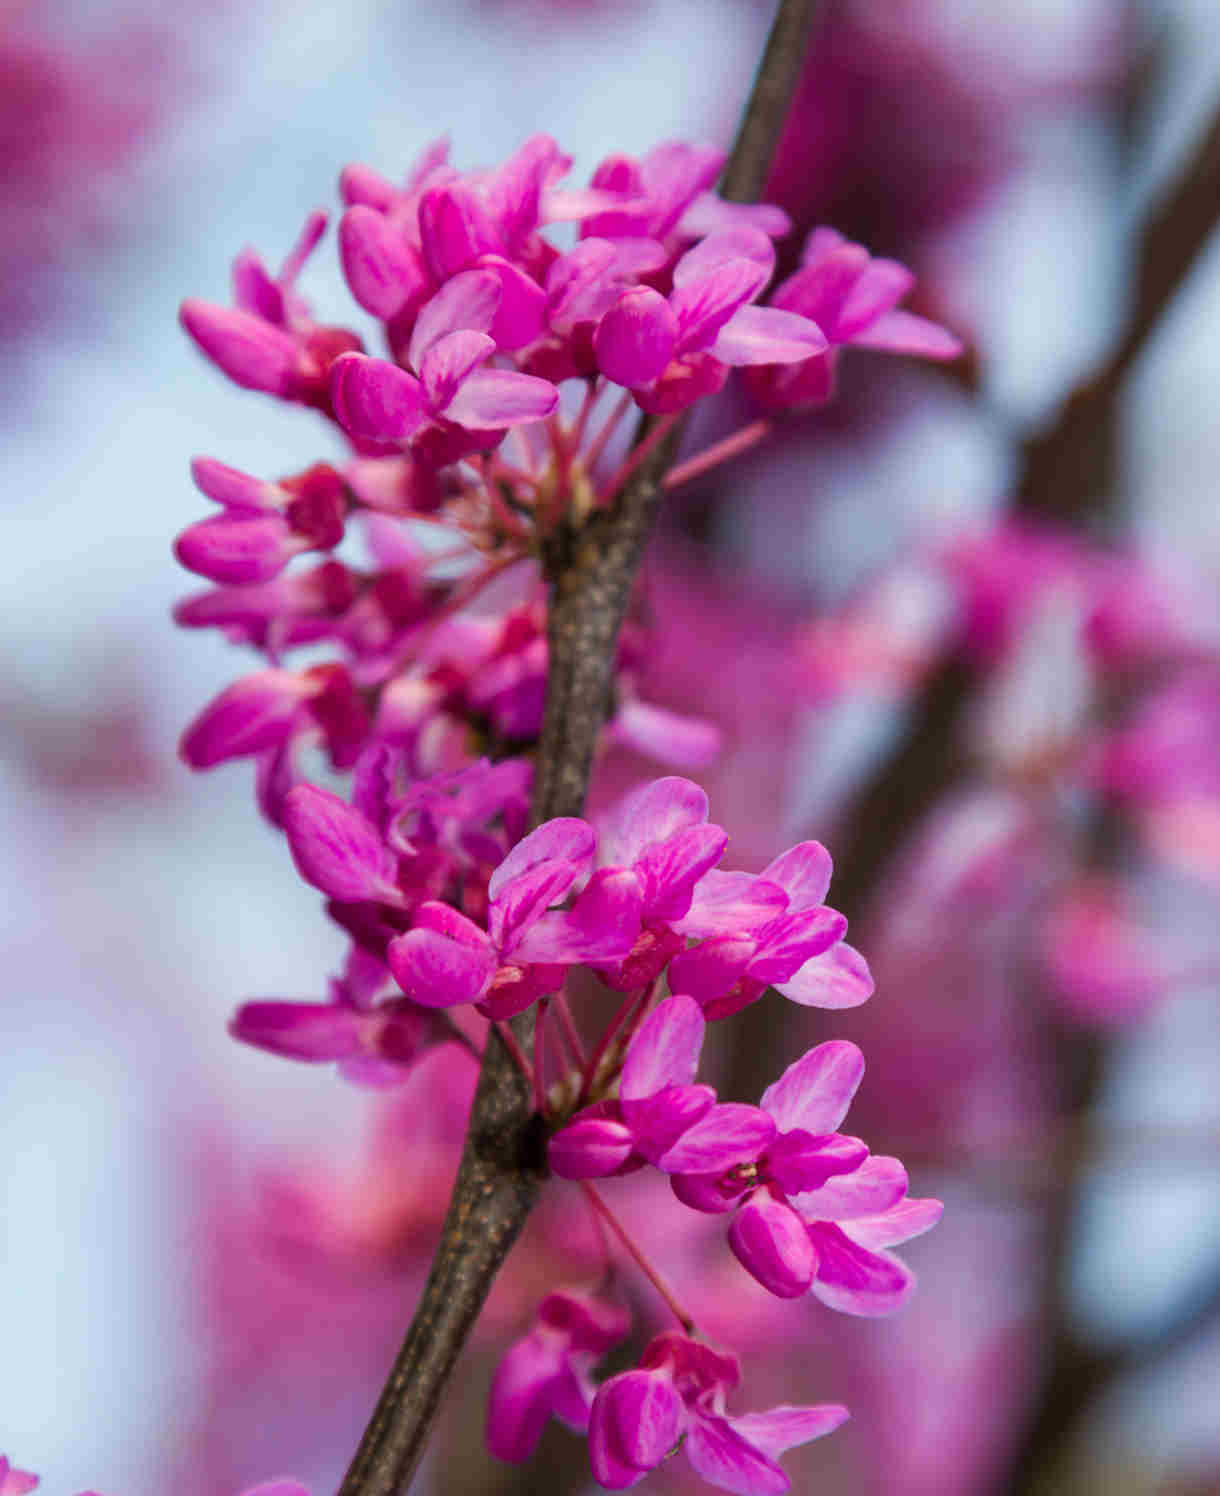
This beautiful and distinctive woody member of the pea family can be either a small tree or large shrub and is grown for its impressive spring show of flowers on bare branches and attractive, often heart-shaped foliage. Its clustered flowers are unusual in that they are held not only on new growth, but often on much older wood and even the trunk. Depending on the species or cultivar the flowers can be pink, purple, white, or magenta, many of them bright red as unopened buds, hence one of the common names – redbud. The flowers give way to pea pod-like seedpods, which gradually ripen and turn brown over the summer. These are numerous and pronounced enough to give the tree a shaggy appearance and produce a noticeable rustling in the wind. Some forms have purple foliage, others glaucous or mid green, and all develop bright autumn colour (usually a rich, buttery yellow).
Cercis is a relatively compact tree (even the largest forms will not exceed 10m), with a slow growth rate, making it idea for smaller gardens. It is often multi-stemmed, adding to its aesthetic appeal during the bare, winter months.
There are four key species of this deciduous genus. Perhaps the most familiar is Cercis siliquastrum, or the Judas tree. This spreading, often multi-stemmed, glaucous-leaved tree originates from the Mediterranean and is the tallest of all the species. It flowers both before and with the leaves.
Slightly smaller is Cercis canadensis, also known as eastern redbud. It is native to the east and south of the USA, and is another spreading, usually multi-stemmed, small tree. Its flowers have been and gone before the leaves appear. There are several cultivated versions offering variations such in leaf colour (most notably ‘Forest Pansy’ which has purple-red foliage), as well as in size and form, such as the dwarf, weeping cultivar ‘Ruby Falls’. This species particularly enjoys dappled shade.
Cercis occidentalis, or California redbud, is its west coast equivalent. It is the smallest of all the species and probably the least commonly cultivated, though is notable for an exceptional drought tolerance and unusual, kidney-shaped leaves. Dark purple-pink flowers appear before the foliage on this spreading, multi-stemmed shrub or small tree.
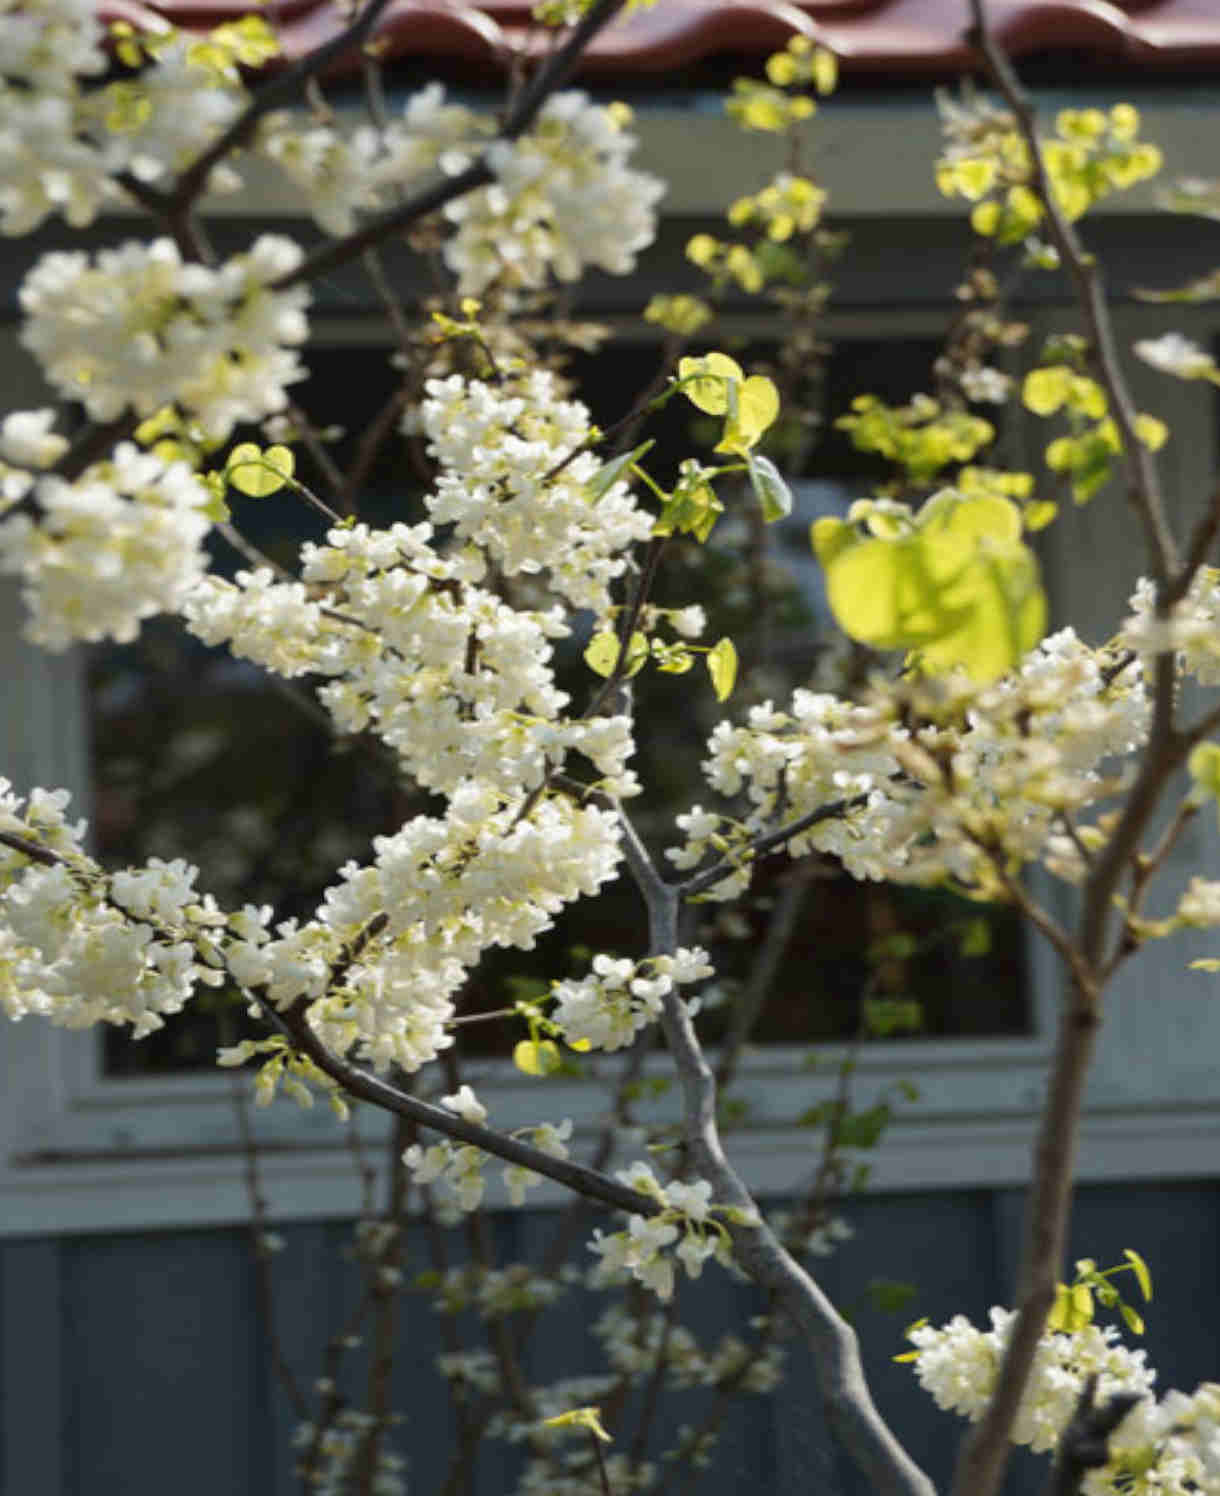
Cercis chinensis is also known as the Chinese redbud, and is a compact, multi-stemmed shrub. A standout cultivar is ‘Avondale’ which flowers prolifically, as well as a pure white form, ‘Shirobana’. Again, the flowers are gone by the time the foliage emerges.
Key Information
Position
Soil Conditions

Hardiness

Where & when to plant Cercis
Position - Full sun or dappled shade (C. canadensis particularly enjoys the latter)
Soil - Any fertile, deep, moist yet well-draining soil
Flowering Period - Spring
Hardiness - Hardy, most cercis are rated H5 (including all those mentioned in this growing guide), meaning they can withstand temperatures dropping to between -10°C and -15°C. That said, there are a few caveats; Cercis can be more tender when young and newly planted; Even on mature specimens, new, unripened wood can be vulnerable to frost damage; Late frosts may occasionally harm emerging leaves, though the tree/ shrub is usually able to recover quickly with replacement growth. It is therefore advisable to avoid frost pockets or very exposed spots when choosing your planting location.
Cercis usually comes as a pot grown plant. This means it can be planted at any time of year, though for best results, plant in autumn or spring when the soil temperature and moisture content are at optimum levels for healthy root establishment. An autumn planting can be done by those gardening in mild conditions (and broadly speaking, this is the southern half of the UK). For those liable to cold winters, it is best to wait until spring (generally the northern half of the UK). Planting can also be carried out in summer, though be prepared to water regularly.
You may also see cercis sold in bare root form, available during the dormant period (usually from October to March). These should be planted straight away, though it is important to avoid frozen or waterlogged conditions. If necessary, they can be ‘heeled in’ (temporarily planted in soil or compost to keep the roots from drying out) or soaked in a bucket of water for a few days.
Larger species make excellent specimen plants, perhaps in a lawn. Grow smaller ones in a shrub border, or with a little effort you can even train them against a wall. Well-established plants can be pollarded in early spring to restrict size and generate extra-large, decorative foliage.
Like most trees and shrubs cercis grows best in the open ground, though you can also try growing it in a large container. While most cercis enjoy a sunny spot (apart from C. canadensis which prefers dappled shade), those grown in pots are best in partial shade. Full sun can mean they dry out too quickly and result in stressed plants.
How to plant Cercis
It is worth noting here that cercis resents transplanting, so should be planted in its final location when young.
- For planting into the ground, start by watering the roots well and allowing them to drain before planting.
- If you are planting into grass, remove a circle of grass at least 1m in diameter.
- Dig the soil area over, removing any large stones and weeds and breaking up any lumps. Mix in a generous amount of organic matter such as manure or garden compost. Cercis is not a deep rooter – its roots grow shallow and wide, so keep this in mind when preparing the soil.
- Rake level and firm with your heels. Rake level again.
- Now dig the planting hole, aiming for twice the width of the rootball.
- Place the plant in the hole, ensuring the top of the rootball sits level with the surface of the soil. Too low and the stem can rot, too high and the roots can dry out.
- Backfill with soil and firm in gently with your foot.
- Soak well with water.
- Mulch around the base with well-rotted organic matter such as manure or garden compost.
- For training against a wall (smaller species are best for this), it is a good idea to install support such as a trellis, or horizontal or vertical wires, prior to planting. The support should start 30cm above ground level, and, in the case of wires, be spaced 30-45cm apart. Try to have the support sitting approximately 5cm away from the wall to allow for optimum growth.
- Prepare the plant and soil as above.
- Dig a planting hole, aiming for there to be a gap of about 45cm between the plant and the wall. This is so it has room to develop and can catch the rain rather than sit in the dry rain shadow of the wall.
- Plant as above, angling the plant at a 45-degree angle towards the wall.
- Water and mulch as above.
- Using garden twine, tie in growth to the supports in an evenly spaced manner. If the growth is still too short for this, point it in the right direction by tying to some angled canes inserted in the soil.
- Prune out any unwanted growth, i.e., that which is growing towards or away from the wall.
- For planting in containers (again, smaller species are best), first choose an appropriately sized pot. The best practice is to start just a few centimetres larger than the root ball and go up in size gradually every year or so. Always ensure there are plenty of drainage holes in the bottom.
- Again, water the roots thoroughly and allow to drain before potting.
- It can be a good idea to fill and plant your pot in situ to save yourself the trouble of moving it once full.
- Use a good quality potting compost with plenty of horticultural grit mixed in, and, if not already present in the compost (check the description on the bag) some slow-release fertiliser granules.
- Start by partially filling the pot with compost; enough so that when placed on it the top of the roots sit about 3cm lower than the top of the pot.
- Infill all the space surrounding the roots with compost, firming down with your fingers then adding a little more so the plant is held tight. Again, remember to ensure the graft union sits just above the surface of the compost.
- Pick up the pot (if you can!) and lightly tap on the potting bench or ground a few times to help further settle the compost around the plant.
- Soak well with water.
- A mulch with horticultural grit will look attractive and help to prevent a ‘cap’ or crust forming on the top of the compost (something container plants can suffer due to the artificial nature of their watering).
What to plant with Cercis
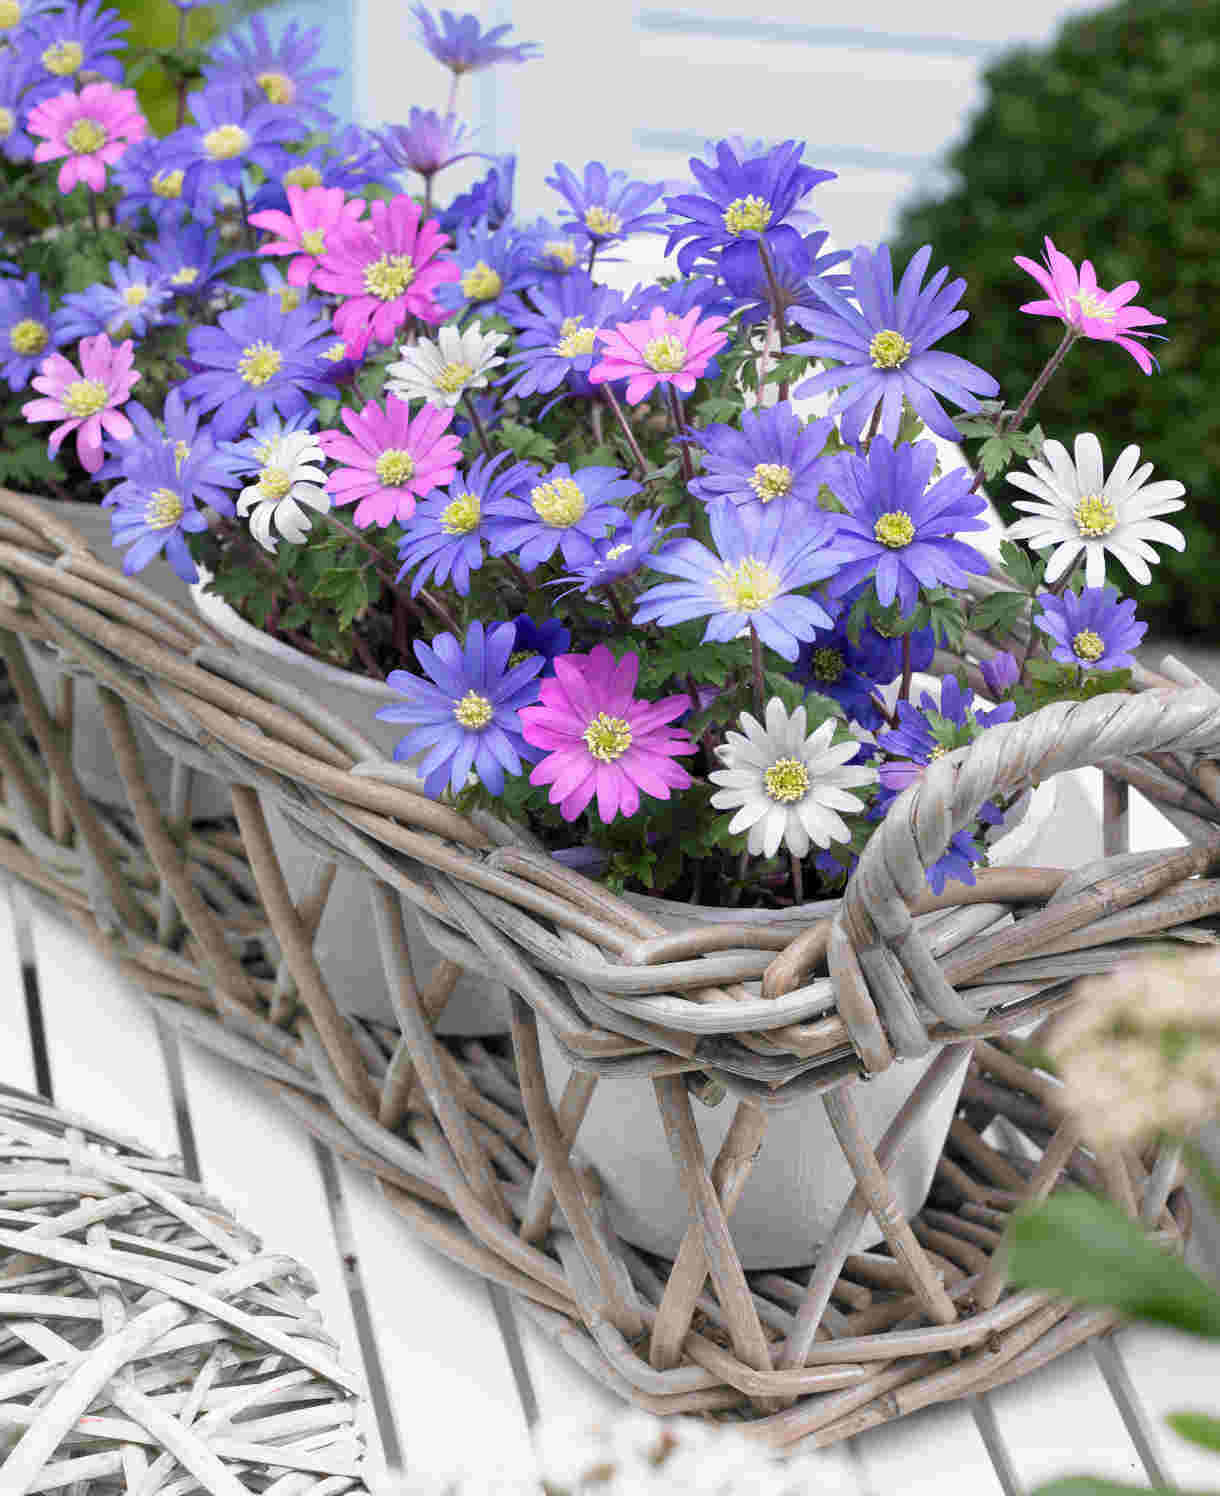
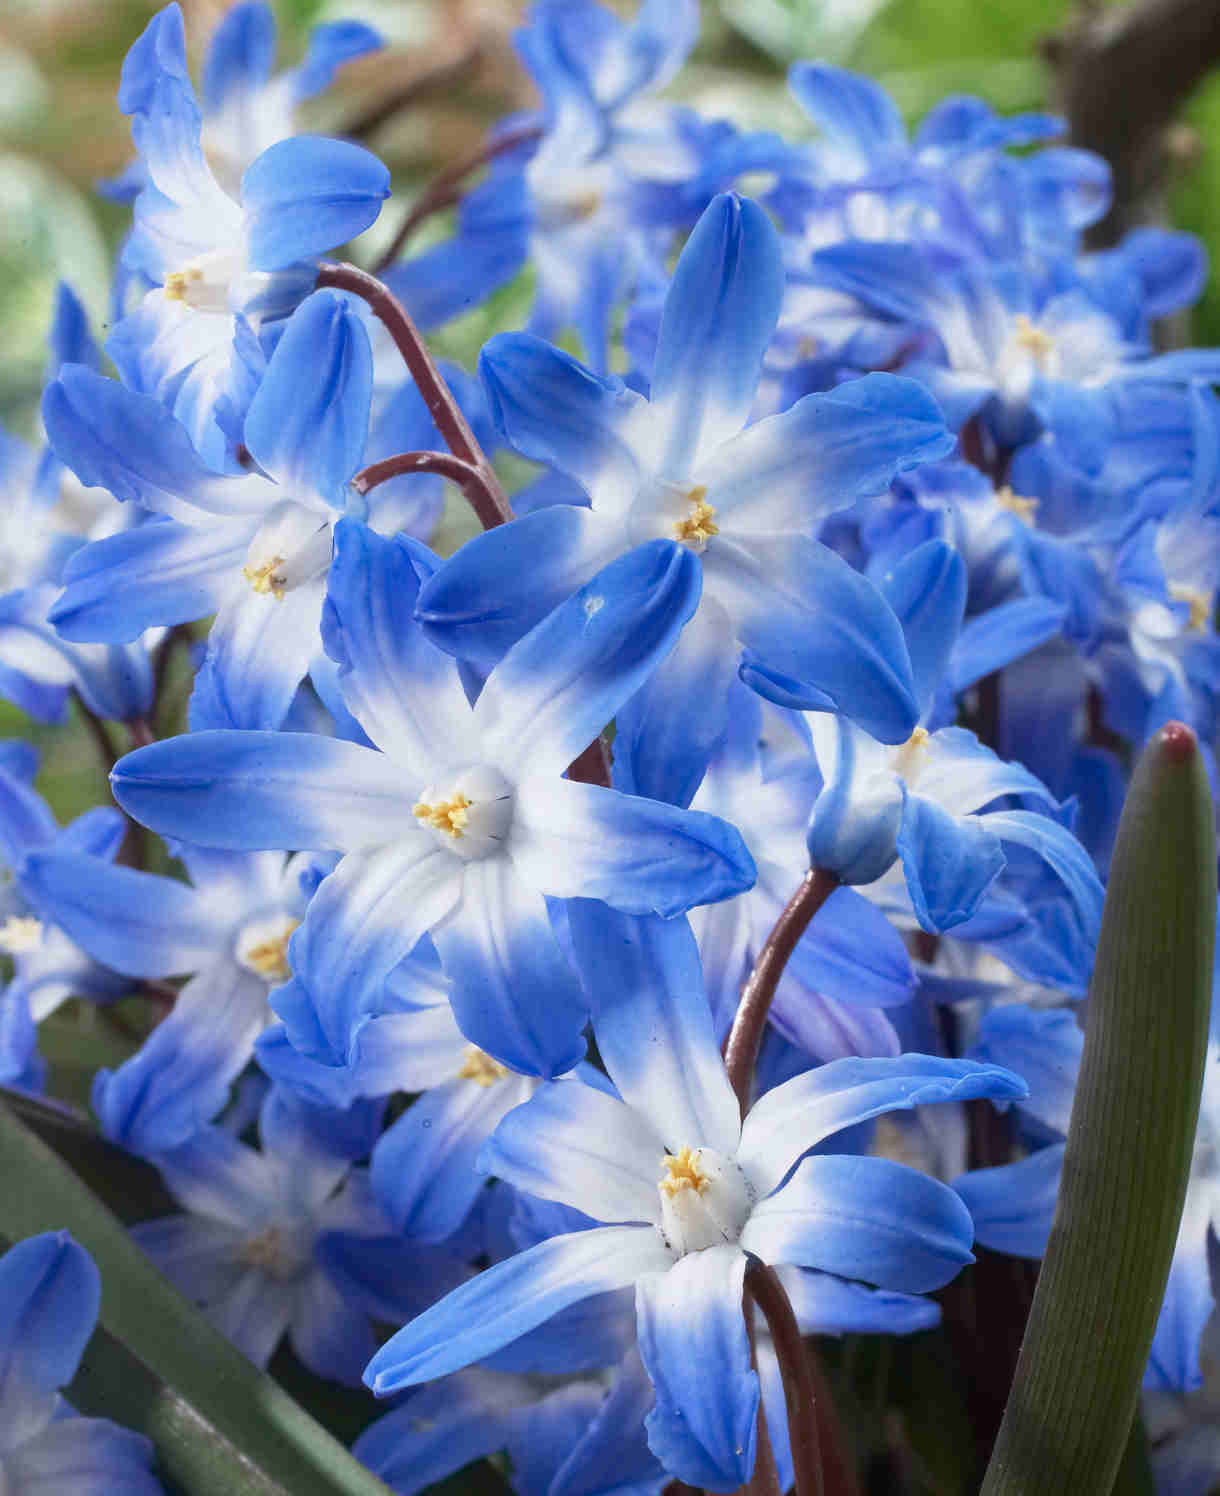
Cercis is a hugely versatile tree or shrub able to fit with virtually any style of planting. We love seeing it underplanted with a smattering of spring-flowering bulbs to complement the early blossom – try Anemone blanda, cyclamen, chionodoxa, and galanthus, which should all naturalise gently over the years. If you’re growing bulbs in grass, resist the urge to mow spent foliage away until it has fully died back.
Cercis can also be part of a powerful autumn flush in the garden. Its vibrant foliage pairs beautifully with fiery autumnal companions such as acer, liquidambar, parthenocissus, vaccinium, aronia, Euonymus alatus, and hamamelis.

How to care for Cercis
Pruning and Deadheading
Cercis falls into the RHS pruning group 1, which means no pruning is required when it is being left to grow freely as a specimen tree, other than the occasional removing of dead, diseased, damaged, or badly placed growth. This is best done immediately after flowering in spring.
An alternative approach is to prune cercis back hard in late winter or early spring (RHS pruning group 7), to dramatically restrict its size and generate super-sized foliage. Treated this way, cercis can be incorporated into a mixed border or smaller space. Pollarding is the recommended approach, i.e., cutting back to the same desired height each year. Give the plant a few years to establish before starting this practice.
Cercis trained against a wall needs attention in spring, after it has finished flowering. Tie in new growth to the support and prune out anything growing in the wrong direction.
Watering
Like all woody plants, cercis should be regularly watered during its first couple of growing seasons in the ground while its roots become established. After this it is more drought tolerant than most trees and shrubs and should be largely self-sufficient, though it still pays to water in prolonged periods of hot, dry weather. An annual mulch is also useful for locking in moisture – more on this in our ‘Feeding’ section below.
Container-grown cercis has less access to moisture so will need to be regularly watered throughout every growing season. Allowing the top couple of centimetres of compost to dry out between watering is a useful rule of thumb to help avoid overwatering, though be aware that during the height of summer this can happen in as little as 24 hours. Wiggle your finger into the compost to check. From mid-autumn, the British climate tends to take over watering needs, though do remember to step in in the event of an unseasonably dry spell.
Feeding
To give it the best possible start, feed cercis for its first few years in the ground with a general purpose granular feed applied to the surface of the soil and lightly worked in (known as a ‘top dress’). This is best done in late winter, along with a mulch of well-rotted organic matter (i.e., a layer of manure or garden compost applied to the soil around the plant), which has the added benefit of suppressing weeds and locking in moisture.
Once your cercis is well established an annual mulch should provide sufficient nutrients, however, apply a top dress as above if ever you feel an extra boost is needed.
Container-grown plants rely even more on the gardener for nutrition. Get off to a flying start by making sure you use a good quality compost, then throughout the growing season (March to September) apply a liquid feed at regular intervals according to instructions. An annual top dress is also advisable: each spring, scrape off the top 5cm of compost and replace with fresh compost containing a little general purpose granular feed.
Cold Protection
Whilst established cercis are, overall, hardy enough to withstand a winter in the UK, parts of them (new, unripened wood or freshly emerged leaves) may be damaged by frost. Avoid planting in frost pockets if you can, though the damage is unlikely to be terminal. Simply prune off any blackened stems, and don’t worry about frosted new leaves. The plant is resilient enough to recover from this without any intervention on your part.
The real danger zone is the first few years after planting, when cercis can be more tender. Use one of these handy fleece jackets, or simply an old bedsheet, to cover recently planted specimens whenever there is a frost forecast.
Pests and Diseases
Cercis can suffer from a few fungal diseases. Canker causes shoots to wilt and dead areas to appear on branches. It often enters through cuts and wounds, so take care when using a strimmer or mower nearby. Cut out any affected areas as soon as you can.
Verticillium wilt is a soil borne fungal disease which can cause branch dieback, sudden wilting, and yellowing of the leaves. As far as prevention goes, it is important to keep the surrounding area weed-free as many of these can act as hosts. Once suspected, the only thing for it is to remove the entire plant including as much of the root system as possible. Verticillium wilt is confirmed by black streaking in the wood. Take care not to spread infected soil around the garden on muddy tools and boots.
Sap sucking or leaf chewing insects (such as scale insect or leafhopper) can cause damage, though this is rarely serious enough to require treatment.
How to propagate Cercis
Although slow, seed is the most effective method of propagating this plant which is notoriously tricky to grow from cuttings. Note that the results may be a little different to the parent plant.
- Seeds are typically ready for collecting in late summer when the seedpods are brown and dried, and either starting to split open to reveal the seeds inside, or can be shaken to hear the seeds rattling.
- In dry conditions, snip the seedheads from the plant using scissors or secateurs.
- Some seedpods may need to continue drying and ripening for some time indoors.
- To separate the seeds from the pods, put them in hot water for a minute then use a sieve to separate them out. Viable seeds will be either very dark brown or black.
- Sow immediately. Cercis seeds need a period of moisture and cold to trigger germination (i.e., winter outdoors!).
- Fill a module tray with a well-draining compost mix, tapping on the potting bench or table to compress.
- Sowing one seed per module, pushing the seed down a little into the compost. Again, tap the tray a few times to infill the holes.
- Water gently with a fine spray until it is evenly moist but not waterlogged.
- Place the pots outdoors in a sheltered position, such as in a coldframe or the lee of a wall.
- Expect to see germination in spring. Pot into individual 9cm pots when the saplings are large enough to handle, and plant out once these reach a height of around 15-30cm.
* Many plants carry Plant Breeders Rights and cannot be propagated for commercial purposes.
Common Cercis questions
How do I tell the difference between cercis and cercidiphyllum?
Though not related, these two trees can look very similar. Cercidiphyllum tends to have smaller leaves and eventually forms a much larger, spreading, pyramidal tree. Like cercis, cercidiphyllum flowers in spring, though its blooms are tiny and almost insignificant. Cercidiphyllum leaves give off a candyfloss-like aroma of burnt sugar as they colour up in autumn.
How quickly does a judas tree grow?
This is a relatively slow-growing plant, which usually takes around 15-20 years to reach full height.
Are judas trees poisonous?
Cercis has no toxic effects reported.
What soil does cercis like?
Any good garden soil – fertile, deep, moist and well-draining. It is unfussy on pH.