How to grow Ceratostigma
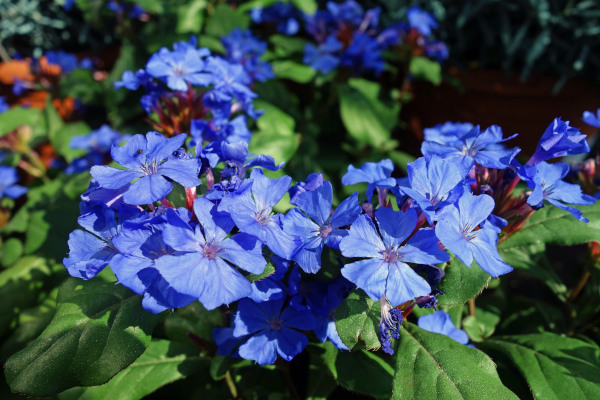
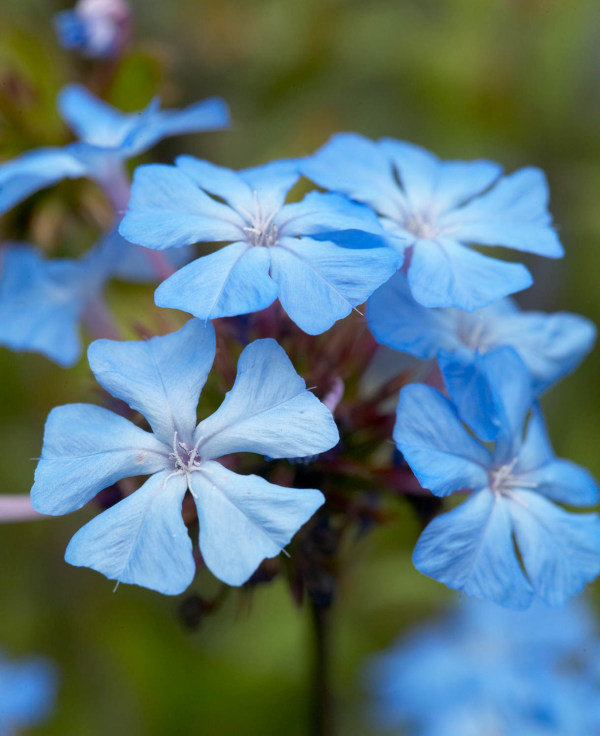
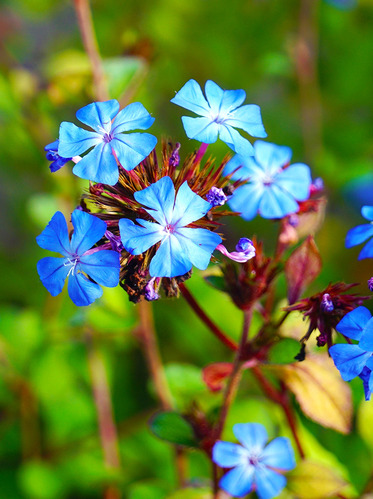
Grown for its late season, bright blue flowers and the vivid autumn colour of its foliage, ceratostigma can be either a subshrub or herbaceous perennial (depending on the species), and originates from dry, open situations in China and the Himalayas. Of the 8 or so species, only three tend to be cultivated in the UK. Ceratostigma plumbaginoides is a low, spreading herbaceous perennial which dies down completely in the winter. The larger C. willmottianum hovers somewhere between subshrub and herbaceous perennial – in some winters it dies right down to the ground, whereas in others the top growth stays intact. Shrubbiest of all, tending not to die back at all, is C. griffithii – a more branching, twiggy affair which forms a rounded, spreading mass. In mild winters this can remain evergreen, though more often is semi-evergreen.
Somewhat confusingly, ceratostigma shares common names with its cousin, the tender, climbing shrub plumbago. Both can be found referred to as some form of leadwort or plumbago.

Key Information
Position
Soil Conditions

Hardiness

Where & when to plant Ceratostigma
Position- All species will thank you for a warm, sheltered, sunny position, protected from the north and east by a wall or hedge
Soil- Moist but well-draining with a low nutrient content.
Flowering Period- Late summer to autumn
Hardiness- Varies depending on the species/ cultivar
Species/ cultivar | Hardiness rating | Explained |
Ceratostigma plumbaginoides | H5 | HARDY Can withstand between -10°C and -15°C Hardy throughout most of the UK even in a cold winter |
Ceratostigma willmottianum | H4 | HARDY Can withstand between -5°C and -10°C Hardy in the average UK winter, may struggle in an exposed spot |
Ceratostigma griffithii | H4 | As above |
Ceratostigma ‘Summer Skies’ | H3 | HALF-HARDY Can withstand between 1°C and -5°C Likely to be killed by a cold winter – grow either in a sheltered microclimate or overwinter indoors |
Ceratostigma ‘Sapphire Ring’ | H3 | As above |
For best results, plant hardy species in autumn or spring. An autumn planting can be done by those gardening in mild conditions (and broadly speaking, this is the southern half of the UK). For those liable to cold winters, it is best to wait until spring (generally the northern half of the UK). Planting can also be carried out in summer, though be prepared to water regularly.
Half-hardy species are best planted out in late spring once all risk of frost has passed. This varies from region to region, though tends to be mid to late May.
Ceratostigma plumbaginoides forms a vigorously spreading thicket and is useful as groundcover in a sunny spot (including underneath deciduous trees and shrubs) or edging paths and steps. To restrict its spread, plant in gaps in paving or a dry-stone wall.
Ceratostigma wilmottianum and Ceratostigma grifitthii are most at home as a front for other shrubs, or amongst a mixed border.
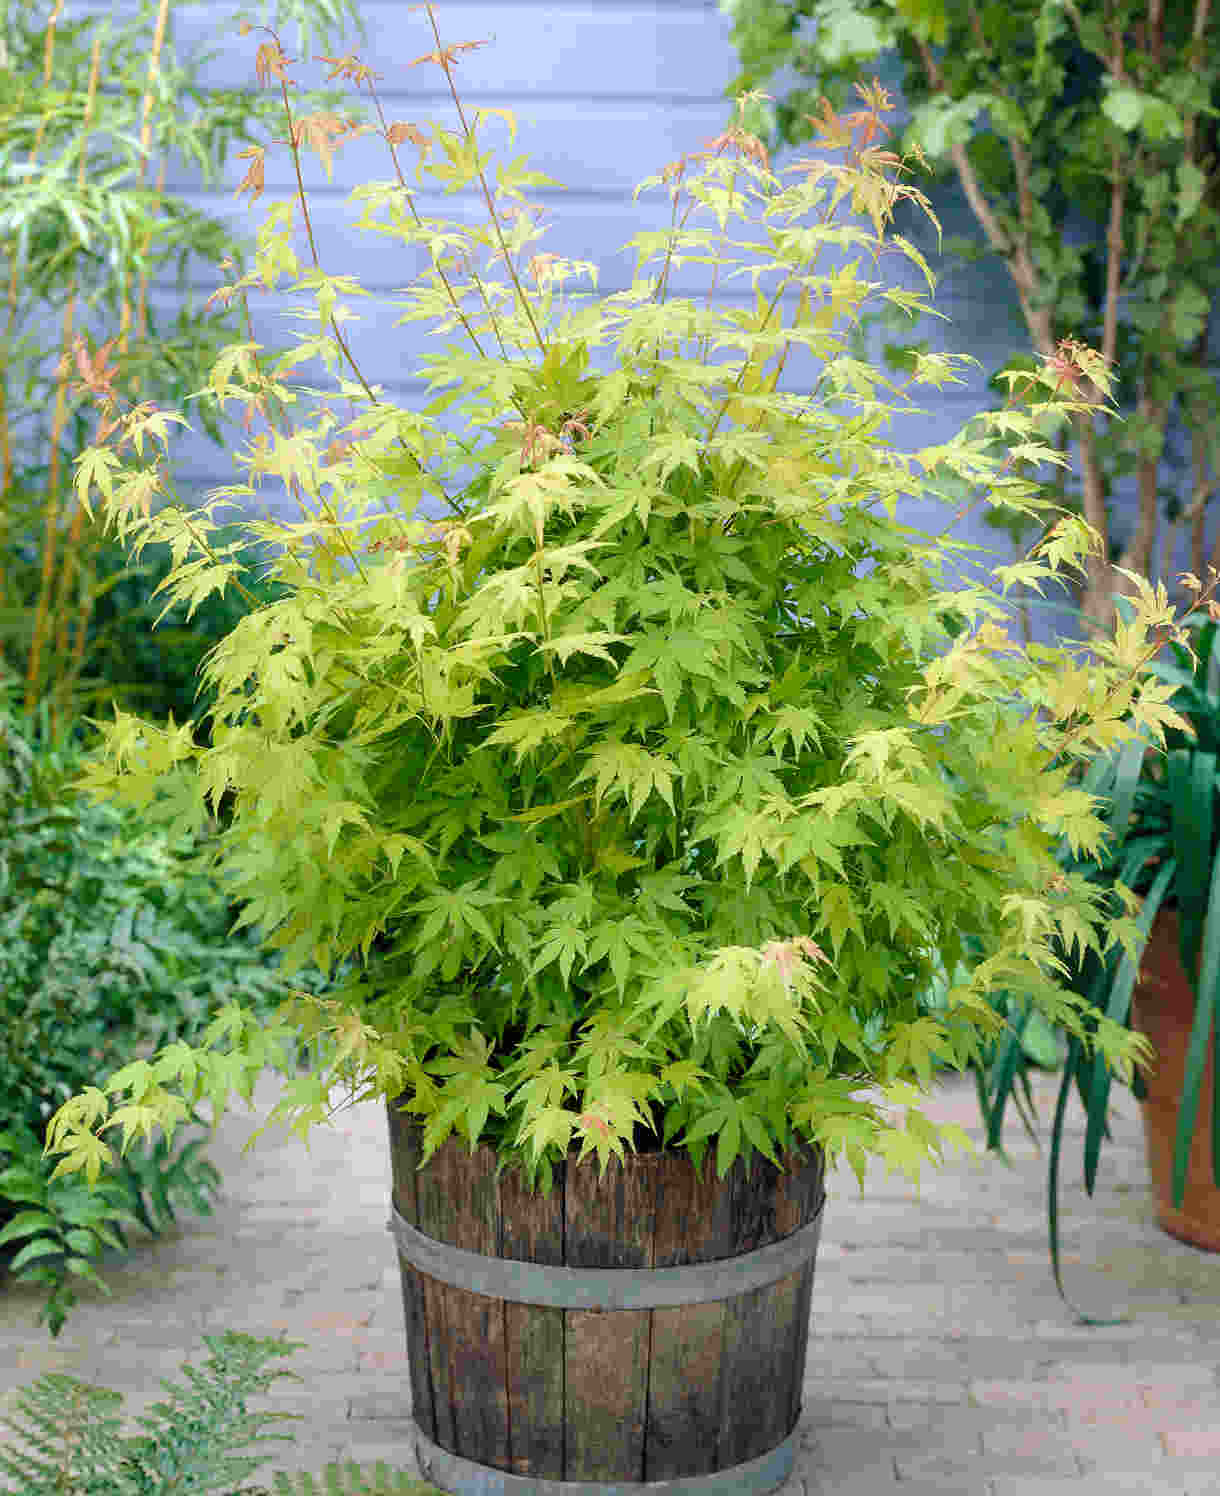
All species can be grown in a container kept in a sunny, sheltered spot.
How to plant Ceratostigma
- For planting in the ground, dig the soil area removing any large stones and weeds and breaking up any lumps. Ceratostigma resents sticky, wet soil, so if yours is on the heavy side now is the time to dig in plenty of light organic matter such as garden compost. Avoid very rich organic matter such as manure – this plant grows and flowers best in lower nutrient conditions. Rake level and firm with your heels. Rake level again.
- Water plants well and allow to drain before planting.
- Dig a hole twice the size of the root-ball.
- Place the plant in the hole, ensuring the top of the root ball sits level with the surface of the soil. Too low and the plant may rot, too high and the roots can dry out.
- Backfill with soil and firm in gently with your foot.
- Soak well with water.
- Mulch around the base with light, well-rotted organic matter.
- For planting into a wall or crevice ( plumbaginoides), simply excavate as large a cavity as you can, loosely fill with a sandy soil or compost mix, and push the small plant in. Compress with your fingers so that it holds tight, and thoroughly wet the soil/ compost with a gentle spray of water.
- For planting in containers, first choose an appropriately sized pot. The best practice is to start just a few centimetres larger than the rootball and increase in size every year or two. Always ensure there are plenty of drainage holes in the bottom.
- If you are using a large or heavy pot, it can be a good idea to fill and plant it in situ to save yourself the trouble of moving once full.
- Use a good quality potting compost with plenty of horticultural grit mixed in, and, if not already present in the compost (check the description on the bag) some slow-release fertiliser granules.
- Start by partially filling the pot with compost; enough so that when placed on it the upper surface of the root ball is about 3cm lower than the top of the pot.
- Infill all the space surrounding the root ball with compost, firming down with your fingers then adding a little more so the plant is held tight.
- Pick up the pot (if you can!) and lightly tap on the potting bench or ground a few times to help further settle the compost around the plant.
- Soak well with water.
- A mulch with horticultural grit will look attractive and help to prevent a ‘cap’ or crust forming on the top of the compost (something container plants can suffer due to the artificial nature of their watering).
What to plant with Ceratostigma
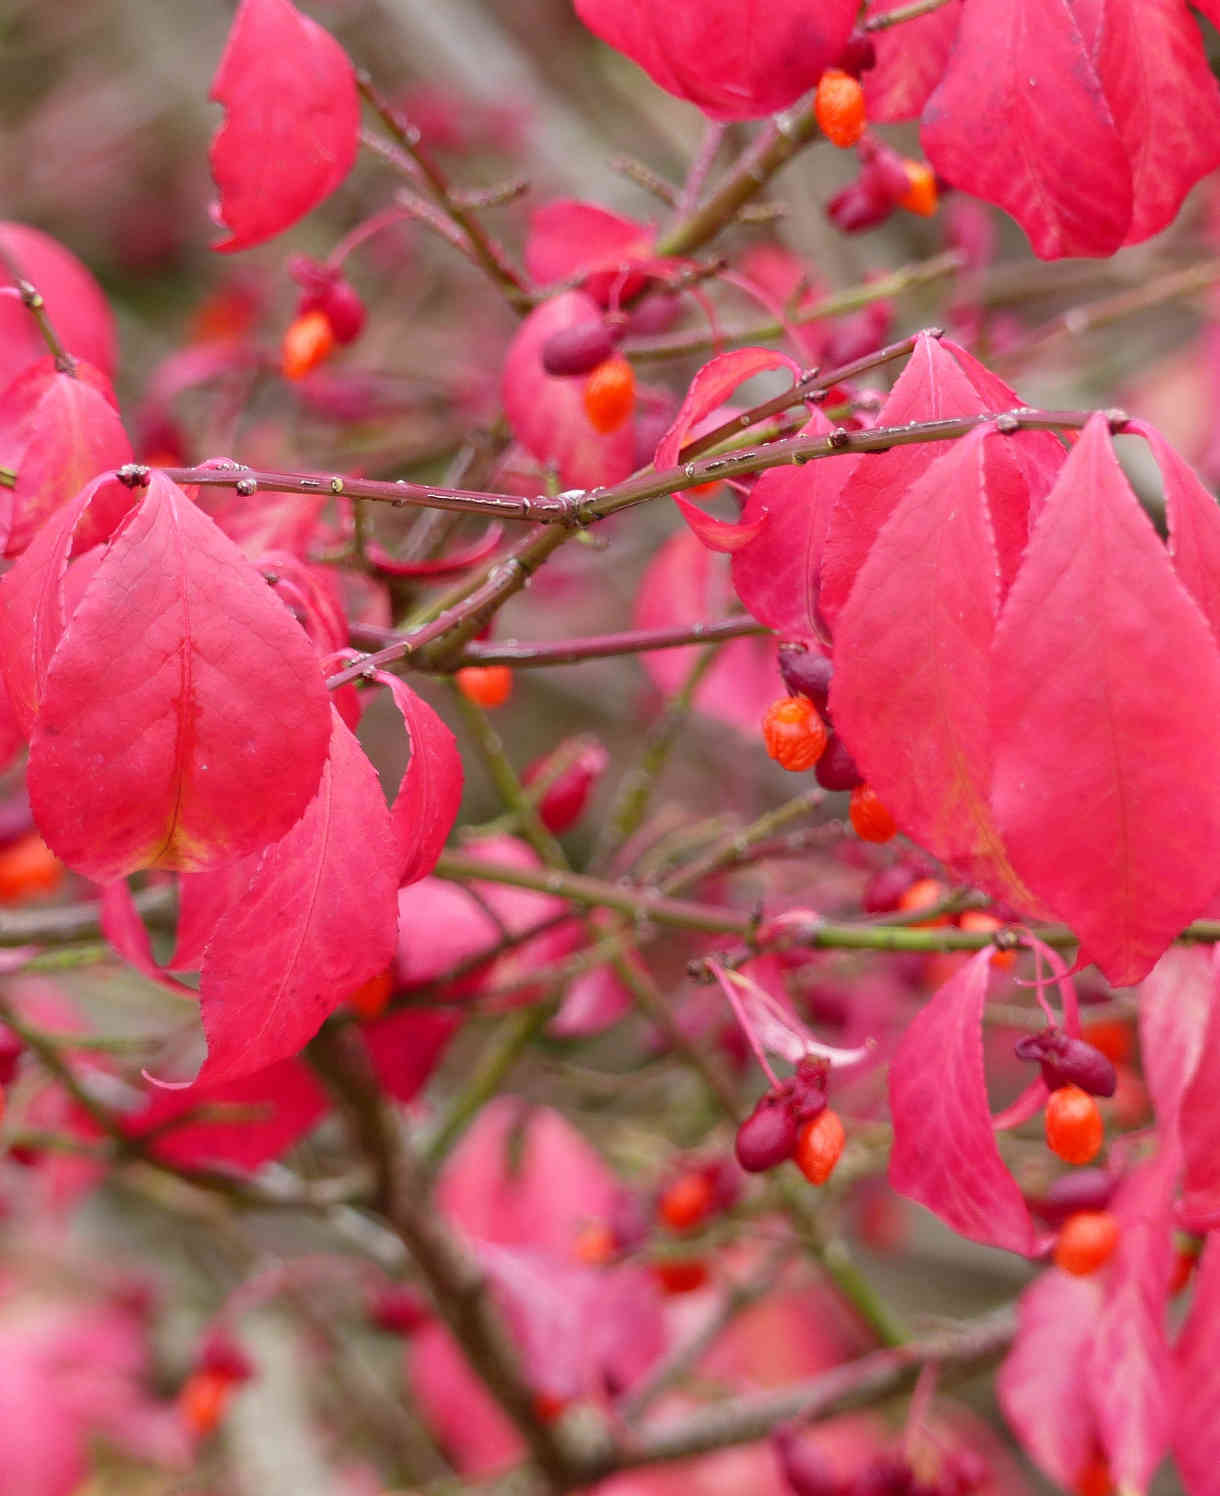
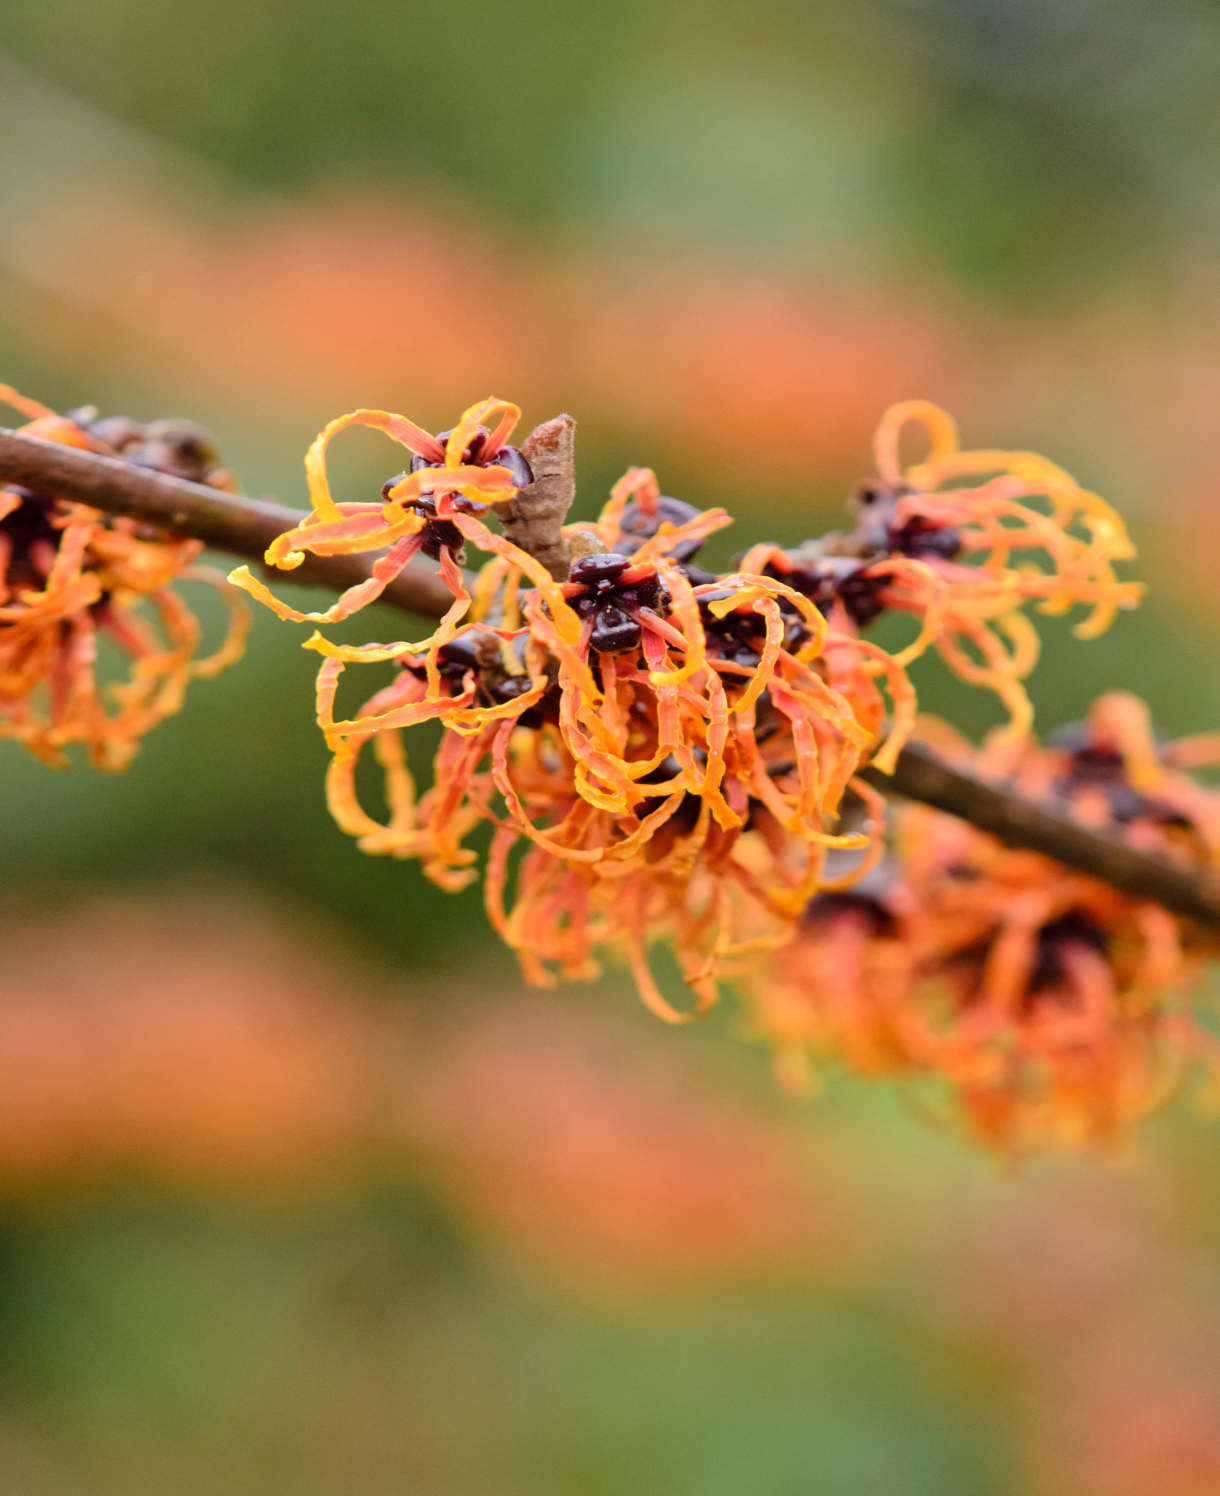
Create a powerful autumn flush in the garden by pairing ceratostigma with other fiery foliage plants, such as acer, liquidambar, parthenocissus, vaccinium, aronia, Euonymus alatus, and hamamelis.
How to care for Ceratostigma
Pruning and Deadheading
Cut the herbaceous C. plumbaginoides down completely to ground level in autumn or winter.
Shrubbier species (C. willmottianum and C. grifitthii) fall into the RHS pruning group 10. Remove any frost damaged shoots in early to mid-spring, taking out any dead, diseased, damaged, or badly placed growth whilst you’re at it.
Watering
Soak your ceratostigma with water a handful of times during its first couple of months in the ground. Allowing the top few centimetres of soil to dry out beforehand will help avoid overdoing it (to check, wiggle your finger down into the soil until you hit moisture). After this initial period, ceratostigma should be largely self-sufficient in all but prolonged periods of hot, dry weather.
If you are growing ceratostigma in a container, remember it has less access to moisture so will need regular watering throughout every growing season. Again, allowing the top couple of centimetres of compost to dry out in between is a useful rule of thumb. From mid-autumn, the British climate tends to take over watering needs, though do remember to step in in the event of an unseasonably dry spell.
Feeding
On most garden soils, a mulch of well-rotted organic matter (i.e., a layer of leaf mould or garden compost applied to the soil around the plant) should provide enough nutrients for your ceratostigma. This has the added benefit of suppressing weeds and locking in moisture. Mulch when planting, and then again each spring. Try to avoid an excess of nutrients, i.e., rich mulch such as manure, or an application of artificial fertiliser, as this can cause ceratostigma to put on gangly, leggy growth at the expense of flowering.
Container-grown plants are different as they rely solely on the gardener for nutrition. Get off to a flying start by making sure you use a good quality compost with slow-release granules mixed in. These generally provide nutrients for around 6 to 8 weeks, after which a balanced liquid feed mixed up to half strength should do the trick. Apply approximately once a month until the end of the growing season.
Cold Protection
The herbaceous species (C. plumbaginoides) tends to be hardier than the shrubby species, and unless exposed to unusually harsh weather can be expected to come through a UK winter without the need for additional protection.
The shrubby species are slightly more delicate, and care should be taken to plant them in a warm, sheltered spot. Having said that, they will usually regrow from the base if top growth is damaged during winter.
Half-hardy cultivars such as ‘Summer Skies’ and ‘Sapphire Ring’ are best grown in a pot and overwintered indoors in a cool but frost-free environment – an unheated conservatory or greenhouse are both ideal, or a large cold frame. Failing that, wrap the base of the pot in hessian, bubblewrap, or fleece, and protect top growth with one of these handy fleece jackets (or simply an old bedsheet) whenever a hard frost is forecast.
As is the case with many plants, excessive water during winter can be just as harmful as plummeting temperatures. Try to avoid areas prone to winter waterlogging and use a well-draining compost mix for containers.
Pests and Diseases
Ceratostigma is largely problem-free, though may occasionally suffer from powdery mildew. This is a fungal disease which appears as a white, powder-like coating on foliage and is generally a sign that a plant is stressed – often through excessive water, though other causes can include poor airflow, over fertilizing, and insufficient sunlight.
Prune off and dispose of any affected leaves and if necessary, thin out surrounding plants to improve airflow and light levels. Do not be tempted to give the plant extra feed, as this will generate an excess of soft, new growth which is particularly susceptible to the fungus.
How to propagate Ceratostigma
We’ve found the most effective way to propagate this plant is to take semi-ripe cuttings in summer.
- Select healthy, non-flowering shoots from the current year’s growth.
- Snip cuttings off the plant, taking a longer piece than the ideal eventual length of around 10cm (to allow for trimming).
- Put them in a plastic bag straight away to prevent drying out.
- Fill a pot (or several, if you have a lot of cuttings) with a well-draining compost mix.
- Trim the end of the cutting to just below a node (point at which leaves grow).
- Remove lowest leaves, leaving 2-4 leaves.
- If the remaining leaves are large, cut them in half with a sharp knife (to reduce water lost through transpiration).
- Insert the cuttings into the compost and water lightly. Several cuttings can be put in the same container if there is enough space to do this without them touching.
- Place in a warm, sheltered spot with indirect light (a cool greenhouse, conservatory, windowsill, or porch is ideal).
- Water regularly until roots emerge out of the bottom of the container.
- Gently remove rooted cuttings and pot them into individual pots. Grow on in a cool yet frost-free environment such as an unheated conservatory, greenhouse, or cold frame, until they are large enough to be planted out.
* Many plants carry Plant Breeders Rights and cannot be propagated for commercial purposes.
Common Ceratostigma questions
Is ceratostigma hardy?
This varies depending on the species/ cultivar. See our hardiness table above for more details, as well as the ‘Cold Protection’ section.
Do you prune ceratostigma?
Herbaceous species such as plumbaginoides naturally die back for winter, so can be cut back to ground level during dormancy. Shrubbier species can be given a light tidy in early to mid-spring. See our ‘Pruning and Deadheading’ section above for more information.