


How to grow Ceanothus
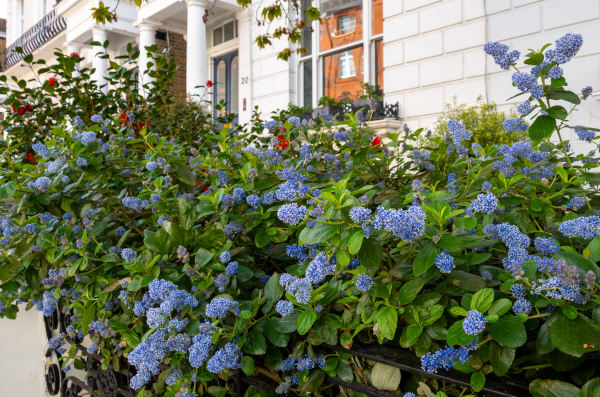
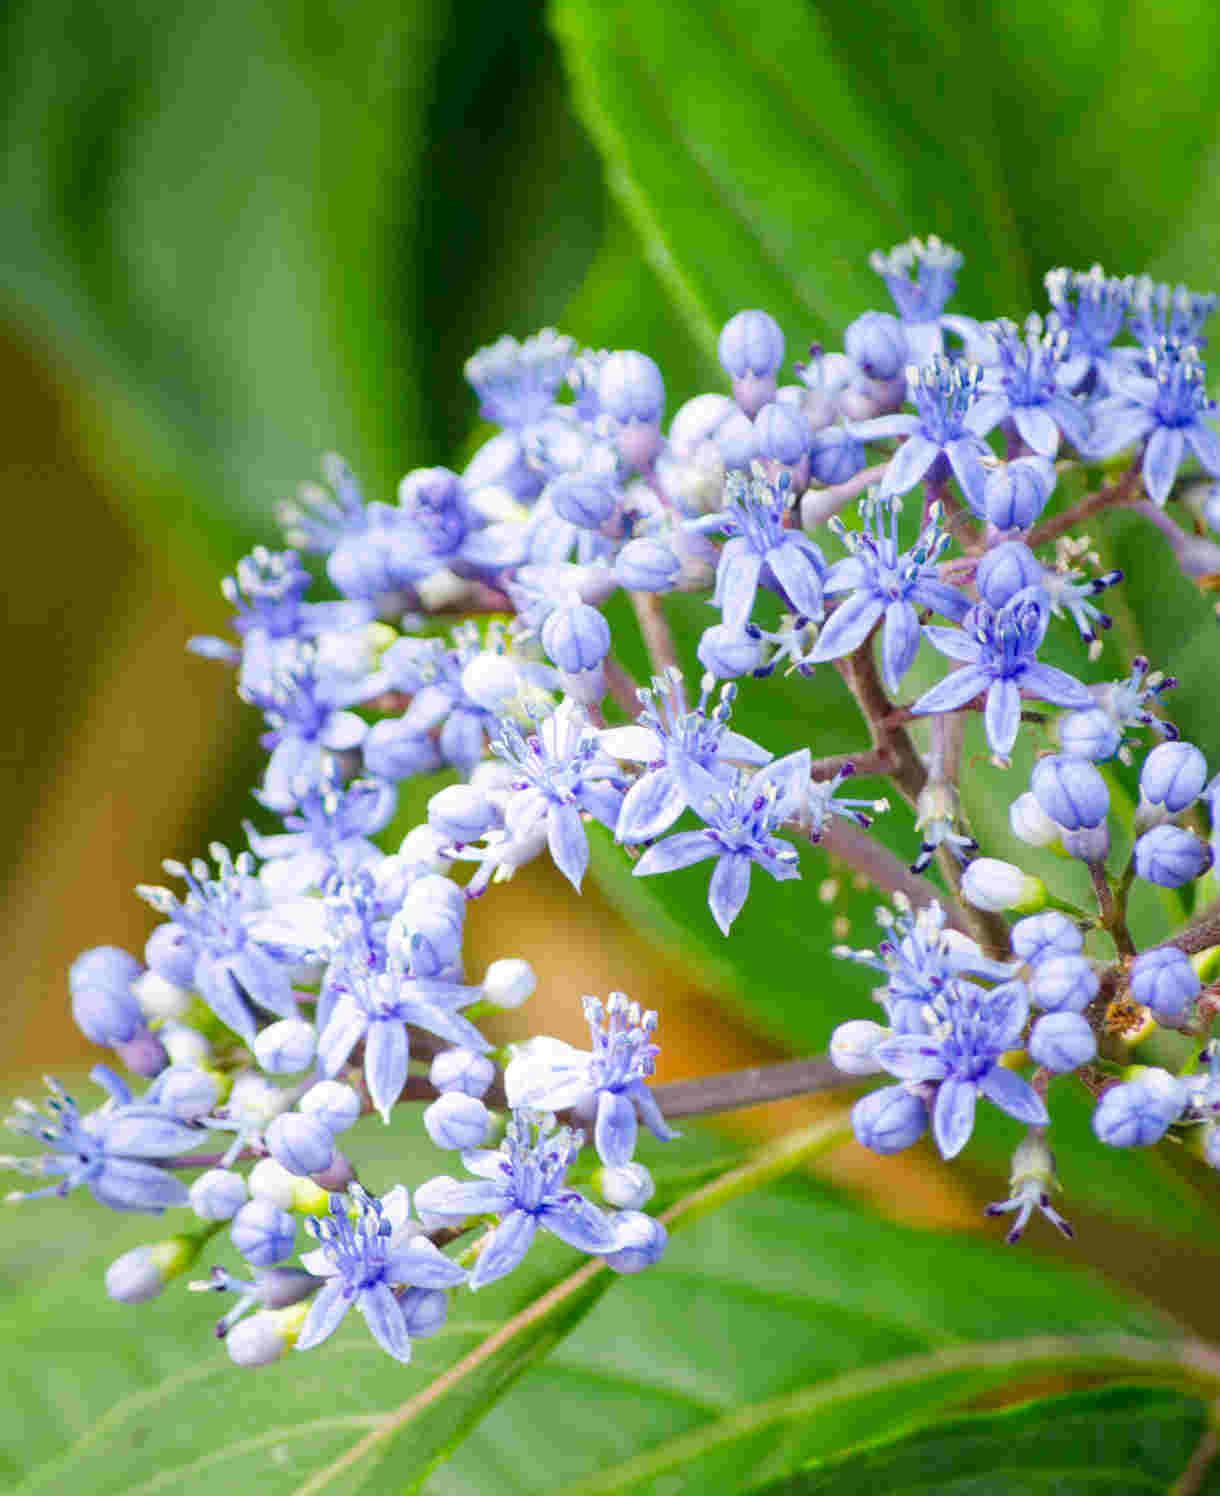
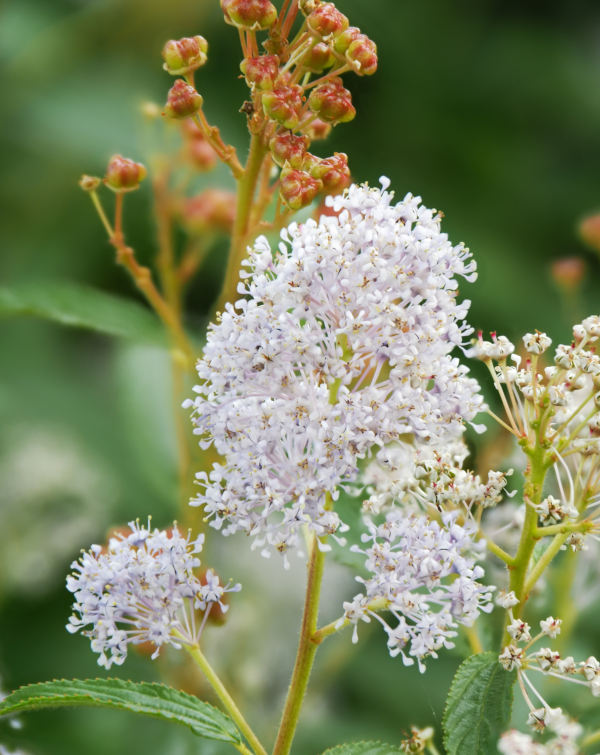
Also known as California lilac, ceanothus is a flowering shrub mainly from the Pacific coast of North America, particularly California. One of the few shrubs to produce blue flowers (though pink and white forms are also available), it has become a much-loved garden favourite. Most species are evergreen, though deciduous are also available, and you can choose from early or late flowering. Add to this the vast range of shades, sizes, and habits, and there is a ceanothus to suit almost every garden.
Ceanothus can be grown as a free-standing or wall shrub. The low-growing or prostrate species (such as Ceanothus thyrsiflorus var. repens, C. ‘Yankee Point’, C. divergens, or C. gloriosus) make good ground cover plants.
Key Information
Position
Soil Conditions

Hardiness

Position- A sunny, sheltered spot such as in front of a south-facing wall is ideal. Avoid exposure to cold winds and frost pockets.
Partial shade will be tolerated though is likely to result in a disappointing show of flowers.
If you have a slightly windy spot but are desperate to grow ceanothus, go for a deciduous species. The bare plants are less susceptible to winter damage and tend to be slightly hardier.
Soil- Fertile and well-draining. Avoid shallow, chalky soils (the leaves tend to go yellow), and anywhere prone to winter waterlogging.
Flowering Period- Can be late spring to early summer (‘early’), or late summer to autumn (‘late’), depending on the species
Hardiness- Most species and cultivars have a hardiness rating of H4. This means they will cope with temperatures dipping to between -5°C and -10°C, i.e., the average UK winter. They may struggle in very harsh winters or exposed conditions.
Where & when to plant Ceanothus
Horticultural Divisions-
The following lists are not exhaustive, though feature many of the most popular cultivars for a handy at-a-glance guide to flowering periods.
EARLY Spring to summer flowering (all evergreen)
| LATE Summer to autumn flowering
|
‘Trewithen Blue’ | ‘Autumnal Blue’ (evergreen) |
‘Concha’ | ‘Marie-Rose’ (deciduous) |
‘Skylark’ | ‘Gloire de Versailles’ (deciduous) |
‘Pershore Zanzibar’ | ‘Burkwoodii’ (evergreen) |
‘Victoria’ | ‘Topaze’ (deciduous) |
‘Millerton Point’ | ‘Henri Désfosse’ (deciduous) |
‘Puget Blue’ | ‘Marie-Simon’ (deciduous) |
‘Blue Mound’ | ‘Perle Rose’ (deciduous) |
‘Dark Star’ |
|
‘Cascade’ |
|
To give your ceanothus the best start, plant it in spring as the soil begins to warm up. Ceanothus resents sitting in cold, wet soil, so is better able to face a UK winter once it has a growing season’s worth of root growth under its belt.
A summer planting is also possible, though be prepared to water regularly.
All species of ceanothus will thank you for a warm, sunny spot which is out of the wind. Against a south-facing wall is perfect (and can mean the shrub grows to almost twice its normal height), or a sheltered shrub border. Smaller or prostrate species go well in Mediterranean or rock gardens.
Like all trees and shrubs, ceanothus grows best in the open ground, though with a little care you may enjoy success with container cultivation. Make sure you choose a small, compact variety (such as C. ‘Marie Simon’), and keep on top of feeding, watering, and repotting (see more on this below).
How to plant Ceanothus
- For planting in the ground, dig the soil area removing any large stones and weeds and breaking up any lumps. Now is the time to mix in some well-rotted organic matter such as manure or garden compost. Rake level and firm with your heels. Rake level again.
- Water plants well and allow to drain before planting.
- Dig a hole twice the size of the root-ball.
- Place the plant in the hole, ensuring the top of the root ball sits level with the surface of the soil. Too low and the plant may rot, too high and the roots can dry out.
- Backfill with soil and firm in gently with your foot.
- Soak well with water.
- Mulch around the base with well-rotted organic matter.
- For planting in containers, first choose an appropriately sized pot. The best practice is to start just a few centimetres larger than the rootball and increase in size every year or two. Always ensure there are plenty of drainage holes in the bottom.
- If you are using a large or heavy pot, it can be a good idea to fill and plant it in situ to save yourself the trouble of moving once full.
- Use a good quality potting compost with plenty of horticultural grit mixed in, and, if not already present in the compost (check the description on the bag) some slow-release fertiliser granules.
- Start by partially filling the pot with compost; enough so that when placed on it the upper surface of the root ball is about 3cm lower than the top of the pot.
- Infill all the space surrounding the root ball with compost, firming down with your fingers then adding a little more so the plant is held tight.
- Pick up the pot (if you can!) and lightly tap on the potting bench or ground a few times to help further settle the compost around the plant.
- Soak well with water.
- A mulch with horticultural grit will look attractive and help to prevent a ‘cap’ or crust forming on the top of the compost (something container plants can suffer due to the artificial nature of their watering).
What to plant with Ceanothus
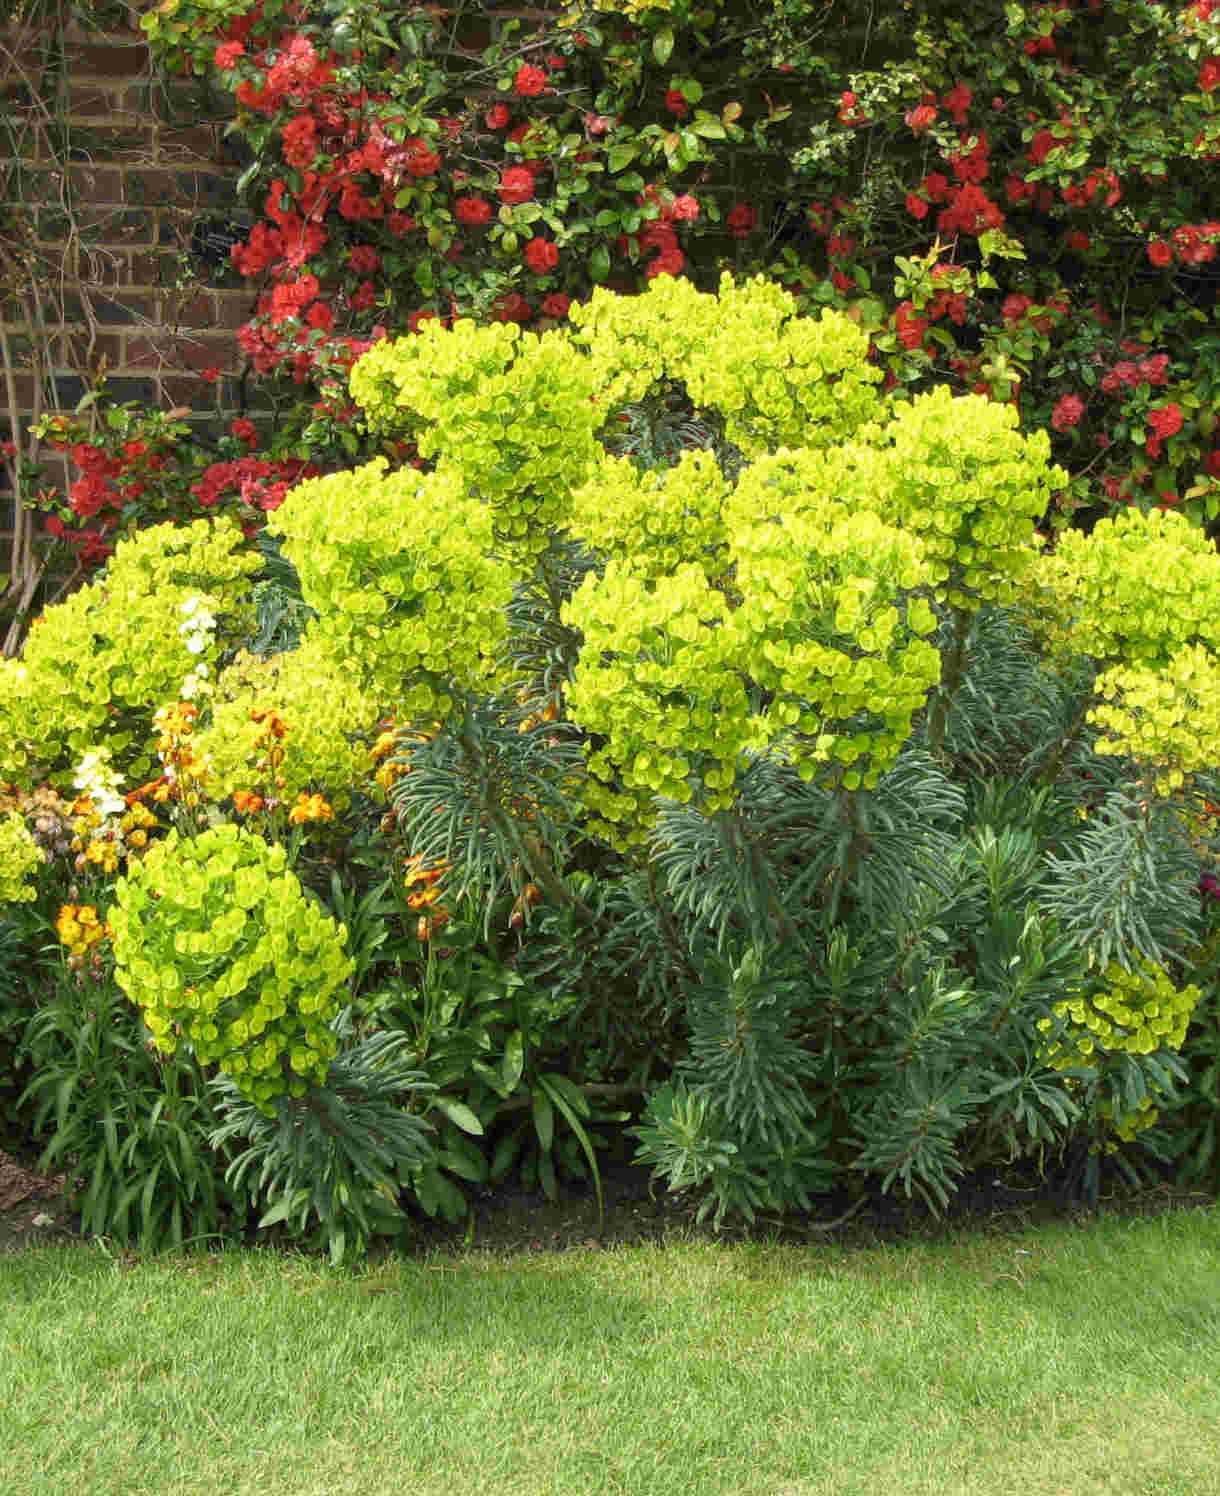
The unusual blue blooms of many ceanothus varieties can be a dazzling sight, which we love combined with zingy, contrasting colours. For spring-flowering species use the acid yellows and greens from euphorbia, alchemilla, Viburnum opulus ‘Roseum’ (its white flowers are often lime green at the time when ceanothus comes into bloom), and the fresh, new growth of clipped box or choisya.
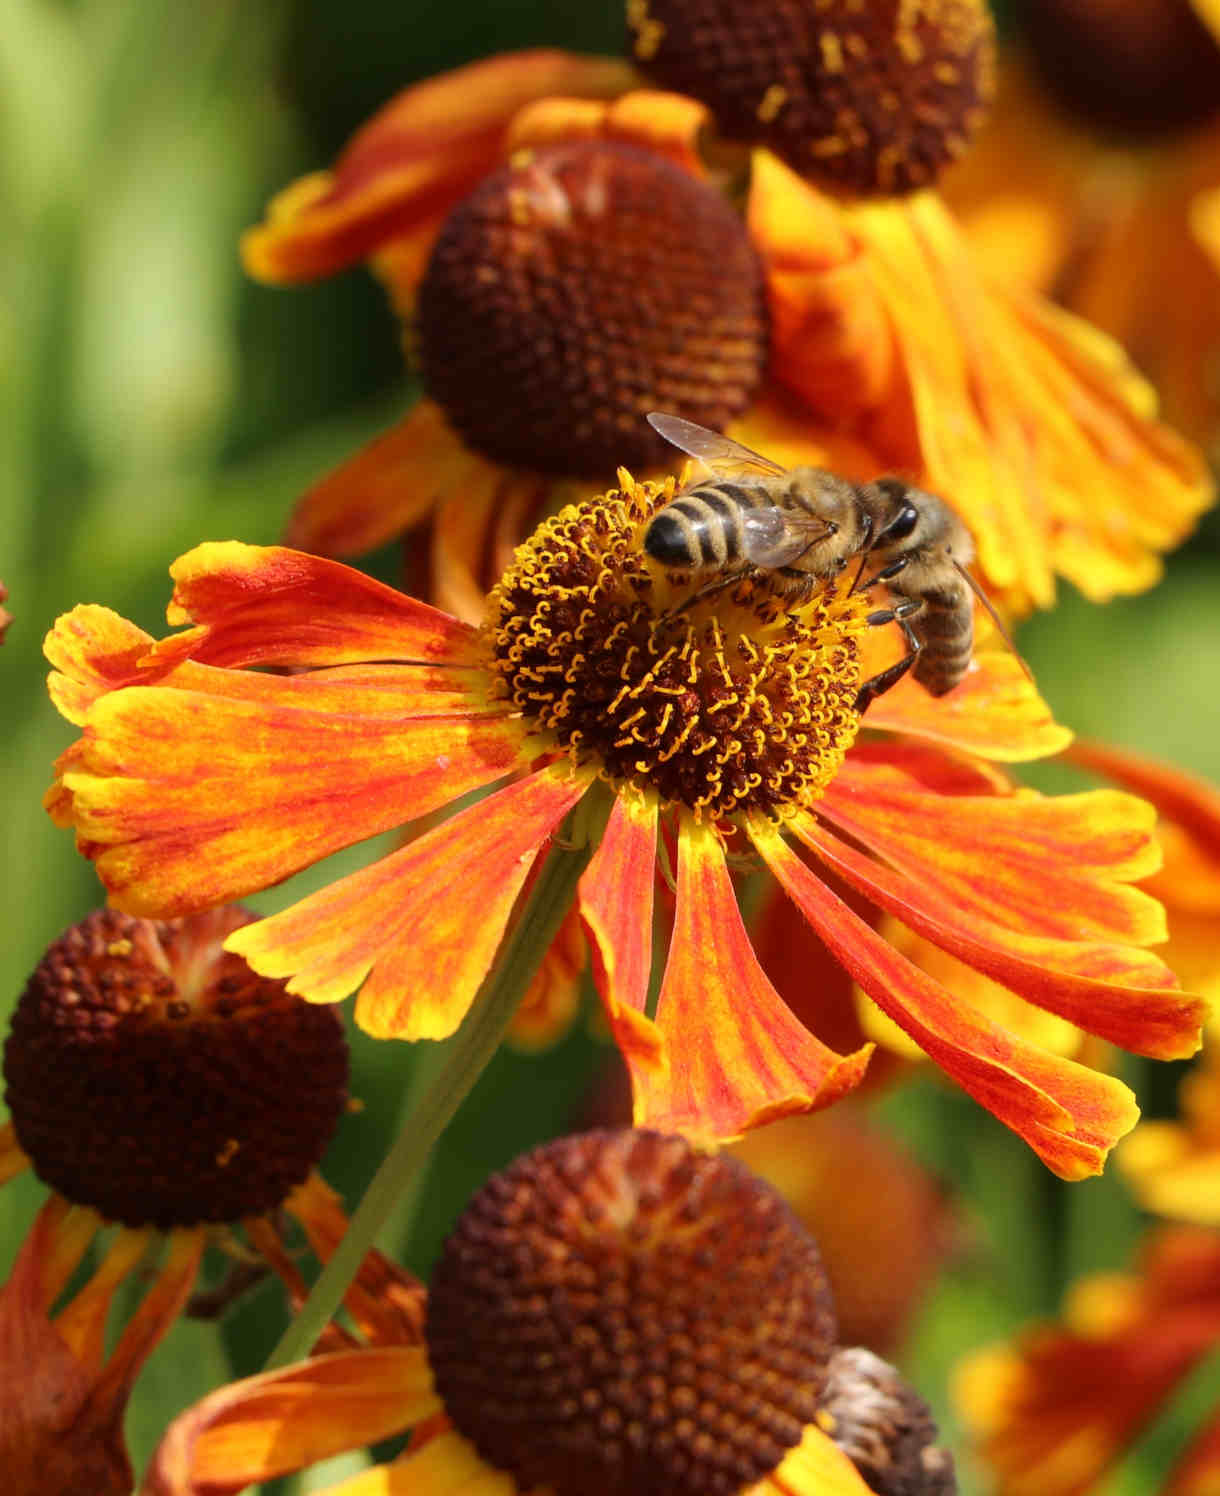
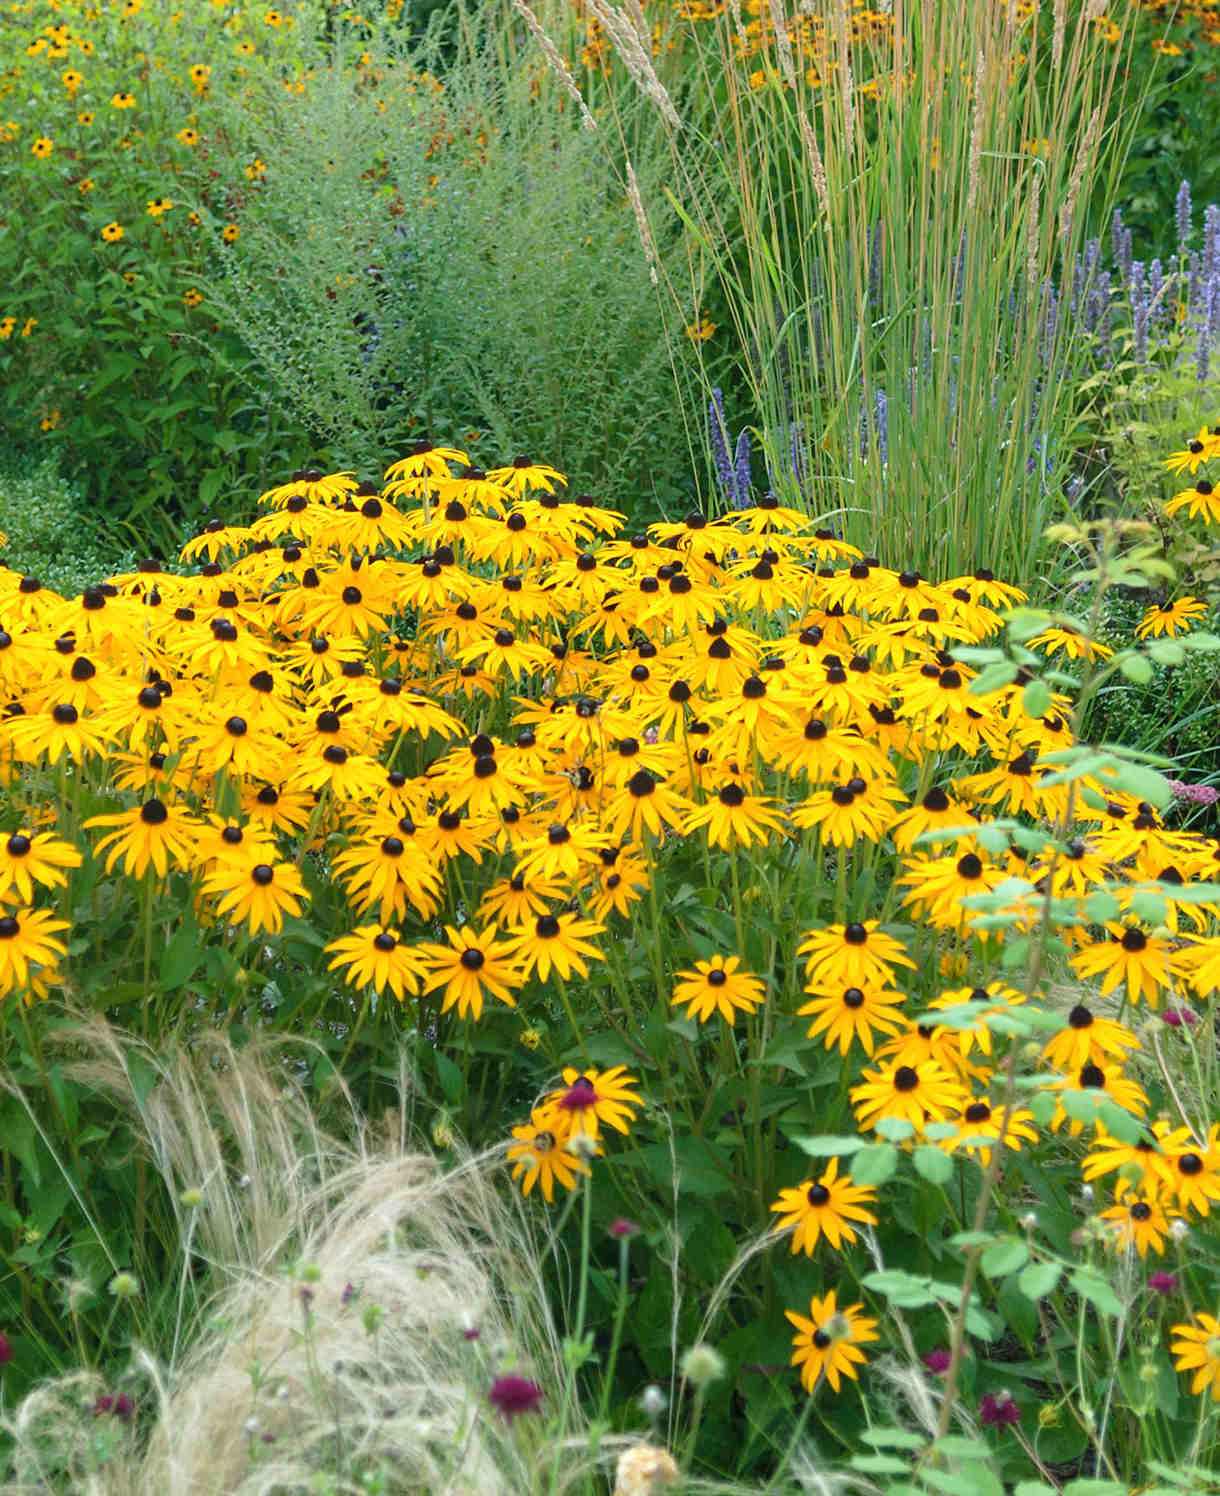
For autumn-blooming species, try setting against the warmer, golden, seasonal tones of helenium, rudbeckia, Panicum virgatum ‘Northwind’, hamamelis, and parrotia.
How to care for Ceanothus
Pruning and Deadheading
Ceanothus is pruned differently depending on whether it is an evergreen or deciduous species, and whether it is freestanding or a wall shrub.
Evergreen species require minimal pruning, though if necessary to control shape or size you can trim in spring (for spring-flowering species, wait until they have finished blooming). Using secateurs, aim to trim back long shoots by a third to a half. Remove any dead, diseased, damaged, or badly placed growth while you’re at it. This type of ceanothus doesn’t respond well to hard pruning, so if you’ve inherited a large, overgrown specimen it’s usually worth removing and starting again with a new one. These are fast-growing shrubs, so you won’t have to wait too long to enjoy the results of a replacement.
Deciduous species need a little more attention and do need regular pruning in order to flower well. Aim to shorten stems by around a half to a third, and thin out any congested, unproductive growth from the centre. Again, remove any dead, diseased, damaged, or badly placed growth while you’re at it. This type of ceanothus does respond to a hard prune (albeit fairly slowly). Neglected or overgrown specimens can be cut down to ground level during dormancy, ideally February or March. Encourage strong regrowth with a feed and mulch (more on this below).
Wall trained specimens can be treated as above, though with these also remove any shoots growing towards the wall.
Watering
Like all shrubs, ceanothus should be regularly watered during its first few growing seasons in the ground, after which it should be largely self-sufficient other than in prolonged periods of hot, dry weather. Ceanothus struggles sitting in permanently wet soil, so try to avoid automatic irrigation systems – the soil should be allowed to dry out between soakings. If grown in very free-draining soil, ceanothus will benefit from an extra mulch or two throughout the year to help lock in the moisture (see ‘Feeding’ section below).
Container-grown ceanothus has less access to moisture so needs to be regularly watered throughout every growing season. Allowing the top couple of centimetres of compost to dry out between watering is a useful rule of thumb to help avoid overwatering. Use your finger inserted into the compost to check. From mid-autumn, the British climate tends to take over watering needs, though do remember to step in in the event of an unseasonably dry spell.
Feeding
To give it the best possible start, feed ceanothus for its first few years in the ground with a general purpose granular feed applied to the surface of the soil and lightly worked in (known as a ‘top dress’). This is best done in spring, along with a mulch of well-rotted organic matter (i.e., a layer of manure or garden compost applied to the soil around the plant). This has the added benefit of suppressing weeds and locking in moisture.
Once your ceanothus is well established an annual mulch should provide sufficient nutrients, however apply a top dress as above if ever you feel an extra boost is needed.
Container-grown plants rely even more on the gardener for nutrition. Get off to a flying start by making sure you use a good quality compost, then throughout the growing season (March to September) apply a liquid feed at regular intervals according to instructions. An annual top dress is also advisable: each spring, scrape off the top 5cm of compost and replace with fresh compost containing a little general purpose granular feed.
Cold Protection
Though most ceanothus species are hardy enough to withstand the average UK winter, this comes with certain caveats. They struggle when exposed to hard frosts and cold winds, meaning a sheltered planting location is essential to avoid damage. Wet soil conditions in winter is another big ‘no’, as this can cause root rot, dieback, and poor growth.
The best way to protect ceanothus against the effects of winter, therefore, is to give it a sheltered, well-draining spot.
Pests and Diseases
Ceanothus tends not to suffer from many problems (incorrect growing conditions is the most common cause of issues when it comes to this shrub), though it can occasionally fall victim to honey fungus. This is made more likely when planted near a heavily wooded area and can be identified by dieback and sparse foliage. Unfortunately, little can be done other than removing the affected specimen and replacing with a known resistant alternative.
How to propagate Ceanothus
Ceanothus can be propagated by cuttings in mid-summer.
- Snip cuttings off the plant, if possible taking a longer piece than the ideal eventual length of around 10cm (to allow for trimming).
- Put them in a plastic bag straight away to prevent drying out.
- Fill several pots with a perlite-heavy compost mix (at least 50% perlite).
- Trim the end of the cutting to just below a node (point at which leaves grow).
- Remove lowest leaves and soft tip, leaving 2-4 leaves.
- If the remaining leaves are large, cut them in half with a sharp knife (to reduce water lost through transpiration).
- Insert the cuttings into the compost and water lightly. Several cuttings can be put in the same container if there is enough space to do this without them touching.
- Place in a greenhouse or propagating unit if you have one or covered with a plastic bag on a windowsill if not (out of direct sunlight).
- Keep the cuttings misted and occasionally watered until they root. You will know this has happened when roots emerge out of the bottom of the container. Deciduous species can be expected to root in around four to six weeks, while evergreen species may need a whole growing season.
- Gently remove rooted cuttings and pot them into individual pots. Grow on in a cool yet frost-free environment such as an unheated conservatory, greenhouse, or cold frame, until they are large enough to be planted out.
* Many plants carry Plant Breeders Rights and cannot be propagated for commercial purposes.
Common Ceanothus questions
- Is ceanothus easy to grow?
As long as you give it the right spot (sheltered and well-draining), ceanothus is a very easy shrub to grow. Plants don’t become as popular as ceanothus has by being tricky! - Can ceanothus grow in pots?
They can, though for best results try to go for a species or cultivar which is naturally small and compact. - Do bees like ceanothus?
Very much so – the blooms are particularly favoured by honeybees and bumblebees. Many ceanothus also produce berries after flowering, which make a good source of food for garden birds. - How tall do ceanothus grow?
This depends on the variety – one of our smallest is ‘Yankee Point’, a low, spreading ceanothus which grows to just 1m in height; while ‘Concha’ and ‘Autumnal Blue’ can reach up to 4m. Check individual descriptions for details. - My ceanothus is starting to become leggy and has lost its shape – what’s the problem?
This tends to happen after around 10 to 15 years. The payoff for being fast-growing and long-flowering is that ceanothus is quicker to wear itself out than many other shrubs. When this point is reached, the best thing to do is to remove and plant a replacement.