


How to grow Caryopteris
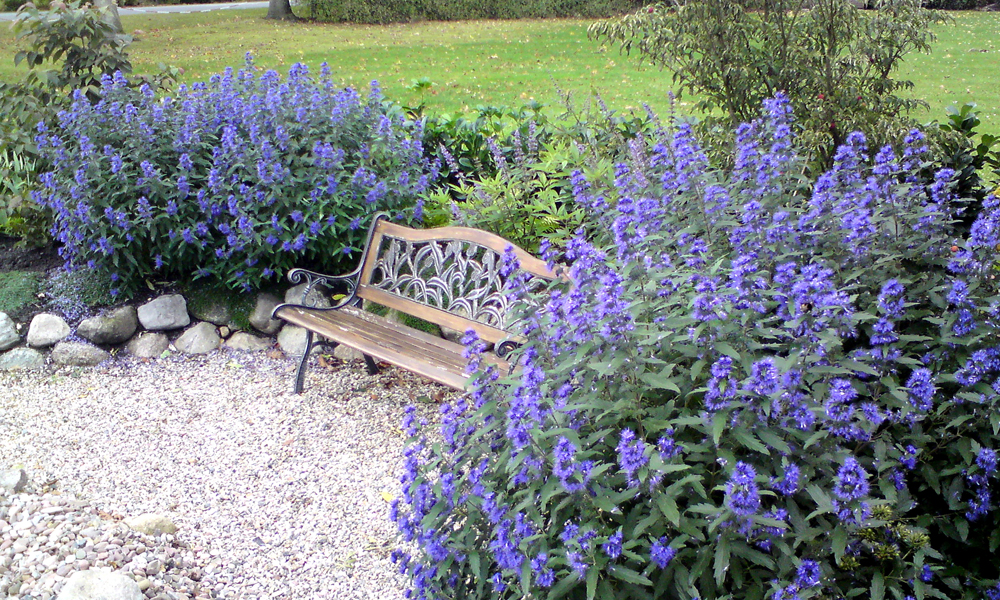
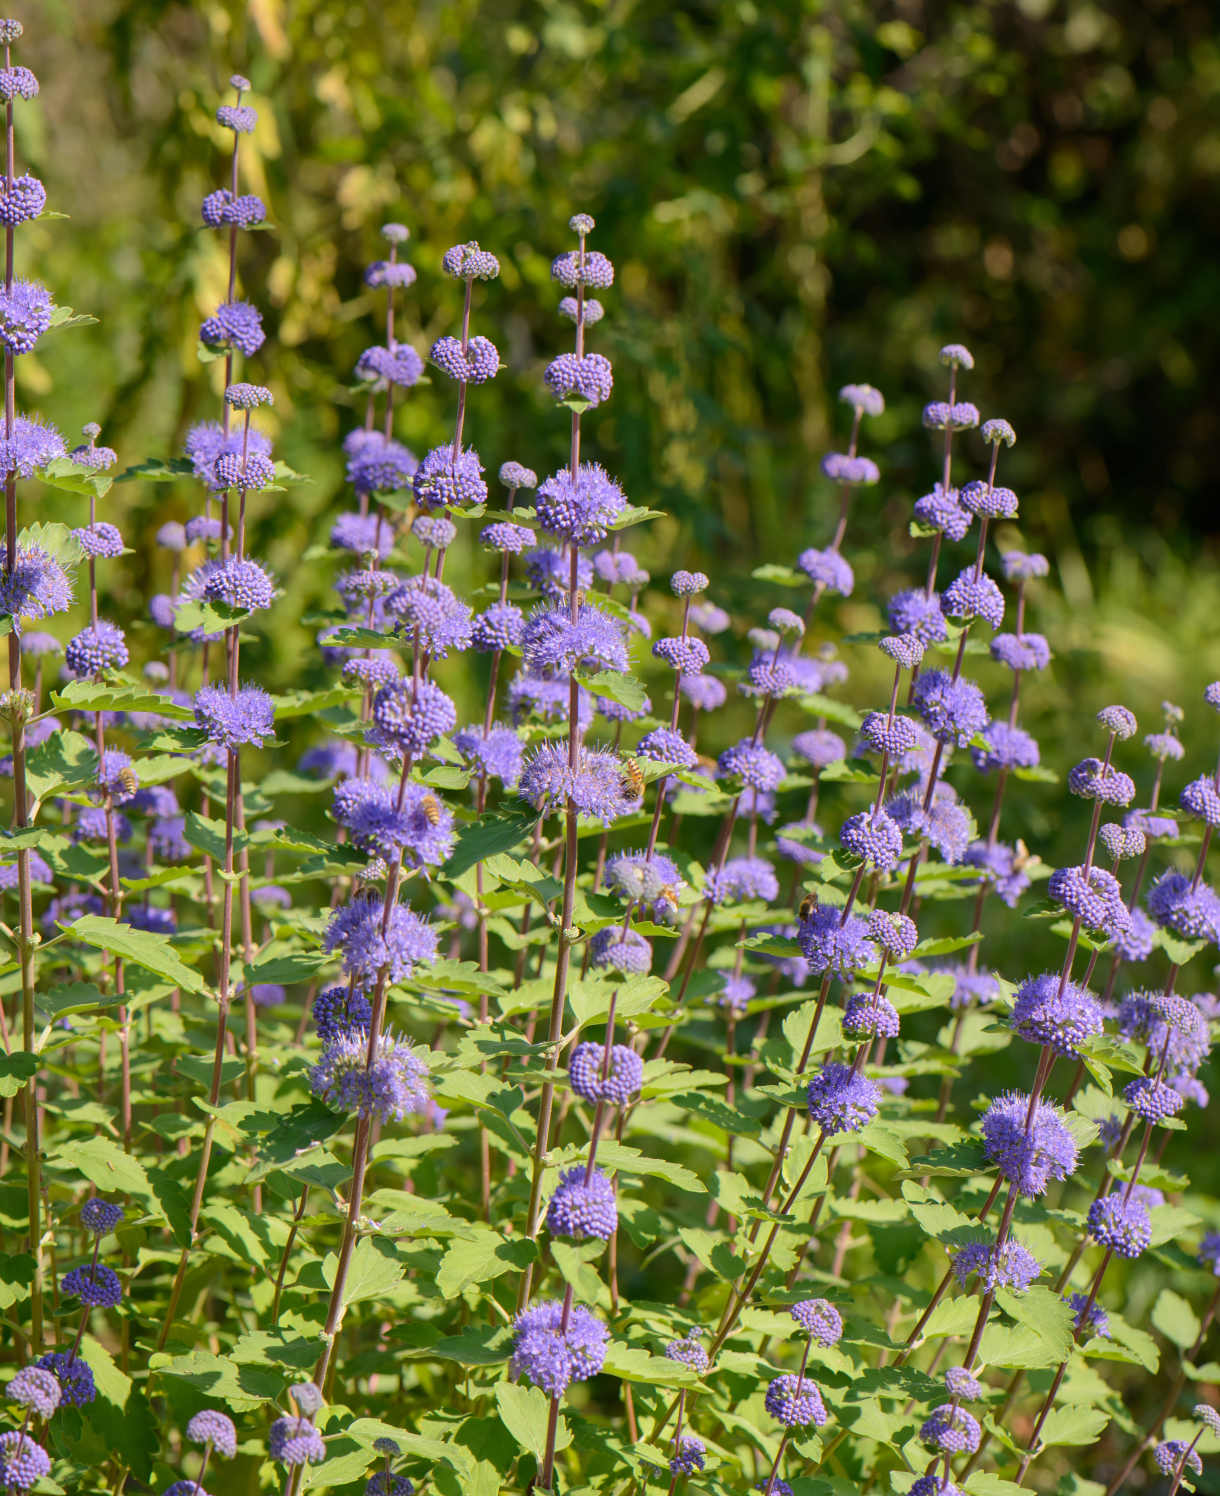
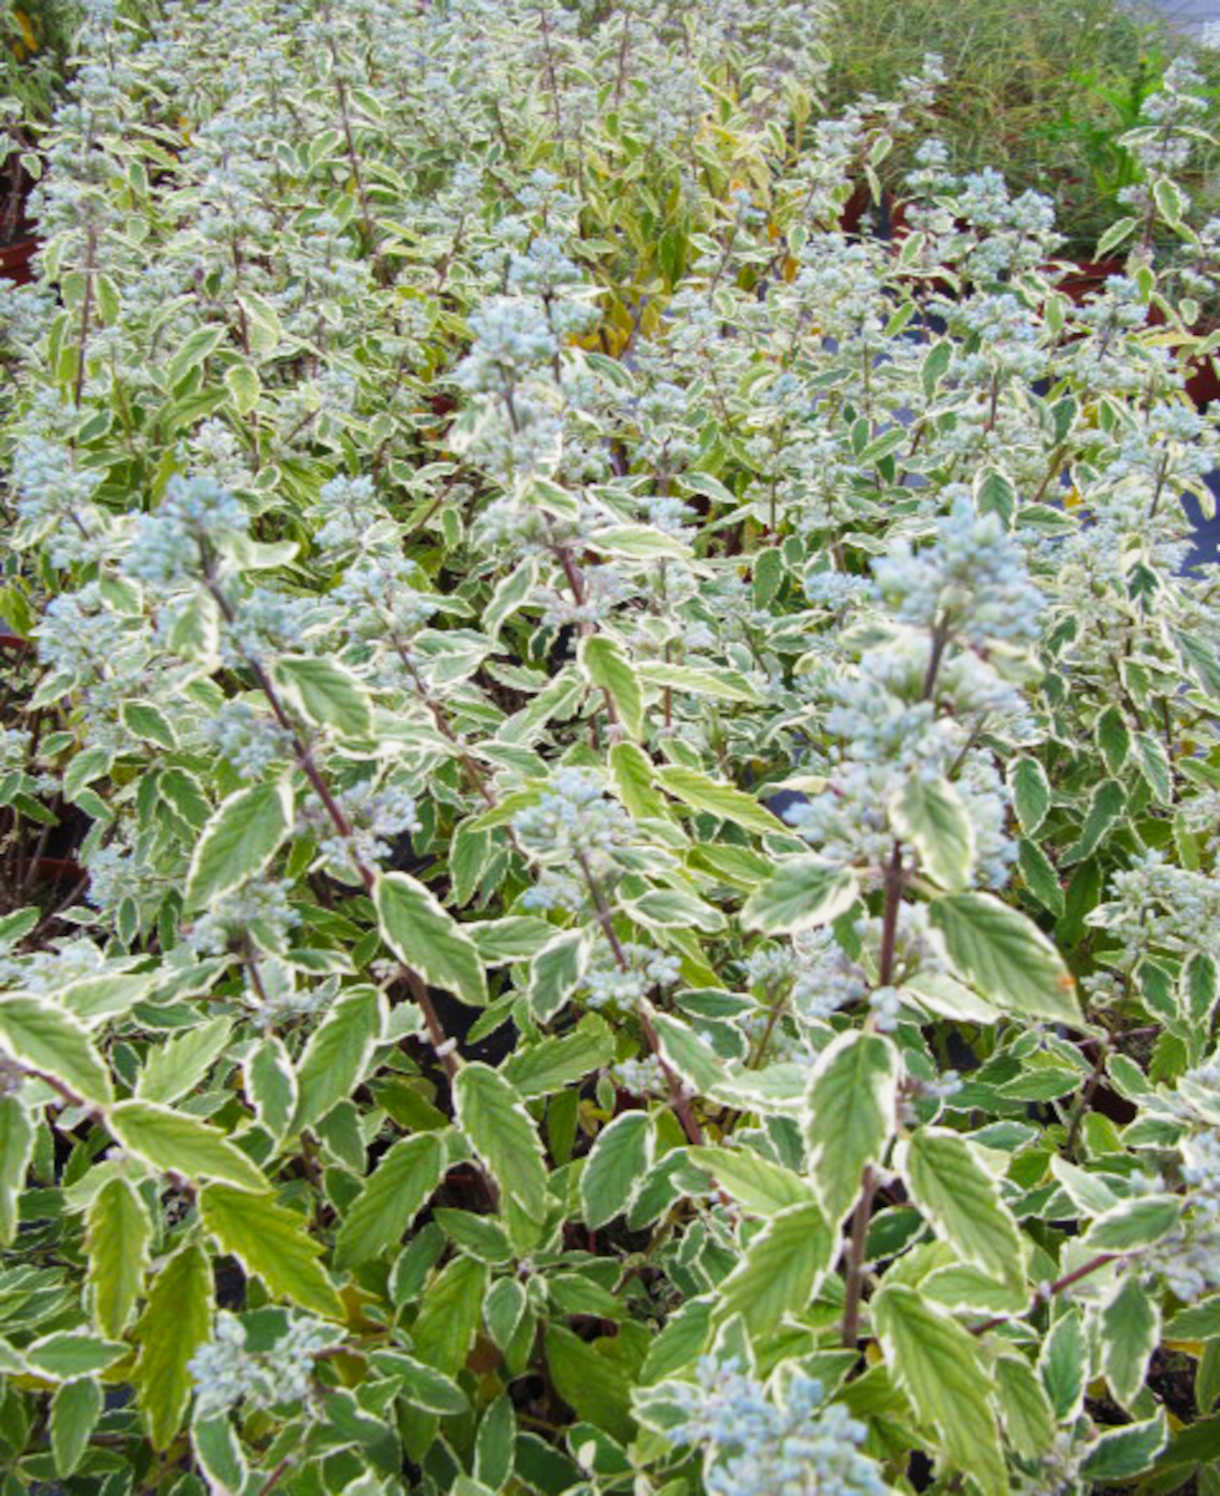
There are a total of six species of Caryopteris, all hailing from the Himalayas and mountains of east Asia. This member of the mint family can be either a deciduous shrub or a herbaceous perennial, and is cultivated for its attractive, aromatic foliage (usually grey green), and late surge of fluffy flowers from the end of summer into autumn. These are often blue (something of a rarity in gardens at this time of year), though newer cultivars can be pink or white.
As well as its enthusiastic dose of late-season colour, Caryopteris is also valued for its decorative seedheads which extend the period of interest well into the colder months.
It is also known by the common name of bluebeard.
Key Information
Position
Soil Conditions

Hardiness

Where & when to plant Caryopteris
For drainage-loving plants such as Caryopteris which do not enjoy sitting in damp conditions, it is best to plant in spring once the wettest of the winter weather is over. It is also possible to do a late planting in summer, though be prepared to water regularly.
Caryopteris will do well in any sunny, well-drained border, gravel garden, or container. Avoid heavy, clay soil prone to waterlogging. If this is what you have, consider instead growing your Caryopteris in a container filled with a gritty compost mix. In particularly cold regions (generally speaking, the north of the UK) it will flower best with the protection of a warm, south-facing wall.
How to plant Caryopteris
In the ground
- Clear the chosen area of weeds.
- Dig a planting hole several times larger than the root ball. It is a good idea to mix in plenty of horticultural grit and well-rotted organic matter at this stage.
- Place the plant in the hole, ensuring the top of the root ball sits level with the surface of the soil. Too low and the plant may rot, too high and the roots can dry out.
- Backfill with soil and firm in gently.
- Soak well with water.
- Mulch around the base with well-rotted organic matter.
In a container
- Choose an appropriate container with plenty of drainage holes. For plants which dislike wet conditions such as Caryopteris it is important not to overpot, as, until the roots have grown into it, the surrounding compost is likely to remain damp after watering. Instead, go for a container just a few centimetres bigger than the existing pot, and move up gradually every couple of years.
- Use a good quality potting compost with plenty of horticultural grit mixed in, and, if not already present in the compost (check the description on the bag) some slow-release feed.
- It can be a good idea to fill and plant larger containers in situ to save yourself the trouble of moving them once full.
- Start by partially filling the pot with compost; enough so that when placed on it the upper surface of the root ball is about 3cm lower than the top of the pot.
- Infill all the space surrounding the root ball with compost, firming down with your fingers then adding a little more so the plant is held tight.
- Pick up the pot (if you can!) and lightly tap on the ground a few times to help further settle the compost around the plant.
- Soak well with water.
- A mulch with horticultural grit will look attractive and help to prevent a ‘cap’ or crust forming on the top of the compost (something container plants can suffer due to the artificial nature of their watering).
What to plant with Caryopteris
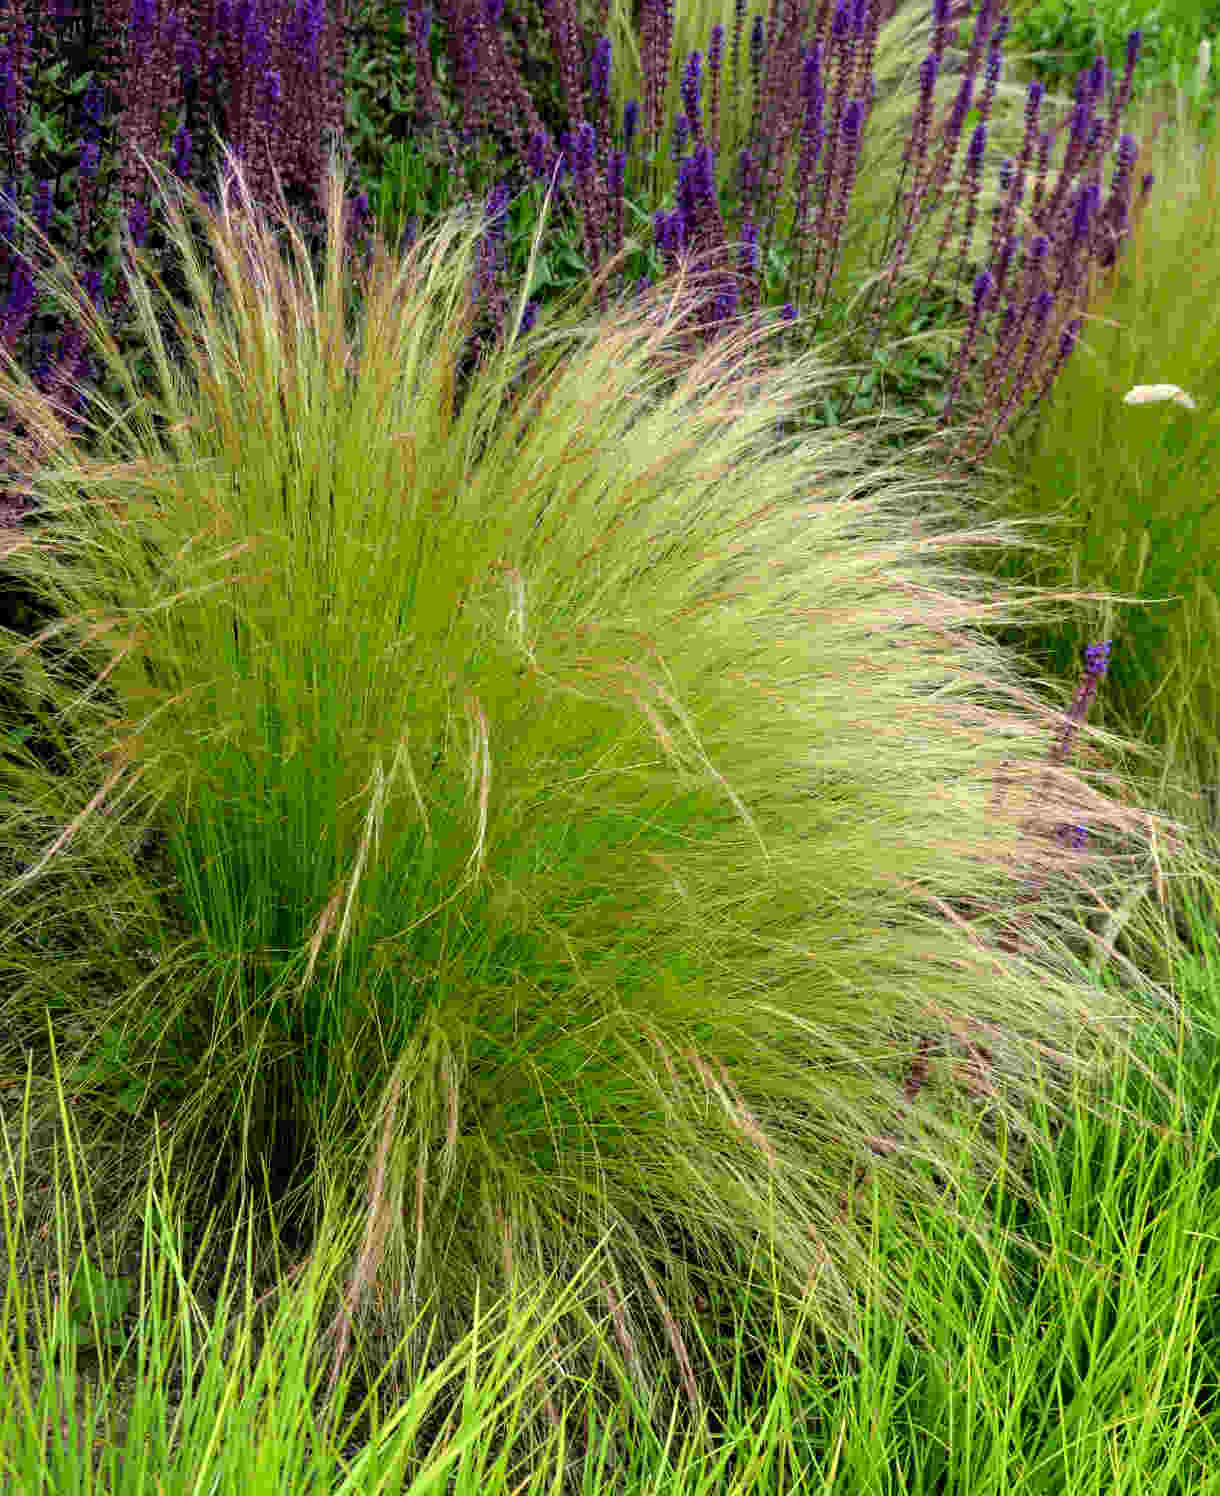
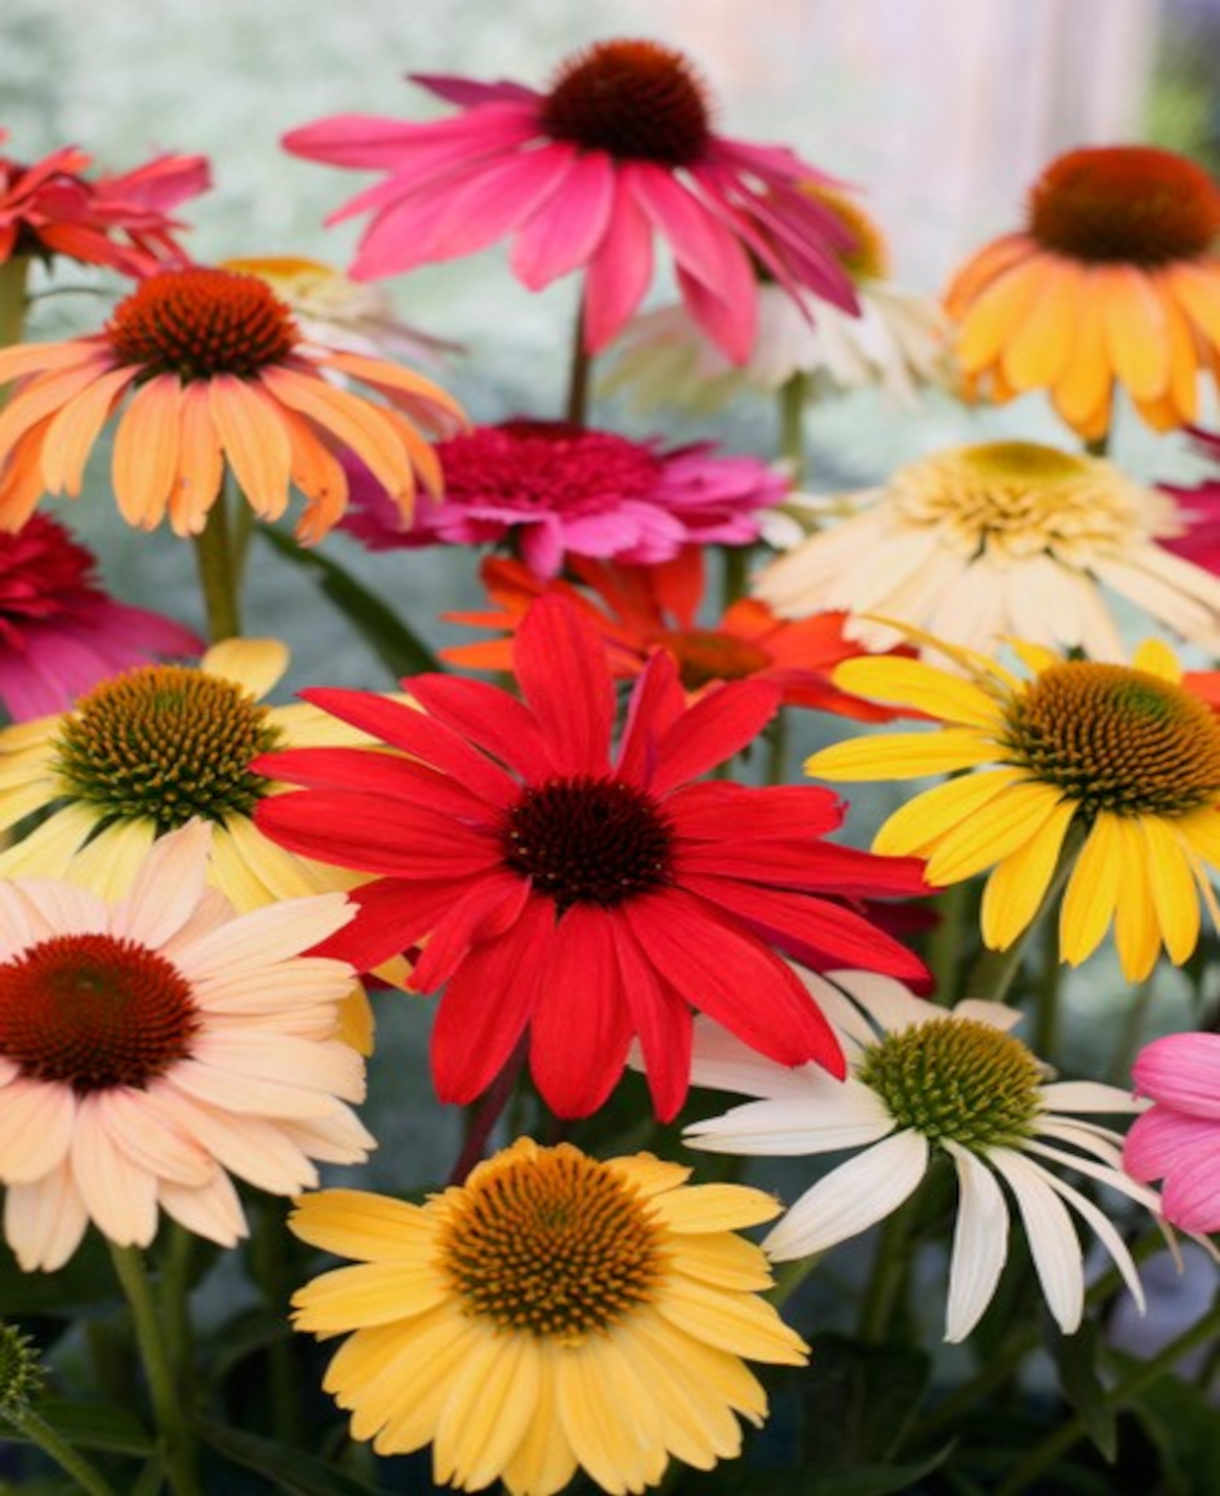
Planning for a late-season surge can breathe life into a garden when it needs it most. Caryopteris can be an essential feature of this, along with other late comers such as aster, rudbeckia, echinacea, eupatorium, sedum, and ornamental grasses including pennisetum, miscanthus, and stipa.
How to care for Caryopteris
Pruning and Deadheading
Shrubby Caryopteris
To maintain a neat, compact shape, in the first spring after planting prune all stems back to approximately 15cm above ground. Each subsequent spring, prune to within one or two buds of this original woody framework. This should be done in early spring as soon as the buds begin to swell.
It is not necessary to deadhead Caryopteris. In fact, its flowers open in succession from bottom up, and so by removing spent blooms you would also be taking away unopened buds higher up. Attractive seedheads are another good reason to leave old flowers alone on this shrub.
Herbaceous perennial Caryopteris
Cut back to just above ground level in early spring.
Watering
Water regularly until established (usually the first growing season), after which this drought tolerant plant tends to be self-sufficient.
Container-grown Caryopteris will always require regular watering throughout the growing season. Allow the top few centimetres of compost to dry out between soakings.
Cold Protection
Caryopteris is hardy to between -5°C and -10°C, so will survive the average UK winter without the need for added protection. In very cold regions it will benefit from the warmth of a south-facing wall.
Like all drainage-loving plants, hardiness can be impaired by wet, winter conditions which is why it is so important to avoid soil prone to waterlogging.
Container-grown plants can be more vulnerable to the cold than those grown in the ground, so even with hardy plants it can be worth moving them into a cool yet frost-free environment such as an unheated greenhouse or conservatory. If this is not an option, wrapping the container in hessian or fleece to insulate the roots can help. A little stem dieback from frost damage rarely poses a problem, as this can be cut away during the spring prune.
Pests and Diseases
Caryopteris tends to be trouble-free, though you may notice some cosmetic damage during summer caused by capsid bugs. These are sap-sucking pests which can be identified by small, brown-edged holes on the foliage, distorted growth, and failed flower buds.
While this can be unsightly the vigour of the plant tends to be unaffected, and it will usually recover. If infestations are so great that they cause a problem, try removing dead vegetation in late winter to destroy overwintering sites. If this fails, removing the affected plant and starting again can offer the swiftest solution.
How to propagate Caryopteris
Caryopteris can be propagated by cuttings taken during spring or early summer.
- Find non-flowered shoots 5-10cm long and snip off the plant.
- Put them in a plastic bag straight away to prevent drying out.
- Fill a container with a compost mix which is at least 50% perlite (or if you prefer, as we do, 100% perlite).
- Trim the end of the cutting to just below a node (point at which leaves grow).
- Remove the lowest third of leaves.
- If the remaining leaves are large, cut them in half with a sharp knife (to reduce water lost through transpiration).
- Insert the cuttings into the compost and water lightly. Several cuttings can be put in the same container if there is enough space to do this without them touching.
- Place in a greenhouse or propagating unit if you have one or covered with a plastic bag on a windowsill if not (out of direct sunlight).
- Keep the cuttings misted and occasionally watered until they root. You will know this has happened when roots emerge out of the bottom of the container.
- Gently remove rooted cuttings and pot them into individual pots. Grow on in a cool yet frost-free environment such as an unheated conservatory, greenhouse, or cold frame, until they are large enough to be planted out.
Common Caryopteris questions
- How fast does caryopteris grow/ is caryopteris fast growing?
Caryopteris has a vigorous rate of growth and will response to annual hard pruning with quick-growing flowering stems each year. - Does caryopteris need full sun?
To grow and flower well caryopteris requires a sunny spot. It will tolerate some partial shade, though this is likely to result in weaker growth and fewer flowers. - Does caryopteris spread?
Caryopteris is a well-behaved member of the garden, not known for spreading beyond its allotted space. - Is caryopteris hardy?
Yes, to between -5°C and -10ׄ°C. See ‘Cold Protection’ section above for more information.