


How to grow Canna
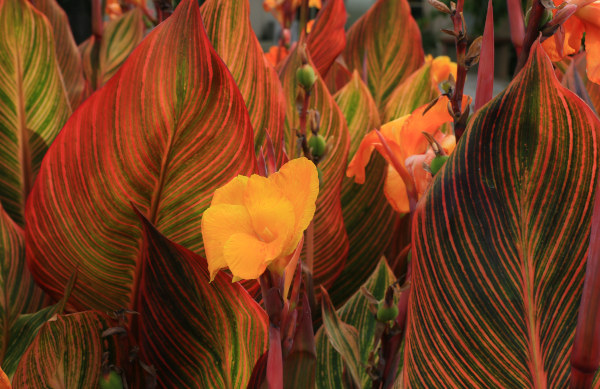
There are around 50 species of this tender rhizomatous perennial, found in forest margins and clearings throughout Asia and in tropical parts of North and South America. They are cultivated for their big, showy, paddle-shaped leaves and bright, bold, tropical-looking flowers. Cannas are known to grow quickly, usually reaching full size in one season.
Cannas are often referred to as ‘canna lily’, and occasionally by the common name of Indian shot plant.
Key Information
Position
Soil Conditions

Hardiness

Where & when to plant Canna
We send our cannas out from spring onwards, in sizes ranging from young plants (large plugs), up to 2 litre potted plants. If yours arrive before the last risk of frost has passed in your area (this varies from region to region, though tends to be around mid to late May), it is advisable to keep them in a frost-free environment until it is safe to plant them out, potting up any plug plants into 9cm pots. A sunny conservatory, heated greenhouse, or warm windowsill are all good spots. Water the plants lightly, increasing this as growth develops.
With tender plants like cannas, it is a good idea to gradually harden them off before planting outside. This means gently acclimatising them to outdoor temperatures over the course of about two weeks, and can be done a couple of different ways:
- Moving the plants outdoors during the day and returning them to their protected environment at night.
- Putting the plants in a coldframe with the lid open during the day and closed at night.
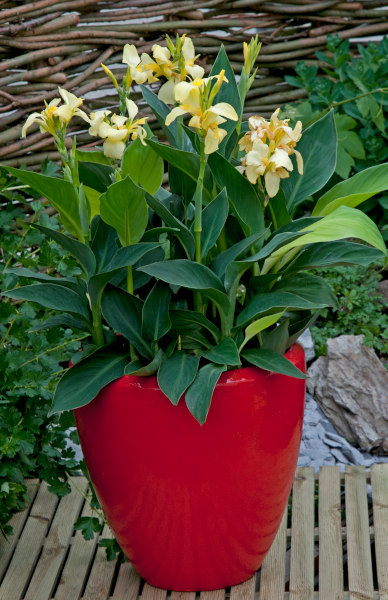
When the time comes for planting out in late spring to early summer, full size cannas can be used to dramatic effect towards the back of a border where their architectural leaves create a lush, jungle-like effect. Dwarf cannas are particularly well-suited for container displays, or for weaving through the front of a border. You might even decide to keep them as permanent features in the conservatory.
How to plant Canna
- For planting in the garden, dig the soil area removing any large stones and weeds and breaking up any lumps. Mix in some organic matter such as manure or garden compost. If your soil is heavy clay, now is also the time to add a generous helping of horticultural grit. Rake level and firm with your heels. Rake level again.
- Water plants well and allow to drain before planting.
- A good tip is to dig a hole twice the size of the root-ball. Fill with water and allow to drain before placing in the plant.
- Place the plant in the hole, ensuring the top of the root ball sits level with the surface of the soil. Too low and the plant may rot, too high and the roots can dry out.
- Backfill with soil and firm in gently with your foot.
- Soak well with water.
- Mulch around the base with well-rotted organic matter.
- For planting in containers, first choose an appropriately sized pot, which for one canna means at least 30cm wide. Cannas put on a lot of growth in one season and can swamp out smaller plants, so we tend not to recommend them in mixed containers. Ensure there are plenty of drainage holes in the bottom.
- If you are using a large or heavy pot, it can be a good idea to fill and plant it in situ to save yourself the trouble of moving once full.
- Use a good quality potting compost with plenty of horticultural grit mixed in, and, if not already present in the compost (check the description on the bag) some slow-release fertiliser granules.
- Start by partially filling the pot with compost; enough so that when placed on it the upper surface of the root ball is about 3cm lower than the top of the pot.
- Infill all the space surrounding the root ball with compost, firming down with your fingers then adding a little more so the plant is held tight.
- Pick up the container (if you can!) and lightly tap on the potting bench or ground a few times to help further settle the compost around the plant.
- Soak well with water.
- A mulch with horticultural grit will look attractive and help to prevent a ‘cap’ or crust forming on the top of the compost (something container plants can suffer due to the artificial nature of their watering).
What to plant with Canna
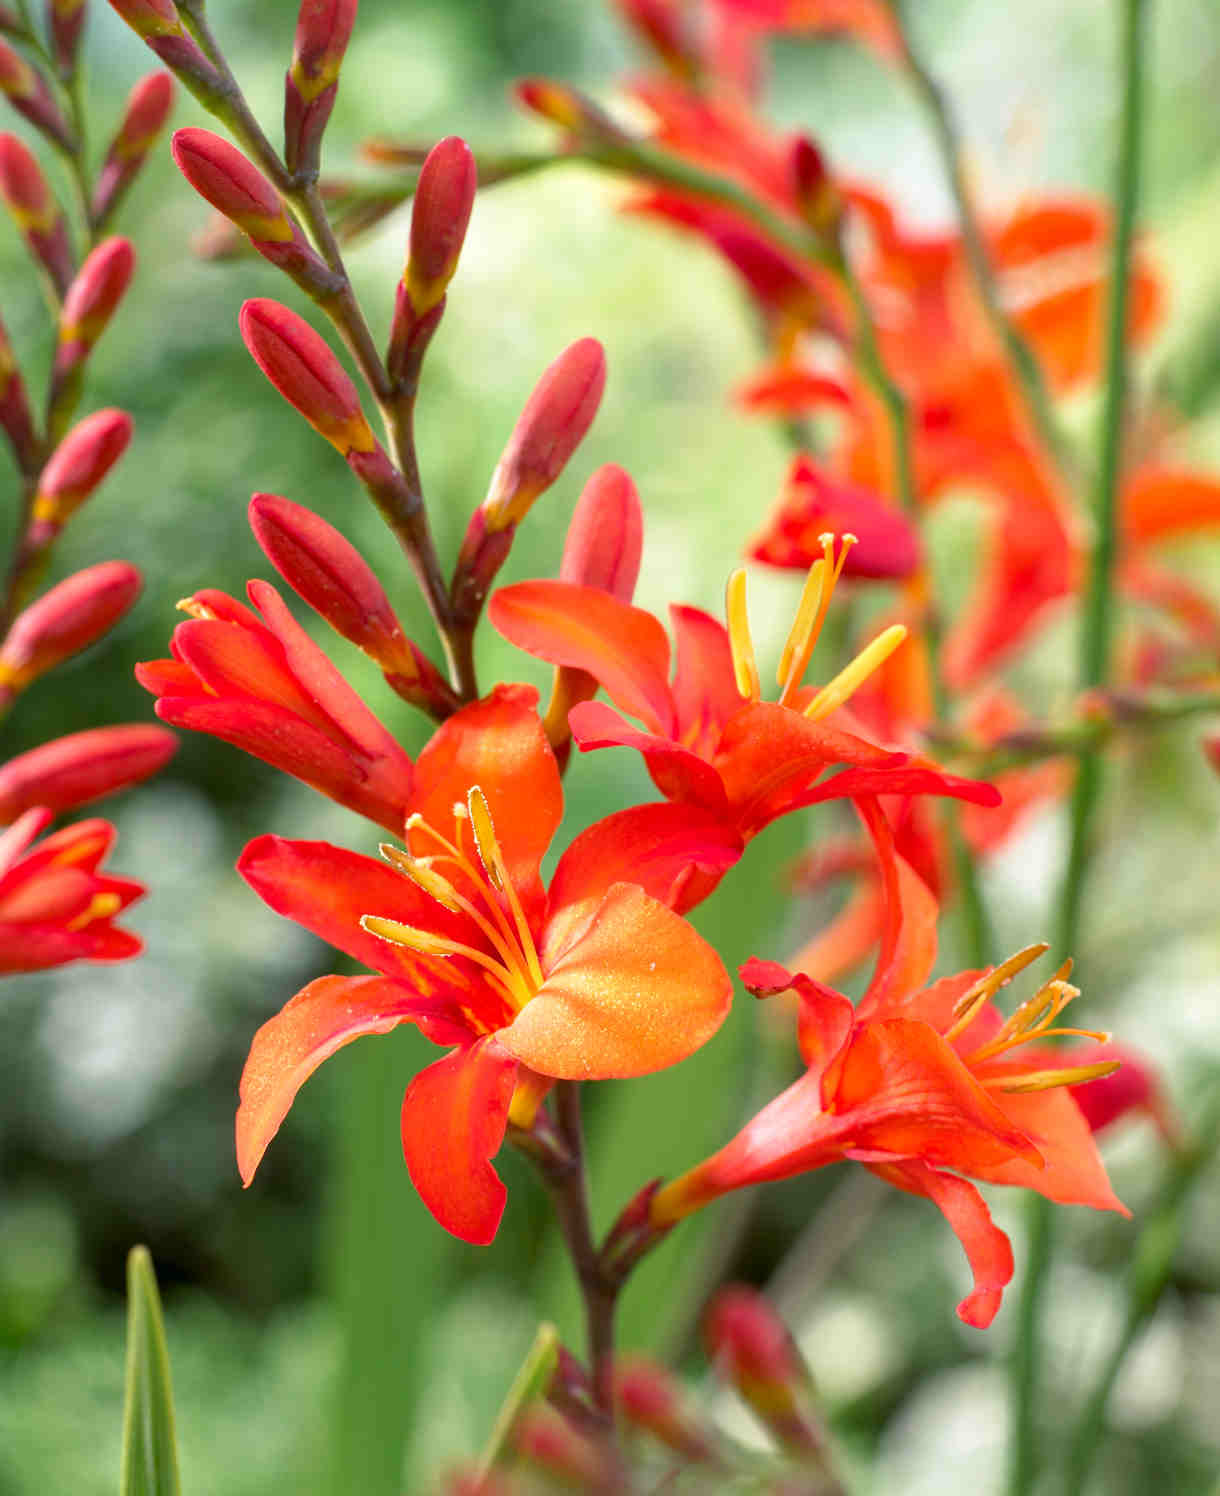
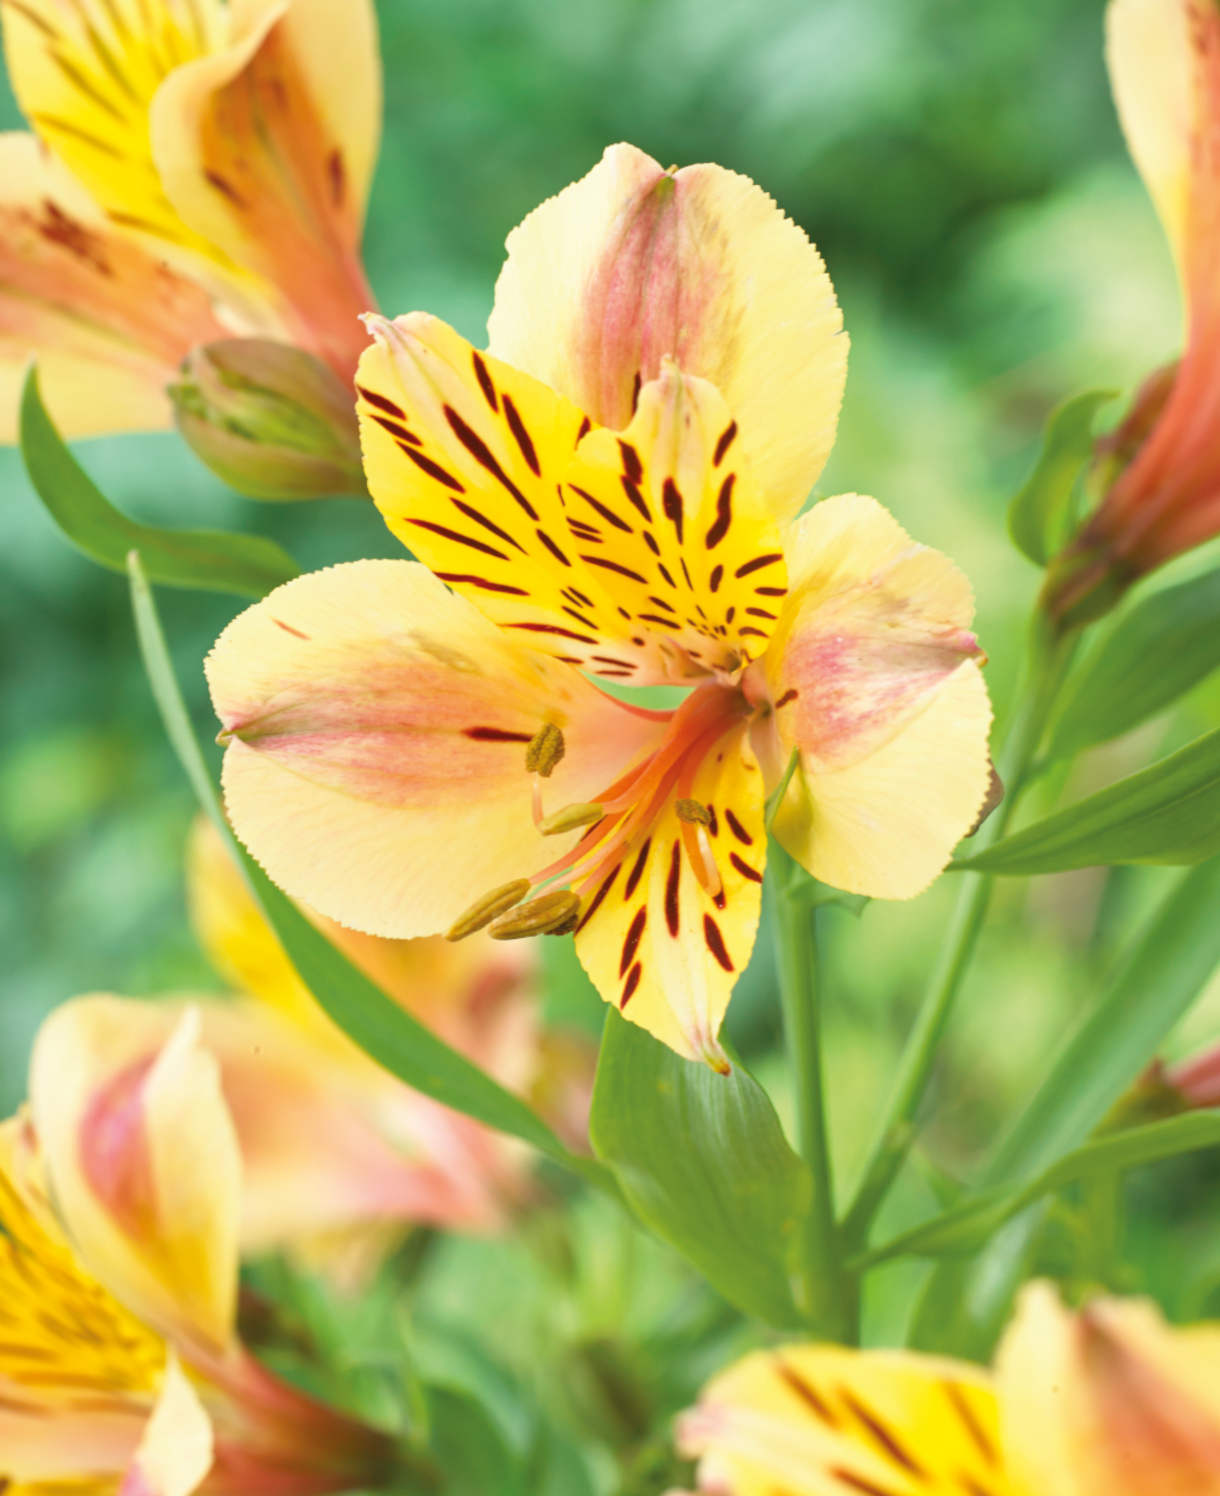
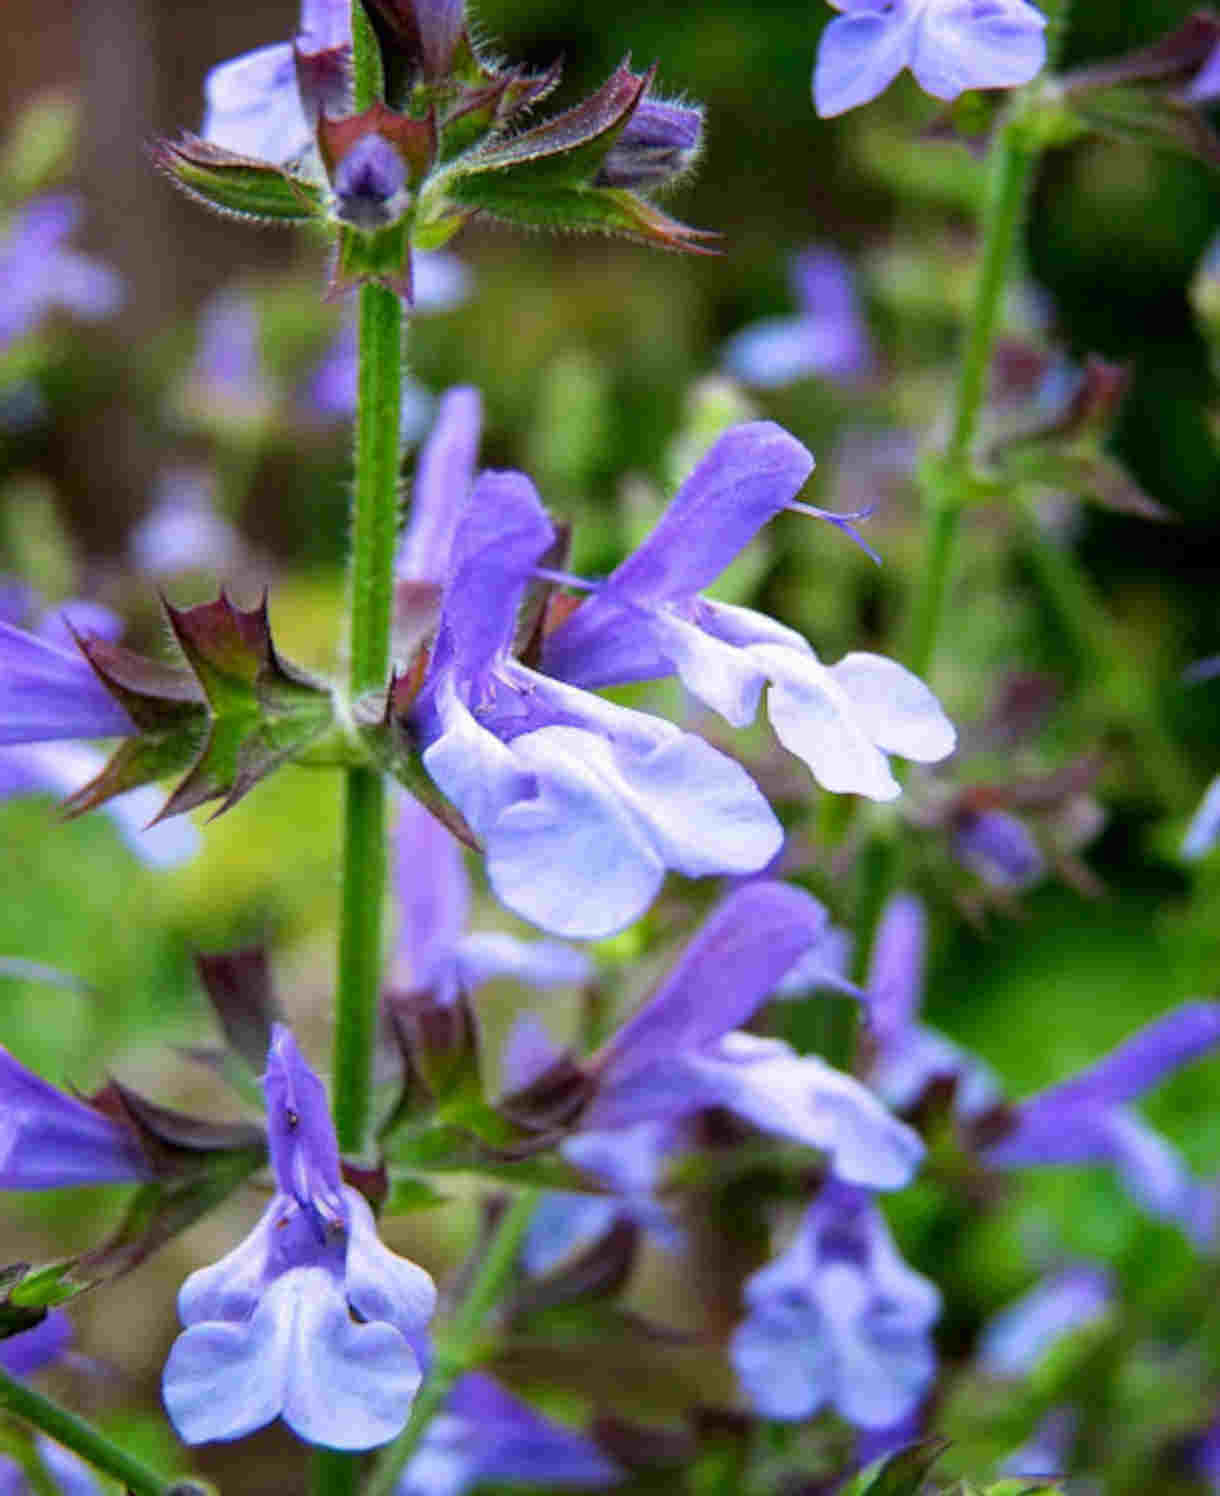
The showy, jungle-like vibes of cannas go surprisingly well in a wide range of styles, meaning they are as at home in a traditional cottage garden as in a sub-tropical paradise. They are particularly useful for anyone going for a ‘hot’ colour scheme, alongside companions such as Crocosmia ‘Lucifer’, Rudbeckia fulgida var. sullivantii ‘Goldsturm’, Helenium ‘Moerheim Beauty’, Alstroemeria ‘Indian Summer’, and Salvia guaranitica ‘Amante’.
Cannas are also natural bedfellows for other exotic-looking, tender or half-hardy plants to create a sub-tropical themed border or garden. This style is suitable if you have a mild, frost-free microclimate (often found in coastal or urban areas) or are willing to offer winter protection of some form (see ‘Cold Protection’ section below). Good candidates include Musa basjoo, Ensete ventricosum ‘Maurelii’, brugmansia, and Cyrtomium fortunei
How to care for Canna
Pruning and Deadheading
Deadhead to promote continued flowering.
Once the first frosts blacken the foliage, cut the whole thing down to around 15cm. What you do next depends on the winter conditions in your area. See our ‘Cold Protection’ section for more details.
Watering
Cannas in the ground should be watered freely during dry spells. Aim for consistently moist, but not soggy soil.
Container-grown cannas will need to be watered regularly. In very hot, dry spells this may be as often as every day. Cannas can put on a lot of growth in one year which can mean they fill their pots quickly. A pot filled with dense roots dries out more quickly than those with plenty of empty compost.
Feeding
It takes a lot of energy to grow as large and as quickly as cannas, therefore feeding is an important part of their care.
When planting in the ground (or, if you are leaving your cannas in the ground overwinter, each spring), give each plant a generous mulch of well-rotted organic matter, i.e., a thick layer of manure or garden compost applied to the soil around the plant. As well as providing nutrients to the plant, this supresses weeds and locks in moisture. Later on in midsummer, a helping of liquid feed is advised to give plants a quick and much-needed boost.
Container-grown cannas rely on the gardener even more for their nutrients. In addition to a slow-release fertiliser initially mixed through the potting compost, apply a D at monthly intervals throughout the growing season. Mix this up to the strength recommended in the manufacturer instructions.
Cold Protection
Much like dahlias, cannas need help to get through a UK winter.
For cannas in the ground, the safest approach is to lift rhizomes in autumn so they can be stored somewhere frost-free and dry over winter (a shed, garage, or greenhouse are all ideal). Once the first frosts blacken the foliage, cut plants down to 15cm, and carefully dig the plants up. Shake and then rinse off as much soil as possible, then pack in a pot/ box/ crate with barely moist material such as compost or leaf mould. Pot them up in March, water lightly, and keep somewhere warm and frost free before planting out as above, in the ‘When and where to plant canna’, and ‘How to plant canna’ sections.
If you live in a milder region and don’t have heavy clay soil, you may get away with cutting back and leaving the rhizomes in the ground with a thick, dry, winter mulch for protection. Straw, bracken, or bark chippings all work well.
Container-grown canna can be left in their pots overwinter. Simply stop watering as the plants naturally die back, and move the pot somewhere frost free and light, such as a heated greenhouse or sunny conservatory. Wrap the container with bubblewrap if you are concerned about nighttime temperatures. Start watering again when you see the first signs of life in spring.
Pests and Diseases
Cannas tend to be largely pest and disease free, though you may find slugs and snails develop a taste for their leaves, particularly when young. Encouraging natural predators into your garden, such as birds, frogs, toads, and hedgehogs, will make a big difference. Torchlight searches after dark (when slugs and snails are at their most active) are also effective, allowing you to collect the offending molluscs in a bucket. Place on the compost heap, or in a part of the garden containing less vulnerable plants.
Like most plants, once canna is well established it tends to be better able to tolerate the actions of slugs and snails without the need for intervention.
How to propagate Canna
The quickest and most effective way to propagate canna is by dividing the rhizomes in early spring.
- Carefully lift rhizomes from their packing compost, or out of the ground if you’ve left them there overwinter.
- Shake off as much compost or soil as possible.
- Using a sharp, clean knife, separate each rhizome into short sections with two or three growing points or ‘eyes’.
- Pot on into individual pots filled with a well-draining compost mix, and grow on undercover.
- Water sparingly at first, then increase as growth develops.
- Plant as above, in the ‘When and where to plant canna’, and ‘How to plant canna’ sections.
Common Canna questions
- Can you leave cannas in pots over winter?
Yes, they can. See our ‘Cold Protection’ section above for more details. - How do you keep cannas blooming?
Regular deadheading and feeding as per our advice in the ‘Feeding’ section above should help you get the most possible flowering out of your cannas. - Do you soak canna bulbs before planting?
While this won’t do any harm, it is not necessary.