How to grow Campsis (Bignonia)
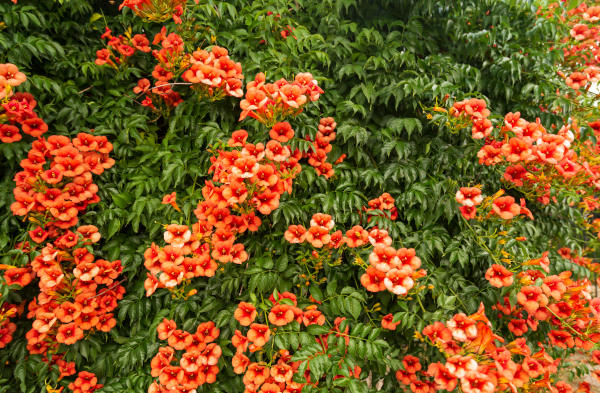
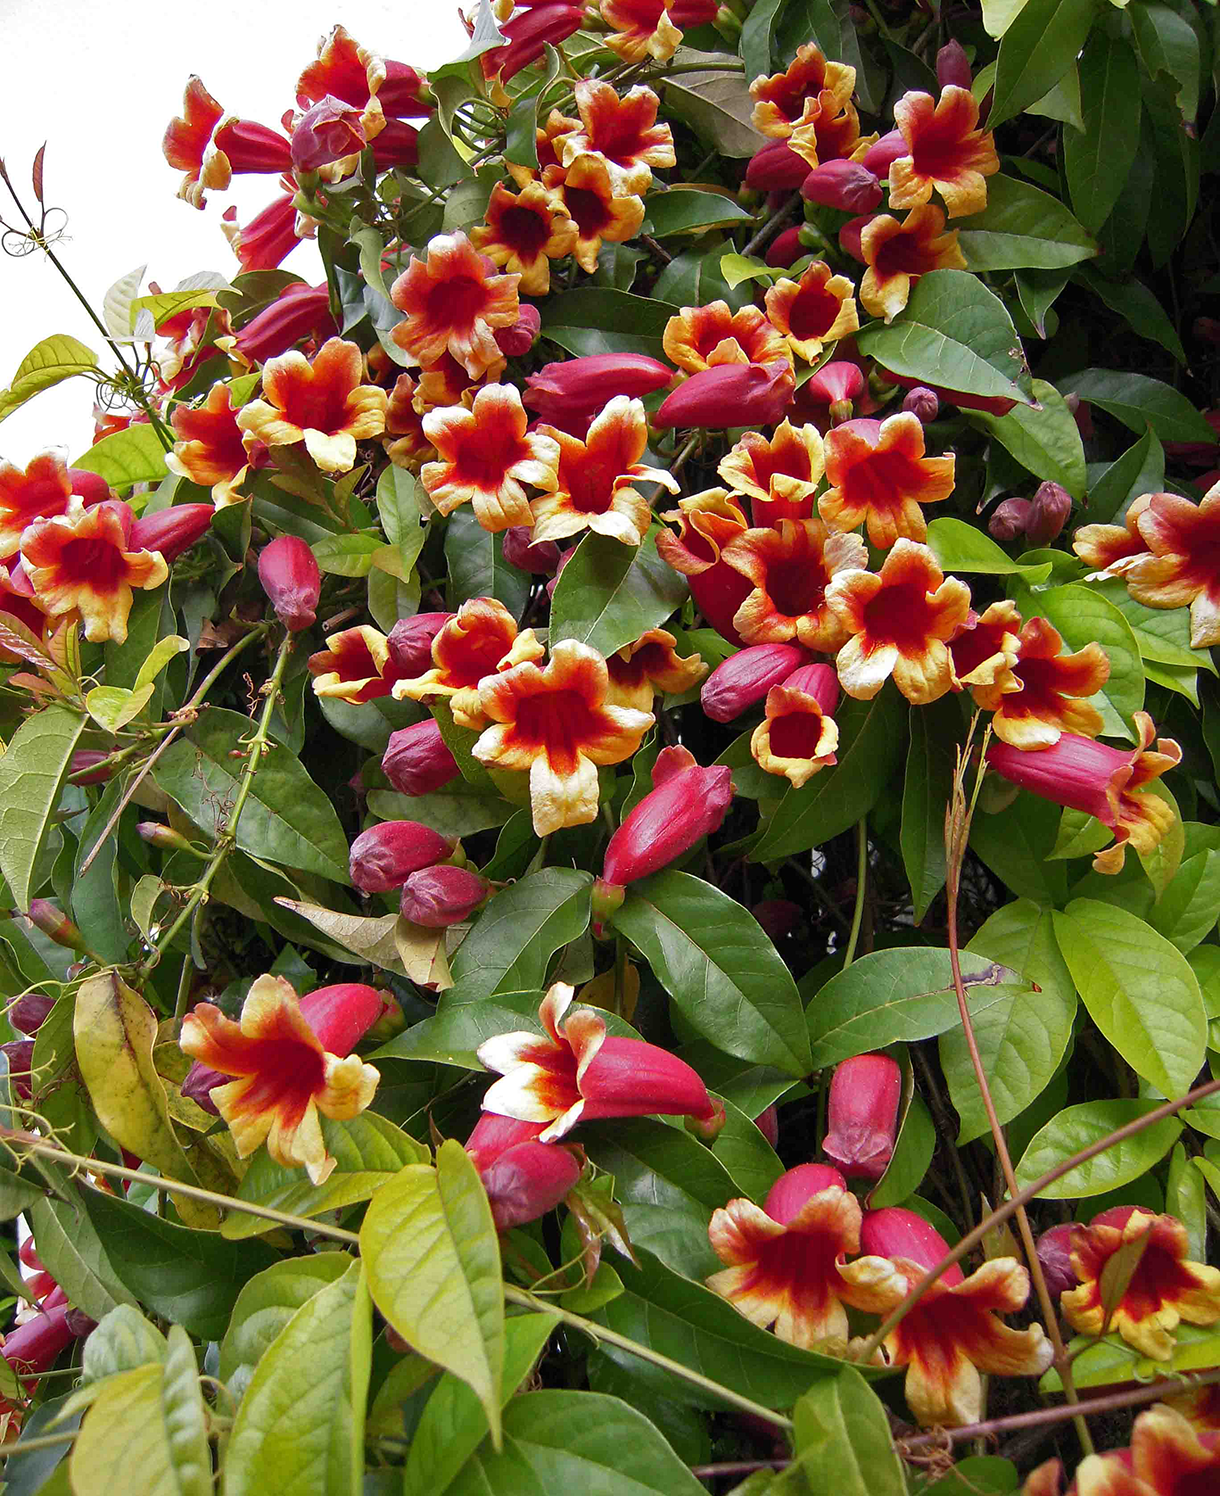
This tender evergreen climber originates from moist forests in the warmer parts of Canada and E. USA. It is similar in appearance to close relative Campsis, of which it has previously been considered a species. Very vigorous, it can reach 10m or more in a frost-free environment, though can be restricted with regular pruning. The leaves are very long (up to 18cm), and in summer are joined by masses of orange-red trumpet shaped flowers. These have a rich, sweet scent and are highly attractive to pollinators.
Bignonia is also known by the common name of cross vine.
Key Information
Position
Soil Conditions
Hardiness

Where & when to plant Campsis (Bignonia)
In the UK, bignonia can either be grown outside as an annual, as a permanent greenhouse or conservatory plant, or in a pot which spends summer outside and winter indoors. For those lucky few who possess a frost-free microclimate (perhaps in coastal areas or walled city gardens), it can be grown permanently outdoors in a sunny, sheltered spot. In any case, it will need support in the form of a trellis or pergola or suchlike to scramble up with its tendrils (unlike campsis which can cling on to vertical surfaces without the need for support).
If you live in a frost-prone area and plan to have your bignonia outside, wait until all risk of frost has passed before you move or plant it out. This varies from region to region, though tends to be mid to late May. If your plant arrives before this, keep it in a warm, bright spot such as a conservatory, greenhouse, sunny windowsill, or porch, remembering to keep it watered (young plants can dry out very quickly).
How to plant Campsis (Bignonia)
It is advisable to gradually acclimatise your bignonia before moving it outside – known as ‘hardening off’. Planting straight out without toughening it up in this way can cause shock to the plant, which, whilst unlikely to kill it, will check its overall growth.
We recommend taking the following steps, starting two or three weeks before the final move:
At first, wrap in two layers of fleece and place outside during the day only, moving back into a warm, protected environment at night.
After a few days like this, reduce the fleece to one layer. Continue in this fashion for a few more days.
Now remove the fleece. If it’s warm enough you can leave outside at nighttime too, though reapply the fleece for this.
Once it’s had a few days like this, leave outside completely uncovered for a couple of days/ nights before planting out as follows:
- For planting in a container choose a large pot, ensuring there are plenty of drainage holes in the bottom.
- It can be a good idea to fill and plant this in situ to save yourself the trouble of moving it once full.
- Use a good quality potting compost with plenty of horticultural grit mixed in, and, if not already present in the compost (check the description on the bag) some slow-release fertiliser granules.
- Start by partially filling the pot with compost; enough so that when placed on it the upper surface of the root ball is about 3cm lower than the top of the pot.
- Infill all the space surrounding the root ball with compost, firming down with your fingers then adding a little more so the plant is held tight.
- Pick up the container and lightly tap on the potting bench or ground a few times to help further settle the compost around the plant.
- Soak well with water.
- A mulch with horticultural grit will look attractive and help to prevent a ‘cap’ or crust forming on the top of the compost (something container plants can suffer due to the artificial nature of their watering).
- For planting in the garden, dig the soil area removing any large stones and weeds and breaking up any lumps. Mix in some organic matter such as manure or garden compost. Rake level and firm with your heels. Rake level again.
- Water the plant well and allow to drain before planting.
- A good tip is to dig a hole twice the size of the root-ball. Fill with water and allow to drain before placing in the plant.
- Place the plant in the hole, ensuring the top of the root ball sits level with the surface of the soil. Too low and the plant may rot, too high and the roots can dry out.
- Backfill with soil and firm in gently with your foot.
- Soak well with water.
Mulch around the base with well-rotted organic matter.
What to plant with Campsis
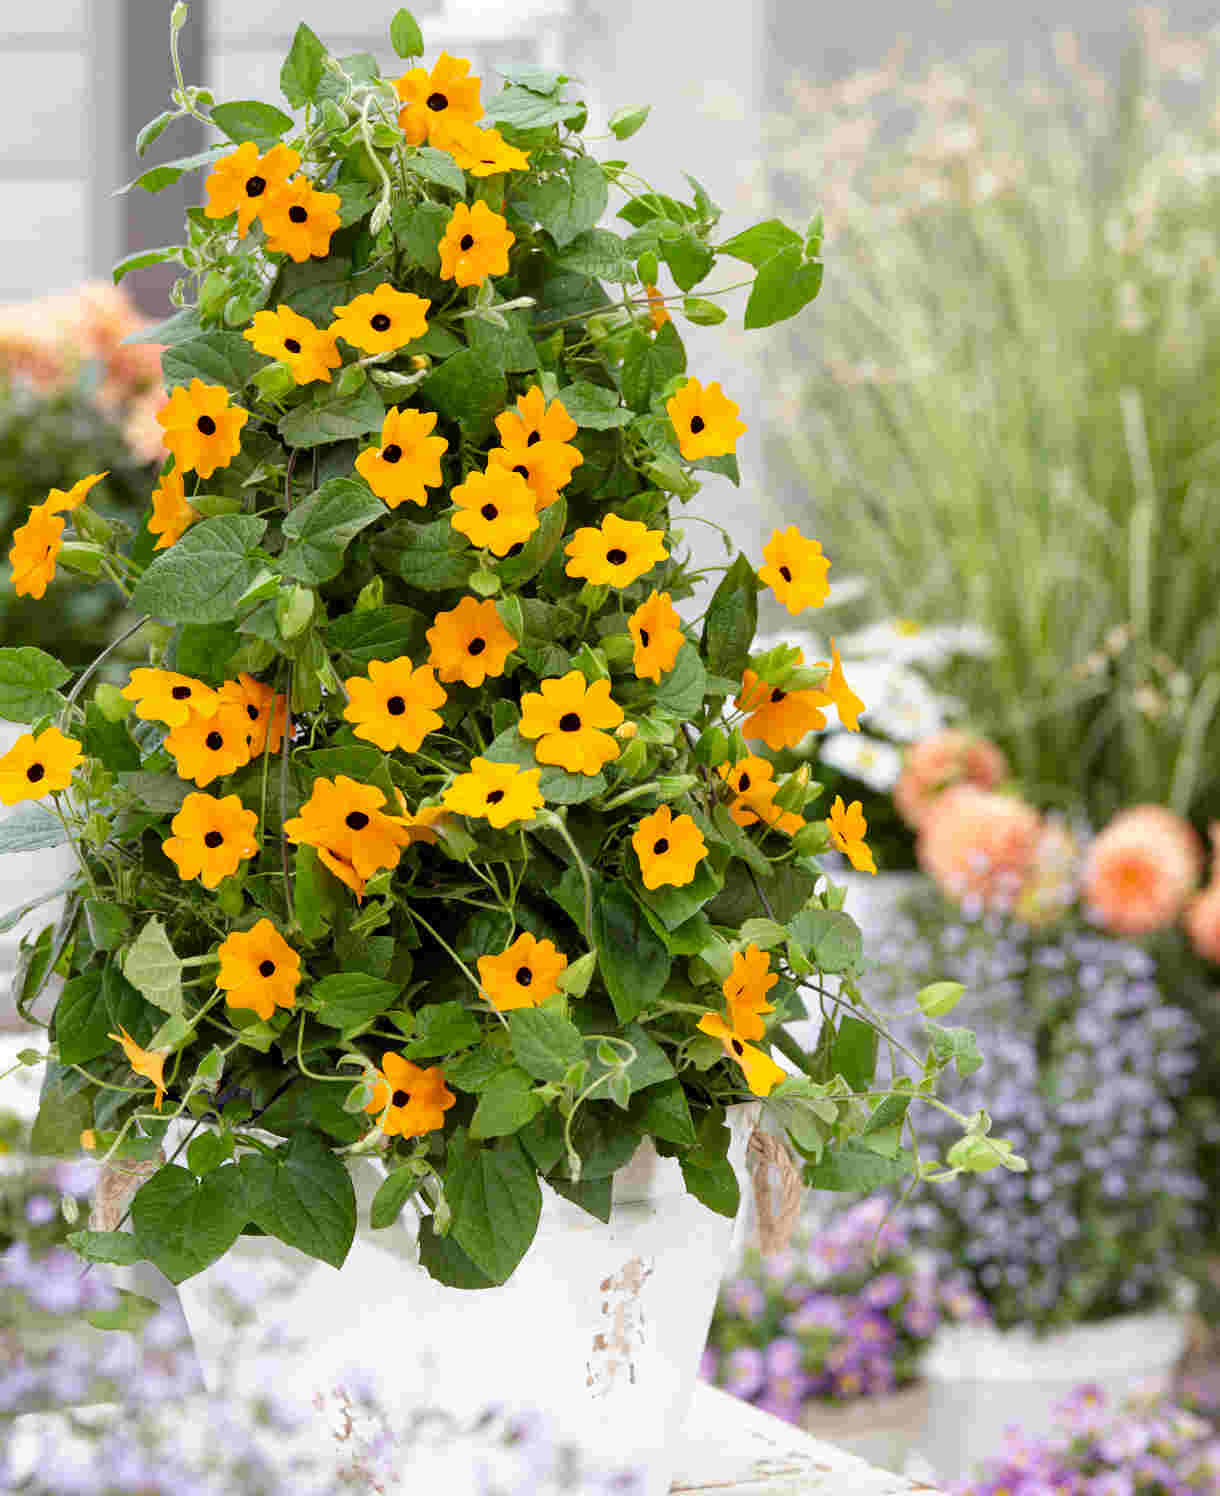
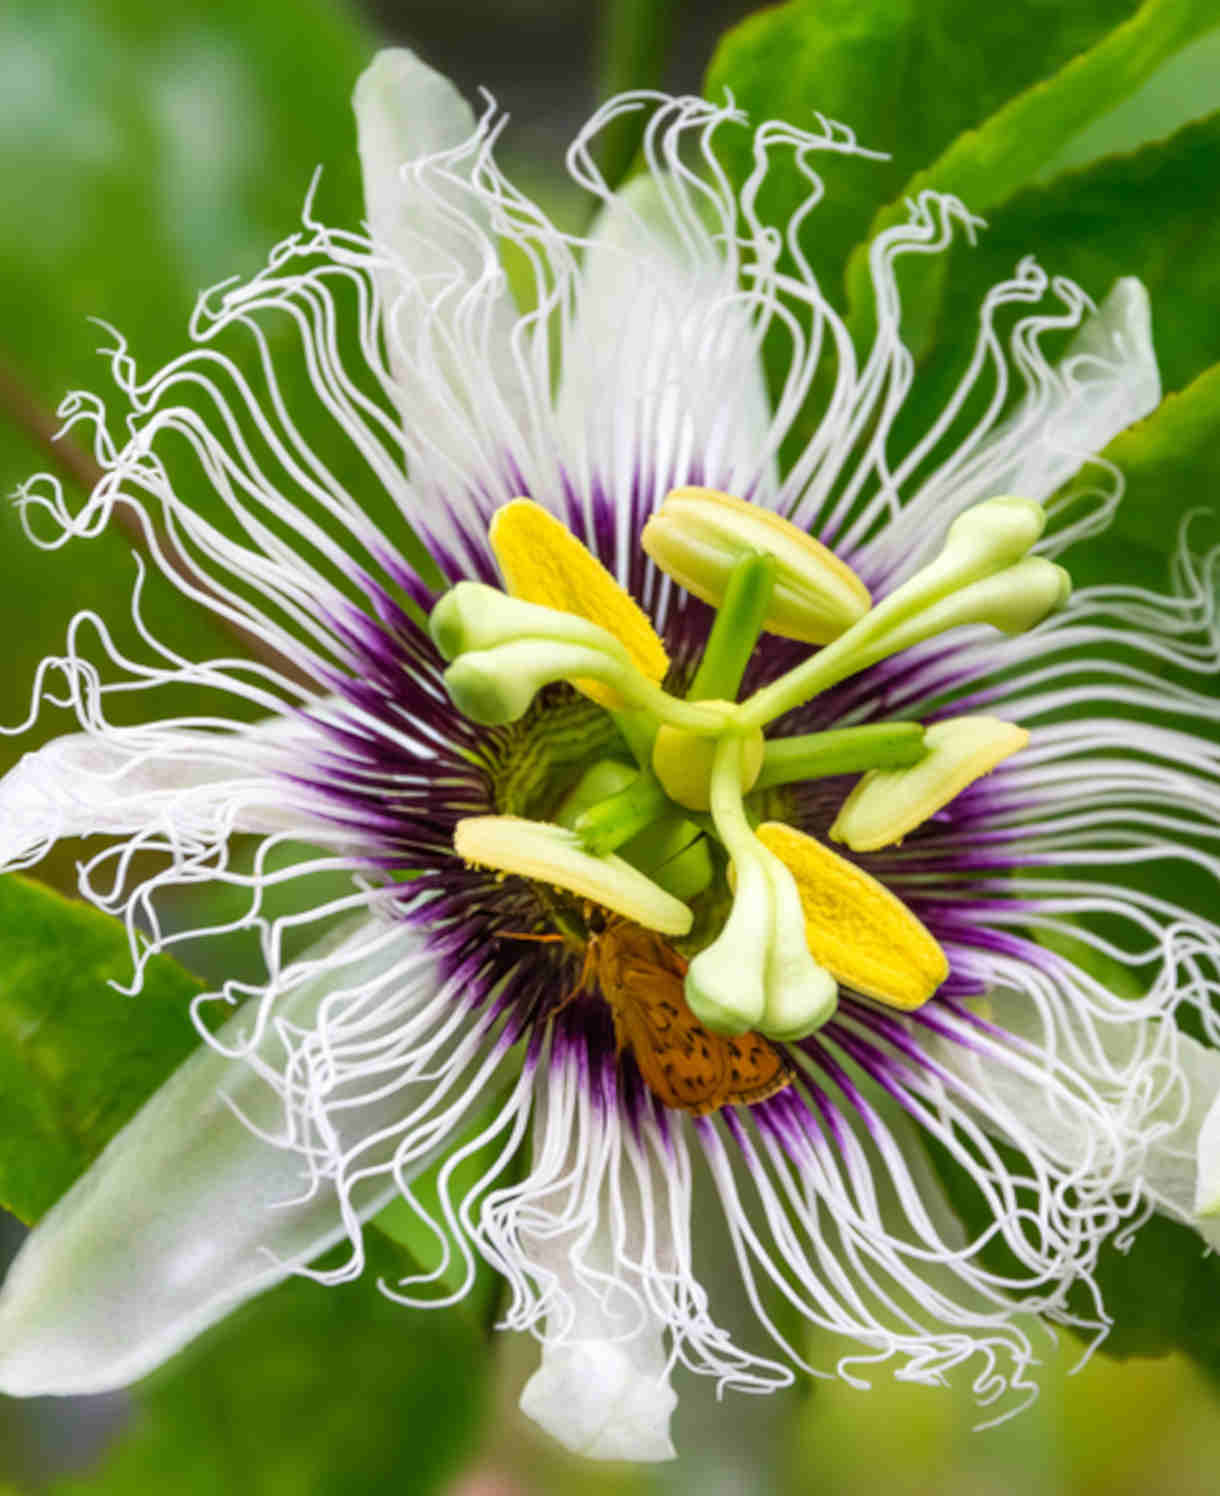
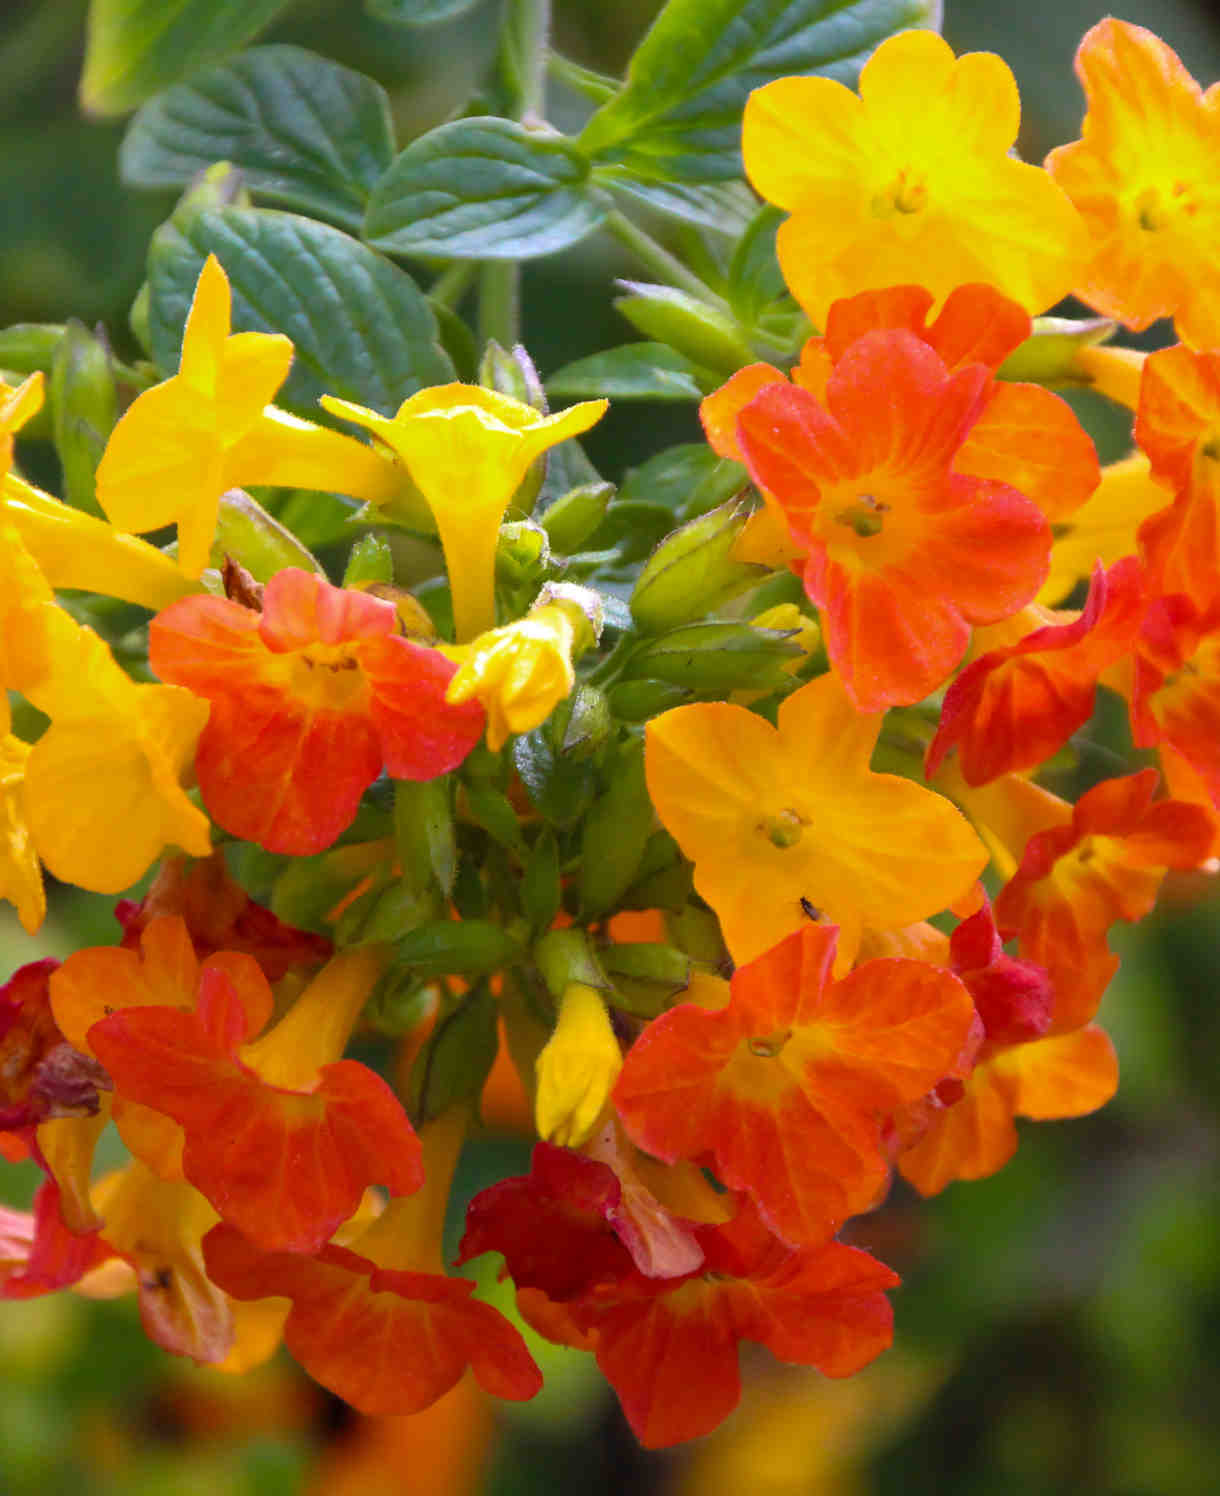
Bring that frost-free conservatory, greenhouse, or sheltered wall to life with a variety of exotic-looking, tender climbers. We suggest thunbergia, passiflora, streptosolen, solanum, and rhodochiton. Fast-growing, colourful, and unusual!
How to care for Campsis (Bignonia)
Pruning and Deadheading
Bignonia (Campsis) falls into the RHS pruning group 11. This means it doesn’t require regular pruning, though can be trimmed to restrict size if needed. This is best done after flowering.
Overgrown plants can be renovated with a hard prune in late winter, cutting the lot down to within 30cm of the base.
Watering
In the ground, bignonia should be watered regularly for the first few weeks. Once established it is relatively drought tolerant, though even so performs best when watered during prolonged dry spells.
Bignonia in containers can dry out very quickly, particularly in warm weather, and can take watering as often as once a day in the height of summer. That said, it’s important to avoid overwatering – this plant doesn’t enjoy soggy conditions. A good rule of thumb is to allow the top couple of centimetres of compost to dry out between soakings. To check this, wiggle your finger down until you feel moisture.
When overwintering container plants indoors, scale the watering right back – providing just enough moisture to prevent the compost drying out completely.
Feeding
Bignonia is not an especially hungry plant. When grown in healthy, fertile soil, a mulch of well-rotted organic matter (i.e., a layer of manure or garden compost applied to the soil around the plant) should provide sufficient nutrients. This has the added benefit of suppressing weeds and locking in moisture.
For an extra boost (perhaps you garden on poor soil), applying a general purpose granular feed to the surface of the soil and lightly working in (known as a ‘top dress’) can reap benefits.
Container-grown plants rely more on the gardener for their nutritional needs. Get off to a flying start by making sure you use a good quality compost, then throughout the growing season (March to September) apply a potassium-rich liquid feed, such as tomato feed, every couple of weeks.
Cold Protection
If located outdoors in a frost-prone area, bignonia will need to be cut back and moved to a warm, indoor environment when nighttime temperatures start to fall below 5°C. This varies depending on where you are in the country, though generally means bringing it indoors in September/ October. Return outside again around May/ June.
A heated conservatory, greenhouse, or sunny window are all ideal – anywhere with bright light and warm temperatures. You may get away with an unheated greenhouse during a mild winter, particularly if you cover the plant with fleece, though this is more of a gamble and we recommend taking cuttings as an insurance policy (see ‘How to propagate bignonia’ below).
Pests and Diseases
Outdoors, bignonia tends to be trouble-free. Indoors, the usual issues of spider mite and mealybug can crop up. Keeping plants as healthy as possible is the key to warding off problems, and by this we mean proper ventilation, adequately spaced plants (for good air flow), keeping everything well-watered and fed, and repotting into larger containers when necessary. Thoroughly cleaning the indoor environment every winter can also help to remove overwintering populations of pests.
Where infestations do take hold, try introducing biological controls (often sachets or tubes containing miniscule natural predators), or in the worst cases, remove the affected plant/s altogether.
How to propagate Campsis (Bignonia)
Bignonia (Campsis) can be propagated by leaf bud cuttings in summer. These are a form of stem cutting, comprising of a leaf with a bud in its axil, and a very short piece of stem.
- Find a healthy, non-flowering shoot and cut cleanly off the plant. The shoot can be any age, i.e., soft new growth or older, harder material.
- Place in a plastic bag straight away to prevent drying out.
- Fill a container with a well-draining compost mix – at least 50% perlite, sand, or vermiculite.
- Find an undamaged, fully expanded and mature leaf with a healthy bud in the axil (point at which the leaf joins the stem). Cuttings with an immature leaf will put energy into completing leaf growth before putting out roots, increasing the chances of the stem rotting in the compost.
- Cut just above the bud, and around 3cm below it.
- Trim the leaf to a manageable length.
- Insert the cutting into the compost and water lightly. Several cuttings can be put in the same container if there is enough space to do this without them touching.
- Place in a propagating unit with bottom heat if you have one, or covered with a plastic bag on a warm windowsill if not (out of direct sunlight).
- Keep the cuttings misted and occasionally watered until they root. You will know this has happened when roots emerge out of the bottom of the container.
- Gently remove rooted cuttings and pot them into individual pots. Grow on in a warm conservatory or greenhouse until they are large enough to be used.
* Many plants carry Plant Breeders Rights and cannot be propagated for commercial purposes.
Common Campsis (Bignonia) questions
- I live in a frost-prone area but really want to grow bignonia permanently outside. Is this possible?
You may get away with growing it against a warm, south-facing wall, particularly if you live in a milder region of the UK. Do be prepared for the occasional winter loss though – we recommend taking cuttings as back up if you intend to do this (see above for a step-by-step guide). - How does bignonia differ from campsis?
Bignonia is slightly less hardy than campsis. It also clings via leaf tendrils, as opposed to the aerial roots of campsis which can attach themselves to any surface. This means bignonia needs something to grab onto, such as a trellis, wires, pergola, etc. - Is bignonia evergreen?
In its natural habitat, yes, however in the UK it tends to be more semi-evergreen.


