


How to grow Camellia
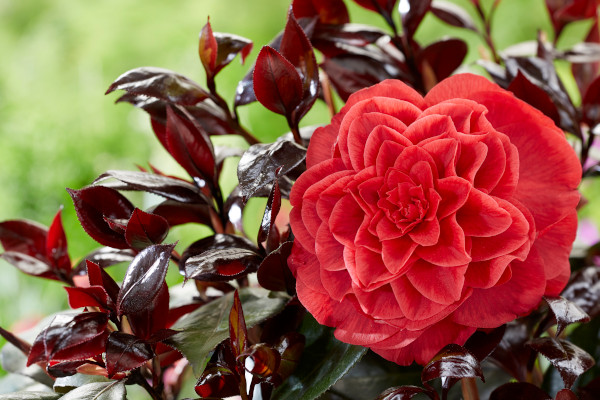
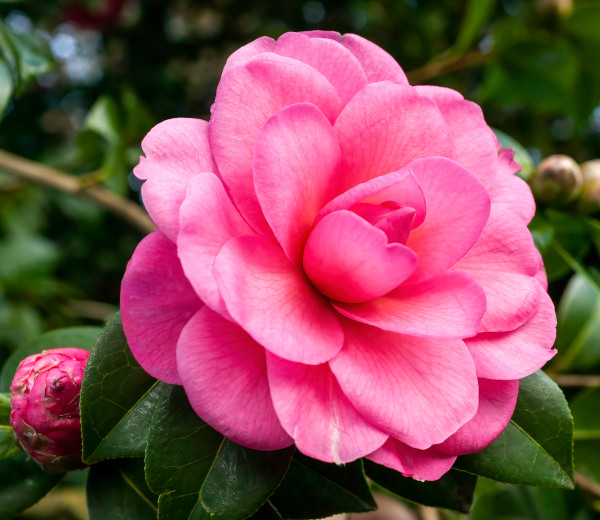
Native to woodlands throughout South Asia, camellia is a popular garden shrub grown for its shiny, evergreen foliage and showy, colourful flowers. With thousands to choose from, the flowers can be almost any variation of pink, red, yellow, or white, as well as single or double.
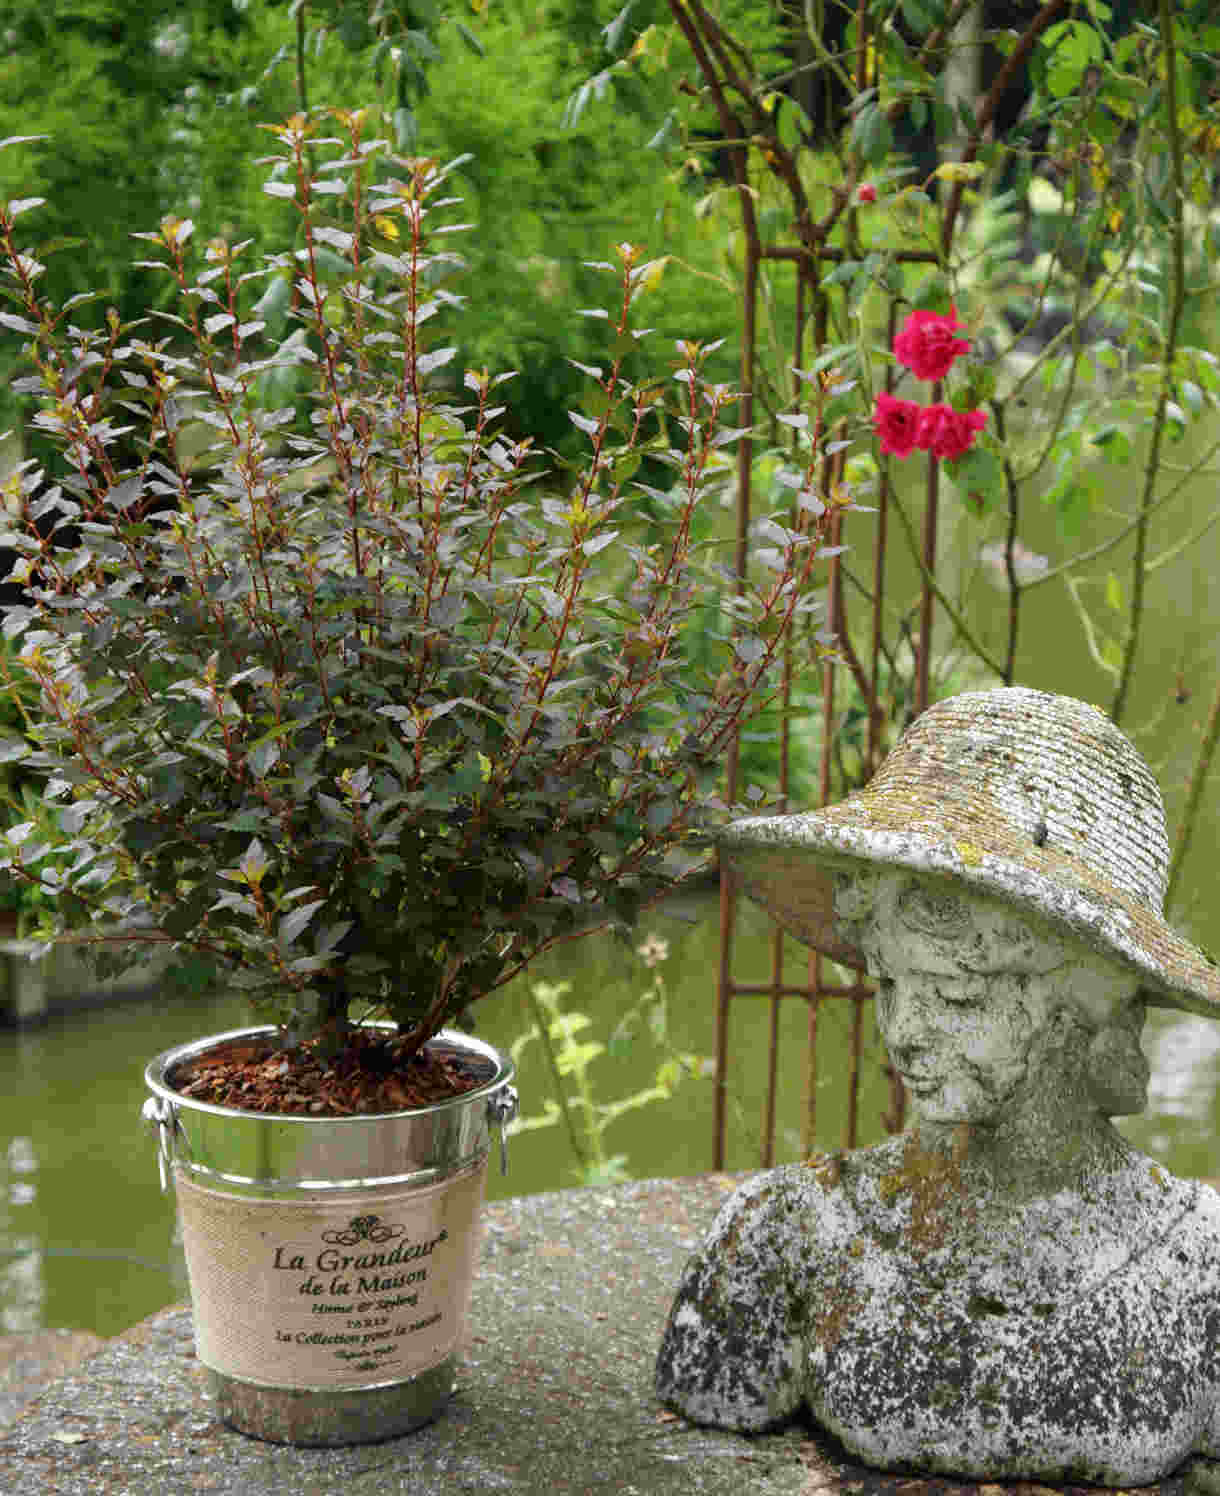
Camellia is long-lived, easy to grow, and can either be pruned to restrict size, or left to form a medium to large shrub. It prefers acidic soil, though can be grown in a large container if you don’t have this. Dwarf cultivars such as ‘Femme Fatale’ are especially well-suited to life in a pot.
Most camellias flower in early spring, providing a welcome burst of colour when little else is in flower. The exception to this is Camellia sasanqua and its cultivars, which flower from late autumn throughout winter. This unusual species is set apart by a few other differences too – it is happy in full sun (unlike other species which prefer some shade), as well as being a little less hardy – rated H4, rather than H5 like most camellias.
Key Information
Position
Soil Conditions

Hardiness

Where & when to plant Camellia
For planting in the open ground, an autumn planting is best, as this gives the plant chance to establish a root system before growing and flowering the following spring. Having said this, if your soil is liable to sit very wet over winter or you garden in a particularly cold, exposed spot, it’s better to wait until spring.
Spring is the best time to pot your camellia into a container, though any time throughout the growing season is fine. Just remember you’ll need to keep an extra close eye on watering if you do it in the height of summer.
In terms of choosing a spot – camellia is ideal for underplanting tall, deciduous trees where it enjoys the shelter and dappled shade. Another option is in a west-facing shrub border or in front of a west-facing wall. For a more open, sunny spot, opt for C. sasanqua.
How to plant Camellia
- For planting in the ground, dig the soil area removing any large stones and weeds and breaking up any lumps. Mix in some organic matter with an acidic pH, such as ericaceous compost, composted pine needles, or leaf mould. Rake level and firm with your heels. Rake level again.
- Water plants well and allow to drain before planting.
- A good tip is to dig a hole twice the size of the root-ball. Fill with water and allow to drain before placing in the plant.
- Place the plant in the hole, ensuring the top of the root ball sits level with the surface of the soil.
- Backfill with soil and firm in gently with your foot.
- Soak well with water.
- Mulch around the base with ericaceous compost, composted pine needles, or leaf mould.
- For planting in containers, first choose an appropriately sized pot. The best practice is to start just a few centimetres larger than the rootball and increase in size every year or two. Always ensure there are plenty of drainage holes in the bottom.
- If you are using a large or heavy pot, it can be a good idea to fill and plant it in situ to save yourself the trouble of moving once full.
- Use a ericaceous compost with plenty of horticultural grit mixed in, and, if not already present in the compost (check the description on the bag) some slow-release ericaceous fertiliser granules.
- Start by partially filling the pot with compost; enough so that when placed on it the upper surface of the root ball is about 3cm lower than the top of the pot.
- Infill all the space surrounding the root ball with compost, firming down with your fingers then adding a little more so the plant is held tight.
- Pick up the pot (if you can!) and lightly tap on the potting bench or ground a few times to help further settle the compost around the plant.
- Soak well with water.
- A mulch with horticultural grit will look attractive and help to prevent a ‘cap’ or crust forming on the top of the compost (something container plants can suffer due to the artificial nature of their watering).

What to plant with Camellia
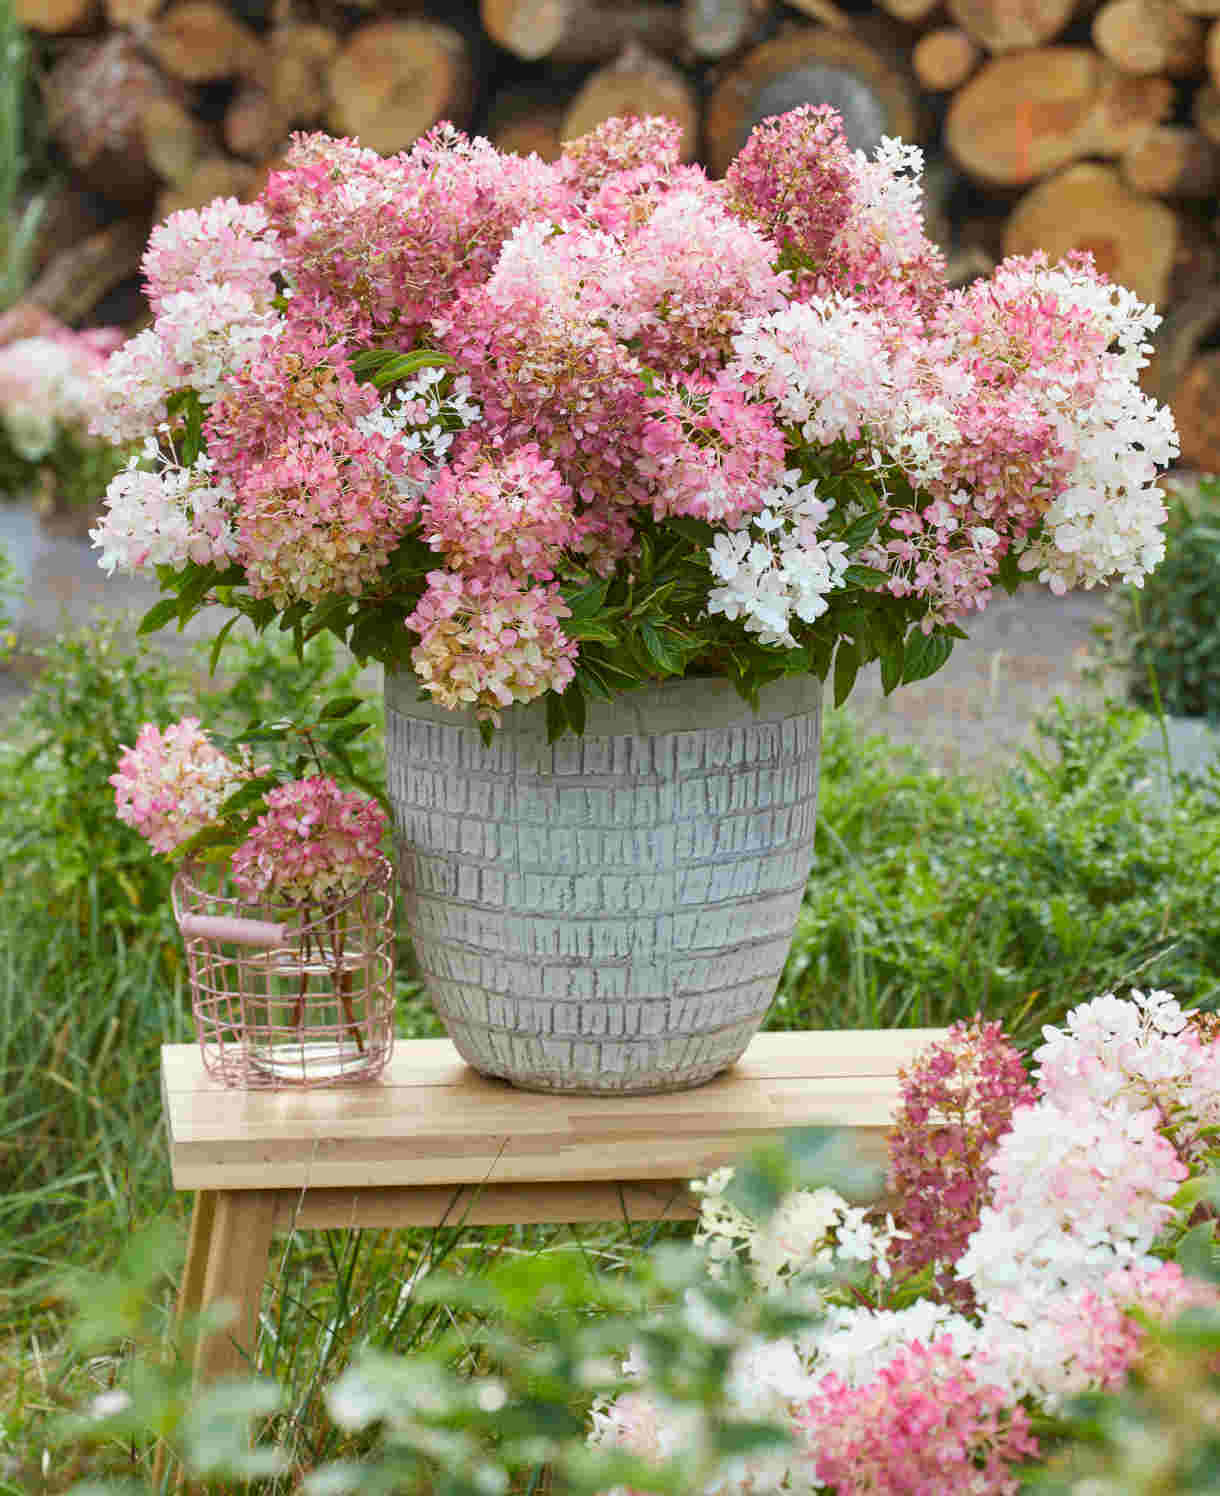
If you have the acidic conditions needed to grow camelllia, a whole host of spectacular acid-loving garden plants is also at your fingertips. Rhododendron, hydrangea, enkianthus, physocarpus, hamamelis, clethra, and vaccinium are just a few trees and shrubs to get you started. For a lower storey of perennials at ground level, try liriope, ophiopogon, and stokesia.
How to care for Camellia
Pruning and Deadheading
Camellia falls under the RHS pruning group 8, which means it can be left completely untouched aside from the occasional removal of dead, diseased, damaged, or badly placed branches – best done after flowering.
To restrict its size, give your camellia a trim after flowering, or if you need to give it a hard prune (i.e., if it has become much too large for the space) this can be done in March. Camellia responds well to this, though takes a couple of years to return to flowering.
The one drawback to camellias is the unsightly browning of the flowers as they fade. Deadhead to keep things looking aesthetically pleasing if you have the time and inclination. Otherwise, accept this less attractive period as you wait for the flowers to drop naturally.
Watering
For best results water camellia regularly until established, which generally means for the first couple of growing seasons in the ground. Give a good soaking on planting, and then aim to keep the soil consistently moist after this. Allow the top 10cm of soil to dry out between soakings to avoid overdoing it – to check this, either use a trowel or wiggle your finger down into the soil. After this settling in period, your camellia will be more self-sufficient and need watering only in prolonged periods of drought. It is important not to let camellias dry out in summer as this is when next year’s flower buds are forming.
Container-grown camellia needs more attention as its root run is significantly limited. Water regularly throughout every growing season, again, allowing the top few centimetres of compost to dry out between each soaking (note that in the height of summer this can happen in as little as 24 hours). From mid-autumn, the British climate tends to take over watering needs, though do remember to step in in the event of an unseasonably dry spell.
Harvested rainwater is best for acid-loving plants such as camellia, as tap water can contain calcium which increases alkalinity – especially in hard water areas. However, tap water is better than nothing if this is all you have available.
Feeding
The first thing to note here is that it is important not to overfeed camellia, or feed too late in the season, as this can cause bud drop. Feeding should occur no later than the end of July.
For its first couple of years growing in the open ground, feed camellia with a ericaceous feed applied to the surface of the soil and lightly worked in (known as a ‘top dress’). This is best done in early spring, followed by a mulch of acidic organic matter, i.e., a layer of ericaceous compost, composted pine needles, or leaf mould applied to the soil around the plant. This has the added benefit of suppressing weeds and locking in moisture.
Once your camellia is well established, an annual mulch should provide sufficient nutrients, however, apply a top dress as above if ever you feel an extra boost is needed.
Container-grown plants rely more on the gardener for nutrition. Start by making sure you use a good quality ericaceous compost, then from March to the end of July apply an ericaceous liquid feed at regular intervals according to the manufacturer instructions. Remember also to repot your camellia every few years, going up slightly in pot size and using fresh, ericaceous compost containing some ericaceous feed. Once the plant reaches full size an annual top dress is advisable: each spring, scrape off the top 5cm of compost and replace with fresh, remembering to mix in a little ericaceous feed too.
Cold Protection
Most camellias are hardy enough to withstand winter in the UK without the need for additional protection. The exception to this is the autumn and winter-flowering C. sasanqua, which may benefit from a dry, insulating mulch (straw, bracken, or bark chippings are all ideal), applied around the roots in autumn.
Like all plants, those grown in containers can be more susceptible to the cold, so it can be worth wrapping the base in hessian, fleece, or bubblewrap (especially C. sasanqua). This insulates the roots while also protecting the pot from frost damage.
Pests and Diseases
Although they are easy to grow, camellias can fall victim to a few problems. Things to look out for include aphid, scale insects, and vine weevils (more likely when grown in a container), as well as a few viruses and diseases which may blemish flowers and leaves.
Growing healthy, thriving plants is the first line of defence against issues such as these, which means:
- Choosing the appropriate growing conditions
- Providing sufficient moisture and nutrients
- Practising good garden hygiene, i.e., collecting and removing fallen flowers and leaves straight away
- Nourishing the soil with an annual mulch
- Creating a balanced garden ecosystem by avoiding chemicals and encouraging a broad spectrum of wildlife
How to propagate Camellia
Camellia hybridises freely, meaning seed will rarely come true to the parent plant. Instead, we advise cuttings as the best method of propagation. Leaf bud or semi-ripe cuttings both work well and can be taken from late summer to late winter.
Leaf bud cuttings
These are a form of stem cutting, comprising of a leaf with a bud in its axil, and a very short piece of stem.
- Find a healthy, non-flowering shoot of the current year’s growth and cut cleanly off the plant.
- Place in a plastic bag straight away to prevent drying out.
- Fill a container with a well-draining compost mix – at least 50% perlite, sand, or vermiculite.
- Find an undamaged, fully expanded and mature leaf with a healthy bud in the axil (point at which the leaf joins the stem). Cuttings with an immature leaf will put energy into completing leaf growth before putting out roots, increasing the chances of the stem rotting in the compost.
- Cut just above the bud, and around 3cm below it.
- Trim the leaf to a manageable length.
- Insert the cutting into the compost and water lightly. Several cuttings can be put in the same container if there is enough space to do this without them touching.
- Place in a propagating unit with bottom heat if you have one, or covered with a plastic bag on a warm windowsill if not (out of direct sunlight).
- Keep the cuttings misted and occasionally watered until they root. You will know this has happened when roots emerge out of the bottom of the container.
- Gently remove rooted cuttings and pot them into individual pots. Grow on in a protected environment such as a greenhouse, windowsill, or coldframe until they are large enough to be used.
Semi-ripe cuttings
These will be soft and pliable at the tip, becoming woody at the base.
- Choose non-flowering, healthy new stems, aiming to take a longer piece than the ideal eventual length of around 10cm (to allow for trimming).
- Put in a plastic bag straight away to prevent drying out.
- Fill a pot (or several, if you have a lot of cuttings) with a perlite-heavy compost mix (at least 50% perlite).
- Trim the end of the cutting to just below a node (point at which leaves grow).
- Remove lowest leaves and soft tip, leaving 2-4 leaves.
- If the remaining leaves are large, cut them in half with a sharp knife (to reduce water lost through transpiration).
- Insert the cuttings into the compost and water lightly. Several cuttings can be put in the same container if there is enough space to do this without them touching.
- Place in a greenhouse or propagating unit if you have one or covered with a plastic bag on a windowsill if not (out of direct sunlight).
- Keep the cuttings misted and occasionally watered until they root. You will know this has happened when roots emerge out of the bottom of the container.
- Gently remove rooted cuttings and pot them into individual pots. Grow on in a protected environment such as a greenhouse, windowsill, or coldframe until they are large enough to be used.
* Many plants carry Plant Breeders Rights and cannot be propagated for commercial purposes.
Common Camellia questions
- Do camellias grow well in pots?
They do. Just make sure you use ericaceous compost, and remember to repot into a larger container every 2-3 years. All camellias can be grown in a pot, though dwarf cultivars are especially suitable. - What is the lifespan of a camellia?
This is a long-lived plant which can live for decades or even centuries, given the right conditions. - Are camellias easy to grow?
As long as their need for moist, acidic conditions is met and they are located out of the wind, camellias are wonderfully low-maintenance and reliable. - Should I deadhead camellias?
If you can’t stand the sight of the brown, dying flowers and have the time to do so, then yes! This is not essential, however. It has no effect on the following year’s flowers and is purely an aesthetic exercise. - Are camellias poisonous?
Camellia has no toxic effects reported.