How to grow Caltha
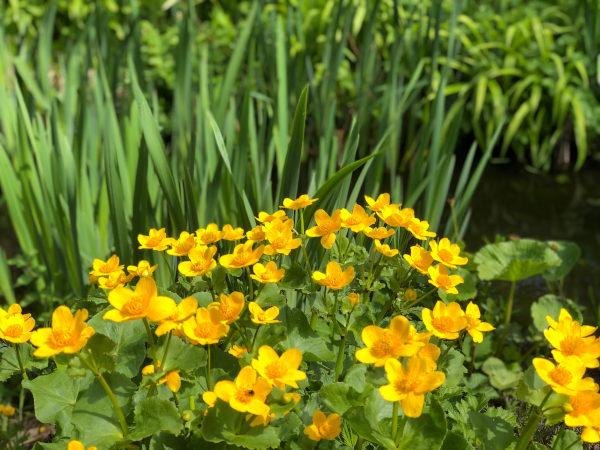
Also known as marsh marigold or kingcup, caltha is a hardy perennial from marshlands and water margins throughout temperate and cold regions across the world. Like many members of the buttercup family it spreads via rhizomes and produces cup-shaped, yellow or white flowers in spring. These are often followed by a second flush in autumn.
There are around ten species of caltha, though by far the most familiar to gardeners is the UK native Caltha palustris. As a straight species it grows widespread throughout the country in damp meadows, ditches, wet woodland, and at pond edges, however there are also many cultivated forms available.
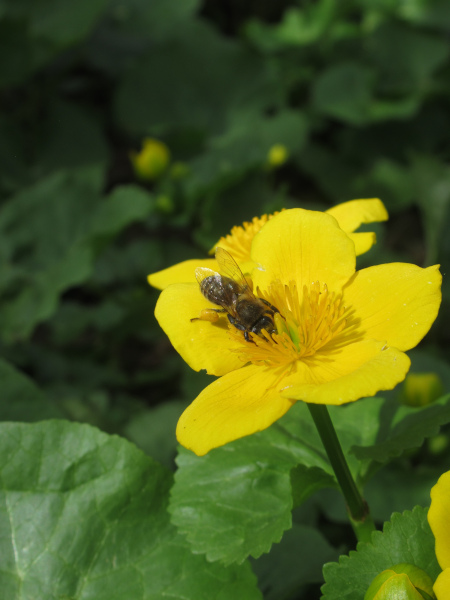
As an early source of nectar, caltha is beneficial to a range of pollinators, while its leaves provide shelter for frogs and newts.
Key Information
Position
Soil Conditions
Hardiness

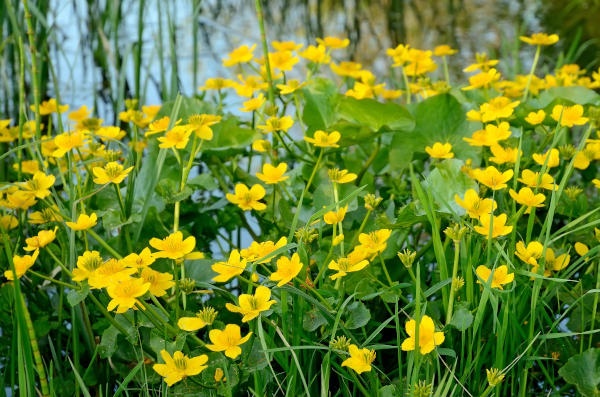
Where & when to plant Caltha
For best results, plant marginal aquatic or bog plants like this in late spring to early summer when the water is beginning to warm up. This gives them the best chance at establishing well.
Caltha prefers very shallow or bog conditions, though can survive in deeper water (up to 20-25cm deep) for short periods. It is also an invaluable plant for those challenging spots where winter waterlogging can be an issue – perhaps a border of damp, heavy soil or simply a lower point of the garden where rainwater gathers.
Caltha can be grown directly into soil, or in an aquatic planting basket or hessian bag filled with a specialist compost. The latter can be useful in controlling its naturally spreading habit.
How to plant Caltha
- If planting directly into soil, choose a spot in the shallows where the water is approximately 5cm deep, or in a bog garden.
- Clear the area of weeds.
- Dig a planting hole several times larger than the root ball, putting any spoil in a bucket.
- Place the plant in the hole, taking care to bury only the roots, not the crown.
- Backfill with the spoil and firm in gently.
- If submerged in water, place rocks, pebbles, or a layer of fine gravel around the base of the plant to weigh it down until its roots establish to anchor it in the ground.
- When using an aquatic planting basket, unless it has very fine mesh, line with hessian or polypropylene fabric to prevent the compost from washing out. Alternatively, a hessian bag makes a plastic-free alternative to a planting basket.
- Part fill with a specialist aquatic compost. Resist the temptation to use normal potting compost, as this contains fertilisers which will leach out into the water and harm the aquatic ecosystem.
- Position the caltha in the basket or bag so it sits at the same depth as in the original container.
- Infill around it with more aquatic compost, firming in as you go.
- Mulch with grit or fine gravel to prevent the surface of the compost becoming stirred up into the water.
- Submerge into the water. You may need to weigh down with rocks until the compost becomes fully saturated, after which it should remain in place.

How to care for Caltha
Pruning and Deadheading
Caltha can be cut back after flowering (late May), to keep it looking neat and tidy.
Watering
Keep an eye on the water level of ponds, topping up if necessary – preferably with harvested rainwater.
Bog gardens and damp borders should also be monitored and may need watering during very hot, dry spells to maintain moisture levels.
Feeding
There is no need to feed marginal plants such as caltha, as they get enough nutrients from the pond or bog water in which they’re grown.
Cold Protection
Caltha is as hardy as it gets and can withstand even the harshest of UK winters without the need for additional protection.
Pests and Diseases
Caltha can be prone to powdery mildew in summer. This appears as a white, powder-like coating on foliage and is generally a sign that a plant is stressed. Causes can include poor airflow, an excess of nutrients, and insufficient sunlight.
Prune off and dispose of any affected leaves and if necessary, thin out surrounding plants to improve airflow and light levels. Consider whether fertiliser you have used elsewhere in the garden may have leached into the pond or bog (causing a harmful spike in nutrients). Try to avoid a repeat of this if you can.
How to propagate Caltha
Established clumps can be divided in April or September. Allow at least 2-3 years between each division, to give plants sufficient time to re-establish.
- Choose a day when conditions are not frozen.
- Dig the plant out of the ground or remove it from the planting basket.
- Shake off any excess soil.
- Separate the plant into sections using either by teasing apart with your hands, or two forks inserted back-to-back with tines touching, handles then pushed together to prise the plant apart. If the rootball is very congested, a sharp serrated knife can be used to cut it into pieces, ensuring each has a growing tip and good amount of roots.
- Discard old, damaged, or surplus pieces, keeping healthy, vigorous material.
- Replant or repot selected pieces, as above in ‘How to plant caltha’.
* Many plants carry Plant Breeders Rights and cannot be propagated for commercial purposes.
- How quickly does caltha spread?
Caltha is a vigorous, fast-growing plant. For many gardeners this is seen as a plus, however if not wanted the spread can be easily contained by removing surplus growth. Caltha is not considered invasive. - Does caltha need soil?
Yes, this is a marginal plant meaning it grows in the shallows with its roots anchored in the soil. - Can caltha be planted in water?
Yes – though only shallow water (around 5cm of water covering the crown is ideal). Caltha can cope with short periods of being submerged by up to 25cm of water, though long term this is likely to negatively impact growth. - Should I cut back caltha?
Cutting caltha back after flowering is not essential, though will maintain a neat, fresh appearance.


