


How to grow Callistemon
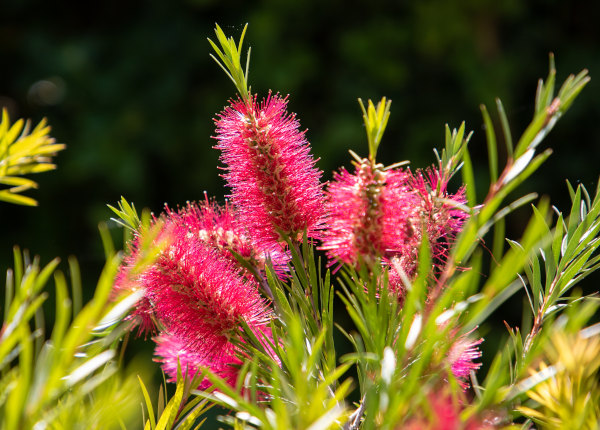
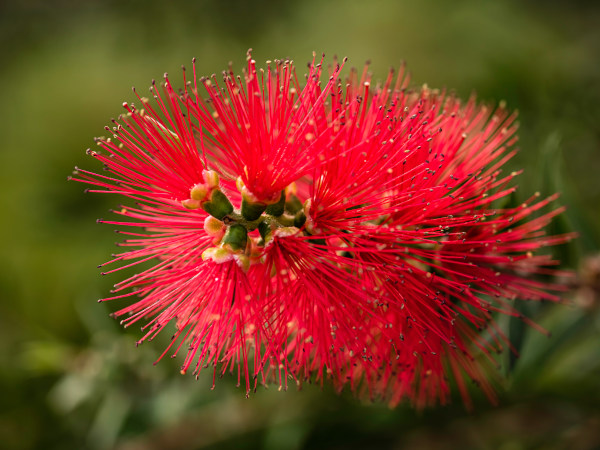
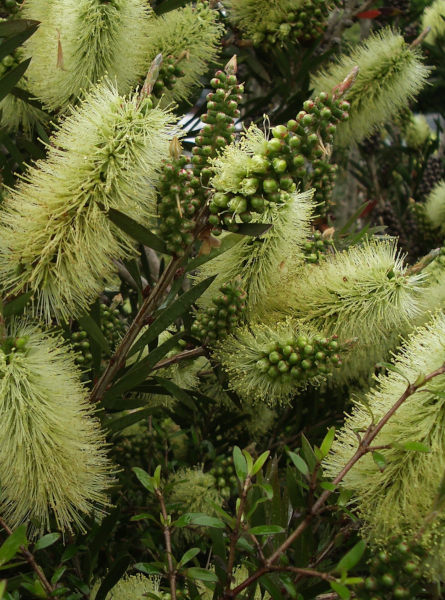
Also known as bottlebrush, this distinctive evergreen Australian native is a small tree or large shrub grown for its unusual, brush-like spikes of flowers and the pleasing, citrusy aroma of its leaves when crushed. The flowers can be purple, pink, white, green, yellow, or, more commonly, red. Callistemon produces clusters of hard, round seeds which can remain on the stems for several years.
As a half-hardy plant it tends to be grown outside in the UK only by those who can offer a frost-free microclimate. For everyone else, it is more common as a conservatory plant, or one which is kept outdoors in summer and moved inside for winter. Compact, dwarf cultivars such as ‘Mini Red’ now make it an option for smaller spaces.
Key Information
Position
Soil Conditions

Hardiness

Where & when to plant Callistemon
Callistemon grows naturally in a warm, frost-free climate, and can only survive outside in the UK once all risk of frost has passed. This varies from region to region, though tends to be around mid to late May. If your plant arrives before it is safe to move it out, keep it in a protected environment such as a conservatory, greenhouse, or a sunny window or porch, until the time is right.
Callistemon is well suited to life in a container, as this makes it easy to move indoors for winter or indeed be kept in a (cool) conservatory or greenhouse permanently. Gardeners in the warmer, southern half of the UK may get away with growing it in the open ground at the base of a warm, sheltered wall, with protective steps taken during winter (see our ‘Cold Protection’ section below). Of course, those lucky enough to offer a mild, frost-free microclimate – perhaps in a sheltered coastal or city centre location – can grow it outdoors all year round without concern. In any case, give it the sunniest, most sheltered spot available.
How to plant Callistemon
For best results, harden your callistemon off (i.e., acclimatise it to the conditions outside) over the course of a week or so before moving it out full time. A coldframe is perfect, allowing you to gradually increase the time the lid remains open until eventually leaving it open all night. Alternatively, you can take the following steps:
- First few days: move your plant outside, just during the day at first
- Next few days: leave out all the time, with a fleece covering at night
- Final few days: leave out completely uncovered
Then:
- For planting in containers, first choose an appropriately sized pot. The best practice is to start just a few centimetres larger than the rootball and increase in size every year or two. Always ensure there are plenty of drainage holes in the bottom.
- If you are using a large or heavy pot, it can be a good idea to fill and plant it in situ to save yourself the trouble of moving once full.
- Use a good quality potting compost with a generous amount of horticultural grit mixed in (aim for around 30% grit), and, if not already present in the compost (check the description on the bag) some slow-release fertiliser granules.
- Start by partially filling the pot with compost; enough so that when placed on it the upper surface of the root ball is about 3cm lower than the top of the pot.
- Infill all the space surrounding the root ball with compost, firming down with your fingers then adding a little more so the plant is held tight.
- Pick up the container and lightly tap on the potting bench or ground a few times to help further settle the compost around the plant.
- Soak well with water.
- A mulch with horticultural grit will look attractive and help to prevent a ‘cap’ or crust forming on the top of the compost (something container plants can suffer due to the artificial nature of their watering).
- For planting in the garden, dig the soil area removing any large stones and weeds and breaking up any lumps.
- If your soil is poor or dry, now is the time to dig in plenty of well-rotted organic matter, such as garden compost or manure.
- Rake level and firm with your heels. Rake level again.
- Water the plant well and allow to drain before planting.
- A good tip is to dig a hole twice the size of the root-ball. Fill with water and allow to drain before placing in the plant.
- Place the plant in the hole, ensuring the top of the root ball sits level with the surface of the soil. Too low and the plant may rot, too high and the roots can dry out.
- Backfill with soil and firm in gently with your foot.
- Soak well with water.
- Mulch around the base with well-rotted organic matter.
What to plant with Callistemon
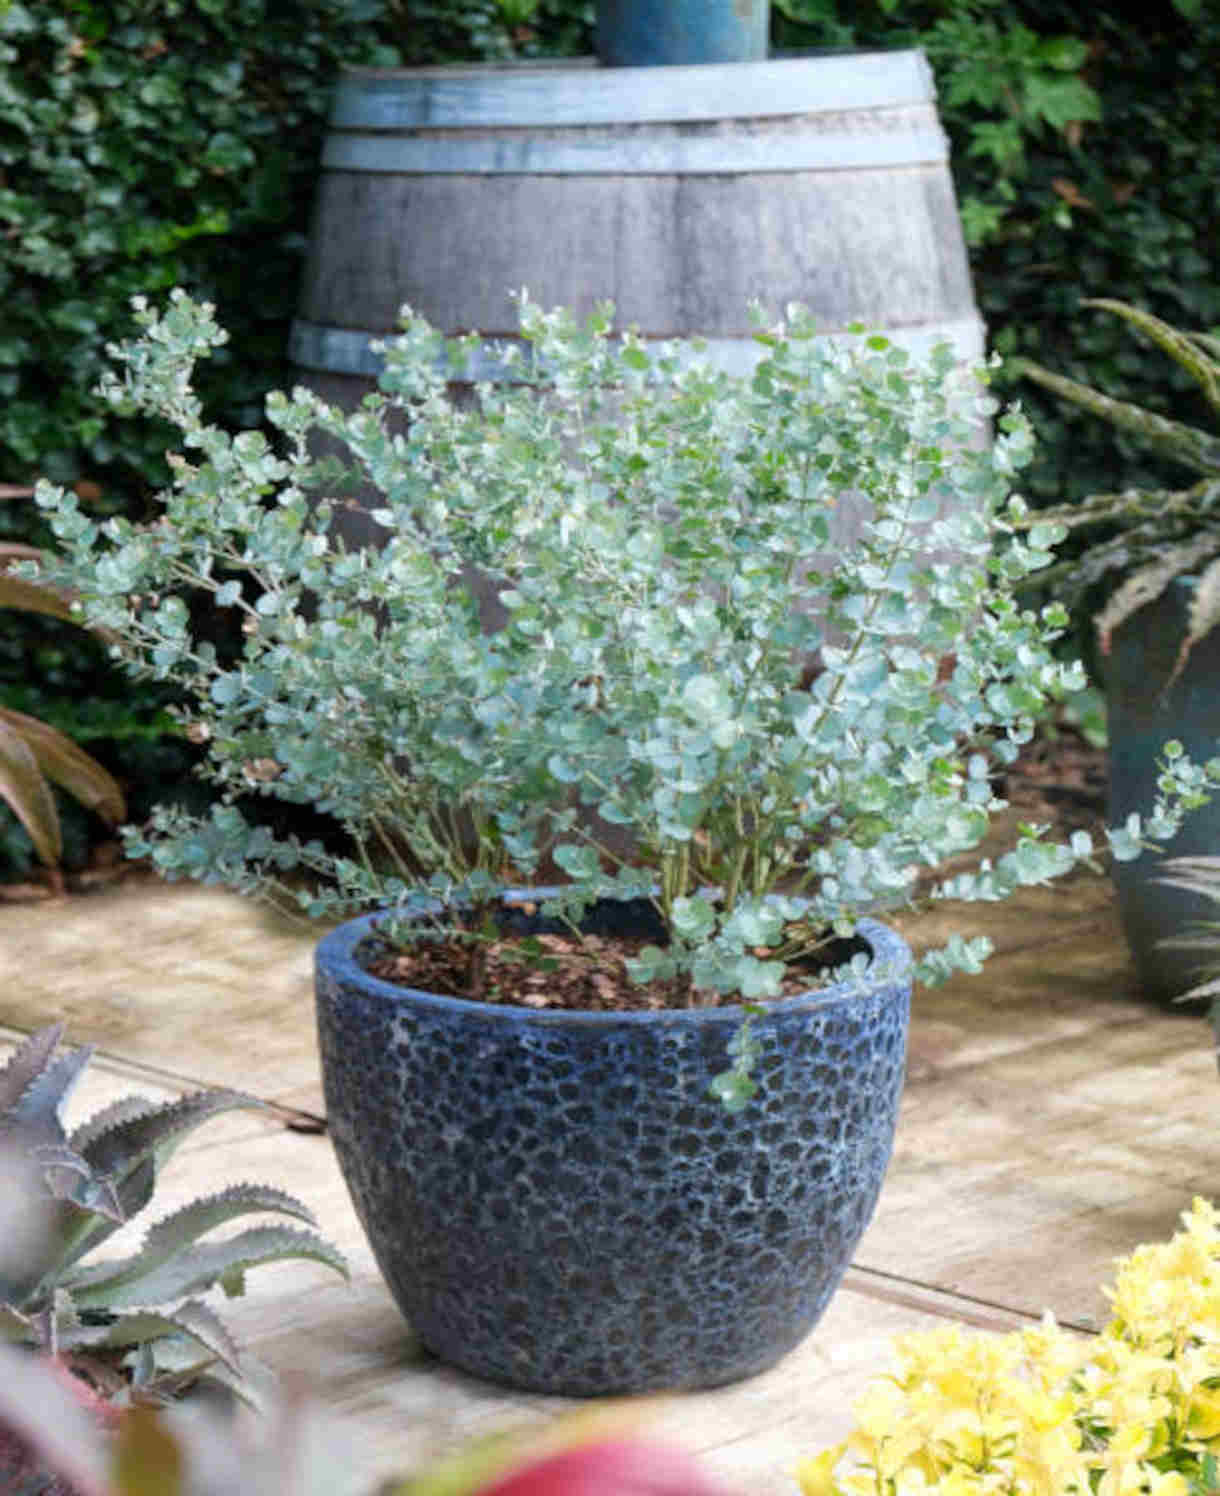
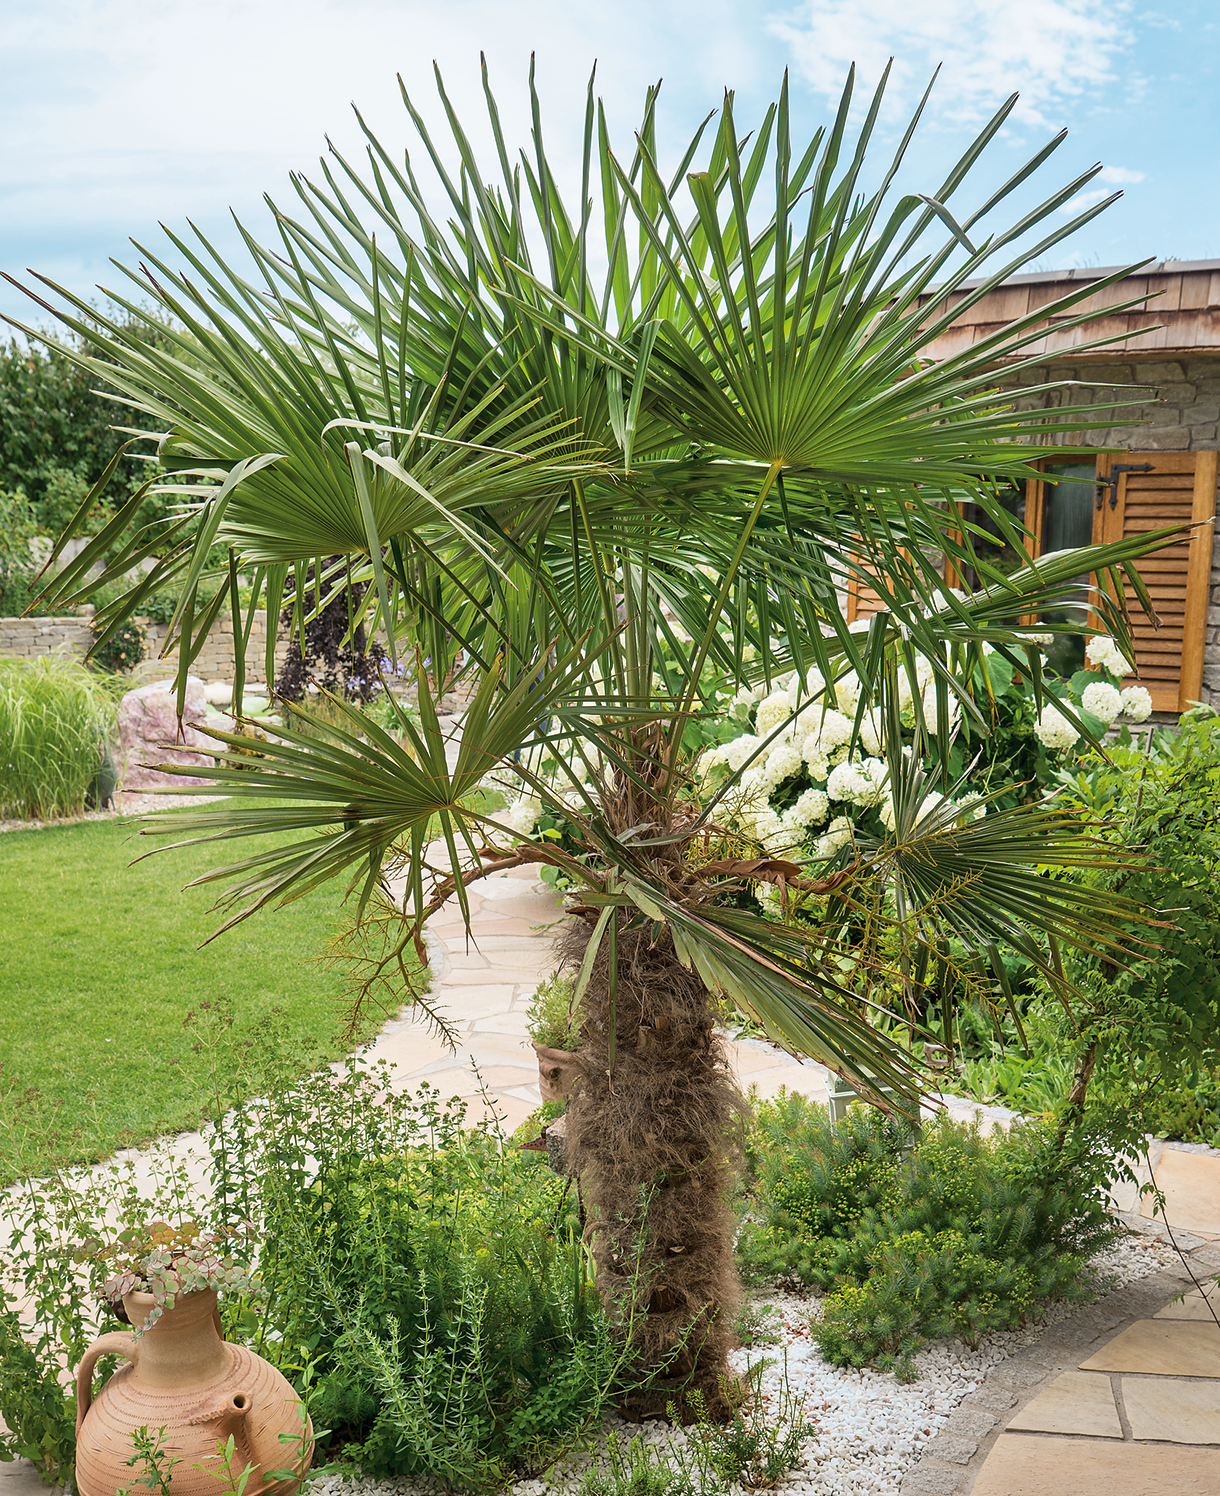
Bring a slice of Australia to your conservatory or patio, by combining callistemon with pots of other Aussie natives, including Trachycarpus, dwarf eucalyptus, craspedia, brachyscome, and hardenbergia.
How to care for Callistemon
Pruning and Deadheading
Callistemon falls into the RHS pruning group 8, which means it is best left untouched apart from the occasional removal of dead, diseased, damaged, or badly placed branches.
Having said this, callistemon will tolerate hard pruning, which might be necessary on old, neglected specimens. This is best done in early spring: cut the whole thing back by at least half, removing any thin, twiggy growth while you’re at it.
Callistemon may require restrictive pruning if grown permanently in a warm conservatory or greenhouse, where it can get a little out of hand. Do this immediately after flowering, pruning back by around a third.
Watering
Callistemon originates from moist soil in woodland clearings and does best with consistent moisture levels. When planting in the open ground, give it a good initial soaking, then continue to water regularly throughout the first growing season (roughly March to September). Allowing the top few centimetres of soil to dry out before you water again is a good way to avoid overdoing it. To check this, wiggle your finger down until you hit a cool, damp bit. Once established, callistemon should need watering only in prolonged dry periods, especially if you keep on top of the annual mulch in spring, which can be very effective at locking moisture into the soil (see next section for more on this).
Callistemon grown in a container requires more attention as its root run is limited. Water freely throughout the growing season, then sparingly in winter – just enough to prevent the compost drying out completely.
Feeding
In a container, feed callistemon with a monthly dose of a balanced liquid feed throughout the growing season. Remember also to repot it every few years in early spring into a slightly bigger pot, using fresh compost with slow-release granules mixed in. Once it reaches full size it can stay in the same pot, refreshed annually with a top dress. This means scraping away the top few centimetres of compost and replacing with new, again containing some slow-release granules.
In the ground, on healthy, fertile soil, a mulch of well-rotted organic matter (i.e., a layer of leaf mould, manure, or garden compost applied to the soil around the plant) should provide enough nutrients for your callistemon. This has the added benefit of suppressing weeds and locking in moisture. Mulch when planting, and then again each spring.
If you garden on very poor soil or your callistemon looks in need of a boost, applying a granular general-purpose feed to the surface of the soil and lightly working in can reap benefits. This is known as a top dress and should be done when mulching in spring – first apply the feed, then cover with the mulch.
Cold Protection
If you live in a mild part of the country and have found a warm, sheltered spot at the base of a sunny wall for your callistemon, you may get away with leaving it there all year round with a few extra measures to get it through winter. Firstly, apply a thick, dry mulch around in the roots in autumn to help protect them against the cold and wet (bark chips, straw, bracken, or grit all work well). Secondly, pop over one of these easy fleece jackets whenever a cold snap is expected.
Otherwise, you’ll need to move your callistemon indoors for winter. A cool conservatory, greenhouse, or sunny porch are all ideal.
Pests and Diseases
Outdoors, callistemon is considered trouble free. Indoors, the usual issues of spider mite and mealybug can crop up. Keeping plants as healthy as possible is the key to warding off problems, and by this we mean proper ventilation, adequately spaced plants (for good air flow), keeping everything well-watered and fed, and repotting into larger containers when necessary. Thoroughly cleaning the indoor environment every winter can also help to remove overwintering populations of pests.
Where infestations do take hold, try introducing biological controls (often sachets or tubes containing miniscule natural predators), or in the worst cases, remove the affected plant/s altogether.
How to propagate Callistemon
Callistemon can be propagated by semi ripe cuttings of new growth, best taken in late summer. These will be soft and pliable at the tip, becoming woody at the base.
- Choose non-flowering, healthy new stems, aiming to take a longer piece than the ideal eventual length of around 10cm (to allow for trimming).
- Put in a plastic bag straight away to prevent drying out.
- Fill a pot (or several, if you have a lot of cuttings) with a perlite-heavy compost mix (at least 50% perlite).
- Trim the end of the cutting to just below a node (point at which leaves grow).
- Remove lowest leaves and soft tip, leaving 2-4 leaves.
- If the remaining leaves are large, cut them in half with a sharp knife (to reduce water lost through transpiration).
- Insert the cuttings into the compost and water lightly. Several cuttings can be put in the same container if there is enough space to do this without them touching.
- Place in a greenhouse or propagating unit if you have one or covered with a plastic bag on a windowsill if not (out of direct sunlight).
- Keep the cuttings misted and occasionally watered until they root. You will know this has happened when roots emerge out of the bottom of the container.
- Gently remove rooted cuttings and pot them into individual pots. Grow on in a protected environment such as a greenhouse, windowsill, or coldframe until they are large enough to be used.
* Many plants carry Plant Breeders Rights and cannot be propagated for commercial purposes.
Common Callistemon questions
- Is bottlebrush poisonous to dogs?
Callistemon has no toxic effects reported. - How often does bottlebrush bloom?
Peak flowering is usually late spring to early summer, however a second flowering in autumn is not unusual. - Can bottlebrush grow in pots?
Yes, and in fact this is the recommended way to grow it in a frost-prone climate to allow for easy overwintering indoors. - Is callistemon fast growing?
In the consistent warmth of a greenhouse or conservatory, this can be a fast-growing plant that requires regular restrictive pruning. Greater fluctuations in temperature (i.e., if it spends summer outside) will slow down the growth rate.