


How to grow Calamintha
Commonly known as calamint, this member of the mint family has always remained a little more under-the-radar than similar-looking relatives nepeta and hyssop. In recent years, however, it has started to grow in popularity as gardeners and designers discover the delights of its exceptionally long flowering period and adaptable, easy-going nature. In fact, Calamintha nepeta was voted perennial plant of the year in 2021 and has been used in widely by Piet Oudolf.
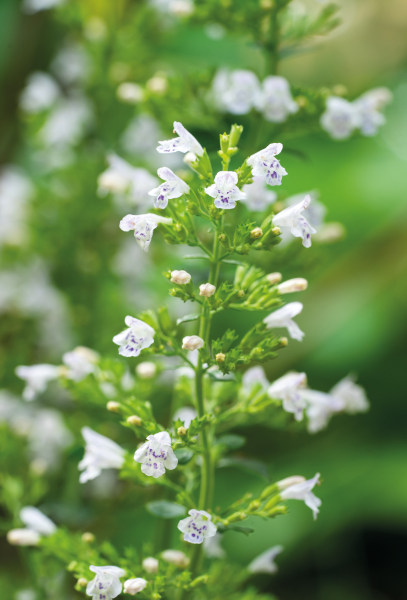
There are around 8 species of this aromatic perennial, though only two – C. nepeta and C. grandiflora, are popularly cultivated. Both form low, bushy, natural-looking mounds of pleasingly aromatic leaves, and produce loose clusters of delicate flowers. On C. nepeta these are very small and numerous creating a cloud-like effect, usually in white or purple (popular cultivars including ‘White Cloud’ and ‘Blue Cloud’); while on C. grandiflora they are larger, fewer, and rose pink.
Calamintha flowers are highly attractive to bees and other pollinators, while the foliage can be used for culinary and medicinal purposes.
Key Information
Position
Soil Conditions

Hardiness

Where & when to plant Calamintha
For best results, plant in autumn or spring. An autumn planting can be done by those gardening in mild conditions (and broadly speaking, this is the southern half of the UK). For those liable to cold winters, it is best to wait until spring (generally the northern half of the UK). Planting can also be carried out in summer, though be prepared to water regularly.
- nepeta has an adaptable nature and will grow happily in a mediterranean style rock or gravel garden, a well-draining border, or a container. It can be used as ground cover or path edging, and its long-lasting, nectar-rich blooms make it a good inclusion to a wildlife garden. C. grandiflora is equally suited to any of the situations above, though does best as ground cover beneath deciduous trees and shrubs. Try to have both species planted near a seating area or walkway where their lovely scent can be enjoyed as you brush past.
How to plant Calamintha
- For planting in the garden, dig the soil area removing any large stones and weeds and breaking up any lumps. Mix in some organic matter such as manure or garden compost. Rake level and firm with your heels. Rake level again.
- Water plants well and allow to drain before planting.
- A good tip is to dig a hole twice the size of the root-ball. Fill with water and allow to drain before placing in the plant.
- Place the plant in the hole, ensuring the top of the root ball sits level with the surface of the soil. Too low and the plant may rot, too high and the roots can dry out.
- Backfill with soil and firm in gently with your foot.
- Soak well with water.
- Mulch around the base with well-rotted organic matter.
- For planting in a container, first choose an appropriately sized pot. The best practice is to start just a few centimetres larger than the rootball and increase in size every year or two. Always ensure there are plenty of drainage holes in the bottom.
- If you are using a large or heavy pot, it can be a good idea to fill and plant it in situ to save yourself the trouble of moving once full.
- Use a good quality potting compost with plenty of horticultural grit mixed in, and, if not already present in the compost (check the description on the bag) some slow-release fertiliser granules.
- Start by partially filling the pot with compost; enough so that when placed on it the upper surface of the root ball is about 3cm lower than the top of the pot.
- Infill all the space surrounding the root ball with compost, firming down with your fingers then adding a little more so the plant is held tight.
- Pick up the container and lightly tap on the potting bench or ground a few times to help further settle the compost around the plant.
- Soak well with water.
- A mulch with horticultural grit will look attractive and help to prevent a ‘cap’ or crust forming on the top of the compost (something container plants can suffer due to the artificial nature of their watering).
What to plant with Calamintha
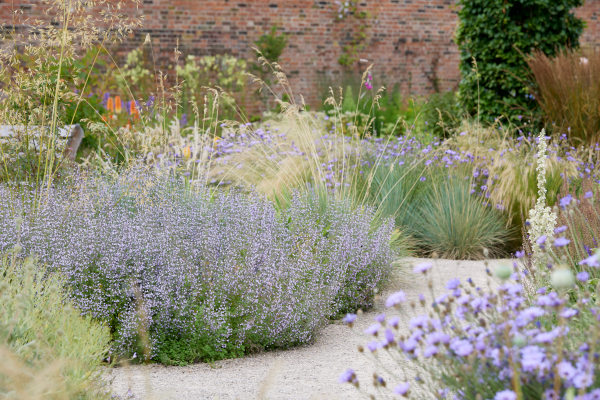
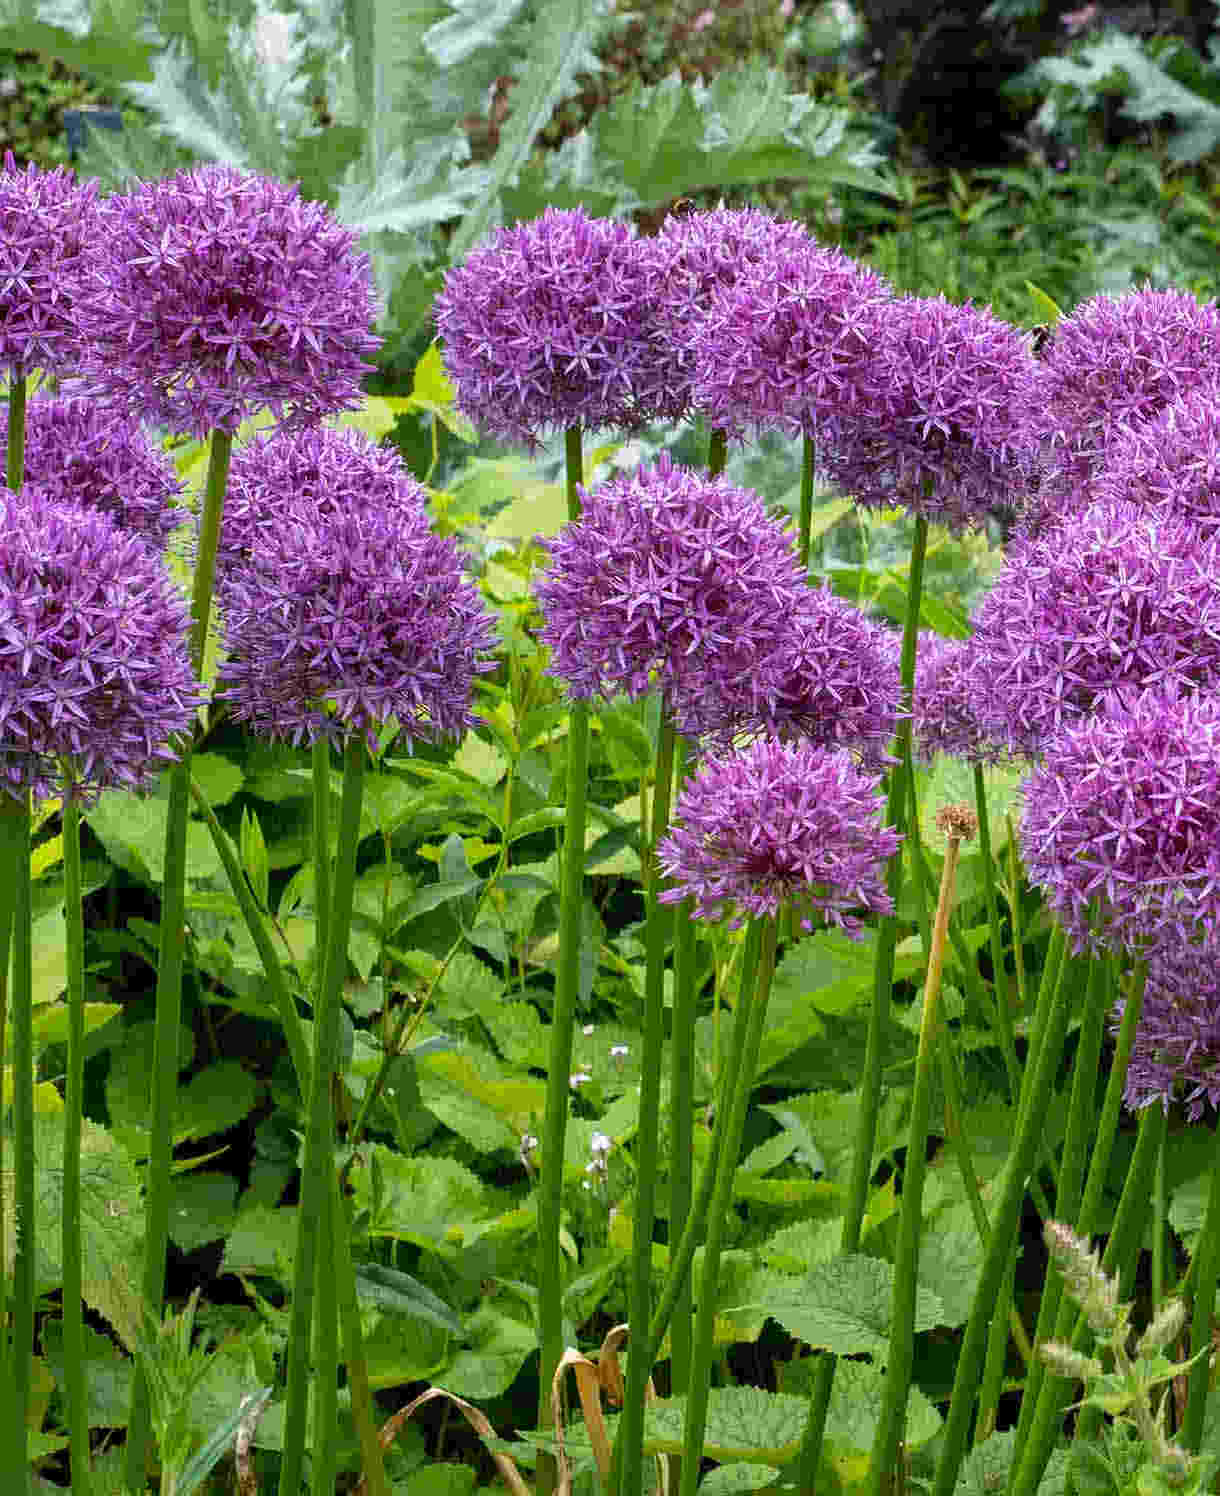
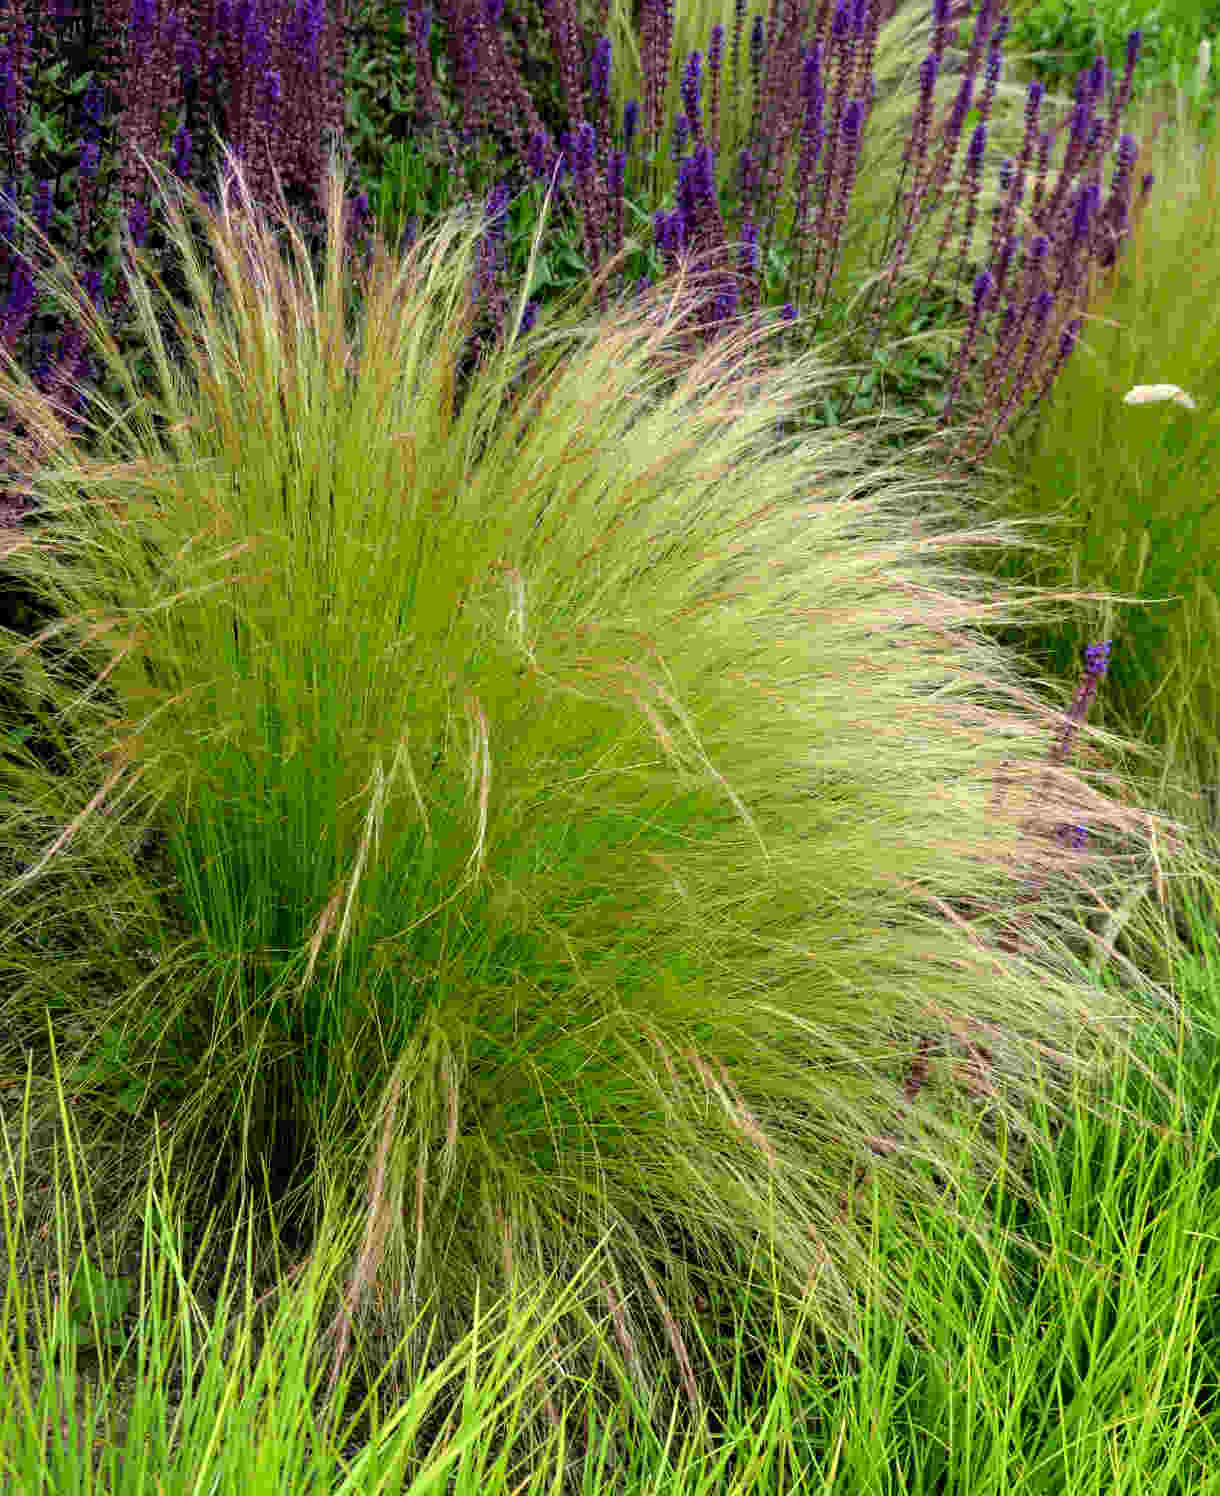
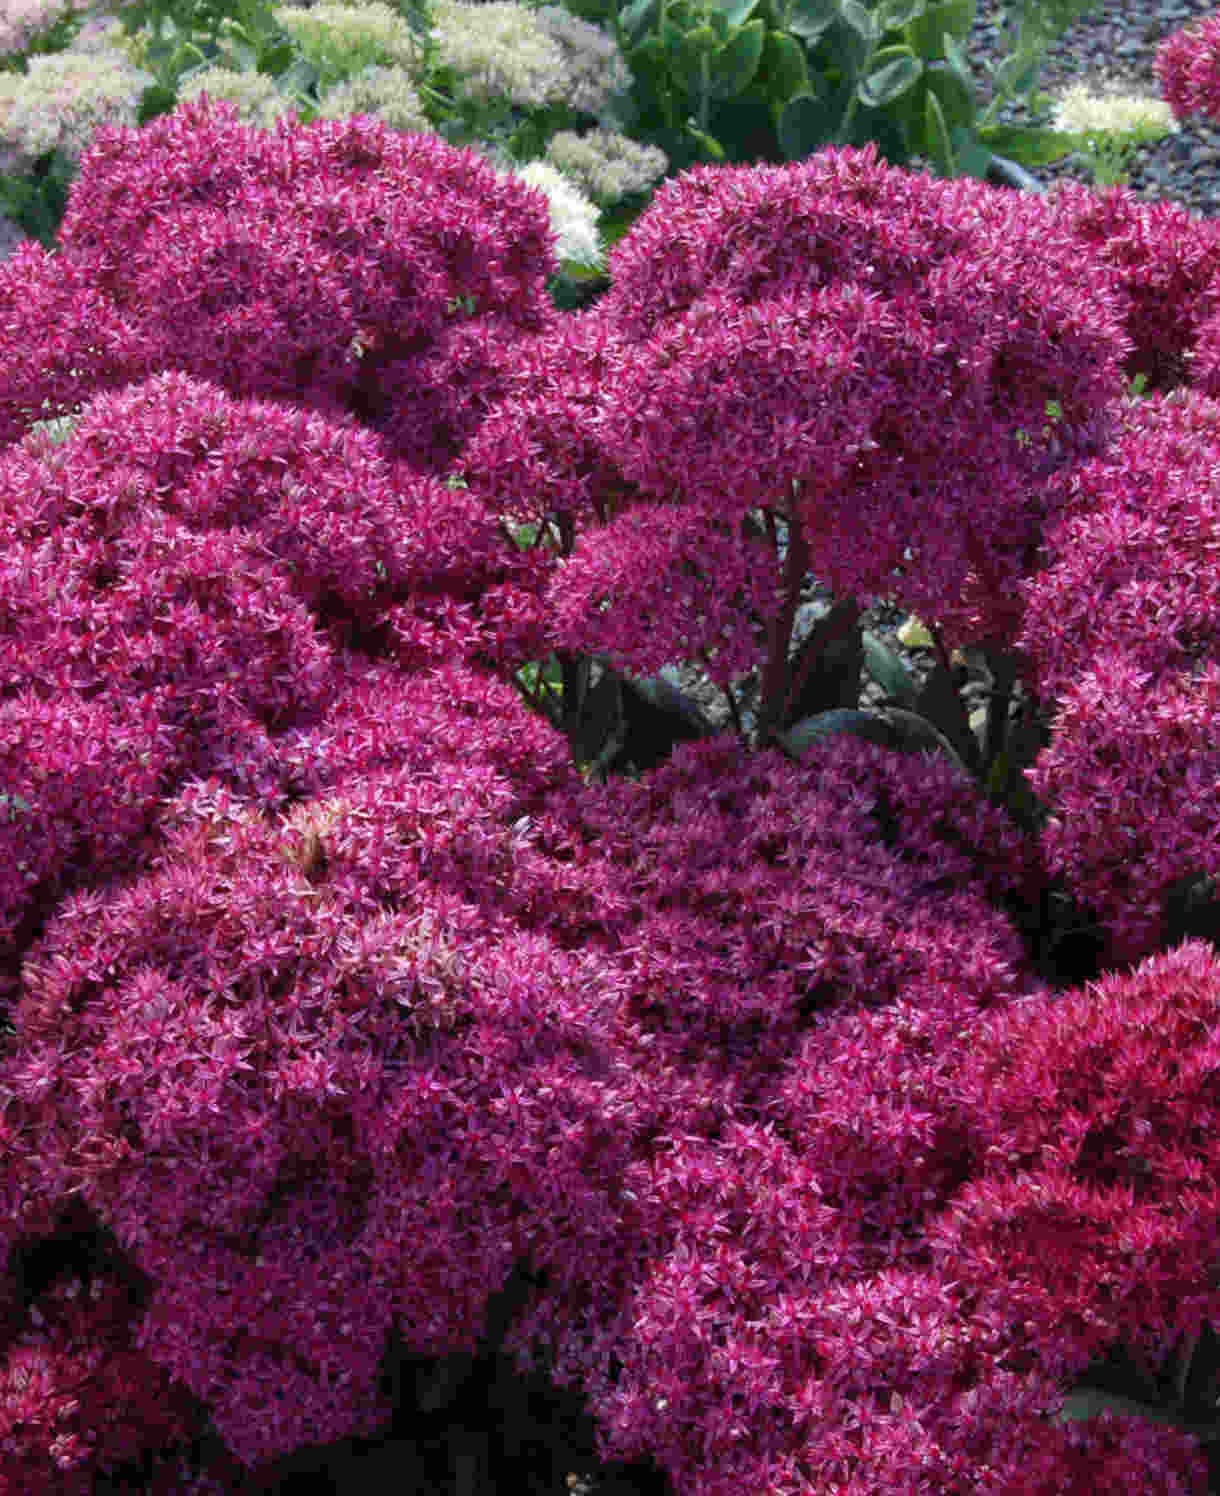
Follow Piet Oudolf’s lead and harness the light, cloud-like texture of C. nepeta to create a dreamy, naturalistic feel alongside grasses and other drainage-loving flowering perennials. Try stipa and pennisetum, mingled with echinops, sedum, coreopsis, stachys, and phlomis. Weave Allium sphaerocephalon throughout to complete the designer look.
How to care for Calamintha
Pruning and Deadheading
Simply cut down to the ground in early spring before new growth commences.
Watering
Water newly planted calamintha regularly until established (i.e., for the first few weeks in the ground), after which it is highly drought-resistant and should be self-sufficient in all but the most prolonged dry periods during that first year. From year two onwards even these should pose no problem.
Container-grown calamintha has a much more limited root run and needs to be watered regularly throughout the growing season. Allow the top couple of centimetres of compost to dry out between watering to avoid overwatering, though be aware that in very hot, dry weather containers can need watering as often as once a day, especially smaller pots. To check, wiggle your finger into the compost until you hit moisture.
Feeding
On most soils, a mulch of well-rotted organic matter (i.e., a layer of manure or garden compost applied to the soil around the plant) should provide sufficuent nutrients for your calamintha. This has the added benefit of suppressing weeds and locking in moisture. Mulch when planting, and then again each spring.
If you garden on very poor soil applying a general-purpose granular feed to the surface of the soil and lightly working in (known as a ‘top dress’) can reap benefits. Do this when mulching in spring – first apply the top dress, then cover with the mulch.
Container-grown calamintha is different, relying solely on the gardener for nutrition. Get off to a flying start by making sure you use a good quality potting compost with some slow-release fertiliser granules mixed in. After this, carry out a replenishing ‘topdress’ annually in spring, simply scraping away the top few centimetres of compost and replacing with a fresh load (also with slow-release fertiliser granules mixed in). Remember also to repot your calamintha every few years, going up slightly in size each time until it reaches full size.
Cold Protection
Providing is has adequate drainage (soggy roots can spell problems during winter), calamintha is hardy enough to withstand winter throughout most of the UK without the need for additional protection.
Like all plants, those grown in containers can be more susceptible to the cold, so if your is sited in a cold, exposed spot it can be worth wrapping the base in hessian, fleece, or bubblewrap. This insulates the roots while also protecting the pot from frost damage.
Pests and Diseases
Calamintha doesn’t tend to suffer from any serious problems and in fact is known for being resistant to deer and rabbits. However, it can be susceptible to a fungal disease known as powdery mildew, which appears as a white, powder-like coating on foliage and is generally a sign that the plant is stressed. This is usually through lack of water, though other causes can include poor airflow, over fertilizing, or insufficient sunlight.
Prune off and dispose of any affected leaves, keep well-watered, and thin out surrounding plants to improve airflow and light levels. Resist the temptation to give the plant extra feed, as this will generate an excess of soft, new growth which is particularly susceptible to the fungus.
How to propagate Calamintha
The quickest and easiest way to propagate calamintha is to lift and divide established clumps in spring. As well as providing new plants this is recommended as a routine maintenance practice, done every few years to maintain the vigour of existing clumps. You’ll know when its time to do this as the centre begins to die out, creating a ‘donut’ effect.
- Choose a day when the soil is not frozen or waterlogged.
- Dig the plant out of the ground.
- Shake off any excess soil.
- Separate the plant into sections using either swift, cutting blows with a sharp spade, or two forks inserted back-to-back with tines touching, handles then pushed together to prise the plant apart.
- Discard old, damaged, or surplus pieces, keeping healthy, vigorous material.
- Replant decent-sized pieces where desired, and any smaller bits can be potted up.
- Water well until fully established.
* Many plants carry Plant Breeders Rights and cannot be propagated for commercial purposes.
Common Calamintha questions
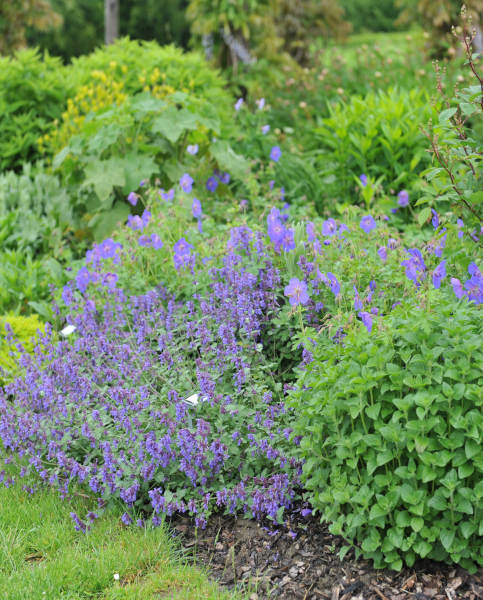
- Is calamintha the same as nepeta, and where does catnip fit in to all this?
While calamintha and nepeta are close relatives and both sometimes given the common name of catmint, they are actually two distinct genera. While nepeta tends to concentrate its flowering in the earlier part of the season, calamintha blooms all summer long. Catnip is a species of nepeta (Nepeta cataria), which isn’t widely grown as it doesn’t have quite the same ornamental value as other species. Calamintha and the rest of the nepeta species contain considerably less nepetalactone (the chemical responsible for causing manic feline behaviour) than cataria. - Is calamintha invasive?
While some species do spread via underground rhizomes, they are far less aggressive than other members of the mint family and therefore rarely course for concern. - Is calamintha evergreen/ is calamintha a perennial?
In the UK calamintha tends to be semi-evergreen, though is best pruned down to the ground each spring to maintain a neat, fresh appearance. This means it’s somewhere between the two! - Can you eat calamintha?
Yes, its leaves have traditionally been used for both medicinal (to treat insomnia, depression, gout, and many more conditions), and culinary purposes. Its leaves can flavour tea, as well as cooked dishes.