


How to grow Caladium
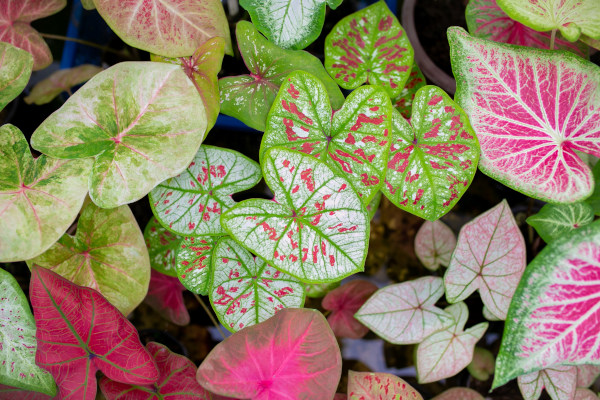
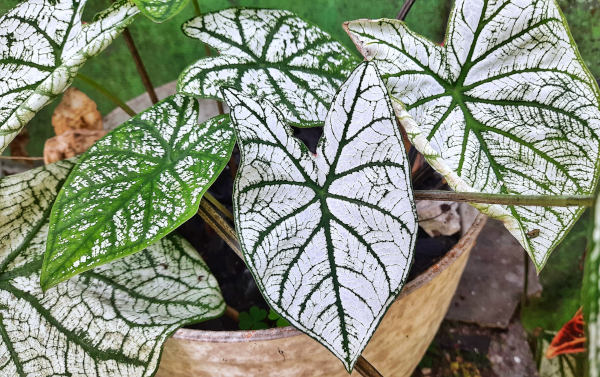
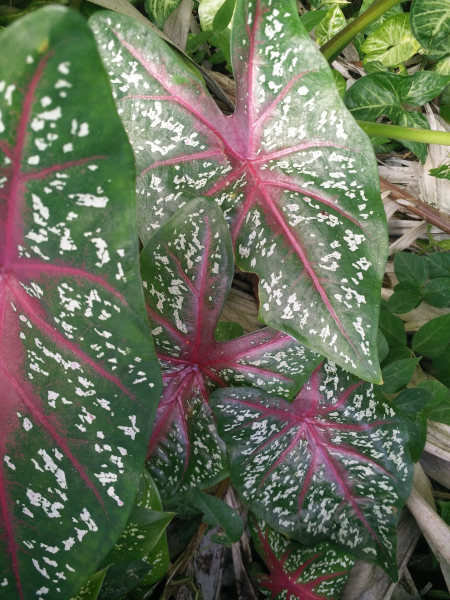
Caladium is a tuberous plant found growing on forest floors and river margins throughout tropical America and the West Indies. Those available to buy are usually complex hybrids, grown for their long-stalked, heart shaped leaves often with white, pink, or red markings. Caladium will flower, in spring, although the blooms are unremarkable and in fact many growers advocate removing them to direct all energy into the foliage.
Caladium is usually perennial, meaning it dies back each autumn and reappears the following spring.
Key Information
Position
Soil Conditions

Hardiness

Where & when to plant Caladium
For best results, pot tubers in spring.
Caladium is a tropical plant which prefers a warm, humid environment with filtered sunlight. This means that in the UK it is best grown as a houseplant, although it can be moved outside to a sheltered spot during the warmest summer months.
A bathroom is ideal, or indeed any room providing the plant is given a regular misting with water. The ‘filtered’ or ‘indirect’ light preferred can be achieved by locating it in a bright south or west-facing room, either:
- somewhere other than in the window. This means it will receive high light levels whilst not being in direct sun;
- on an area of the windowsill which only receives direct sunlight in the morning or evening;
- on a windowsill with shading provided. A piece of greenhouse shade netting, or child’s car sunshade work well.
How to plant Caladium
Bare tuber
- Choose an appropriate container, ensuring there are plenty of drainage holes.
- For best results use a light, loamless compost mix with a handful of grit mixed in. If not already present in the compost (check the labelling on the bag), add some slow-release fertiliser granules.
- Start by partially filling the pot; enough so that when placed on the compost the top of the tuber is about 7cm lower than the top of the pot.
- Position the tuber (top facing upwards), and cover with 4cm of compost.
- Pick up the pot and lightly tap on the potting bench or ground a few times to help further settle the compost.
- Soak well with water.
- A mulch with horticultural grit will look attractive and help to prevent a ‘cap’ or crust forming on the top of the compost (something container plants can suffer due to the artificial nature of their watering).
- Place in a warm spot with filtered light.
- Green sprouts should appear after a few weeks.
Pot-grown plant
- Fill your chosen container as above, enough that when placed on the compost, the upper surface of the root ball is about 3cm lower than the top of the pot.
- Infill all the space surrounding the root ball with compost, firming down with your fingers then adding a little more so the plant is held tight.
- Pick up the pot and lightly tap on the potting bench or ground a few times to help further settle the compost around the plant.
- Soak well with water.
- A mulch with horticultural grit will look attractive and help to prevent a ‘cap’ or crust forming on the top of the compost (something container plants can suffer due to the artificial nature of their watering).
Place in a warm spot with filtered light
What to plant with Caladium
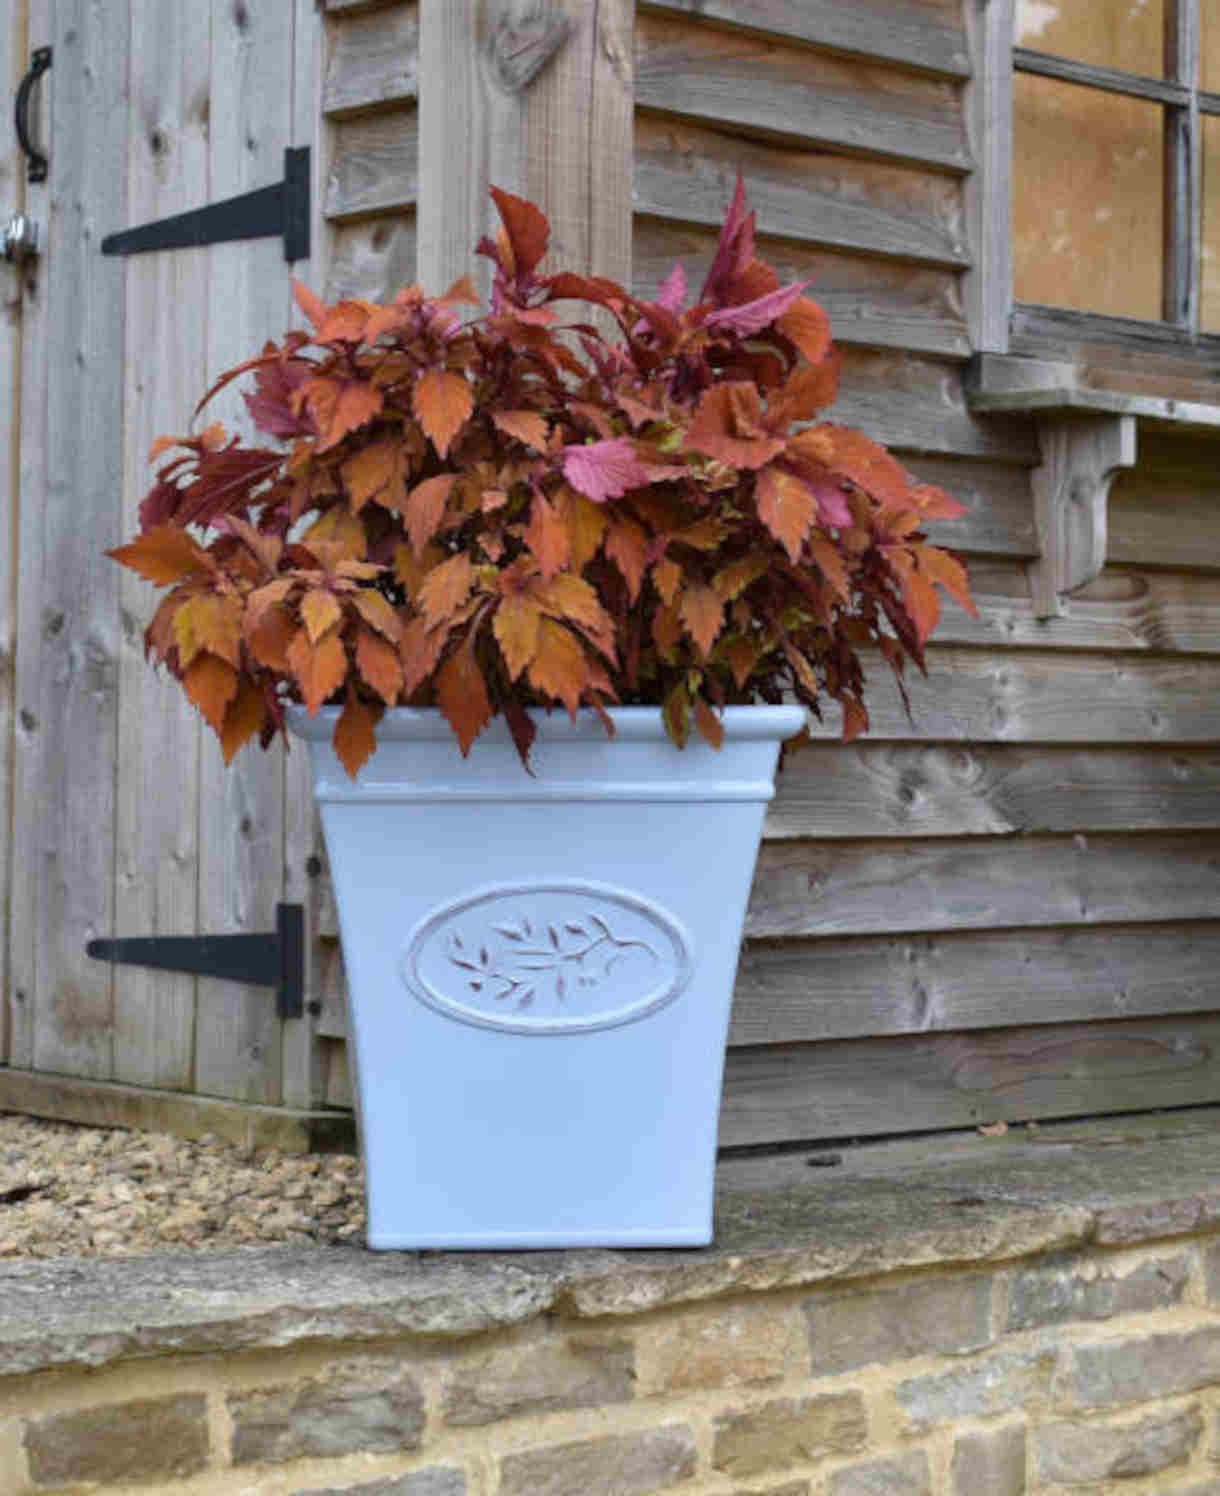
As a houseplant, caladium makes an excellent companion for coleus (also now known as solenostemon), aloe, impatiens, and pelargonium.
How to care for Caladium
Pruning and Deadheading
It is normal for individual caladium leaves to die back throughout the growing season. Remove as necessary.
In autumn the entire plant can be expected to die back and enter dormancy.
Watering
Throughout the growing season, caladium should be watered regularly and, unless grown in a bathroom, misted at least once or twice a day.
Once the plant enters dormancy, cease watering, waiting until the following spring before recommencing.
Cold Protection
Caladium has a minimum temperature of 13°C and is therefore unsuitable for being grown outdoors in the UK. For best results keep it in a warm indoor environment, including during the winter dormancy.
Pests and diseases
Like many indoor plants, caladium can fall prey to pests such as spider mite, mealy bug, and scale insects. As always, we recommend the first line of defence to be taking the time to get the growing conditions right, as healthy, thriving plants are considerably less susceptible to pest infestations.
Spider mites and scale insects flourish in dry conditions, so keeping your caladium humid or regularly misted will help to ward these off.
Mealy bugs tend to be brought in, so inspect any plant thoroughly before introducing it to your home. Infestations can be tackled by wiping off by hand, or (during the warmer months) moving your plant outside to allow blue tits to pick them off.
How to propagate Caladium
Caladium can be propagated in spring by splitting. This involves separating the new, mini tubers which form on the original.
- In early spring before growth restarts, remove the caladium tuber from its pot and gently shake off any compost.
- Carefully snap off any newly formed tubers.
- These can be separated further if you wish – just make sure each piece contains a growing point, or ‘eye’.
- Leave somewhere warm and dry for the severed end/s to ‘heal’ over (this usually takes around a week).
Pot into individual pots as above in our ‘How to plant caladium’, ‘Bare root’ section above.
Common Caladium questions
- When should I repot my caladium?
Spring is the best time to carry out repotting. This allows you to refresh the compost, and, if necessary, move up to a larger pot. - Why is my caladium looking sad?
As mentioned above, it is normal for individual leaves to die off throughout the course of the growing season, and for the entire plant to enter dormancy in autumn/ winter. Beyond this, if your caladium looks to be struggling it may be due to either over or under watering. Make sure you have a well-draining compost, and keep it just moist at all times throughout the growing season.