


How to grow Bulbine
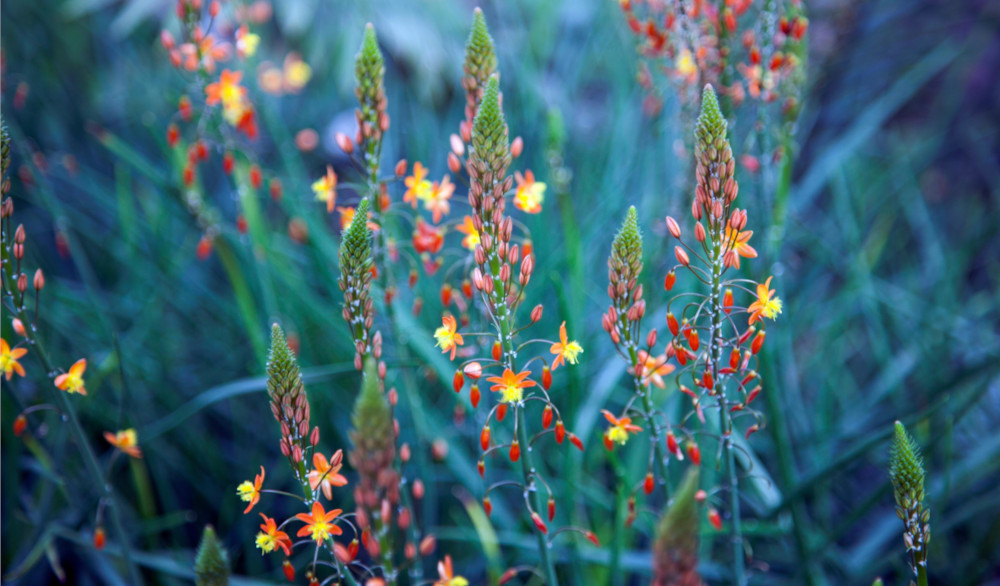
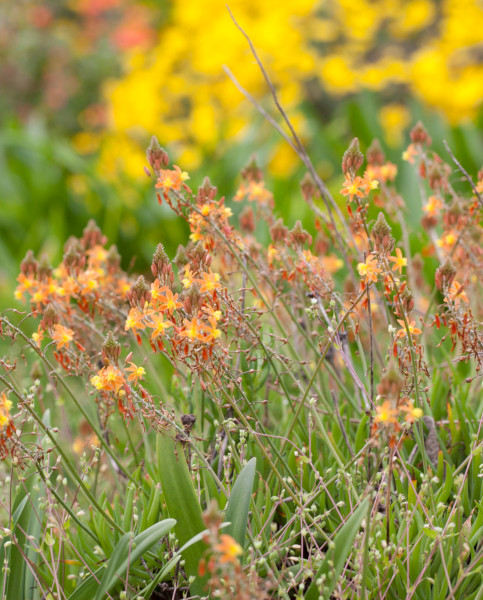
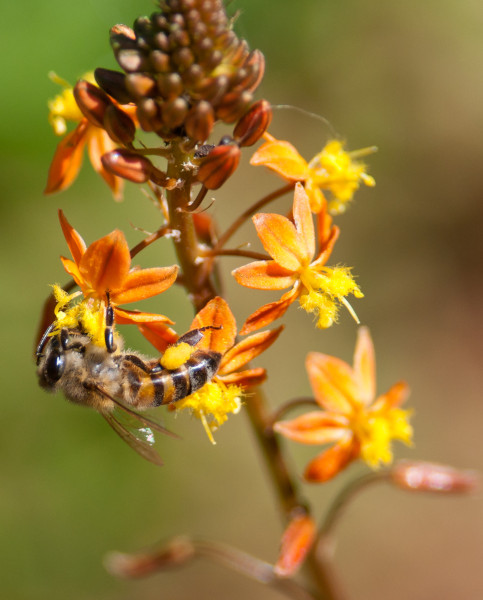
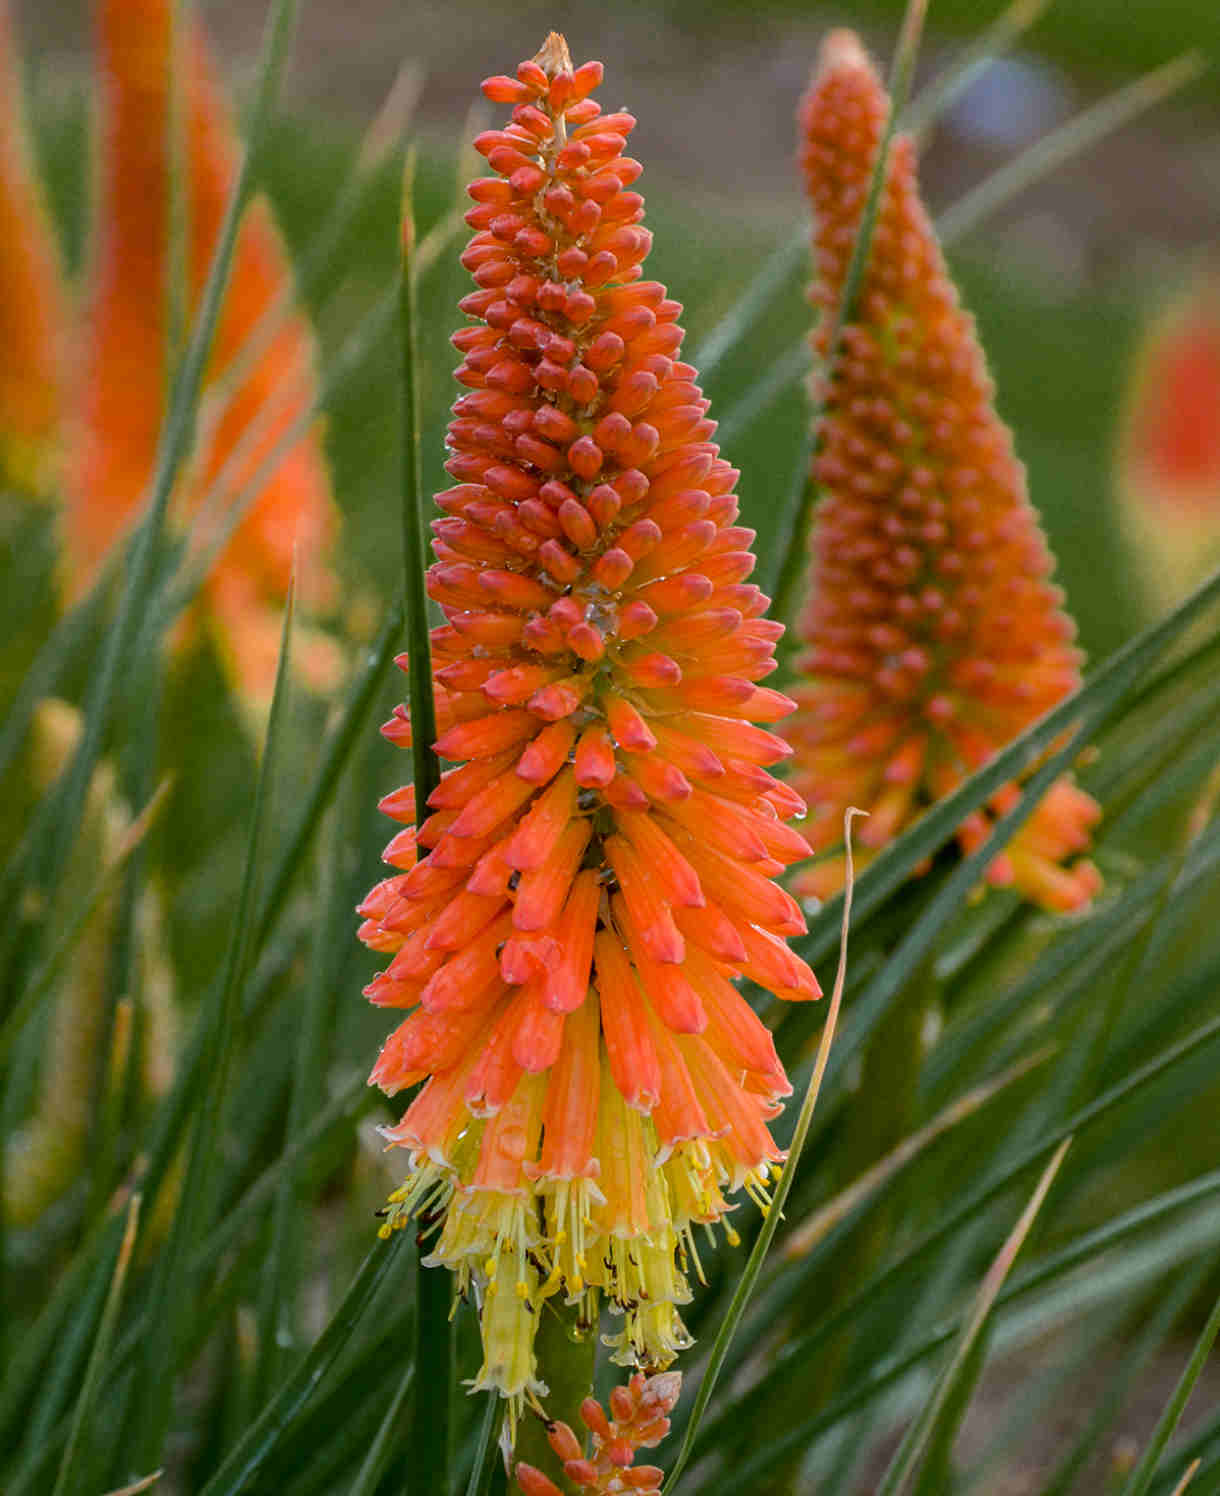
This succulent plant is a lesser known relative of aloe, originating from desert grasslands in East and South Africa and Australia. Similar in appearance to its cousin, bulbine produces linear, fleshy leaves and tapered spikes of orange yellow flowers. While there are many different species, by far the most cultivated (in the UK, at least) is the South African species, Bulbine frutescens, also known as the burn jelly plant. This common name refers to the gel which oozes from its leaves when crushed – said to sooth stings, burns, and blisters in much the same way as Aloe vera.
Key Information
Soil pH

Position
Hardiness

Where & when to plant Bulbine
While you will often see bulbine used as a houseplant in the UK, it can also spend some, or even all of the year outside. In most cases it will need to be moved indoors for winter, though if you garden in a particularly mild area (such as around the coast or in a built-up city), or can offer a sheltered, protected spot against a warm, south-facing wall, you may have success growing it permanently outside. Often, it’s the wet that does for this plant rather than the cold, so only attempt an outdoor winter if you have free-draining soil or can offer it a spot in the rain shadow of a wall or fence. Otherwise, opting for a container is probably best to allow for easy overwintering indoors. In any case, a sunny, protected spot out of strong winds is best. To keep permanently indoors as a houseplant, choose a spot in full light with good ventilation; a sunny conservatory, greenhouse, porch, or windowsill are all ideal.
Bulbine is best potted up in spring, though anytime during the growing season will do – you’ll just need to water a little more in the early days if you do it in the height of summer. If you intend to move your container-grown bulbine outside for summer, keep it inside until the last risk of frost has passed in your area (this varies from region to region, though tends to be around late May).
For those lucky few with the right conditions to grow their bulbine in the ground all year, planting in late spring/ early summer is best.
How to plant Bulbine
In a container
- As is usually the case when it comes to succulents, a snugly fitting container just a centimetre or so larger than the rootball is advised. With water stored in their leaves succulents don’t need a large root system, and in fact putting them in too large a pot simply means sitting in wet compost – not good news! Terracotta is the ideal choice, as its porous nature allows the compost to properly dry out between watering.
- For best results use a compost specifically for cacti and succulents, as this contains just the right levels of drainage and nutrients. Alternatively, mix plenty of horticultural grit into any good quality potting compost, aiming for 30-40% grit content.
- Start by partially filling the pot with compost; enough so that when placed on it the upper surface of the root ball is about 3cm lower than the top of the pot.
- Infill all the space surrounding the root ball with compost, firming down with your fingers then adding a little more so the plant is held tight.
- Pick up the pot (if you can!) and lightly tap on the potting bench or ground a few times to help further settle the compost around the plant.
- Soak well with water.
- A mulch with horticultural grit will look attractive and help to prevent a ‘cap’ or crust forming on the top of the compost (something container plants can suffer due to the artificial nature of their watering).
In the ground
- For planting in the garden, dig the soil area removing any large stones and weeds and breaking up any lumps. If your soil is anything other than sandy and free draining, add plenty of sand or horticultural grit to the planting hole and mix thoroughly. Avoid heavy, clay soil at all costs!
- Rake level and firm with your heels. Rake level again.
- Water plants well and allow to drain before planting.
- Dig a hole twice the size of the root-ball.
- Place the plant in the hole, ensuring the top of the root ball sits level with the surface of the soil. Too low and the plant may rot, too high and the roots can dry out.
- Backfill with soil and firm in gently with your foot.
- Soak well with water.
- Mulch around the base with horticultural grit.
What to plant with Urginea
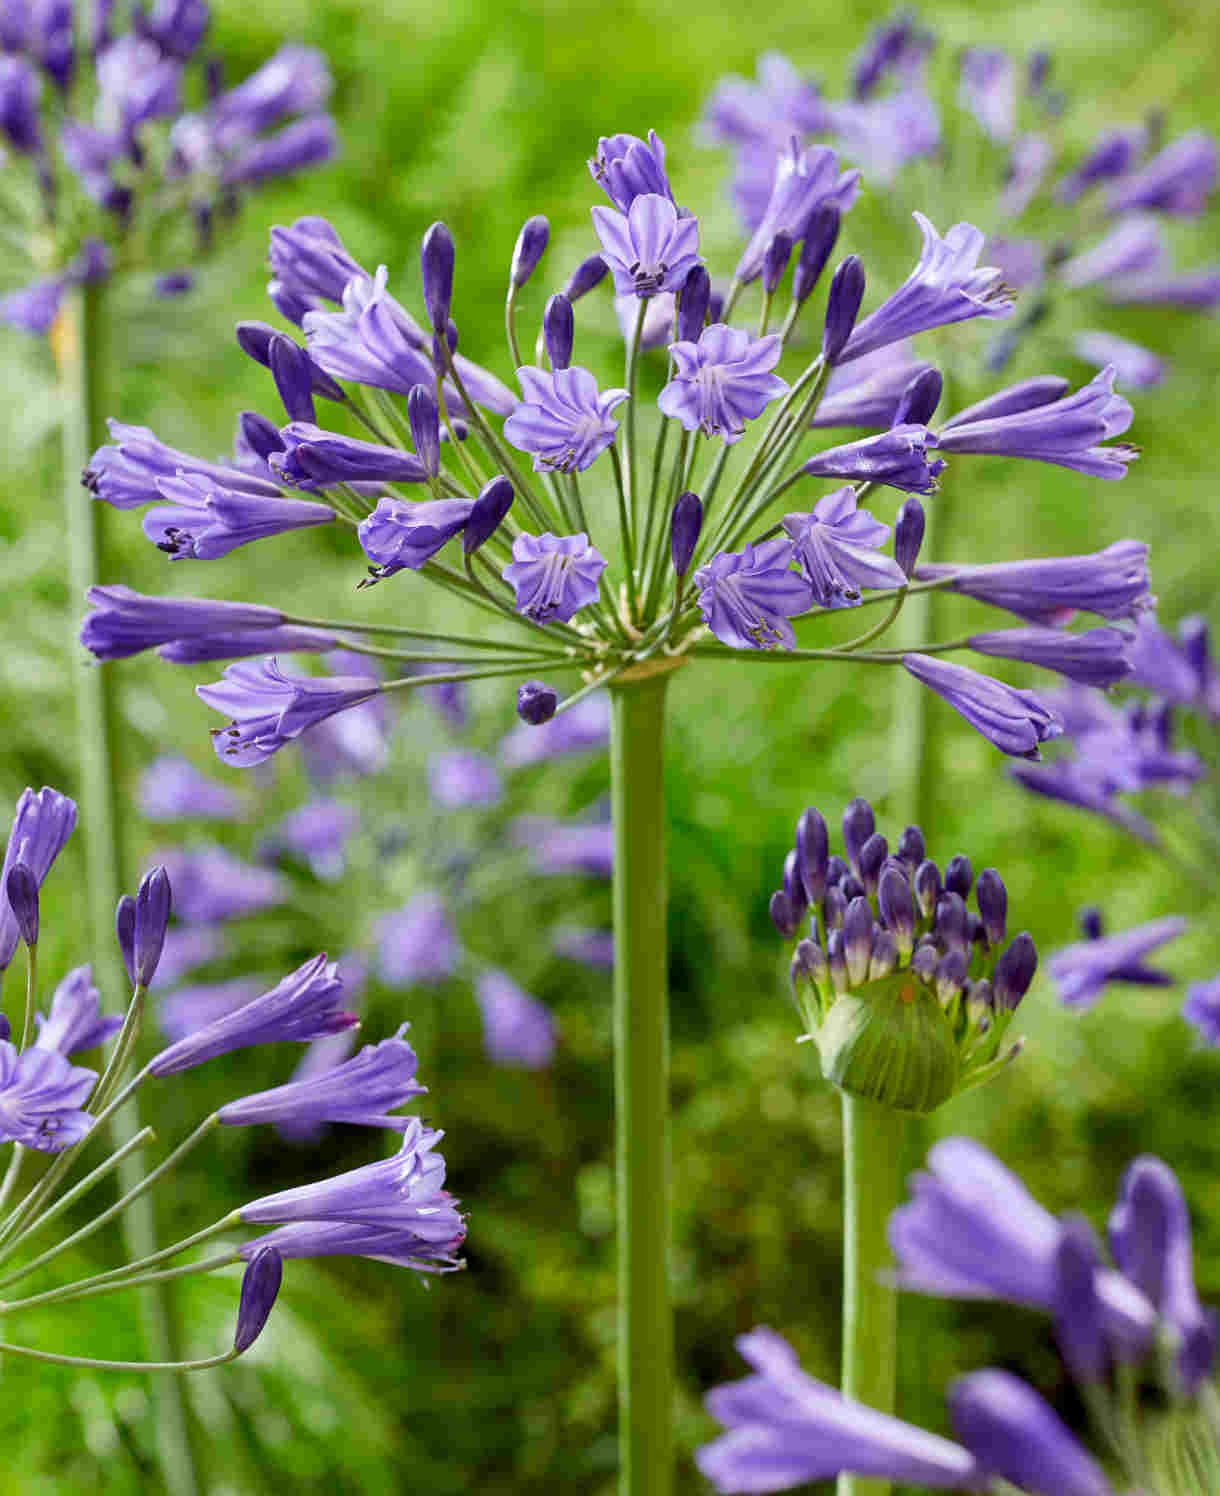
Create a colourful, exotic oasis by grouping bulbine in a sunny corner with other South African companions. We suggest agapanthus, hesperantha, osteospermum, felicia, arctotis, and kniphofia.
Alternatively, grow your bulbine on a sunny windowsill with an aloe or two for company (both useful providers of emergency ointment!).

How to care for Bulbine
Pruning and Deadheading
No pruning is required for this evergreen succulent. Simply remove tatty leaves as and when necessary to keep the plant looking tidy.
Deadhead to encourage further flowers, cutting spent flower stems off at the base.
Watering
It is important not to overwater succulents such as bulbine, as this may cause them to rot.
In a container, water your plant after potting it up, then allow the top few centimetres to dry out before watering again (wiggle your finger down into the compost to check this). When watering, always make sure the water drains away fully – empty the saucer beneath the pot as quickly as possible, or alternatively water it saucer-less in the kitchen sink or bath so any excess can drain out instantly. Continue to do this throughout the growing season, then scale back dramatically during the colder months (roughly October to March). During this dormant period, the aim is to provide the bare minimum amount of water – just enough to prevent the compost drying out completely.
In the open ground water your bulbine straight after planting, then lock this moisture in with a gravel mulch. After this it should need very little attention, though keep an eye on it if any hot, dry spells occur soon after planting. If anything, protecting your bulbine from excess rainfall in winter is the priority. Ideally, it will be planted either in free-draining, gritty or sandy soil, or in the rainshadow of a wall or fence. If not, a thick gravel mulch can be useful at deflecting excessive rainfall. Some dedicated gardeners even go to the lengths of putting a cover or screen over the plant to keep it dry.
Feeding
Feed container-grown bulbine once a month during the growing season (April to September), either with a specialist cacti and succulent liquid feed, or a high potassium liquid feed such as tomato food. This will encourage healthy growth and flowering.
Bulbine grown in the ground shouldn’t need any extra feeding. This plant occurs naturally in poor, low-nutrient conditions, so most garden soil should provide more than enough sustenance for it.
Cold Protection
In most places throughout the UK, bulbine will require winter protection. This means moving it into a sheltered, frost-free environment such as a conservatory, greenhouse, porch, or windowsill. Do this around September-October, moving back outside once all risk of frost has passed, usually May-June.
Alternatively, grow as an indoor houseplant all year round.
Pests and Diseases
Bulbine is considered trouble free.
How to propagate Bulbine
Bulbine can be propagated by seed in early spring, germinating best at 13°C to 18°C.
- Seeds are typically ready for collecting in late summer when the seedheads have dried and turned brown.
- Snip the seedheads from the plant using scissors or secateurs. Try to do this in dry conditions and shake out or separate the seeds into a small, labelled paper bag or envelope. Store somewhere cool and dry until spring.
- In early spring, fill a seed tray or small pot with a free-draining compost mix, compressing the surface lightly with a flat piece of wood or the bottom of another pot.
- Sprinkle the seeds evenly over the surface of the compost.
- Use a garden sieve to cover with a fine layer of compost.
- Water the soil gently with a fine spray until it is evenly moist but not waterlogged.
- Place the seed tray or pots in a heated propagating unit if you have one, or on a sunny windowsill if not. If the latter, covering with a clear plastic lid or clingfilm will speed germination by creating a mini-greenhouse effect. Remove this once you notice seedlings emerge.
- When the seedlings have grown large enough to handle, transplant them into module trays or individual 9cm pots filled with a well-draining mix and continue to grow on in a warm, protected environment.
- Keep barely moist, never soggy.
Estabished clumps of bulbine can also be divided every three to four years in spring.
- Dig the plant out of the ground or remove from its container.
- Shake off any excess soil or compost
- Gently tease apart by hand, or use two forks inserted back-to-back in the clump.
- Repot or plant resulting sections as per our ‘How to plant bulbine’ section above.
* Many plants carry Plant Breeders Rights and cannot be propagated for commercial purposes.
Common Bulbine questions
- Is bulbine a perennial?
Yes, the most common species, Bulbine frutescens, is an evergreen perennial which can live for many years. - Do butterflies like bulbine?
Yes, the flowers of bulbine are known to attract a variety of pollinators. - Will bulbine survive frost?
- No. This succulent hails from warmer climes than ours and, for all but the few with unusually mild microclimates and free-draining soil, will need help to get through winter. See ‘Cold Protection’ section for more information.
- Do deer eat bulbine?
No, bulbine is tough and unpalatable to deer and other pests.