


How to Grow Brugmansia
How to grow Brugmansia
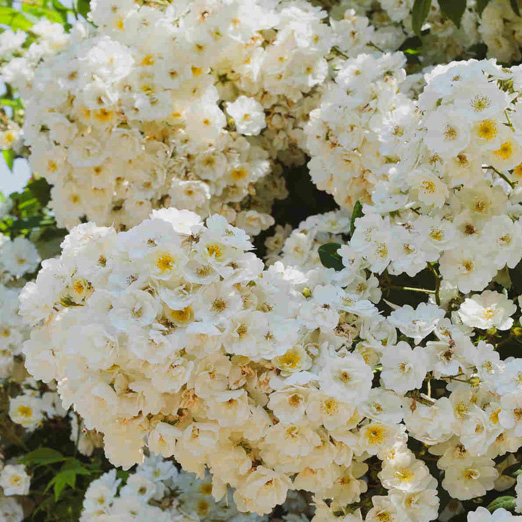
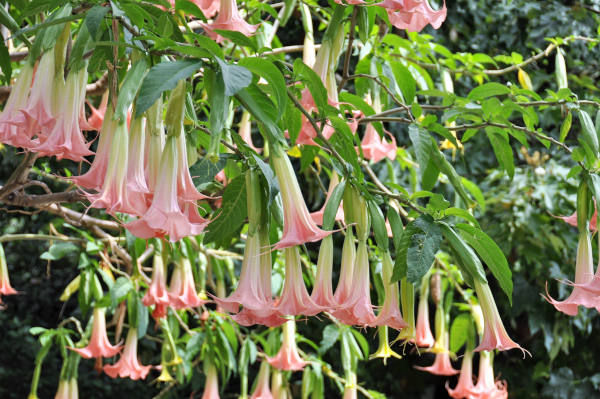
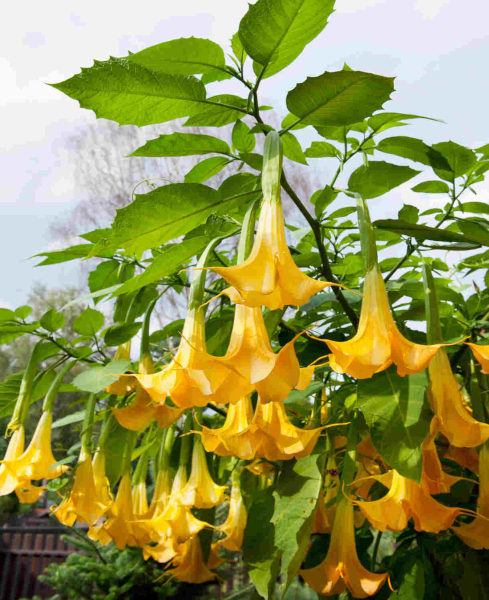
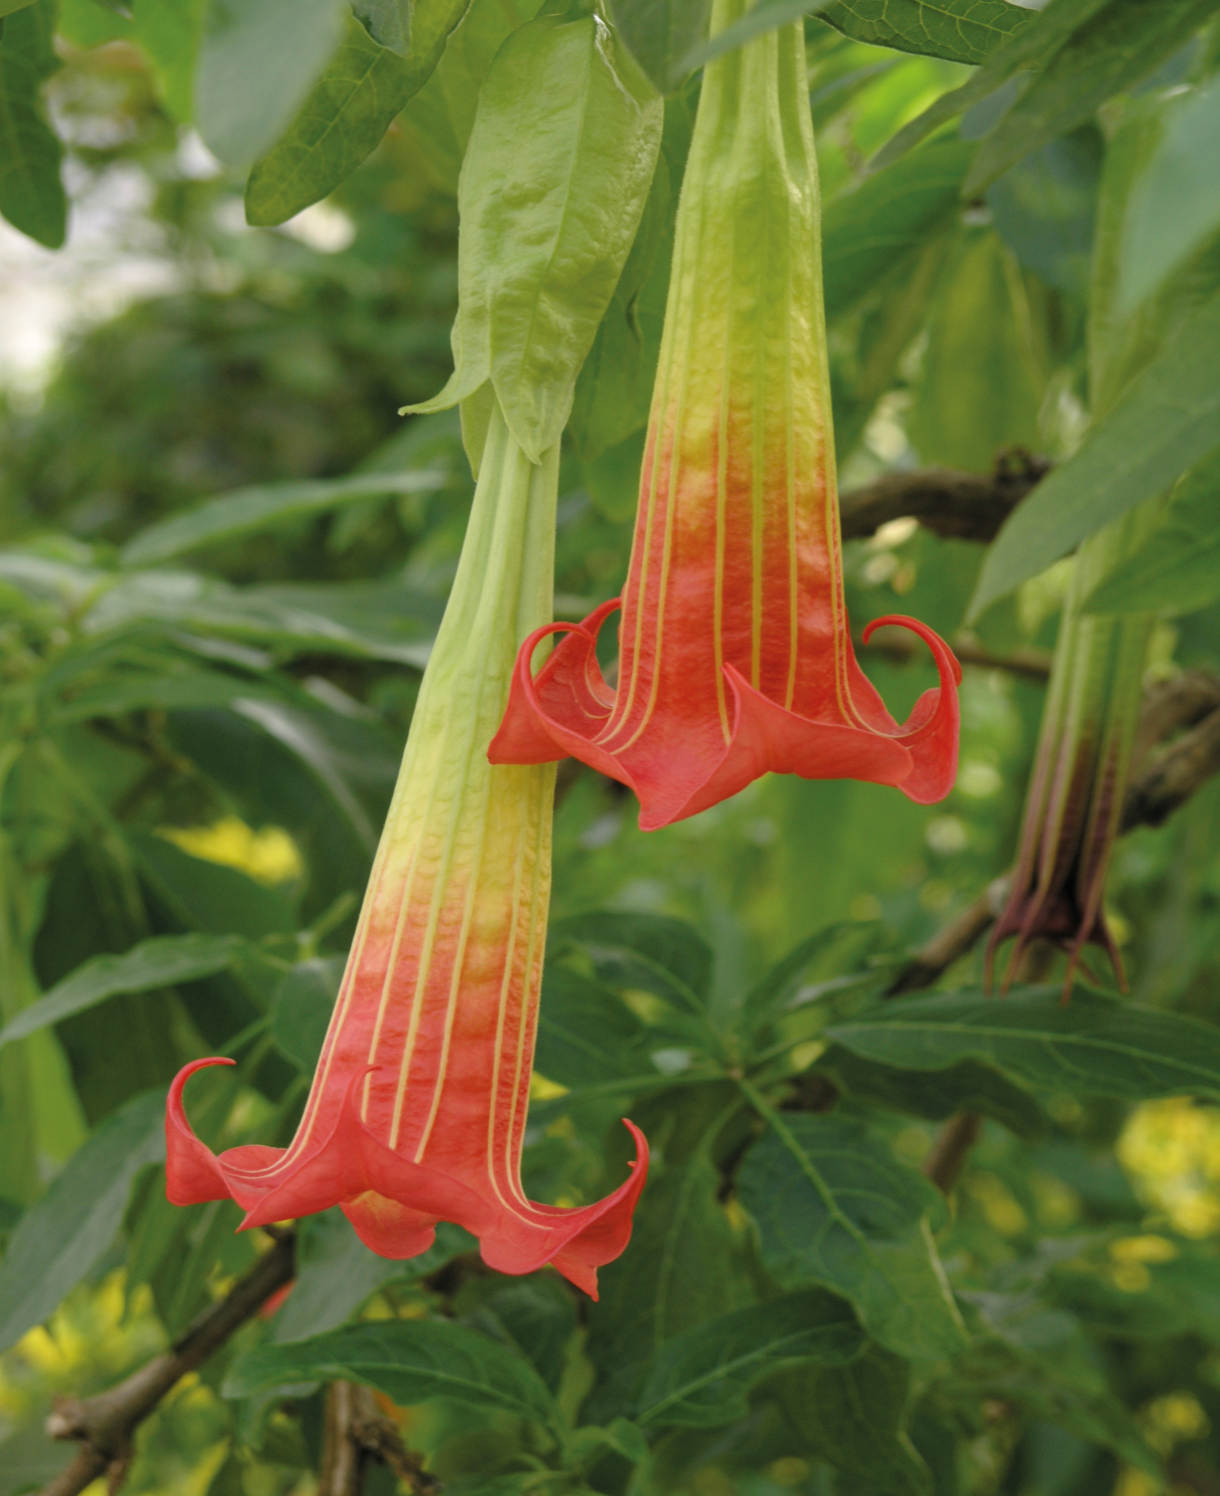
Also known as angel’s trumpet, brugmansia is a vigorous, tropical, South American shrub grown for its showstopping summer flowers. Reaching up to 30cm long, the flared trumpet-shaped blooms hang from thick, strong branches, and, depending on the species or cultivar, can be red, pink, white, orange, or yellow. They release a rich, heady perfume which is especially noticeable on warm evenings.
Brugmansia is a tender shrub which needs to remain above 7°C to 10°C, meaning it requires protection during a UK winter.
Key Information
Position
Soil Conditions

Hardiness

Where & when to plant Brugmansia
Most gardeners find growing brugmansia in a large container the best approach as this makes overwintering it indoors easier. However, it can also be grown in the open ground if you are prepared to lift and pot up each autumn. In any case, newly bought plants should be kept in a warm, protected environment until outside nighttime temperatures reliably remain above 7°C to 10°C. A heated greenhouse, conservatory, or sunny porch are all ideal storage spots. Just remember to water it regularly during this ‘holding’ time!
When it is safe to move outdoors for summer, choose a warm, sunny, sheltered spot out of the wind. Try to position your brugmansia somewhere its spectacular blooms and fragrance can be best enjoyed, such as near a seating area, doorway, or frequently used path.
Another option is to keep it permanently indoors as a conservatory plant (make sure this is heated in winter), or a houseplant by a large, sunny window. Spring is the best time to pot up indoor plants.
How to plant Brugmansia
Before moving your brugmansia outside, it is important you gradually acclimatise it – known as ‘hardening off’. We recommend taking the following steps, starting around three weeks before the final move:
WEEK 1 – wrap in two layers of fleece and place outside during the day only (moving back into a warm, protected environment at night).
WEEK 2 – as WEEK 1, though this time with the fleece reduced to one layer.
START OF WEEK 3 – now with no fleece. If it’s warm enough you can leave outside at nighttime too, though reapply the fleece for this.
END OF WEEK 3 – leave outside completely uncovered for a couple of days/ nights before planting out as follows.
- For planting in a container, first choose an appropriately sized pot (this will need to be at least 60cm in diameter) ensuring there are plenty of drainage holes in the bottom.
- If you are using a large or heavy pot, it can be a good idea to fill and plant it in situ to save yourself the trouble of moving once full.
- Use a good quality potting compost with plenty of horticultural grit mixed in, and, if not already present in the compost (check the description on the bag) some slow-release fertiliser granules.
- Start by partially filling the pot with compost; enough so that when placed on it the upper surface of the root ball is about 3cm lower than the top of the pot.
- Infill all the space surrounding the root ball with compost, firming down with your fingers then adding a little more so the plant is held tight.
- Pick up the container and lightly tap on the potting bench or ground a few times to help further settle the compost around the plant.
- Soak well with water.
- A mulch with horticultural grit will look attractive and help to prevent a ‘cap’ or crust forming on the top of the compost (something container plants can suffer due to the artificial nature of their watering).
- Aim to repot into a larger pot every three to four years, going up approximately 10cm in size each time until it reaches full size or this is no longer practical.
- For planting in the garden, dig the soil area removing any large stones and weeds and breaking up any lumps. Mix in some organic matter such as manure or garden compost. Rake level and firm with your heels. Rake level again.
- Water the plant well and allow to drain before planting.
- A good tip is to dig a hole twice the size of the root-ball. Fill with water and allow to drain before placing in the plant.
- Place the plant in the hole, ensuring the top of the root ball sits level with the surface of the soil. Too low and the plant may rot, too high and the roots can dry out.
- Backfill with soil and firm in gently with your foot.
- Soak well with water.
Mulch around the base with well-rotted organic matter.
What to plant with Brugmansia
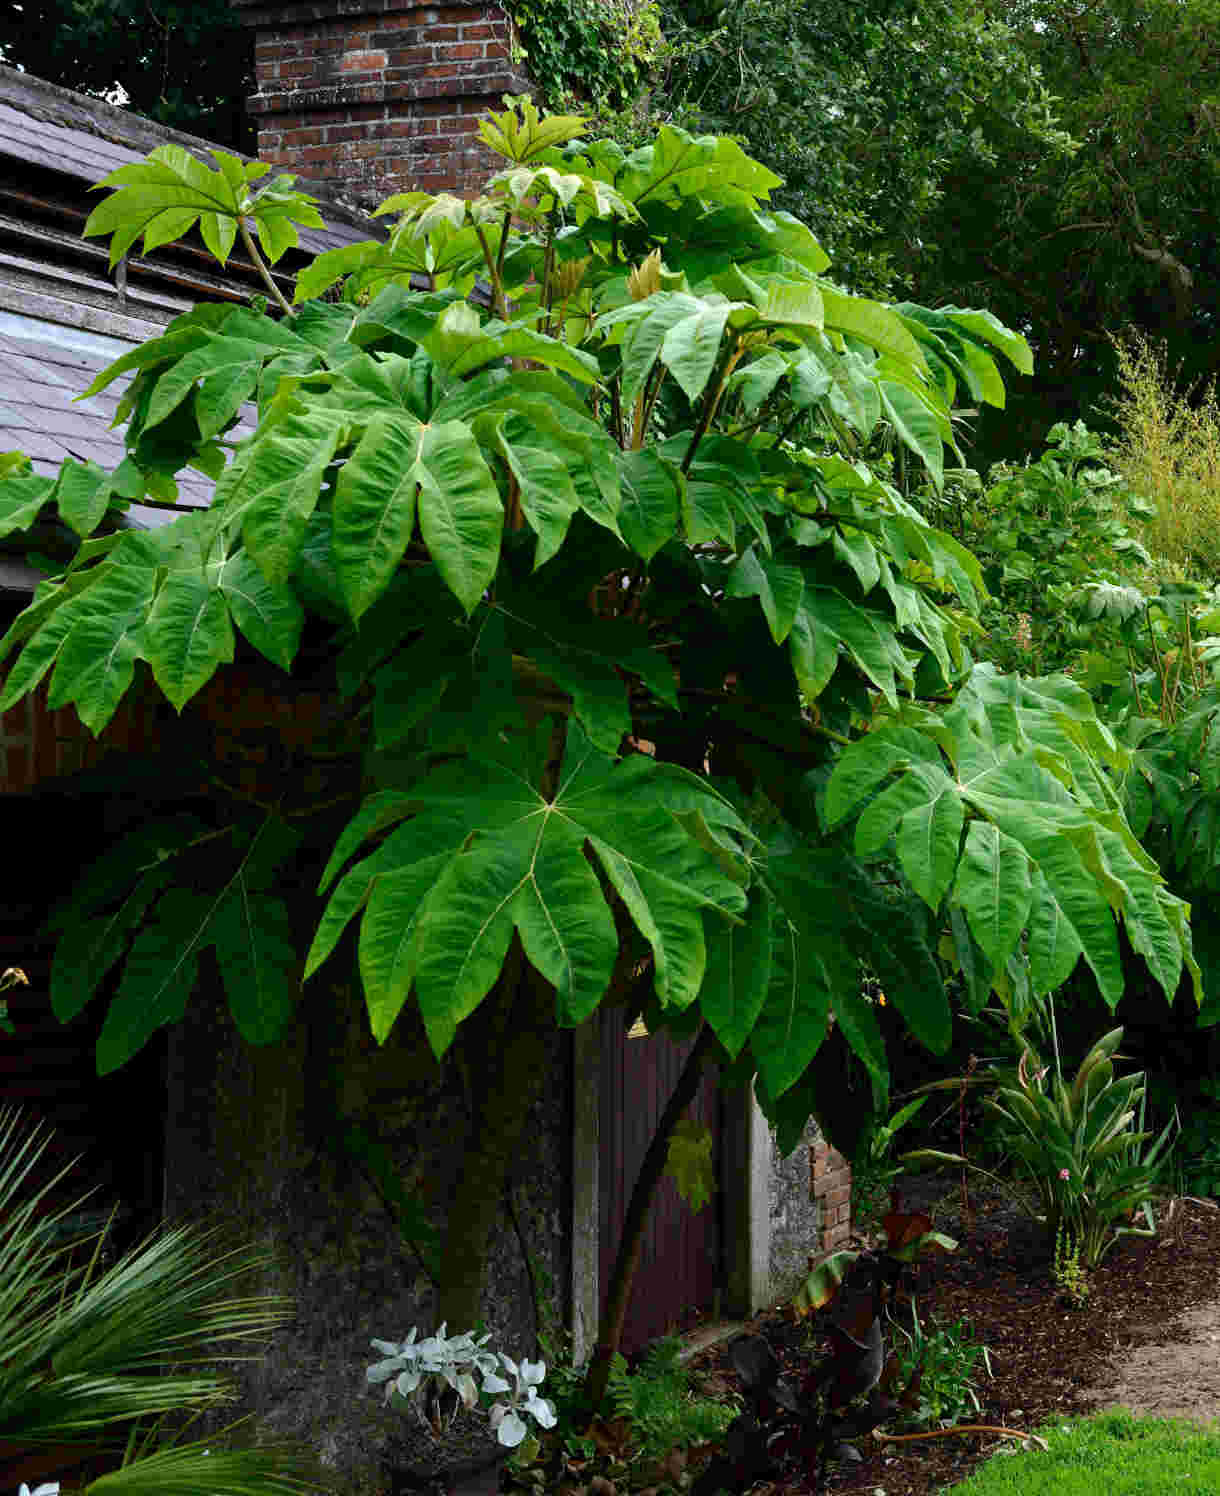
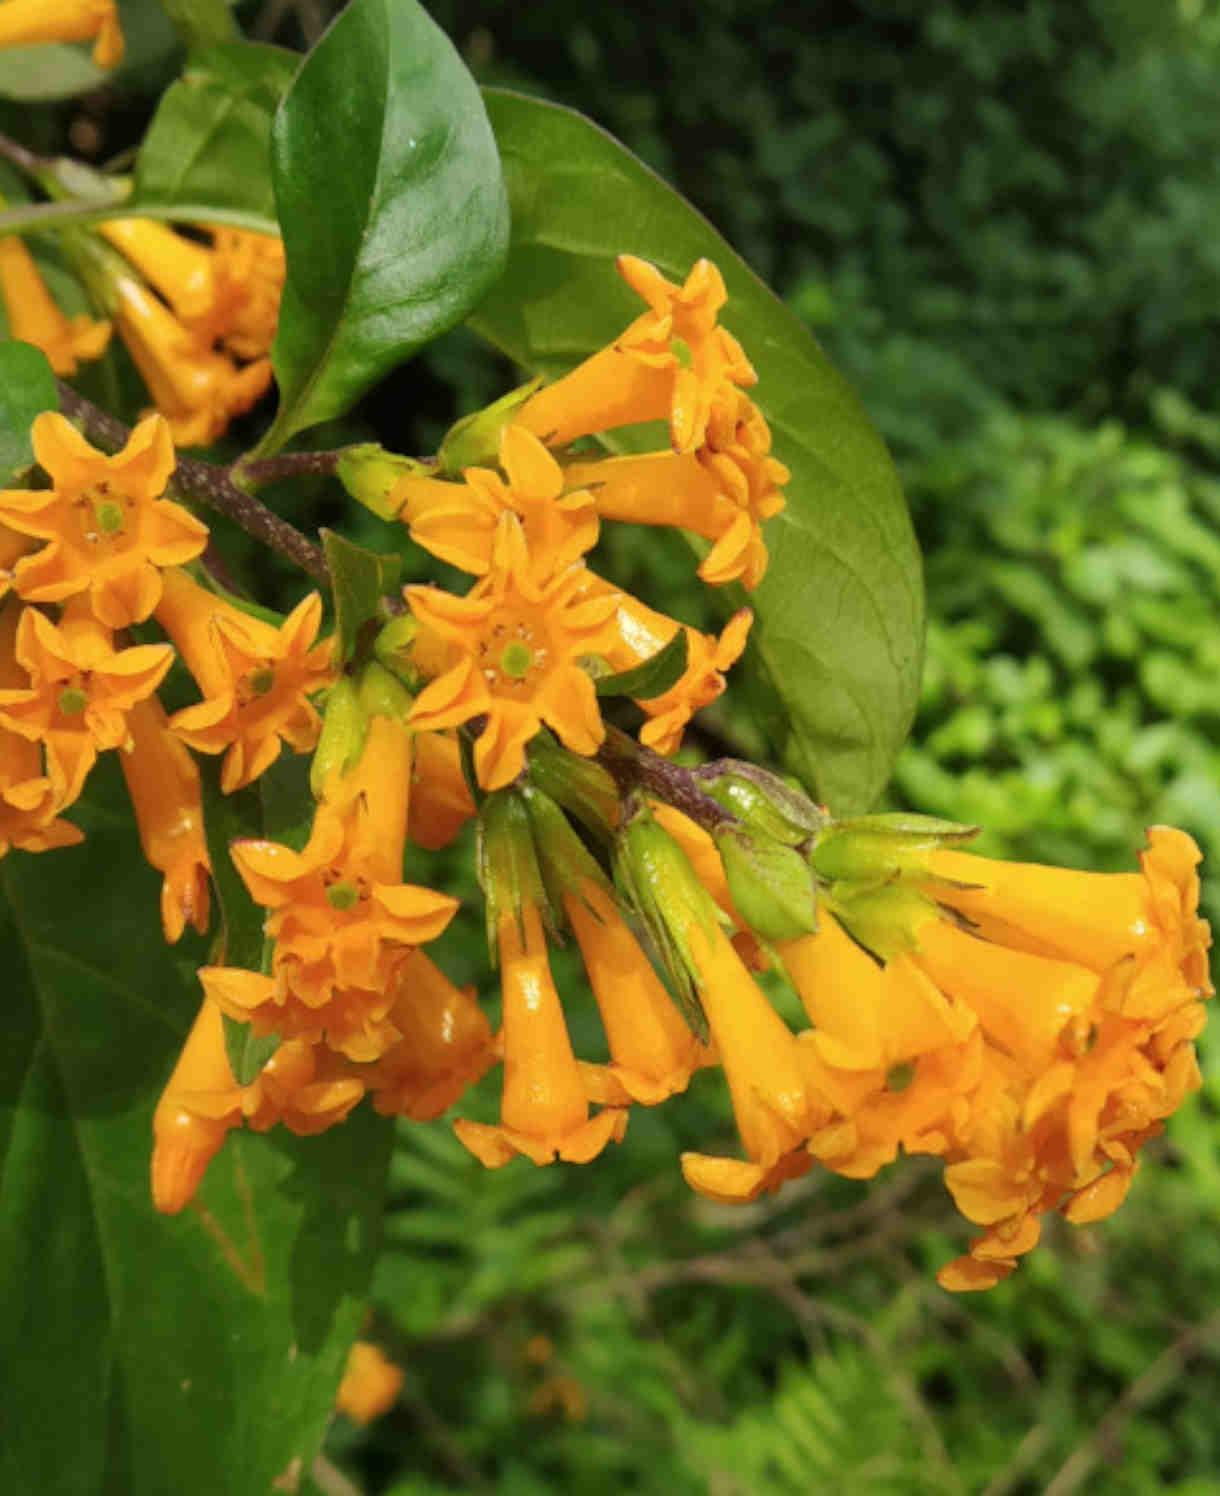
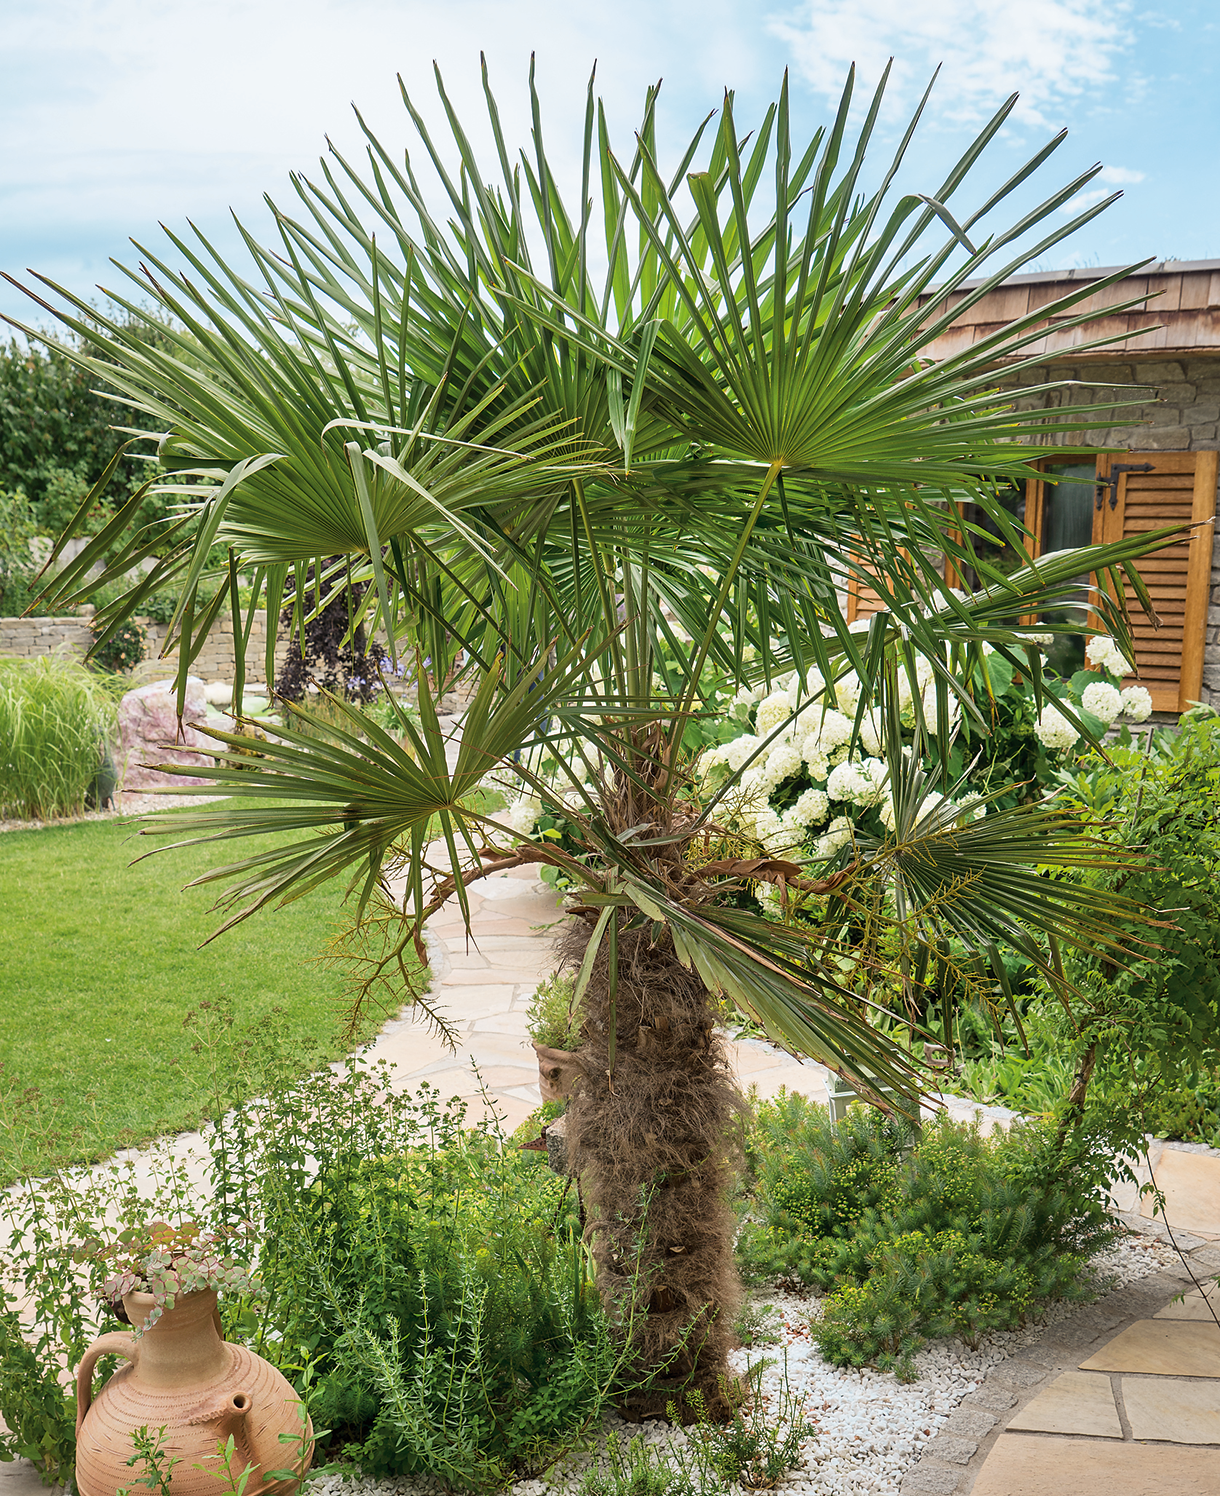
This tender shrub looks at its best amongst similarly exotic companions. With its oversized leaves tetrapanax is a good match for scale, along with trachycarpus and dicksonia. For floral value, the blooms of cestrum, campsis, hibiscus, cuphea, and passiflora are all striking and unusual enough to hold their own against the enormous trumpets. Most of these will need some form of winter protection, but the results are well worth the effort!
How to care for Brugmansia
Pruning and Deadheading
Brugmansia is a vigorous plant best kept under control with annual pruning.
Pruning is best done in late summer/ early autumn to coincide with the plant being moved back indoors. Aiming to maintain a permanent framework of well-spaced branches, cut back to within a few centimetres of the old wood, always just above a node. You may also need to remove suckers arising from the roots. Remember to wear gloves as the sap can be highly irritating to skin.
Overgrown or misshapen brugmansia can be given a hard renovation prune in late summer.
Watering
Plenty of watering is required to support the size and vigour of this plant, particularly when grown in a container. Expect to be watering up to twice a day in the height of summer – best done in the morning and evening when temperatures are lower. Those in the open ground will need a little less, though still benefit from a daily soaking during warm weather. It’s hard to overdo it with brugmansia, providing the drainage is good and the roots aren’t sitting in waterlogged soil.
You may get away with a degree of neglect, though are likely to be punished with a lack of flowers..!
Feeding
You won’t be surprised to hear that brugmansia needs regular feeding to power the impressive growth it’s known for. Start with a balanced liquid feed once a month throughout spring to get it going, then switch to a weekly dose of high potassium liquid feed such as tomato food in summer. Potassium is the ‘flower power’ nutrient and should result in a generous show of those big, impressive blooms.
Brugmansia in the open ground will thank you for a thick mulch of well-rotted organic matter (i.e., a layer of manure or garden compost applied to the soil around the plant). As well as providing extra nutrients, this has the added benefit of suppressing weeds and locking in moisture. Do this when planting – first give the soil a good soaking with water, then spread the mulch on its surface. Take care to leave a small gap between the mulch and the base of the plant to avoid rotting.
If growing your brugmansia in a container it is important to repot it every three to four years in early spring, going up around 10cm in pot diameter each time. Once this is no longer practical, give pots a ‘top dress’ instead. This means scraping away the top few centimetres of compost and replacing with fresh compost containing slow-release fertiliser granules. Again – carry this out in early spring as soon as the plant starts back into growth.
Cold Protection
If located outdoors, brugmansia will need to be moved to a warm, indoor environment when nighttime temperatures start to fall below 7-10°C. This varies depending on where you are in the country, though generally means bringing it indoors in September/ October. Return outside again around May/ June.
There are two ways to approach the overwintering period:
- Store your brugmansia as a dormant plant, i.e., somewhere with little or no light such as a large cupboard or cellar, with just enough watering to prevent it from drying out completely (roughly once a month). Expect the leaves to drop and possibly some stem dieback. Return to growth in early spring by moving into full light and resuming regular watering. Harden off and plant out as above.
- Enjoy your brugmansia as a houseplant during the cooler months. A heated conservatory, greenhouse, or sunny window are all ideal – anywhere with bright light and warm temperatures. Water once a week to prevent the leaves dropping, and if you’re lucky you may even get a few flowers during winter.
You may get away with an unheated greenhouse during a mild winter, particularly if you cover the plant with fleece, though this is more of a gamble and we recommend taking cuttings as an insurance policy (see ‘How to propagate brugmansia’ below).
Pests and Diseases
Outdoors, brugmansia tends to be trouble-free. Indoors, the usual issues of whitefly, spider mite, and mealybug can crop up. Keeping houseplants as healthy as possible is the key to warding off problems, and by this we mean proper ventilation, adequately spaced plants (for good air flow), keeping everything well-watered and fed, and repotting into larger containers when necessary. Thoroughly cleaning the indoor environment every winter can also help to remove overwintering populations of pests.
Where infestations do take hold, try introducing biological controls (often sachets or tubes containing miniscule natural predators), or in the worst cases, remove the affected plant/s altogether.
How to propagate Brugmansia
Brugmansia can be propagated by cuttings in late summer/ early autumn, meaning the offcuts from pruning can be used. Alternatively, take cuttings from the new growth in spring.
Always remember to wear gloves as the cuttings will leak sap which can cause irritation to skin.
- Find healthy, non-flowering shoots and cut to 10-15cm long.
- Place in a plastic bag straight away to prevent drying out.
- Fill a container with a sandy compost mix.
- Remove the lowest third of leaves, and trim those that remain to a smaller size.
- Insert the cuttings into the compost and water lightly. Several cuttings can be put in the same container if there is enough space to do this without them touching.
- Place in a propagating unit with bottom heat if you have one, or covered with a plastic bag on a warm windowsill if not (out of direct sunlight).
- Keep the cuttings misted and occasionally watered until they root. You will know this has happened when roots emerge out of the bottom of the container.
- Gently remove rooted cuttings and pot them into individual pots. Grow on in a warm conservatory or greenhouse until they are large enough to go into a permanent container.
- Expect flowering plants after approximately four years.
* Many plants carry Plant Breeders Rights and cannot be propagated for commercial purposes.
Common Brugmansia questions
- Is brugmansia invasive?
In frost free climates such as Australia, New Zealand, and the Caribbean, some species of brugmansia have indeed become invasive. Thankfully our cold weather keeps this plant in check, leaving us free to enjoy its magnificent summer display without concern. - How long does it take to grow a brugmansia?
While it is a fast-growing plant capable of putting on 60-90cm a year, brugmansia can take around five years to reach flowering maturity. How many of these years your new plant already has under its belt will depend on what size you buy – smaller plants may still have two or three years to go, whereas larger plants may flower more quickly. Either way, don’t be surprised if you don’t get flowers straight away. - Can you grow brugmansia in pots?
Absolutely, and in fact this is the preferred method for many UK gardeners as it makes overwintering indoors a simpler process.