How to grow Brachyscome
Brachyscome is a genus within the daisy family hailing from Australia, Tasmania, New Zealand, and New Guinea. It can be annual or perennial depending on the species, though this is largely irrelevant in our UK climate where, unable to survive winter temperatures, all species tend to be treated as annual bedding.
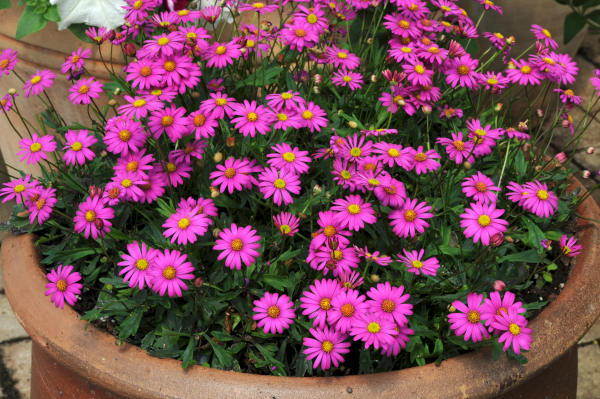
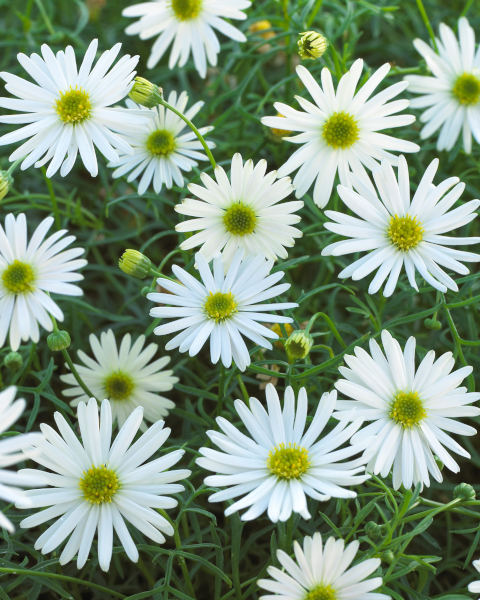
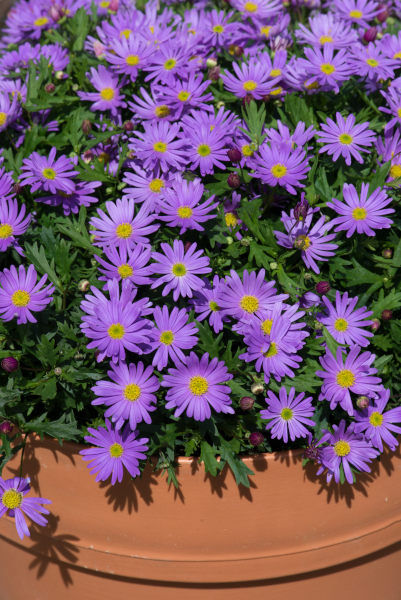
Brachyscome is valued for its extremely easy-going nature and abundance of flowers over an impressively long period (it’s what’s known among gardeners as a ‘real doer’!). These range in colour, offering shades of purple, blue, white, or pink, complemented by attractive fine, feathery foliage which often forms a neat, bushy mound.
Brachyscome is also known by the common names of swan river daisy and rock daisy.
Key Information
Position
Soil Conditions
Hardiness

Where & when to plant Brachyscome
We send our brachyscome out as young plants in spring, and they can be planted outside once all risk of frost has passed in your area. This can vary depending on the region, though is usually around late May. If your plants arrive before it is safe to plant them out, pot into 9cm containers (or their eventual, permanent containers if space allows) using a well-draining compost mix and keep in a frost-free environment such as a greenhouse, conservatory, or sunny windowsill. Keep regularly watered but not soggy.
Brachyscome are popular plants for balconies, patio pots, window boxes, hanging baskets, and summer bedding displays. They can also be used to edge a path as a quick and easy alternative to lavender, and make long-flowering container plants in a cool greenhouse or conservatory.
How to plant Brachyscome
- For planting in containers, first choose an appropriately sized pot. You may wish to grow your brachyscome on their own in a pot, or as part of a larger, mixed container display. Either way, ensure there are plenty of drainage holes in the bottom.
- If you are using a large or heavy pot, it can be a good idea to fill and plant it in situ to save yourself the trouble of moving once full.
- Use a good quality potting compost with some horticultural grit mixed in and, if not already present (check the labelling on the bag) some slow-release fertiliser granules.
- Start by partially filling the pot with compost; enough so that when placed on it the upper surface of the root balls are about 3cm lower than the top of the pot.
- Fill around the plants with compost, firming down with your fingers then adding a little more so they are held tight.
- Pick up the container (if you can!) and lightly tap on the potting bench or ground a few times to help further settle the compost around the plant.
- Soak well with water.
- A mulch with horticultural grit will look attractive and help to prevent a ‘cap’ or crust forming on the top of the compost (something container plants can suffer due to the artificial nature of their watering).
- For planting in the garden, dig the soil area removing any large stones and weeds and breaking up any lumps. Mix in some organic matter such as manure or garden compost. If your soil is on the heavy side, now is also the time to add a generous helping of horticultural grit. Rake level and firm with your heels. Rake level again.
- Water plants well and allow to drain before planting.
- A good tip is to dig a hole twice the size of the root-ball. Fill with water and allow to drain before placing in the plant.
- Place the plant in the hole, ensuring the top of the root ball sits level with the surface of the soil. Too low and the plant may rot, too high and the roots can dry out.
- Backfill with soil and firm in gently with your foot.
- Soak well with water.
- Mulch around the base with well-rotted organic matter.
What to plant with Brachyscome
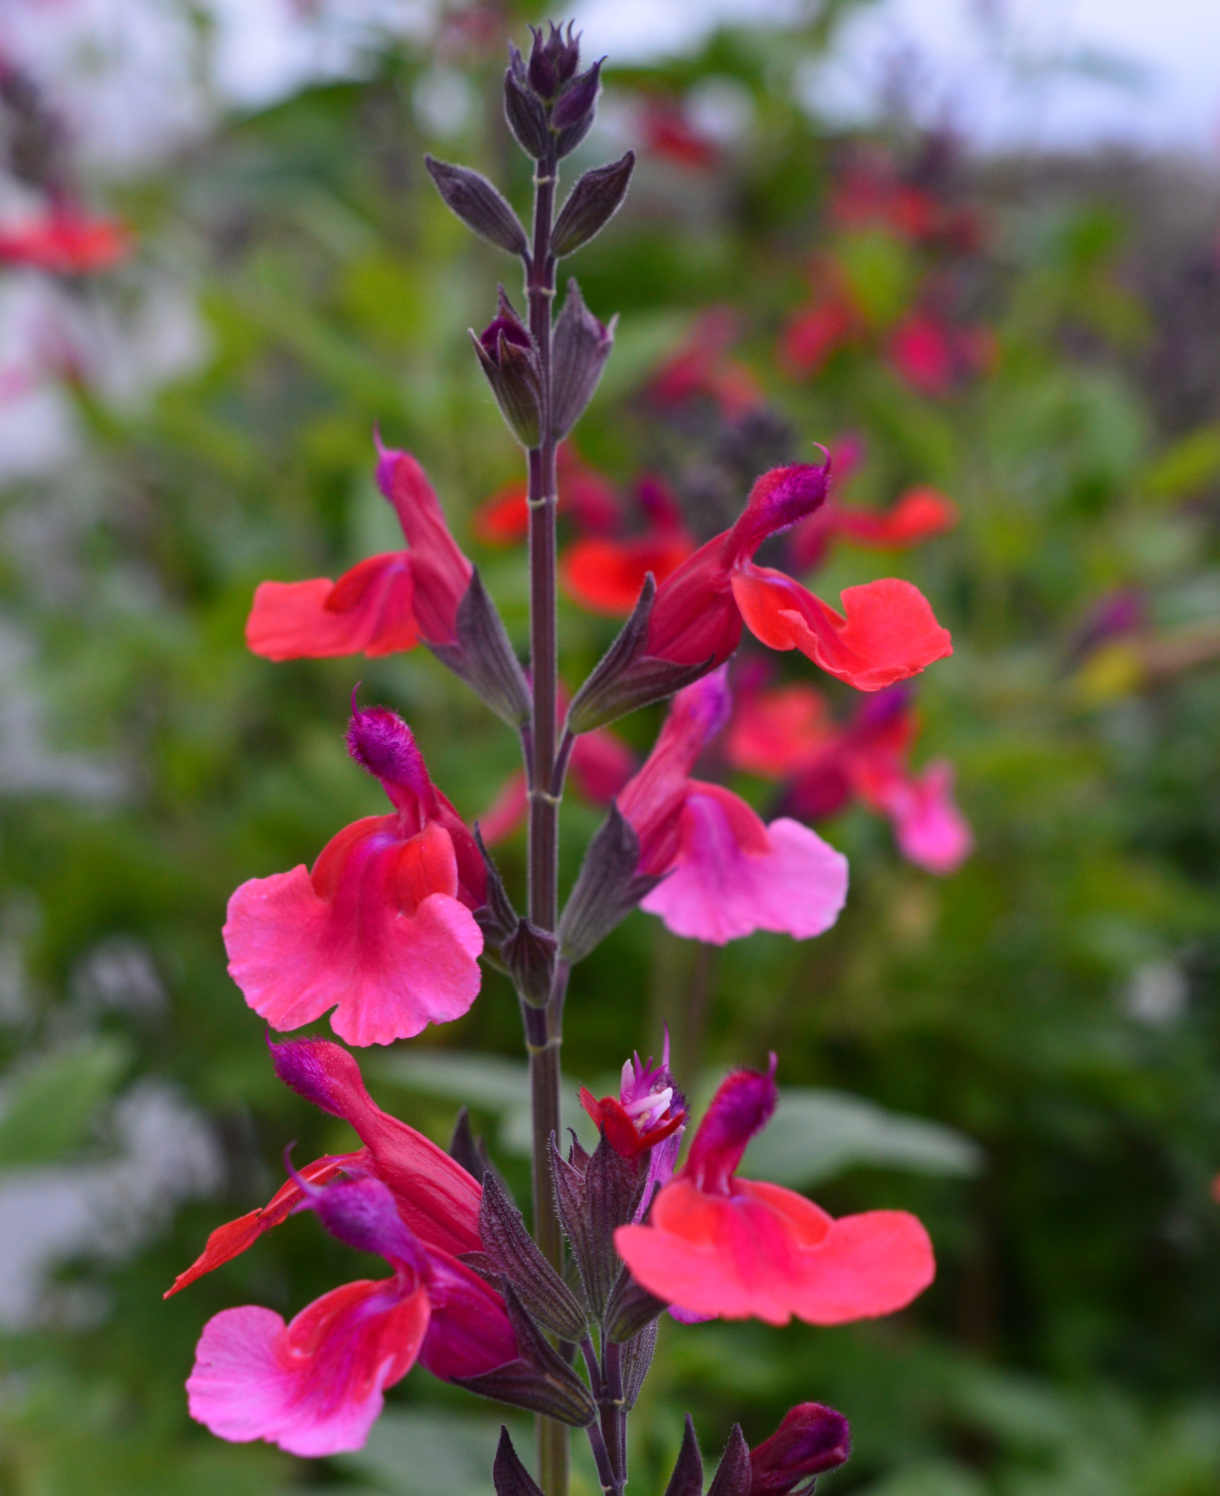
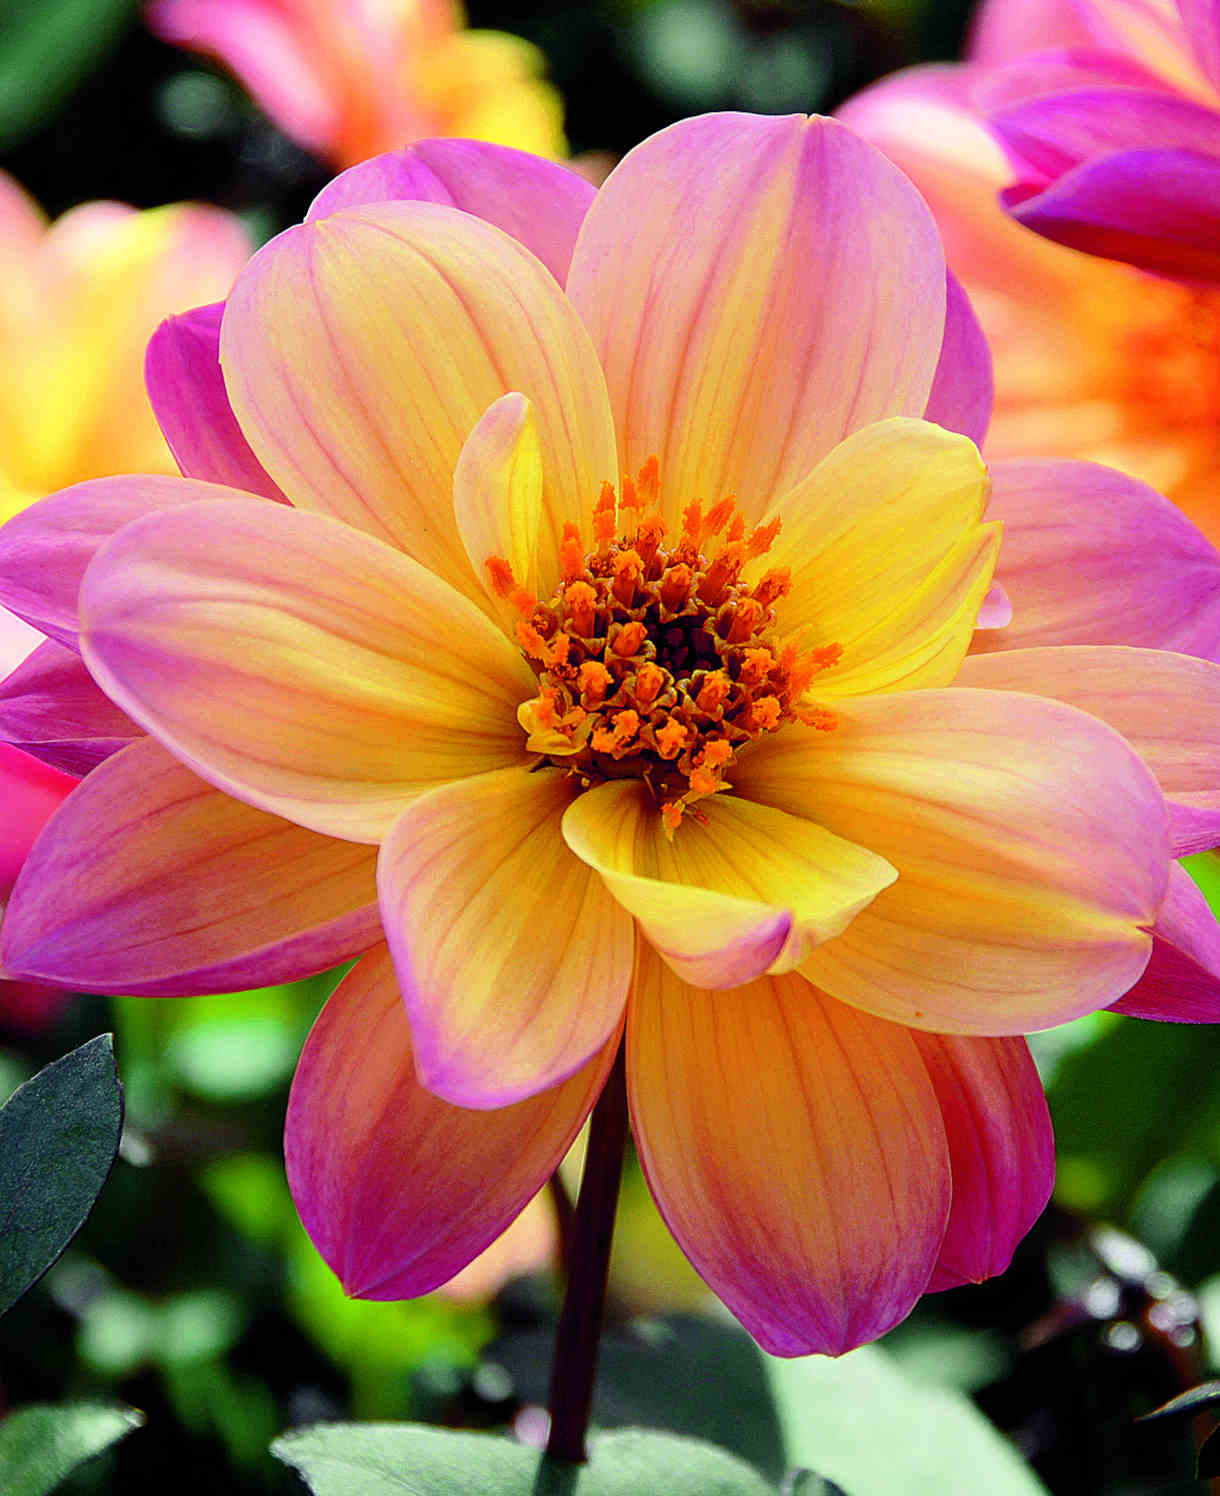
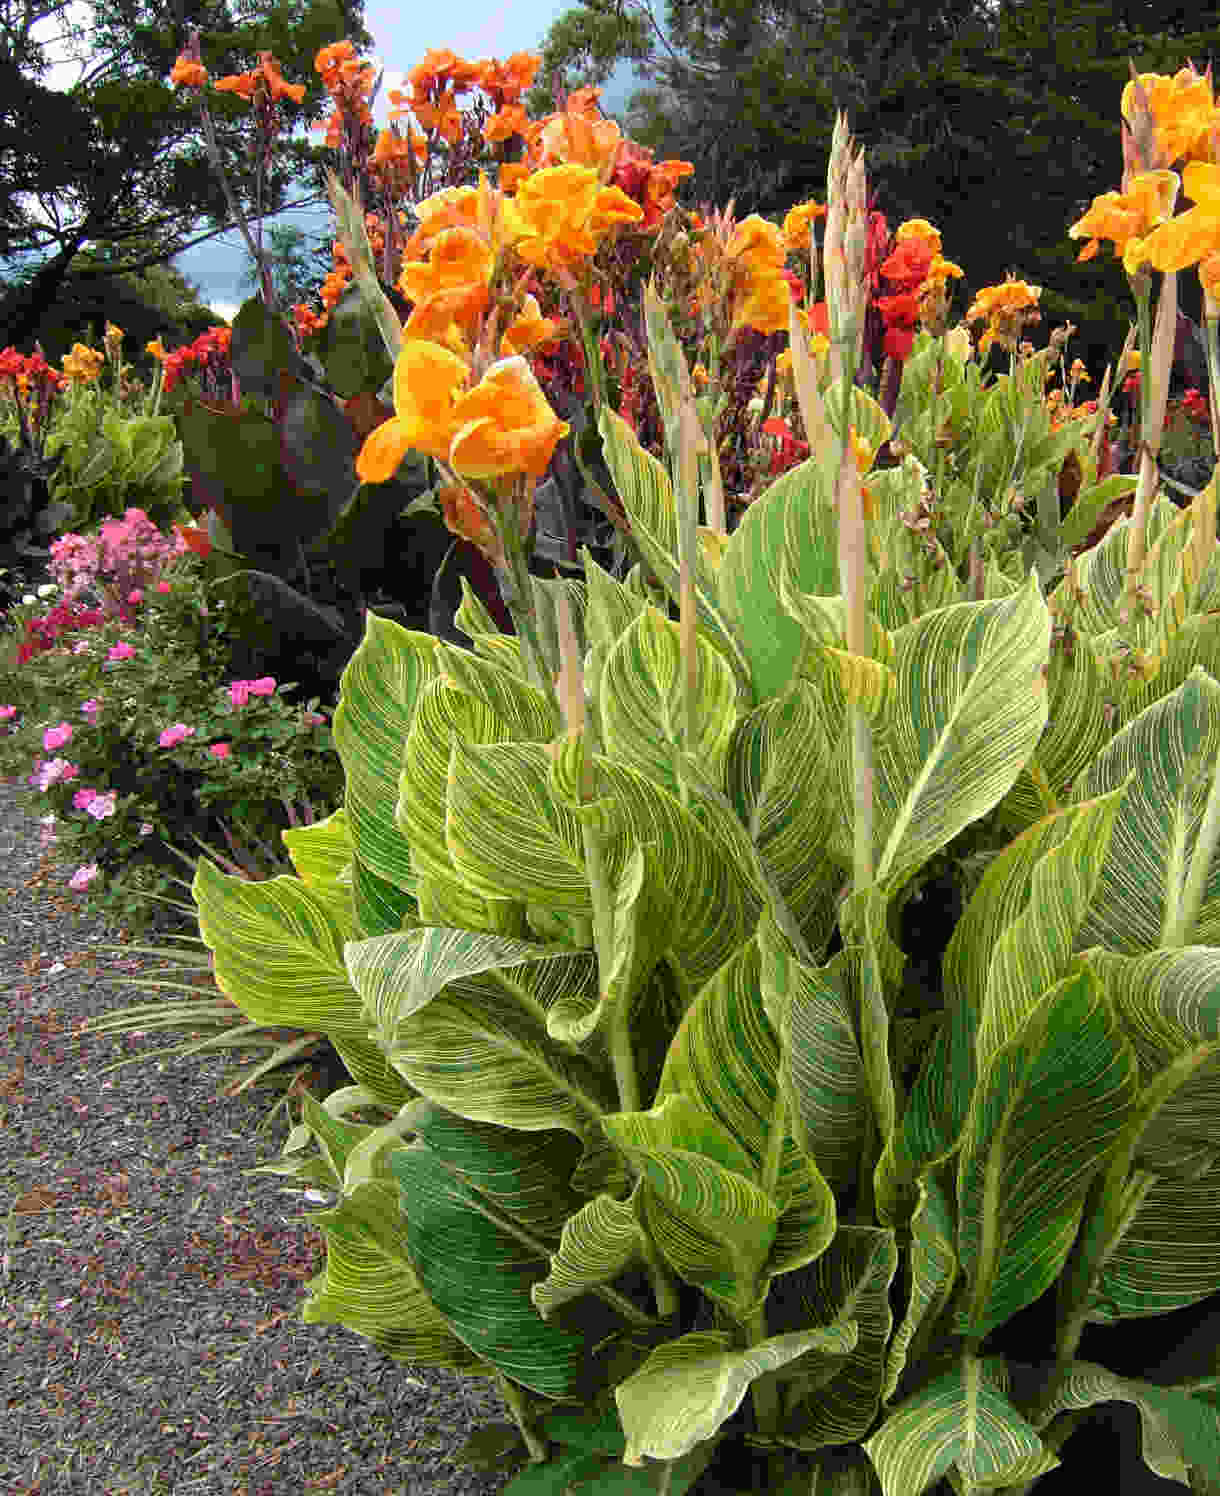
For a gloriously unruly and overflowing outdoor container display, we suggest pairing brachyscome with trailing lobelia and helichrysum. A focal plant will top things off nicely; think along the lines of salvia, dahlia, or canna.
How to care for Brachyscome
Pruning and Deadheading
Pinching out the growing tips of brachyscome when planting or potting in spring can be an effective way of encouraging bushy, floriferous growth. After this, there are three pruning approaches to choose from:
- Continue to pinch out the growing tips regularly throughout the season, to maintain a neat, compact plant and encourage maximum flowering.
- Leave the plant alone until midsummer, then chop back by half. This restricts size, freshens the whole thing up, and ensures flowering later in the season.
- Do nothing! Embrace the natural sprawl and don’t worry about the extra week or two of flowering you may be missing out on.
Deadheading individual flowers is another approach, but unless you have a lot of time to kill this can be offputtingly laborious due to the sheer quantity of blooms…
When autumn comes around most UK gardeners simply remove brachyscome to the compost heap, however with a little effort, perennial species can be overwintered indoors for continued growth the following year. See our ‘Cold Protection’ section below for more information on this.
Watering
Like most bedding plants brachyscome will tolerate drought to a point, though does best when watered regularly. Brachyscome in containers can dry out very quickly, particularly in warm weather, and can take watering as often as once a day in the height of summer. That said, it’s important to avoid overwatering – this plant doesn’t enjoy soggy conditions. A good rule of thumb is to allow the top couple of centimetres of compost to dry out between soakings. To check this, wiggle your finger down until you feel moisture.
Brachyscome in the ground should be watered regularly for the first few weeks, and then in any prolonged dry spells after this.
Feeding
To get the most out of hungry summer bedding plants such as brachyscome, regular feeding is a must – particularly for containers.
In a container, brachyscome should be potted in a good quality compost with slow-release fertiliser granules mixed in. These generally provide enough nutrients for around 6 weeks, after which a weekly application of a high potassium liquid feed, such as tomato feed, can make a big different to flowering performance. Steer clear of high nitrogen feeds, as these will encourage excessive foliage at the expense of flowers.
In the open ground, mulch newly planted brachyscome with well-rotted organic matter, i.e., a layer of manure or garden compost applied to the soil around the plant. As well as boosting the nutrient content of the soil, this has the added benefit of suppressing weeds and locking in moisture. After this, you can either leave the plant to its own devices (fine on healthy, fertile soil), or apply a fortnightly application of high potassium liquid feed such as tomato food (beneficial on poor or sandy soil).
Cold Protection
Brachyscome originates from the warm climes of Australia, New Zealand, Tasmania, and New Guinea, and will not survive a frost. Keep in a protected, frost-free environment until it is safe to plant out, then remove to the compost heap at the end of the growing season.
Alternatively, you may wish to try overwintering perennial species indoors. Firstly, double check which species you have, as there is no point attempting to overwinter an annual! It may be helpful at this point to list a few Hayloft regulars:
- Brachyscome angustifolia ‘Brasco Violet’ (perennial)
- iberidifolia ‘Magenta Delight’ (annual)
- multifida ‘Surdaisy White’ (annual)
Once you’ve ascertained that you are indeed dealing with a perennial species, the advice is very simple. Trim lightly in autumn then move into a protected, frost-free environment such as a greenhouse, conservatory, or sunny windowsill. Make sure the compost doesn’t dry out during winter, then repot and move outside again in late spring/ early summer once risk of frost has passed. Of course, if grown permanently indoors as a conservatory plant, simply follow the above advice without the moving in and out bit!
Pests and Diseases
Brachyscome rarely succumbs to pests and diseases, particularly when grown as an annual. The only real issue reported is slugs and snails having a munch on the foliage, particularly when it is young and fresh. Encouraging natural predators into your garden, such as birds, frogs, toads, and hedgehogs, will make a big difference. Torchlight searches after dark (when slugs and snails are at their most active) are also effective, allowing you to collect the offending molluscs in a bucket and dispose of as you see fit. Relocating to a nearby woods or bagging up and putting in your freezer before popping them in the bin are said to be the most humane approaches.
How to propagate Brachyscome
Annual species can be propagated by seed:
- Seeds are typically ready for collecting in late summer when the seedheads have dried and turned brown.
- Snip the seedheads from the plant using scissors or secateurs. Try to do this in dry conditions, and shake or separate into a small paper bag or envelope.
- Store somewhere cool and dry until early spring (March).
- Fill a seed tray, small pot, or module tray with a well-draining compost mix, picking up and tapping two or three times on the potting bench or table to compress.
- Sprinkle the seeds evenly over the surface of the compost, pressing down lightly to ensure contact. Aim for two to four seeds per module if using these.
- Cover with a thin layer of compost (ideally using a garden sieve), or vermiculite.
- Water gently with a fine spray until the compost is evenly moist but not waterlogged.
- Place the seed tray or pots in a heated propagation unit if you have one, or cover pots with clingfilm if not. Position in indirect light.
- As soon as the seeds begin to germinate, take out of the propagation unit or remove the clingfilm.
- When the seedlings have grown large enough to handle, transplant them into individual pots filled with a well-draining mix and continue to grow on in a frost-free environment.
- Keep barely moist, never soggy.
- Plant out once all risk of frost has passed, following our ‘How to plant brachyscome’ section above.
Perennial species can be propagated by seed or cuttings. Seed should be collected as above and sown in either autumn or spring. For cuttings – basal cuttings in spring is the best approach:
- Find several strong, basal shoots (originating from the crown) around 10-12cm long.
- With sharp secateurs or a knife, sever cleanly from as close to the base as possible.
- Put them in a plastic bag straight away to prevent drying out.
- Fill a container with a compost mix which is at least 50% perlite (or if you prefer, as we do, 100% perlite).
- Remove leaves from the lowest third, and pinch out the soft tip.
- If the remaining leaves are large, cut them in half with a sharp knife (to reduce water lost through transpiration).
- Insert the cuttings into the compost and water lightly. Several cuttings can be put in the same container if there is enough space to do this without them touching.
- Place in a greenhouse or propagating unit if you have one, or covered with a plastic bag on a windowsill if not (out of direct sunlight).
- Keep the cuttings misted and occasionally watered until they root. You will know this has happened when roots emerge out of the bottom of the container.
- Gently remove rooted cuttings and pot them into individual pots. Overwinter in a protected, frost-free environment such as a conservatory, greenhouse, or sunny windowsill, before planting out in late spring to early summer (once all risk of frost has passed).
* Many plants carry Plant Breeders Rights and cannot be propagated for commercial purposes.
Common Brachyscome questions
- Do you deadhead brachyscome?
You can, although on plants which produce as many flowers as this, a midseason chop is the more efficient option. See our ‘Pruning and Deadheading’ section for detailed advice. - Is brachyscome hardy?
Depending on the species or cultivar, brachyscome has a rating of H2 (tender) or H3 (half-hardy). Either way, it rules out a winter spent outdoors in the UK! - Is brachyscome edible?
The flowers of brachyschome can be eaten and make attractive garnishes to salads, cakes, and drinks.


