


How to grow Bletilla
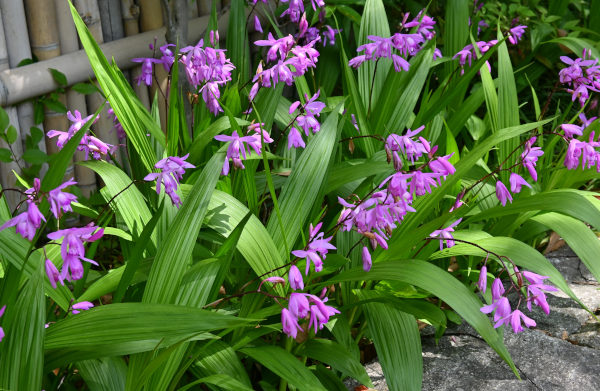
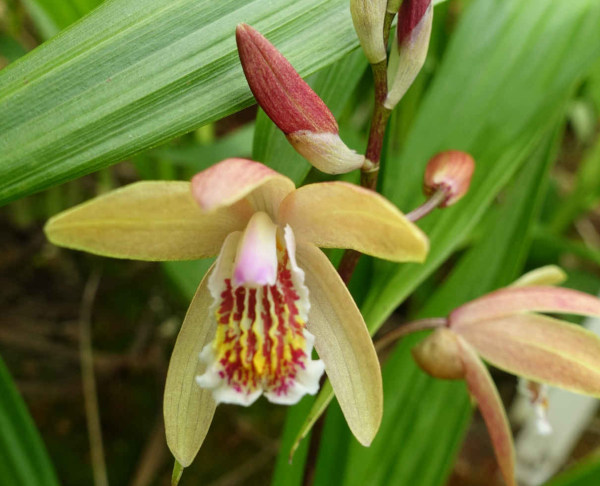
Bletilla is a genus of 9 or 10 species of hardy orchid, and widely considered one of the simplest orchids to grow. Hailing from cool to temperate regions in China, Taiwan, and Japan, these deciduous, terrestrial plants produce neat clumps of ribbed, sword-shaped leaves and multiple spikes bearing up to 12 delicate, narrow, bell-shaped flowers. Blooming for a remarkably long period from spring to early summer, they are prized by gardeners as an easy and unusual source of early colour and beauty.
At Hayloft we currently offer forms of Bletilla striata, also known as the Chinese ground orchid. Other common names include urn orchid and hyacinth orchid.
Key Information
Position
Soil Conditions

Hardiness

Where & when to plant Bletilla
You will receive your bletilla as bare roots (they are rhizomes which produce corm-like pseudobulbs), which are best planted in spring (February/ March to May/ June). Bletilla can struggle in temperatures lower than -5°C, so if you live in a region where spring temperatures can dip below this, you are best starting yours off in pots somewhere protected, such as a cool greenhouse, conservatory, or coldframe.
Bletilla suits a woodland garden, or anywhere with partial or dappled shade such as the ground beneath a deciduous tree or shrub. It can also be grown in a container both indoors and out. If indoors, make sure you give it a cool spot in bright yet indirect or filtered light. A cold greenhouse with shading, or perhaps an east or west-facing porch are all ideal.
How to plant Bletilla
- For planting in the garden, dig the soil area removing any large stones and weeds and breaking up any lumps. Mix in some organic matter such as garden compost. If your soil is heavy clay, now is also the time to add a generous helping of horticultural grit. Rake level and firm with your heels. Rake level again.
- Water plants well and allow to drain before planting.
- A good tip is to dig a hole twice the size of the root-ball. Fill with water and allow to drain before placing in the plant.
- Place the plant in the hole, ensuring the top of the root ball sits level with the surface of the soil. Too low and the plant may rot, too high and the roots can dry out.
- Backfill with soil and firm in gently with your foot.
- Soak well with water.
- Mulch around the base with well-rotted organic matter.
- For planting in containers, first choose an appropriately sized pot. This may be a large, decorative container in which the bletilla will remain throughout the growing season, or individual plastic pots used as an early, temporary measure before planting out into the ground. Either way, ensure there are plenty of drainage holes in the bottom.
- If you are using a large or heavy pot, it can be a good idea to fill and plant it in situ to save yourself the trouble of moving once full.
- Use a good quality potting compost with plenty of horticultural grit mixed in, and, if not already present in the compost (check the description on the bag) some slow-release fertiliser granules.
- Start by partially filling the container with compost; enough so that when placed on the surface the bare roots are about 8cm lower than the top of the pot. Make sure the shoots are pointing upwards.
- For permanent containers of multiple plants allow approximately 5cm between each bare root.
- Fill the remainder of the container with compost, firming down with your fingers so the corm is held tight. Make sure there is a small gap of around 3cm between the surface of the compost and the top of the container.
- Pick up the container and lightly tap on the potting bench or ground a few times to help further settle the compost around the plant.
- Soak well with water.
- For permanent containers, a mulch with horticultural grit will look attractive and help to prevent a ‘cap’ or crust forming on the top of the compost (something container plants can suffer due to the artificial nature of their watering).

What to plant with Bletilla
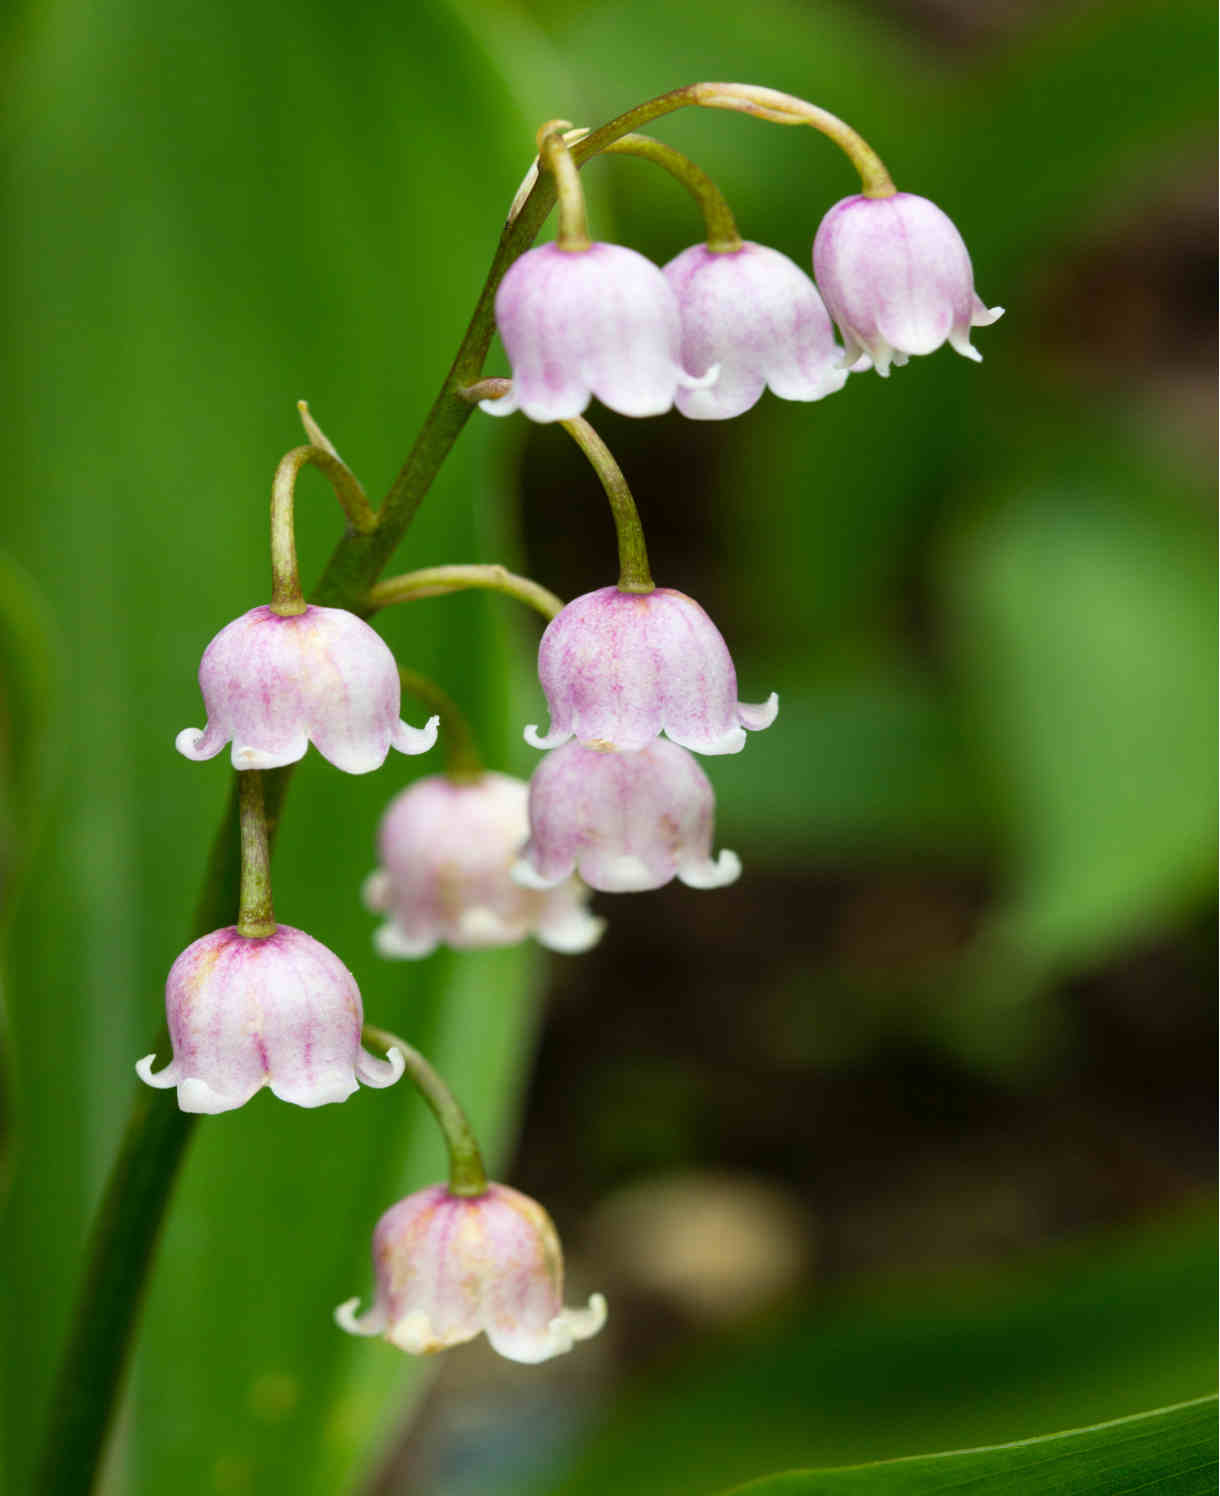
Bletilla combines beautifully with other delicate woodlanders such as ferns, digitalis, convallaria, Geranium phaeum, epimedium, and silene.
How to care for Bletilla
Pruning and Deadheading
Take spent flower spikes down to around 3cm above soil level after flowering (this will prevent them from producing seed and therefore conserve energy for next year). The foliage will naturally die back in autumn.
Watering
New plantings require more regular watering than established plants. During the first growing season in the ground, a good soaking every couple of weeks should ensure long-term success (aiming for consistently moist, but not soggy soil). After this, bletilla will need watering only in very dry spells. An annual mulch in autumn or spring helps lock moisture into the soil (see also ‘Feeding’ section below). Do this again in summer (following a good soaking with water) if your soil is prone to drying out in hot weather.
Container-grown bletilla can be watered liberally in the summer, with a quarter strength liquid feed applied every third watering (see ‘Feeding’ section below). Allow the top few centimetres of compost to dry out between soakings. Check soil surface with fingertips to see if it feels dry to the touch.
Keep barely moist during dormancy.
Feeding
On healthy, fertile soil, an annual mulch of well-rotted organic matter (i.e., a good layer of manure or garden compost applied to the soil around the plant) should provide sufficient nutrients for your bletilla. This has the added benefit of suppressing weeds and locking in moisture.
For an extra boost (perhaps your bletilla is looking stressed or you garden on poor soil), applying a general purpose granular feed to the surface of the soil and lightly working in (known as a ‘top dress’) can reap benefits. Aim to do this once or twice a year if needed.
Container-grown plants rely even more on the gardener for their nutritional needs. Get off to a flying start by making sure you use a good quality compost, then throughout the growing season (March to September) apply a liquid feed every third time you water, mixing this to a quarter of the strength recommended by the manufacturer. Little and often is the proven way to go for this plant.
Cold Protection
Bletilla is hardy to around -5°C, so if you live in an area where temperatures can be expected to go below this, either lift and dry store your bletilla as you would dahlias*, leave in the ground with a thick, insulating layer of dry mulch (such as straw, bracken, or woodchip), or grow in a container to allow for overwintering indoors.
Like all plants, container-grown bletilla can be more vulnerable to the cold, so even if you live in a milder area, give your pots some protection – either by moving undercover or wrapping the container in hessian or fleece.
* Having cut back the foliage, carefully dig the bletilla out of the ground, shake and then rinse off as much soil as possible, leave somewhere to dry out fully, then pack in a pot/ box/ crate with dry material such as compost, vermiculite, or newspaper. Store somewhere frost-free and dry over winter (a shed, garage, or greenhouse are all ideal), and plant in spring as per the ‘How to plant bletilla’ section above.
Pests and Diseases
Outdoors, bletilla tends to be trouble-free.
Indoors, the usual issues of whitefly, spider mite, and aphid can crop up. Keeping indoor plants as healthy as possible is the key to warding off problems, and by this we mean proper ventilation, adequately spaced plants (for good air flow), keeping everything well-watered and fed, and repotting into larger containers when necessary. Thoroughly cleaning the indoor environment every winter can also help to remove overwintering populations of pests.
Where infestations do take hold, try introducing biological controls (often sachets or tubes containing miniscule natural predators), or in the worst cases, remove the affected plant/s altogether.
How to propagate Bletilla
The easiest way to propagate bletilla is by division in early spring. This should be done once plants are large enough (roughly every three or so years).
- Carefully use a fork to lift your bletilla out of the ground.
- Shake and rub off any soil.
- Gently tease apart pseudocorms, ensuring each has its own roots.
- In milder areas these can be planted directly in the ground straight away. Where temperatures may drop below -5°C, it is safest to pot them up and grow on undercover until around May.
* Many plants carry Plant Breeders Rights and cannot be propagated for commercial purposes.
Common Bletilla questions
- Is bletilla hardy?
As you may by now have gathered, while one of the hardiest orchids bletilla does still has its limits and will struggle much below -5°C. See ‘Cold protection’ section above for more information. - Where does bletilla grow?
Bletilla can be found growing wild in cool to temperate regions of China, Taiwan, and Japan. UK gardeners use them in moist, partially shaded spots and as container plants for a cool spot. - My bletilla hasn’t grown much, what’s the problem?
These orchids can take two to three years to reach their full size, though can usually be expected to flower from their first year. Once established they will multiply and bloom for many years with little effort on the part of the gardener.