How to grow Berberis
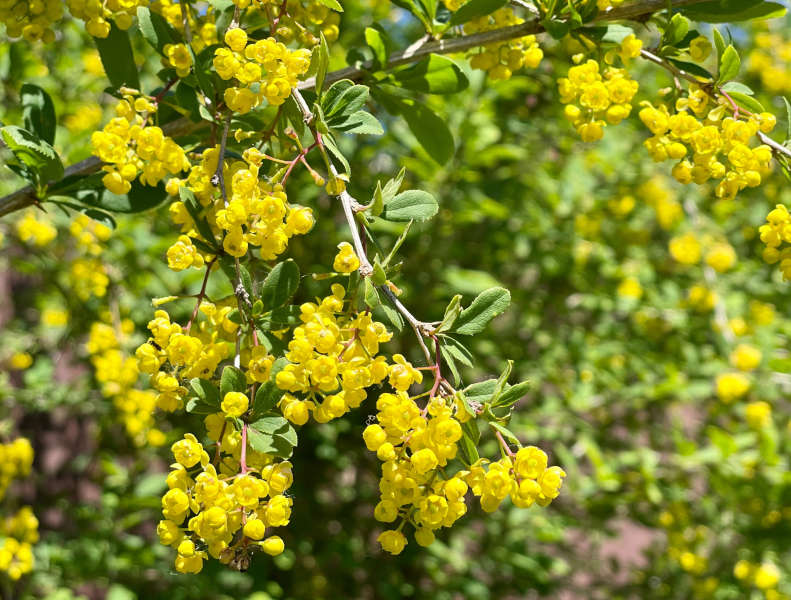
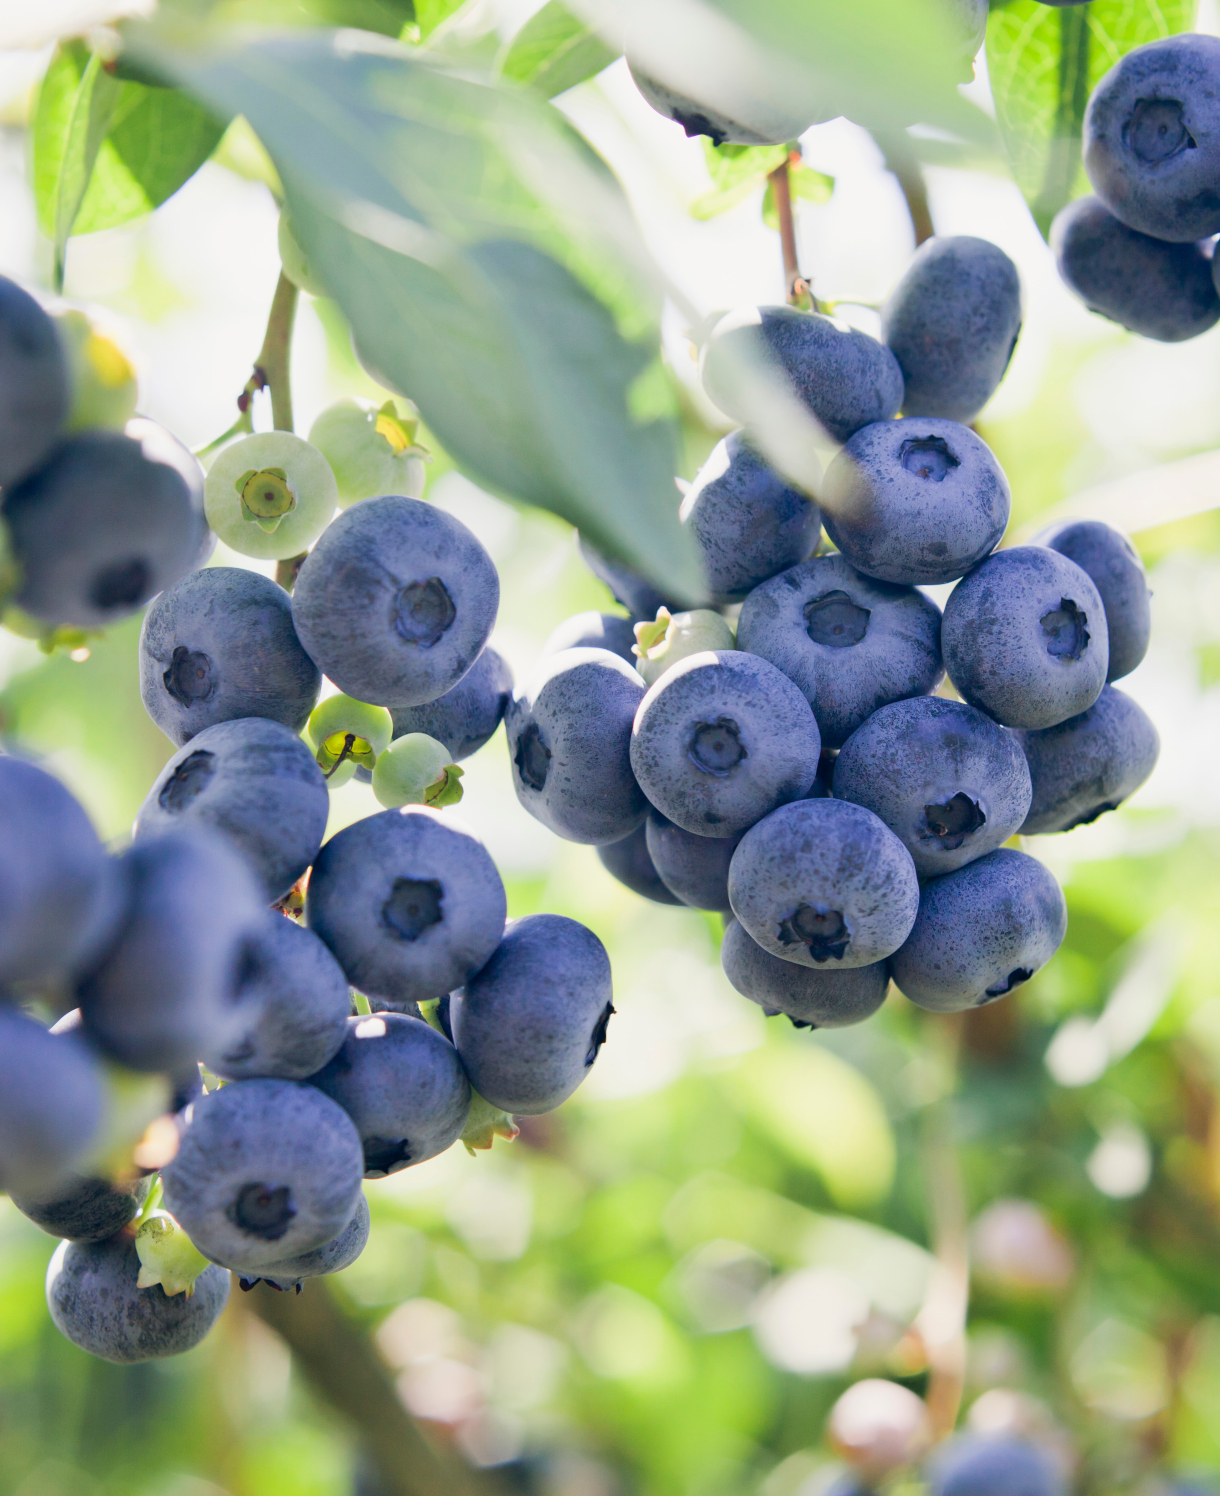
Also known as barberry, berberis is a fantastically versatile, wildlife-friendly, spiny shrub that can be grown in almost any garden situation. Valued for its attractive foliage, colourful spring flowers (usually yellow to dark orange), and bright autumn berries (either blue-black or red), berberis can range in size from dwarf to very large shrub. The form is equally varied, and can be neatly mounding, strongly upright, or widely sprawling. Berberis tends to be fairly slow-growing so makes a well-behaved, low-maintenance addition to the garden.
Berberis can be deciduous or evergreen depending on the species. Deciduous species offer the greatest ornamental value with their spectacular autumn colour, attractive new foliage in spring, and more visible berries on bare branches. Evergreen species provide year-round screening and structure, as well as useful winter cover for wildlife. Their flowers tend to be more abundant, and they stand up particularly well to strong winds and late frosts.
Key Information
Position
Soil Conditions
Hardiness

Where & when to plant Berberis
For best results, plant evergreen berberis in autumn or spring. An autumn planting can be done by those gardening in mild conditions (and broadly speaking, this is the southern half of the UK). For those liable to cold winters, it is best to wait until spring (generally the northern half of the UK).
Deciduous berberis is best planted during dormancy (October to April), avoiding days when the ground is either frozen or waterlogged.
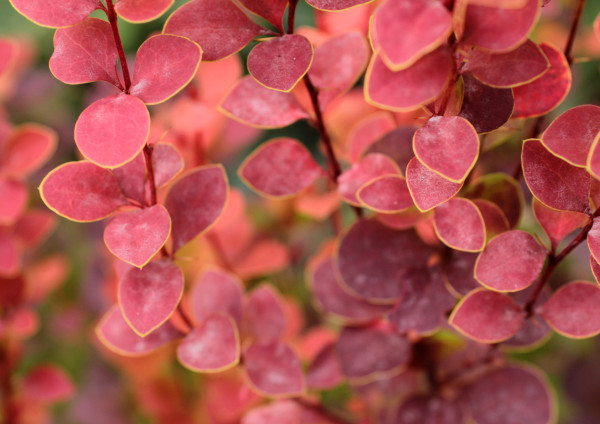
Larger species such as B. julianae or B. x stenophylla make good intruder-proof hedges, specimen shrubs, or members of a mixed shrub border. Smaller species such as B. darwinii ‘Compacta’, B. thunbergiii ‘Coral’, B. thunbergiii ‘Summer Sunset’, and B. microphylla ‘Pygmaea’ can be grown as small hedges, clipped as topiary balls, or planted in a rock garden. These smaller forms will also grow happily in a large container.
How to plant Berberis
- For planting in the garden, dig the soil area removing any large stones and weeds and breaking up any lumps. Mix in some organic matter such as manure or garden compost. Rake level and firm with your heels. Rake level again.
- Water plants well and allow to drain before planting.
- A good tip is to dig a hole twice the size of the root-ball. Fill with water and allow to drain before placing in the plant.
- Place the plant in the hole, ensuring the top of the root ball sits level with the surface of the soil. Too low and the plant may rot, too high and the roots can dry out.
- Backfill with soil and firm in gently with your foot.
- Soak well with water.
- Mulch around the base with well-rotted organic matter.
- For planting in containers (remember – dwarf forms are best for this), first choose an appropriately sized pot. The best practice is to start just a few centimetres larger than the rootball and increase in size every year or two. Always ensure there are plenty of drainage holes in the bottom.
- If you are using a large or heavy pot, it can be a good idea to fill and plant it in situ to save yourself the trouble of moving once full.
- Use a good quality potting compost with plenty of horticultural grit mixed in, and, if not already present in the compost (check the description on the bag) some slow-release fertiliser granules.
- Start by partially filling the pot with compost; enough so that when placed on it the upper surface of the root ball is about 3cm lower than the top of the pot.
- Infill all the space surrounding the root ball with compost, firming down with your fingers then adding a little more so the plant is held tight.
- Pick up the container and lightly tap on the potting bench or ground a few times to help further settle the compost around the plant.
- Soak well with water.
- A mulch with horticultural grit will look attractive and help to prevent a ‘cap’ or crust forming on the top of the compost (something container plants can suffer due to the artificial nature of their watering).
What to plant with Berberis
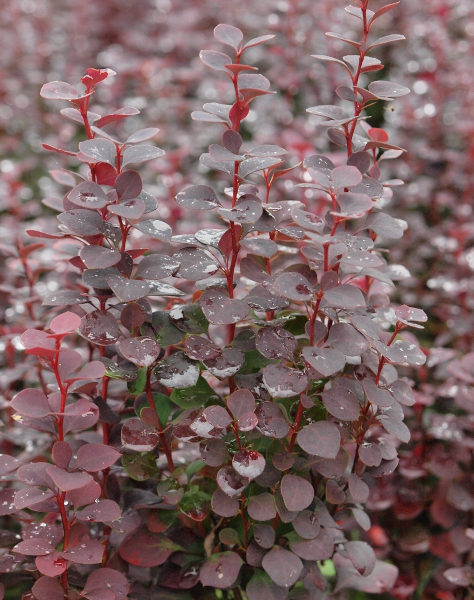
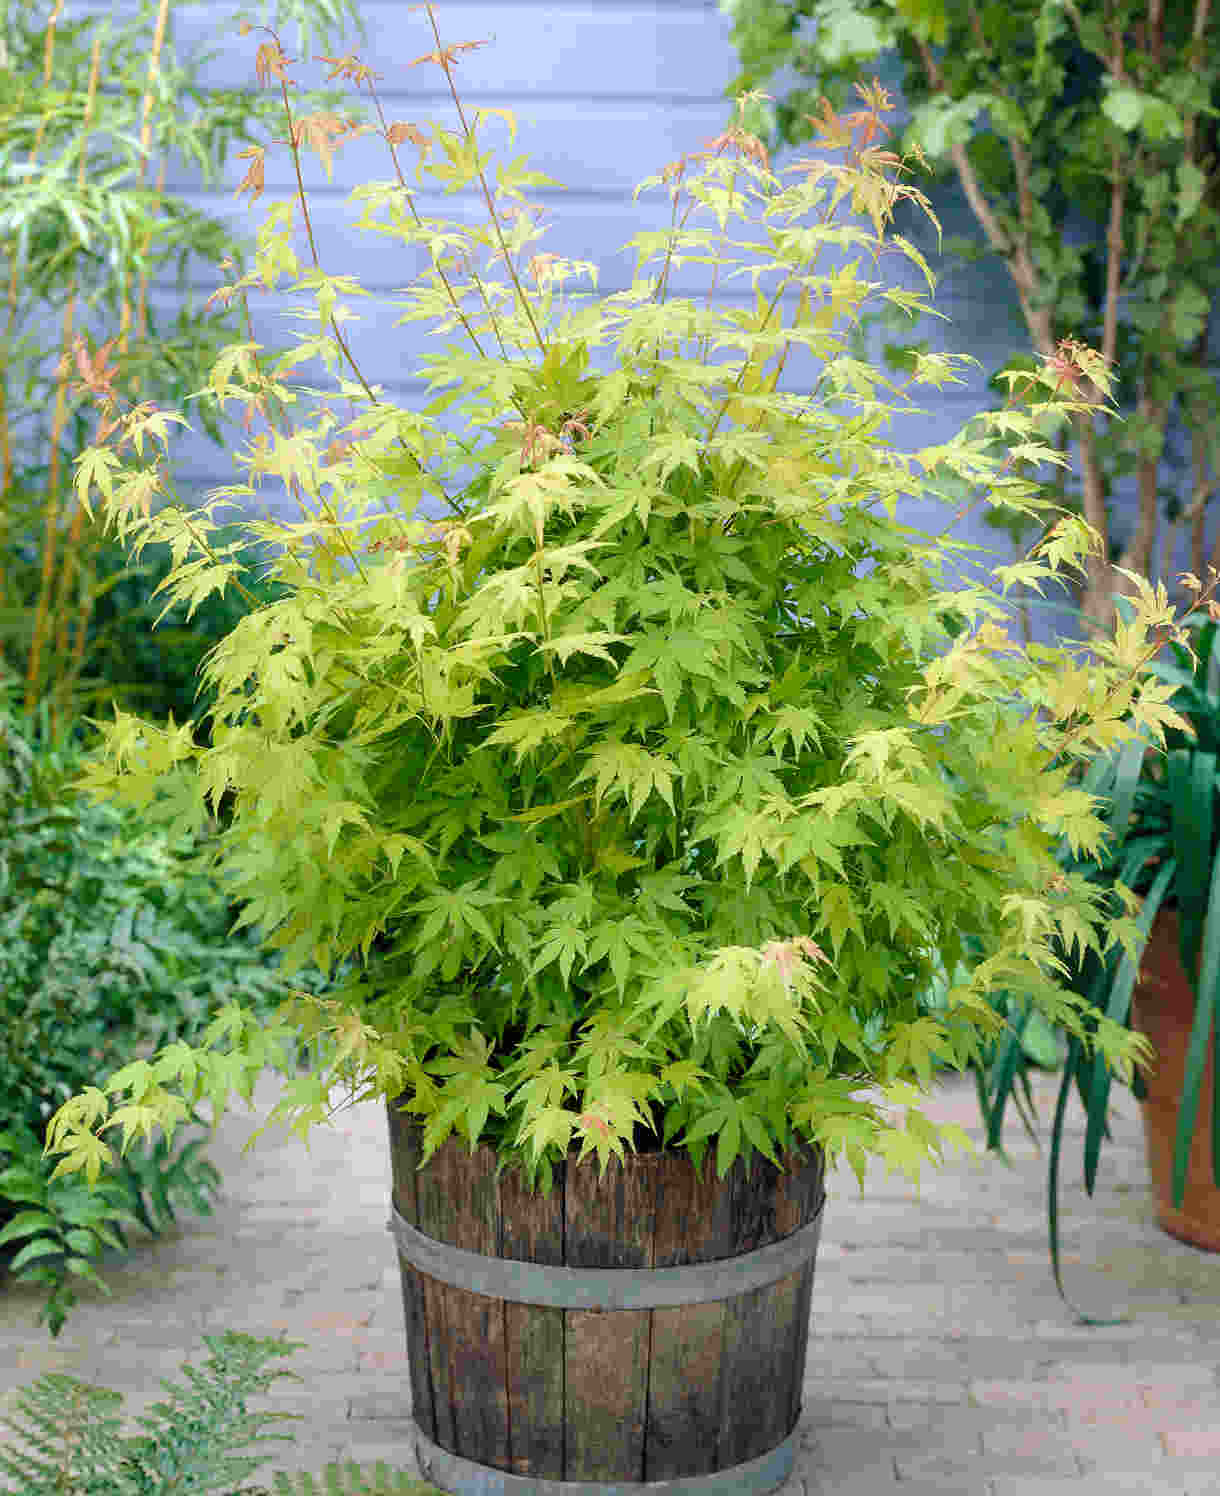
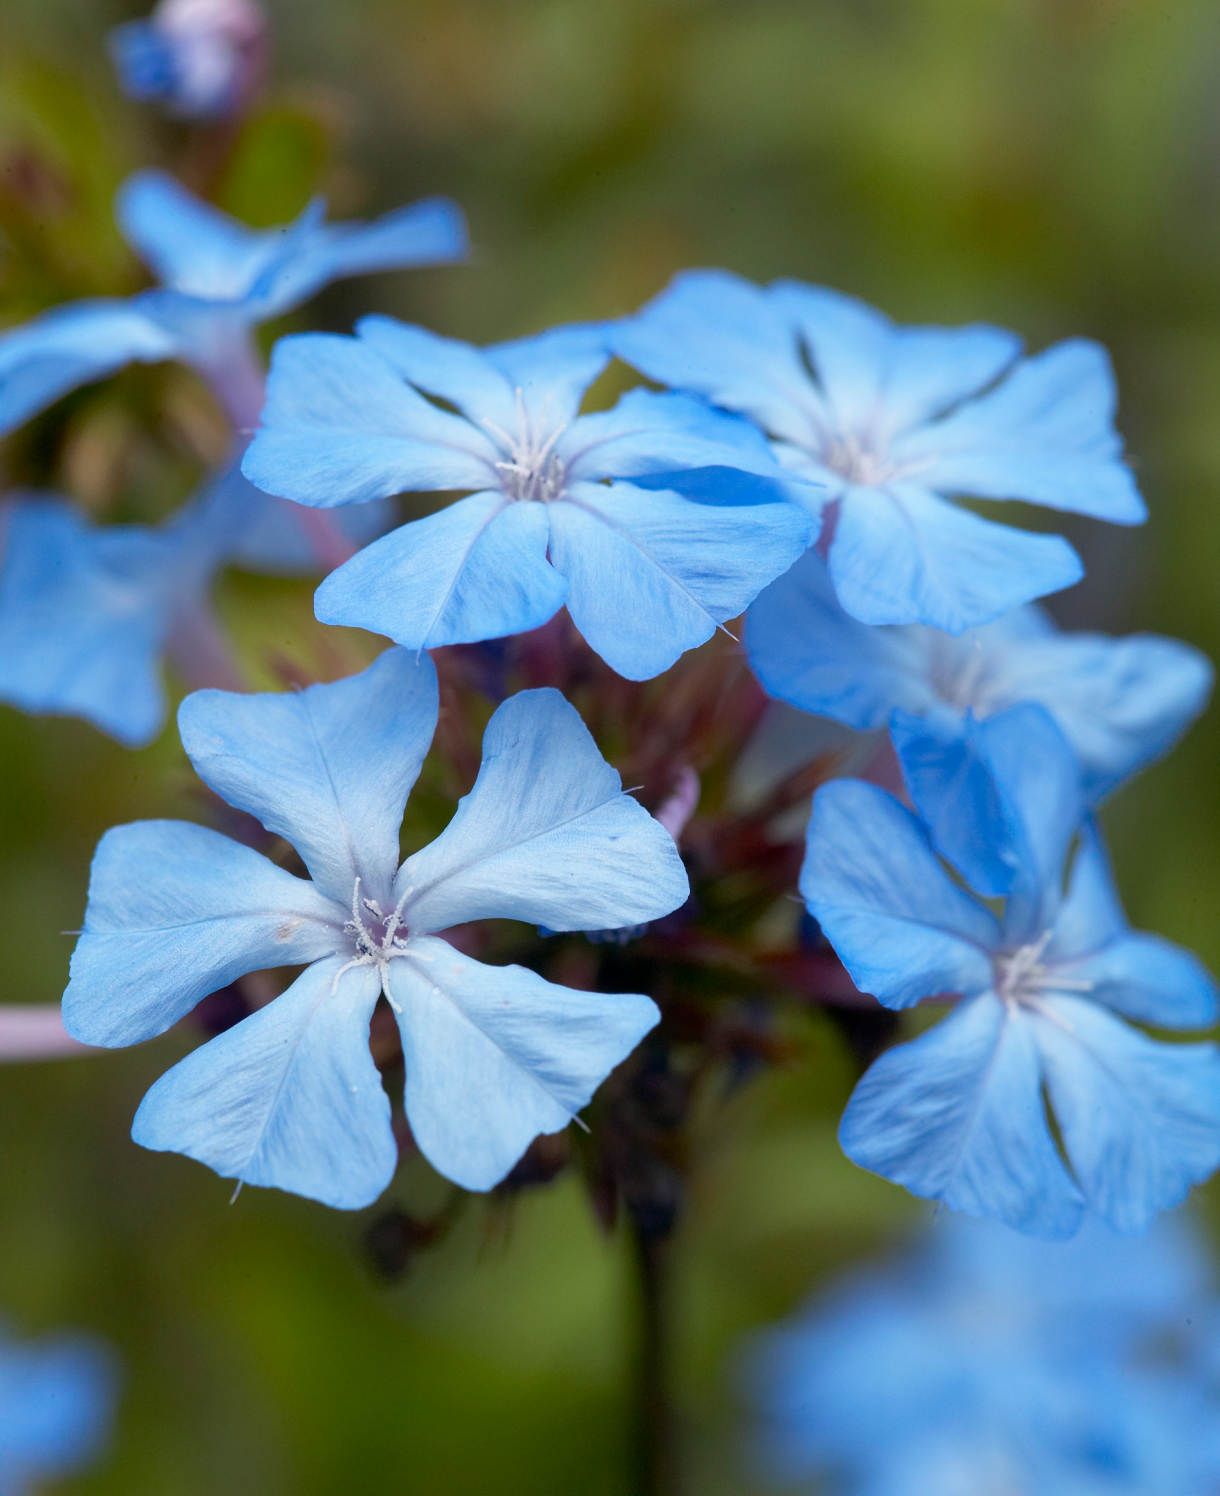
The possibilities are endless when it comes to this adaptable and versatile shrub. Why not create a powerful autumn flush in the garden by pairing deciduous species with other fiery foliage plants, such as acer, liquidambar, ceratostigma, parthenocissus, and vaccinium?
How to care for Berberis
Pruning and Deadheading
If you can it’s best to leave berberis untouched, as it flowers and fruits on the previous year’s growth. This means pruning, no matter when you do it, will always interrupt the display in some way.
If you need to restrict size or your berberis is becoming congested, our advice is as follows.
Deciduous species can be pruned in mid to late winter:
- Remove any dead, diseased, damaged, or spindly growth at ground level, then go on to take out some of the older stems, also at ground level. If you need to restrict size, you can take the remaining stems back to a set of healthy buds.
- An alternative way to restrict size whilst creating a more natural shape is to coppice (i.e., cut the whole thing down to just above ground level) every few years in late winter or early spring. Be aware that this will mean no flowers or fruits the following year, though normal service should be resumed after this.
Evergreen species can be shaped lightly immediately after flowering, or again, hard pruned (coppiced) down to just above ground level in early spring.
Hedges are best trimmed straight after flowering.
Watering
Like all trees and shrubs, berberis should be regularly watered during its first year or two in the ground. After this, it should only need watering in prolonged dry spells. When watering, give a deep, thorough soak then allow the top few centimetres of soil to dry out before repeating (this encourages the formation of deep roots, as opposed to watering little and often which can result in roots growing mainly in the surface of the soil). To check this, wiggle your finger down into the soil until you hit damp.
Container-grown berberis have less access to moisture so need regularly watering throughout every growing season. Again, water deeply and allow the top few centimetres of compost to dry out before repeating, though be aware that in the height of summer this can happen very quickly and some container-grown plants may need watering every day (particularly those in smaller pots). From mid-autumn, the British climate tends to take over watering needs, though do remember to step in in the event of an unseasonably dry spell.
Feeding
On most soils, a mulch of well-rotted organic matter (i.e., a layer of manure or garden compost applied to the soil around the plant) should provide enough nutrients for your berberis. This has the added benefit of suppressing weeds and locking in moisture. Mulch when planting, and then again each spring.
If you feel your berberis could do with a boost, particularly if you’ve given it a hard prune, applying a general-purpose granular feed to the surface of the soil and lightly working in (known as a ‘top dress’) can reap benefits. Do this when mulching in spring – first apply the top dress, then cover with the mulch.
Container-grown berberis is different, relying solely on the gardener for nutrition. Get off to a flying start by making sure you use a good quality compost with some slow-release fertiliser granules mixed in. After this, carry out a replenishing ‘topdress’ annually in spring, simply scraping away the top few centimetres of compost and replacing with a fresh load (also with slow-release fertiliser granules mixed in). Remember also to repot your berberis every few years, going up slightly in size each time until it reaches full size.
Cold Protection
The majority of popular berberis species and cultivars can withstand even a cold UK winter without the need for additional protection. Having said this, some of the deciduous species (particularly B. thunbergia and its cultivars) can suffer scorched shoot tips during a late frost, so it is best to plant these in less exposed positions.
Some of the more unusual species (e.g., B. cretica, B. libanotica, B, cooperi, B. wallichiana, B. chingii, and B. goudotii) are less hardy and will benefit from winter protection or a sheltered environment.
Pests and Diseases
The most significant problem faced by this shrub is the berberis sawfly – a pest which has spread rapidly throughout the UK over the last couple of decades. In its larval stage it can defoliate a shrub at an alarming rate. Look out for signs from April to October and use an organic spray as soon as you spot anything. Mature specimens tend to recover from an attack, though may be weakened by repeated infestations.
Another issue you may spot is a fungal disease known as powdery mildew. This appears as a white, powder-like coating on the foliage and is generally a sign that a plant is stressed – often through lack of water – though other causes can include poor airflow, over fertilizing, and insufficient sunlight. Prune off and dispose of any affected leaves if you can, and thin out stems to improve airflow and light levels. A little TLC also works wonders, i.e., a good soak and a mulch.
You may also spot aphids crowding along the stems, particularly on new shoots. Our advice is that these are part of a balanced garden ecosystem and the best approach is to leave them to their natural predators (e.g. birds, ladybirds, and wasps). When numbers are so large, however, that their feeding starts to inhibit and disfigure growth, you may feel it necessary to take action. Regularly blasting off with a hose or wiping away with a cloth or piece of kitchen paper can help to keep numbers down without harming other members of the ecosystem.
How to propagate Berberis
The most reliable way to propagate berberis is by taking semi-ripe cuttings in summer. You can try collecting and sowing seed, but these are notoriously variable as many species cross freely with one another.
- Select healthy, non-flowering shoots from the current year’s growth.
- Snip cuttings off the plant, taking a longer piece than the ideal eventual length of around 10cm (to allow for trimming).
- Put them in a plastic bag straight away to prevent drying out.
- Fill a pot (or several, if you have a lot of cuttings) with a perlite-heavy compost mix (at least 50% perlite).
- Trim the end of the cutting to just below a node (point at which leaves grow).
- Remove lowest leaves, leaving 2-4 leaves.
- If the remaining leaves are large, cut them in half with a sharp knife (to reduce water lost through transpiration).
- Insert the cuttings into the compost and water lightly. Several cuttings can be put in the same container if there is enough space to do this without them touching.
- Place in a warm, sheltered spot with indirect light (a cool greenhouse, conservatory, windowsill, or porch is ideal).
- Water regularly until roots emerge out of the bottom of the container.
- Gently remove rooted cuttings and pot them into individual pots. Grow on in a cool yet frost-free environment such as an unheated conservatory, greenhouse, or cold frame, until they are large enough to be planted out.
* Many plants carry Plant Breeders Rights and cannot be propagated for commercial purposes.
Common Berberis questions
- How quickly does berberis grow?
Most berberis have a slow growth rate. Dwarf varieties may reach their eventual size in 5-10 years, while larger types can take 10-20 years. - Is berberis easy to grow?
As easy as it gets! Plants don’t become this popular for no reason; aside from waterlogged soil or deep shade, berberis will have a good go at thriving in almost any situation. Given enough space to reach full size, they don’t even need pruning. - Can berberis be hard pruned?
Yes, all berberis respond well to a hard pruning. Read our ‘Pruning and Deadheading’ section for more information. - Is berberis poisonous?
All parts of berberis may cause mild stomach upset if ingested.


