How to grow Begonia
There are around 1000 species and even more cultivars of begonia. You might know them as brightly flowering plants for containers, hanging baskets, and bedding displays, or as houseplants with striking and decorative foliage. They vary hugely in form, from dwarf to climbing, to trailing, to bushy.
This is a fabulously diverse genus of which there are always new varieties and cultivars being introduced. Read on for our complete guide to caring for this popular plant – from the universal rules to more type-specific advice.
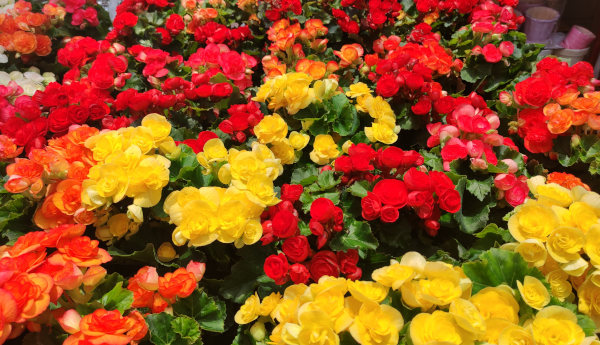
Key Information
Position
Soil Conditions
Hardiness

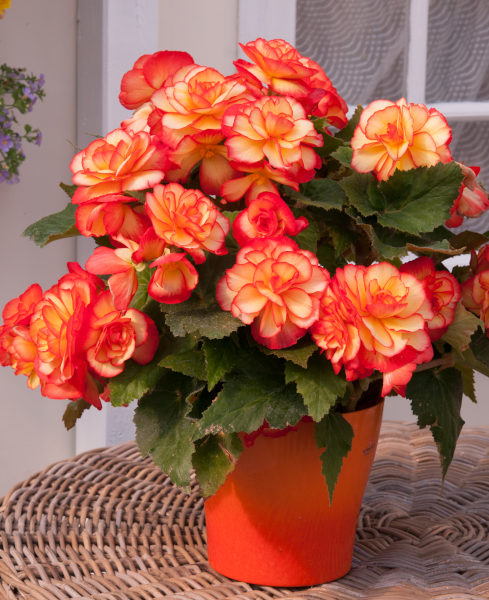
Where & when to plant Begonia
Begonia are usually sold as bare tubers towards the end of their dormant period, or as young plants in spring.
Begonias intended for outside:
Tubers should be started into growth in March or April (as explained below) and grown on in a warm environment until all risk of frost has passed in your area. This varies from region to region, though tends to be around late May.
If they arrive before risk of frost has passed, young or potted plants should be potted up into a slightly larger pot filled with a well-draining mix and kept in the same environment as above, until it is safe to plant them outside.
In both cases, water regularly – aiming for consistently moist yet not soggy compost.
You may also see fully grown potted plants available later in the growing season. These can be planted straight away, though note they will need frequent watering in the first few weeks, particularly during hot, dry weather.
Depending on the type, begonias make popular plants for hanging baskets, containers, window boxes, summer bedding schemes, or exotic borders. See our chart above for which type suits each situation best. All begonias do best out of direct sunlight, especially during the middle of the day.
Indoor begonias:
As above, though rather than move outside, pot up into permanent containers and place in a position with bright yet indirect light. This might be:
- Set back from a sunny window
- On an east or west facing windowsill
- Next to a sunny window with shade netting up
How to plant Begonia
- Start tubers into growth in March or April, by placing them hollow side up on the surface of a seed tray filled with a sandy mix. Aim for a spacing of 2cm between tubers and push them down into the compost to a depth of around 2.5cm.
- Keep somewhere warm, ideally around 18°C. This might be a heated greenhouse, propagation unit, conservatory, or windowsill.
- When the leaves begin to show, pot each individual tuber into a 1 litre pot filled with a well-draining compost mix, and continue to grow on in the same warm environment until all risk of frost has passed in your area.
From here, whether you’ve started off with tubers or young or potted plants, proceed as follows:
- For outdoor begonias, harden plants off for a week or so once all risk of frost has passed, before permanently moving them outside. A coldframe is perfect, allowing you to gradually increase the time the lid remains open until eventually leaving it open all night. Alternatively, you can take the following steps:
- First few days: move your plants outside, just during the day at first
- Next few days: leave out all the time, with a fleece covering at night
- Final few days: leave out completely uncovered
- For planting in containers (whether for indoors or out), first choose an appropriately sized pot. You may wish to grow your begonias on their own in a pot, or as part of a larger, mixed container display. Either way, ensure there are plenty of drainage holes in the bottom.
- If you are using a large or heavy pot, it can be a good idea to fill and plant it in situ to save yourself the trouble of moving once full.
- Use a good quality potting compost with some horticultural grit mixed in and, if not already present (check the labelling on the bag) some slow-release fertiliser granules.
- Start by partially filling the pot with compost; enough so that when placed on it the upper surface of the root balls are about 3cm lower than the top of the pot.
- Fill around the plants with compost, firming down with your fingers then adding a little more so they are held tight.
- Pick up the container and lightly tap on the potting bench or ground a few times to help further settle the compost around the plant.
- Soak well with water.
- A mulch with horticultural grit will look attractive and help to prevent a ‘cap’ or crust forming on the top of the compost (something container plants can suffer due to the artificial nature of their watering).
- For planting in the garden, dig the soil area removing any large stones and weeds and breaking up any lumps. Mix in some organic matter such as manure or garden compost. If your soil is on the heavy side, now is also the time to add a generous helping of horticultural grit. Rake level and firm with your heels. Rake level again.
- Water plants well and allow to drain before planting.
- A good tip is to dig a hole twice the size of the root-ball. Fill with water and allow to drain before placing in the plant.
- Place the plant in the hole, ensuring the top of the root ball sits level with the surface of the soil. Too low and the plant may rot, too high and the roots can dry out.
- Backfill with soil and firm in gently with your foot.
- Soak well with water.
- Mulch around the base with well-rotted organic matter.
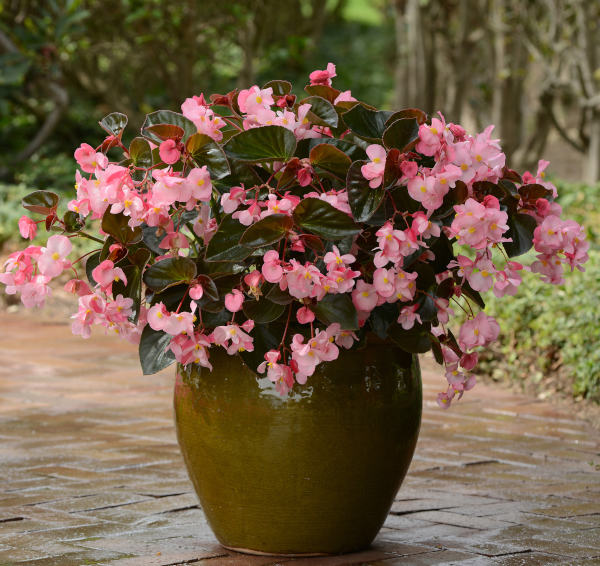
What to plant with Begonia
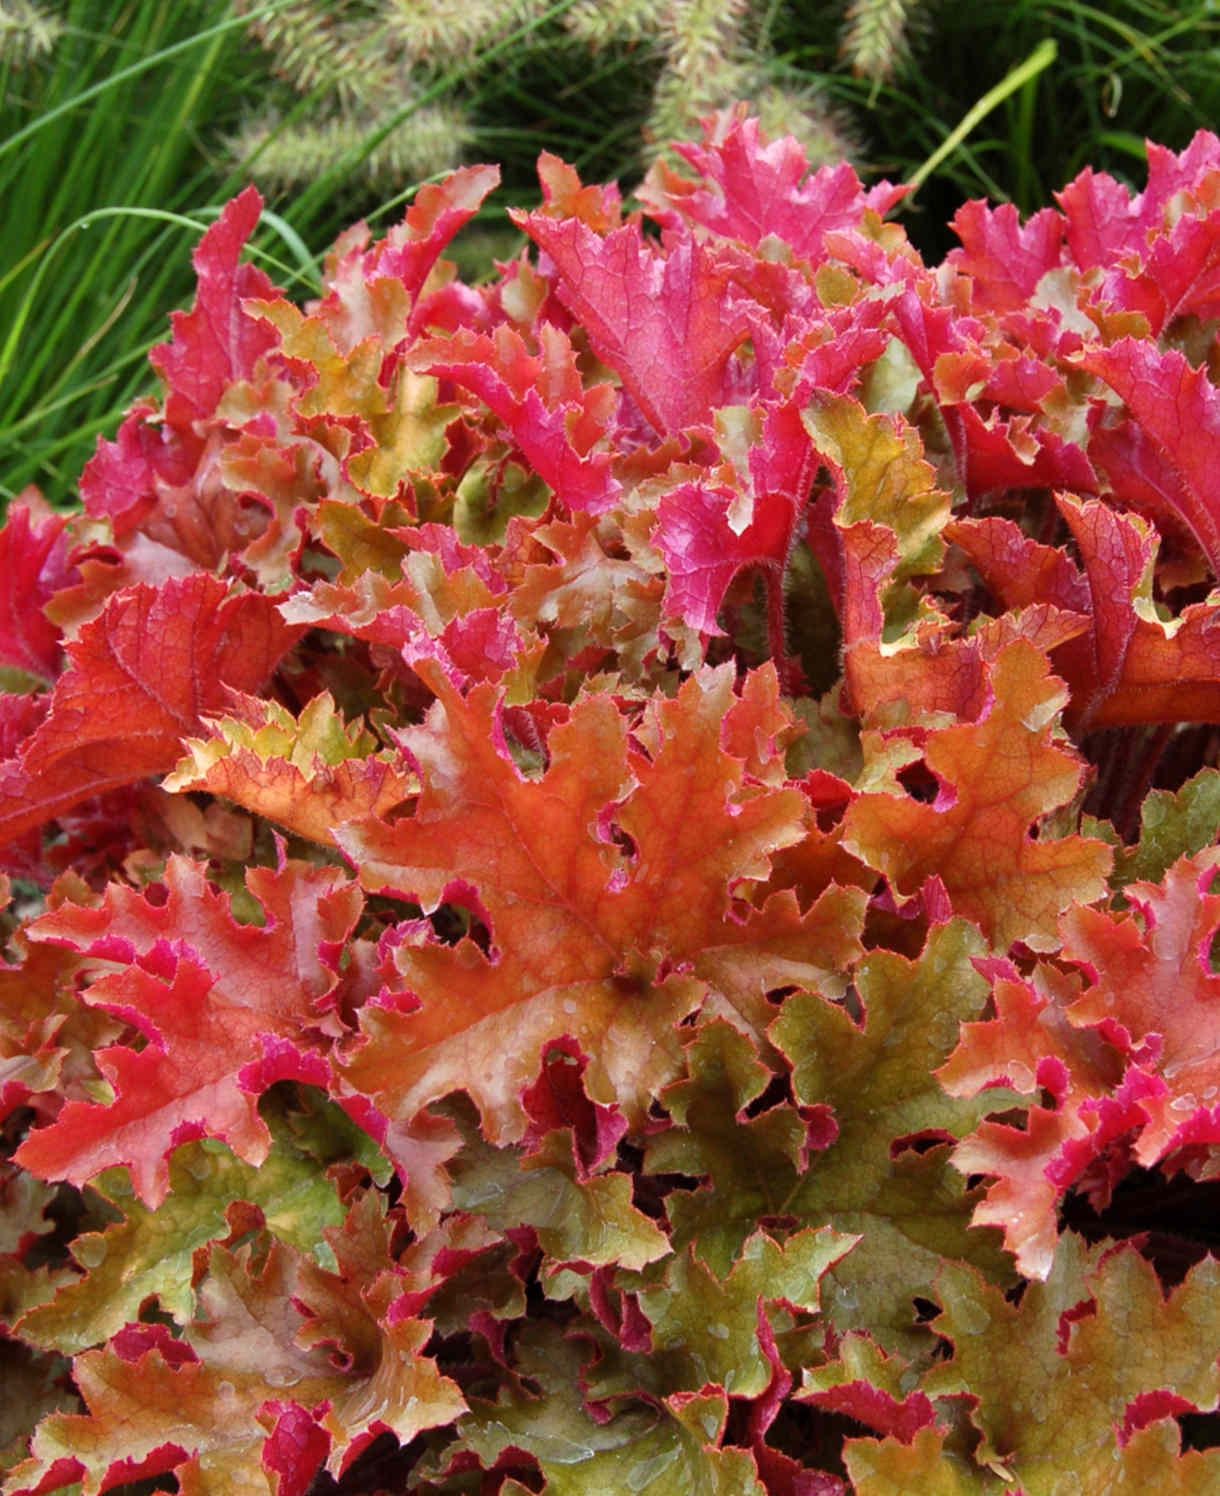
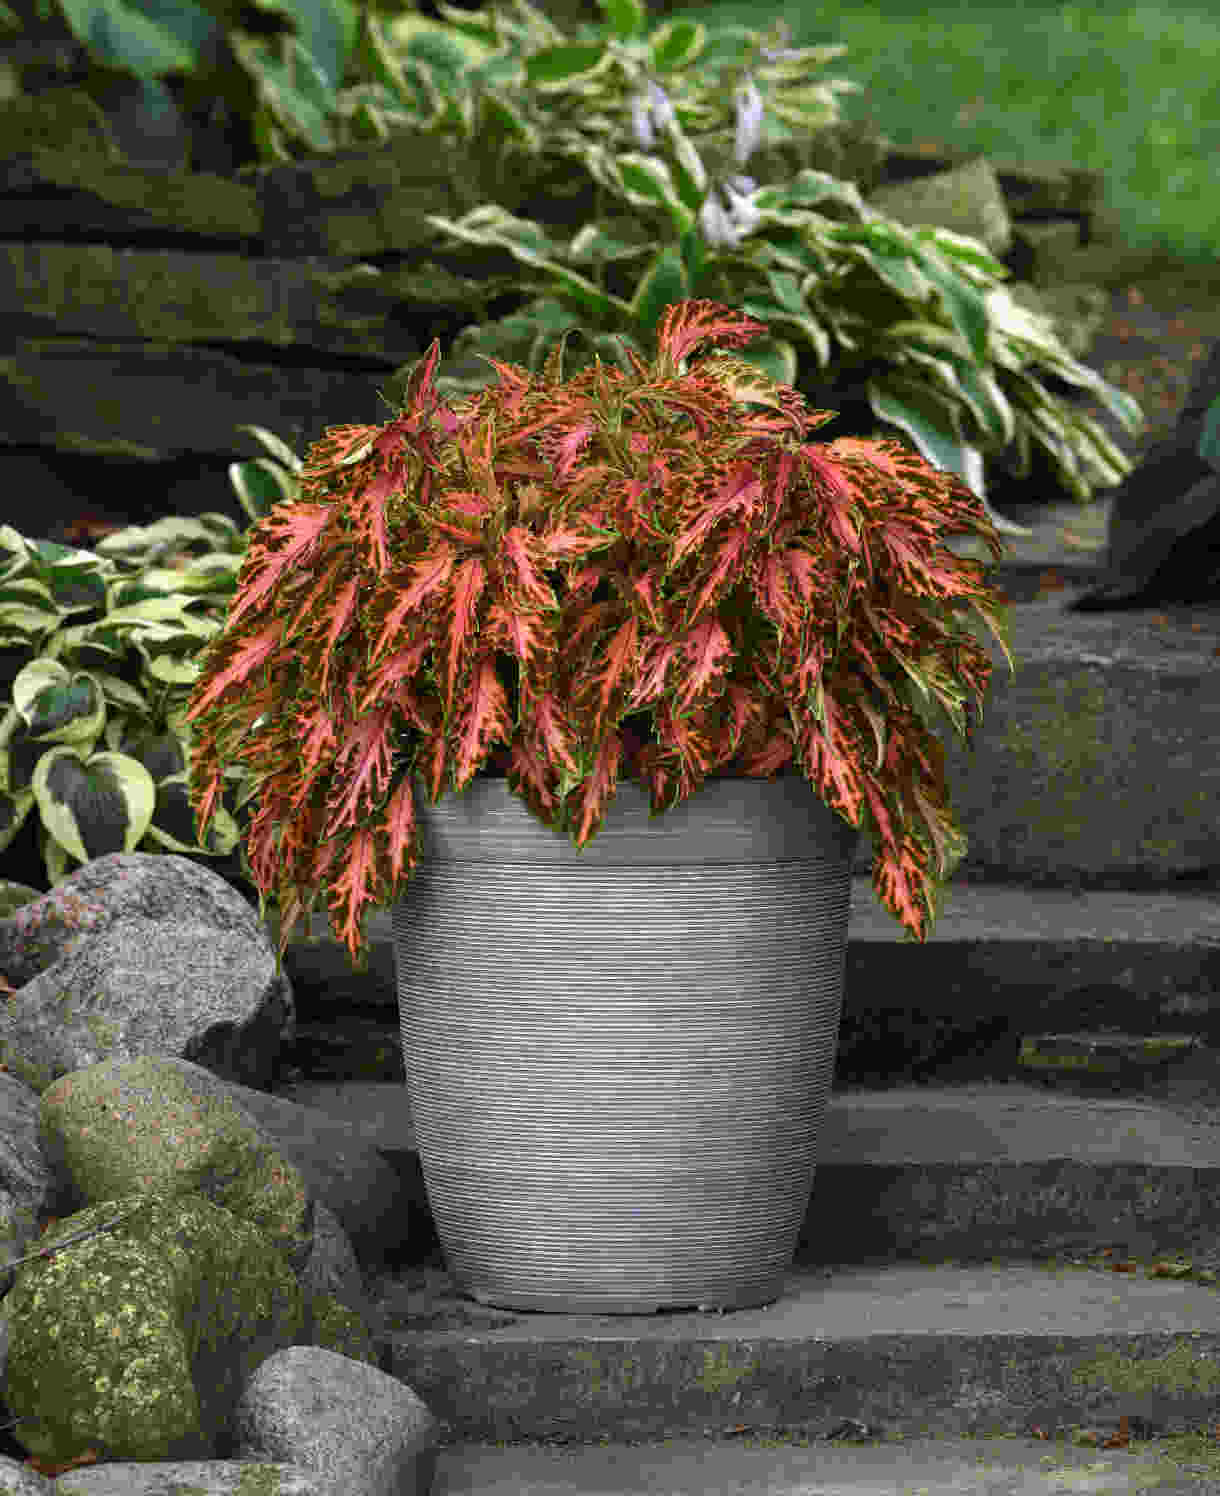
To create a dazzling summer container display for a partially shaded spot, pair tuberous or fibrous-rooted begonias with shade-tolerant bedding plants such as lobelia, impatiens, bacopa, and fuchsia. For that all important foliage element, try heuchera or solenostemon.
How to care for Begonia
Pruning and Deadheading
Deadheading your begonias throughout the growing season will keep plants looking neat and encourage further blooming. You may also wish to remove the small, insignificant flowers on foliage begonias so as not to detract from the main attraction, and direct all energy into healthy leaf growth.
Begonias grown outdoors are often treated as annuals and simply discarded after one growing season. Tuberous types can be lifted and stored as per the ‘Cold Protection’ section below.
Begonias grown as houseplants (most commonly cane-stemmed or foliage types) are usually evergreen and require only a light tidy up each spring. For foliage types this means removing any old, tatty leaves, and for cane-stemmed types, means cutting back to 2 or 3 buds if you wish to keep plants bushy and compact.
Watering
Begonias grown in containers require regular watering as they can dry out very quickly, particularly in warm weather. Having said that, it’s important they don’t sit in soggy compost, especially the tuberous types. To avoid overwatering, a good rule of thumb is to allow the top couple of centimetres to dry out between soakings. To check this, wiggle your finger down into the compost until you feel moisture. Be aware that in the height of summer containers can need watering every day, particularly smaller ones.
Begonias in the ground should be watered regularly for the first few weeks, and then in hot, dry weather after this.
In any case, try to direct the water directly to the roots and avoid wetting the foliage.
Reduce the watering of indoor or overwintering begonias during winter – aim for just enough to prevent the compost drying out completely.
Feeding
All begonias will benefit from regular feeding during the growing season – especially those grown in a container.
In outdoor containers, begonias should be fed with a high potassium liquid feed, such as tomato feed, at weekly intervals throughout summer. This boosts flowering and keep plants looking healthy.
In the open ground, mulch newly planted begonias with well-rotted organic matter, i.e., a layer of manure or garden compost applied to the soil around the plant. As well as boosting the nutrient content of the soil, this has the added benefit of suppressing weeds and locking in moisture. After this, a weekly or fortnightly application of tomato feed will boost performance significantly.
Indoors, feed cane-stemmed begonias fortnightly from May to September, again with a high potassium liquid feed, such as tomato food. Foliage begonias should also be fed fortnightly during this period, though with a high nitrogen feed to encourage the formation of leaves. Winter-flowering begonias will benefit from a weekly dose of tomato feed throughout their blooming period.
Cold Protection
Most begonias are unable to withstand UK winter temperatures. When autumn arrives, many outdoor flowering begonias are treated as annual bedding and discarded to the compost heap at the end of the growing season, however with a little effort can be kept for another year:
To overwinter tuberous begonias, approach them in the same way as you would dahlias. This means lifting tubers in autumn so they can be stored somewhere frost-free and dry over winter (a shed, garage, or greenhouse are all ideal):
- Cut back the foliage
- Carefully dig the tubers out of the ground
- Shake and then rinse off as much soil as possible
- Leave somewhere to dry out fully
- Pack in a pot/ box/ crate with dry material such as compost, vermiculite, or newspaper
- Start back into growth in early spring as described above in our ‘How to plant begonias’ section.
Fibrous-rooted begonias can be overwintered in a covered environment where temperatures remain above 10°C, such as a conservatory, windowsill, or heated greenhouse. Keep just moist and well-ventilated throughout winter, then in spring simply tidy off any tatty foliage and move outside again as in our ‘How to plant begonias’ section.
Indoor begonias need different minimum winter temperatures depending on the type; foliage begonias need to remain above 10-13°C, while cane-stemmed and winter-flowering types need at least 15°C.
Pests and Diseases
Outdoors, issues to look out for include powdery mildew (especially on yellow-flowered varieties), mealybugs, mites, thrips, wine weevils, and caterpillars. As ever, our advice is to grow healthy, well-nourished plants as these are less susceptible to problems than stressed plants. Encouraging natural predators into the garden also makes a big difference, such as birds, hedgehogs, toads, and beetles. Where pests do occur, removing by hand is often the most effective (not to mention sustainable) approach. If a disease is suspected, speedy removal of any affected plant material is usually the best option. Just make sure you dispose of this in a green or waste bin, rather than adding to the compost heap.
Indoors, the usual issues of spider mite and aphid can crop up. Again, keeping houseplants as healthy as possible is the key to warding off problems, and by this we mean proper ventilation, adequately spaced plants (for good air flow), keeping everything well-watered and fed, and repotting into larger containers when necessary. Thoroughly cleaning the indoor environment every winter can also help to remove overwintering populations of pests.
Where infestations do take hold, try introducing biological controls (often sachets or tubes containing miniscule natural predators), or in the worst cases, remove the affected plant/s altogether.
How to propagate Begonia
Tuberous and cane-stemmed begonias are best propagated by cuttings in April.
- For tuberous begonias, simply pull new shoots off the tuber.
- For cane-stemmed begonias, snip stem cuttings of around 10cm.
- Insert the cuttings into pots filled with a well-draining compost mix. Several cuttings can be put in the same container if there is enough space to do this without them touching.
- Place in a propagating unit with bottom heat if you have one or covered with a plastic bag on a windowsill or in a greenhouse if not (out of direct sunlight).
- Keep the cuttings misted and occasionally watered until they root. You will know this has happened when roots emerge out of the bottom of the container. Expect it to take around 4-6 weeks.
- Gently remove rooted cuttings and pot them into individual pots. Grow on in a warm, frost-free environment such as a conservatory, greenhouse, or sunny windowsill, until they are big enough to be used in their final position.
Fibrous-rooted begonias can be propagated by seed in early spring.
- You’ll need to start leaving some spent flowers intact (rather than deadhead) from midsummer, to ensure there are seeds to collect.
- Seeds are typically ready for collecting in late summer when the seedheads have dried and turned brown.
- Snip the seedheads from the plant using scissors or secateurs. Try to do this in dry conditions, and place in a small paper bag or envelope.
- Store somewhere cool and dry until early spring.
- Fill a seed tray or small pot with a very well-draining compost mix, compressing the surface lightly with a flat piece of wood or the bottom of another pot.
- Sprinkle the tiny seeds evenly over the surface of the compost, pressing down lightly to ensure contact.
- Begonia seeds germinate best when left uncovered, so don’t sprinkle any compost on top as you would usually.
- Water gently with a fine spray until the compost is evenly moist but not waterlogged.
- Place the seed tray or pots in a heated propagation unit if you have one, or cover pots with clingfilm if not. Position in indirect light.
- As soon as the seeds begin to germinate, take out of the propagation unit or remove the clingfilm.
- When the seedlings have grown large enough to handle, transplant them into individual pots filled with a well-draining mix and continue to grow on in a frost-free environment.
- Keep barely moist, never soggy.
- Plant out once all risk of frost has passed, following our ‘How to plant begonia’ section above.
Foliage begonias are easily propagated by leaf cuttings in May or June.
- Select a young, healthy leaf coming from the base of the plant and cut off with clean, sharp secateurs.
- Remove the stem, then using a sharp knife cut through the major veins, making sure cuts are spaced about 2.5cm apart.
- Lay flat on the surface of a pot or tray filled with well-draining compost, then pin down with bent wire or similar so that the underside of the leaf is in contact with the compost.
- Water well.
- Place in a propagating unit with bottom heat if you have one or covered with a plastic bag on a windowsill or in a greenhouse if not (out of direct sunlight).
- Keep well-watered but not soggy.
- Expect to see individual plantlets forming at each cut. Once these each have 2-3 leaves, pot up into individual 9cm pots filled with a well-draining compost mix.
- Continue to grow on in a warm, covered environment until they are large enough to be used in their final position.
- Pot up following our ‘How to plant begonia’ section above.
* Many plants carry Plant Breeders Rights and cannot be propagated for commercial purposes.
- Do begonias like sun or shade?
All begonias grow best in partial or dappled shade, or if indoors, indirect light. Exposure to direct midday sunlight tends to result in leaf scorch. - Do begonias grow well in pots?
Very much so! All begonias will grow very happily in a container, provided they are fed and watered regularly as per our advice above. - How long will begonias last?
This depends on the type. Most outdoor begonias are treated as annuals here in the UK, which means they are disposed of after one growing season and replaced the following spring with new plants. However, it’s worth noting that this is due to a lack of cold hardiness rather than a naturally short life cycle, and if you have the time or inclination, you can take steps to overwinter them for another year.
Most indoor begonias are evergreen perennials, meaning they will last for many years given the right environment. The exception to this is winter-flowering begonias which have been bred for the florist trade rather than longevity. These are best discarded after one growing season. - Do begonias need a lot of water?
Begonias have a moderate need for water. They don’t enjoy drying out completely, nor do they tolerate sitting in wet, waterlogged conditions. - How do I make my begonias bushy?
Pinching back stems when young will give you bushier plants. Simply nip off the growing tip to just above a lower leaf using your fingernails or secateurs.


