How to grow Baptisia
A member of the pea family commonly known as False Indigo. A fully hardy, statuesque, deciduous perennial which likes sandy or loam soil which is neutral to acidic. Needs a sunny spot in any aspect except north-facing and can be planted at almost any time - although ideally between March and September as this is when the foliage is present to assist with placement. Flowers are produced for 3 months at a time between April and September each year (dependent upon variety) and the numerous variations of Baptisia will grow to 60-150cm tall, with a spread of between 60-120cm. These stunning plants are great for naturalising as well as attracting bees and pollinators. They make a great cut flower too and will even tolerate drought conditions for short spells.
Key Information
Soil pH
Position
Hardiness

Where & when to plant Baptisia
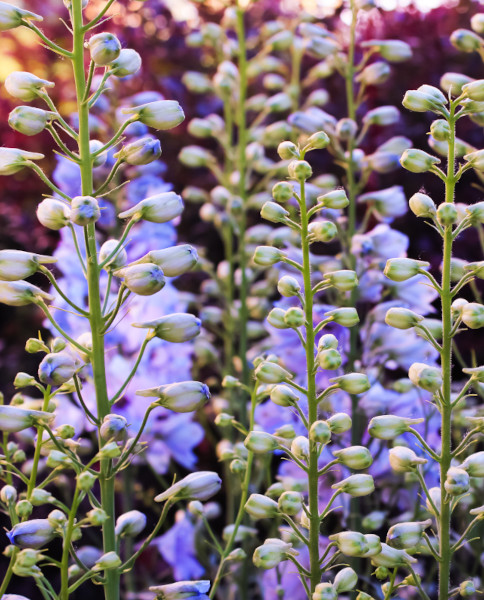
Plant young Baptisia plants in early autumn, or spring after hard frosts have finished freezing the ground. Small, young plants are usually best kept undercover in an unheated greenhouse, porch or conservatory and hardened off in April or May. You can do this by placing the pots outside during the day and bringing them inside at night for two weeks prior to planting out.
Younger plants of the legume (pea) family to which Baptisia belong tend to establish better than large plants in the garden. This is because they have a large central tap root which, if disturbed, may not grow as well once resituated. Baptisia can be grown in pots but form larger and healthier plants if planted directly in the soil where the taproot will find water and nutrients and allow these striking plants to become drought tolerant. Choose your growing spot wisely to avoid having to move your plant later on as it can survive many decades.
Baptisia australis thrives in a bright and warm spot which receives at least 6 hours of sun a day. Space plants at least 50cm apart from one another, or other shrubs in the border to allow room to spread.
How to plant Baptisia
Dig a hole twice the width and depth of your plant and add some drainage in the form of a thick layer of grit to the bottom of the planting hole if your ground tends to be wet or you garden on heavy soil. Next, add some organic matter to get your plants off to a good start – homemade compost, bonemeal, or a handful of chicken manure pellets is perfect.
Tease your Baptisia out of its container before placing in the hole at the same depth as it sat in the pot. Fill in around the edges of the plant with soil and gently firm in before watering well.
What to plant with Baptisia
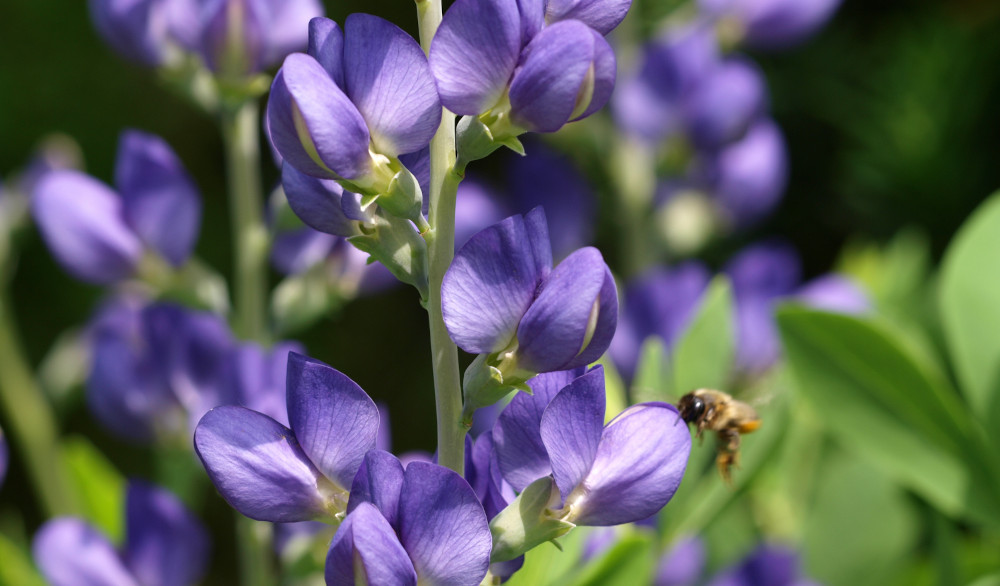
In full bloom on a summer’s day, bright blue Baptisia australis is a showstopper. Blue-green foliage remains attractive for most of the year and the structure and seedpods add winter interest. It is little wonder this much-loved hardy perennial was awarded a prestigious Award of Garden Merit by the RHS in 1948.
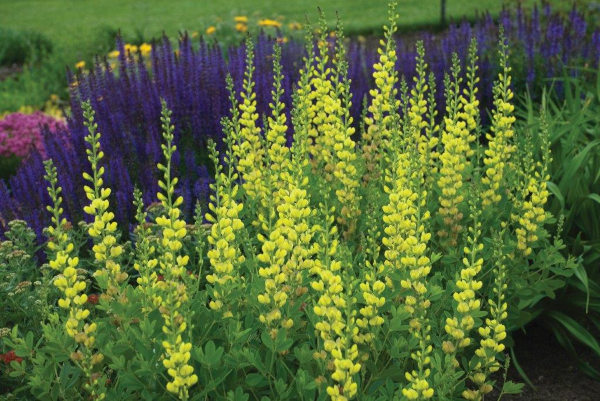
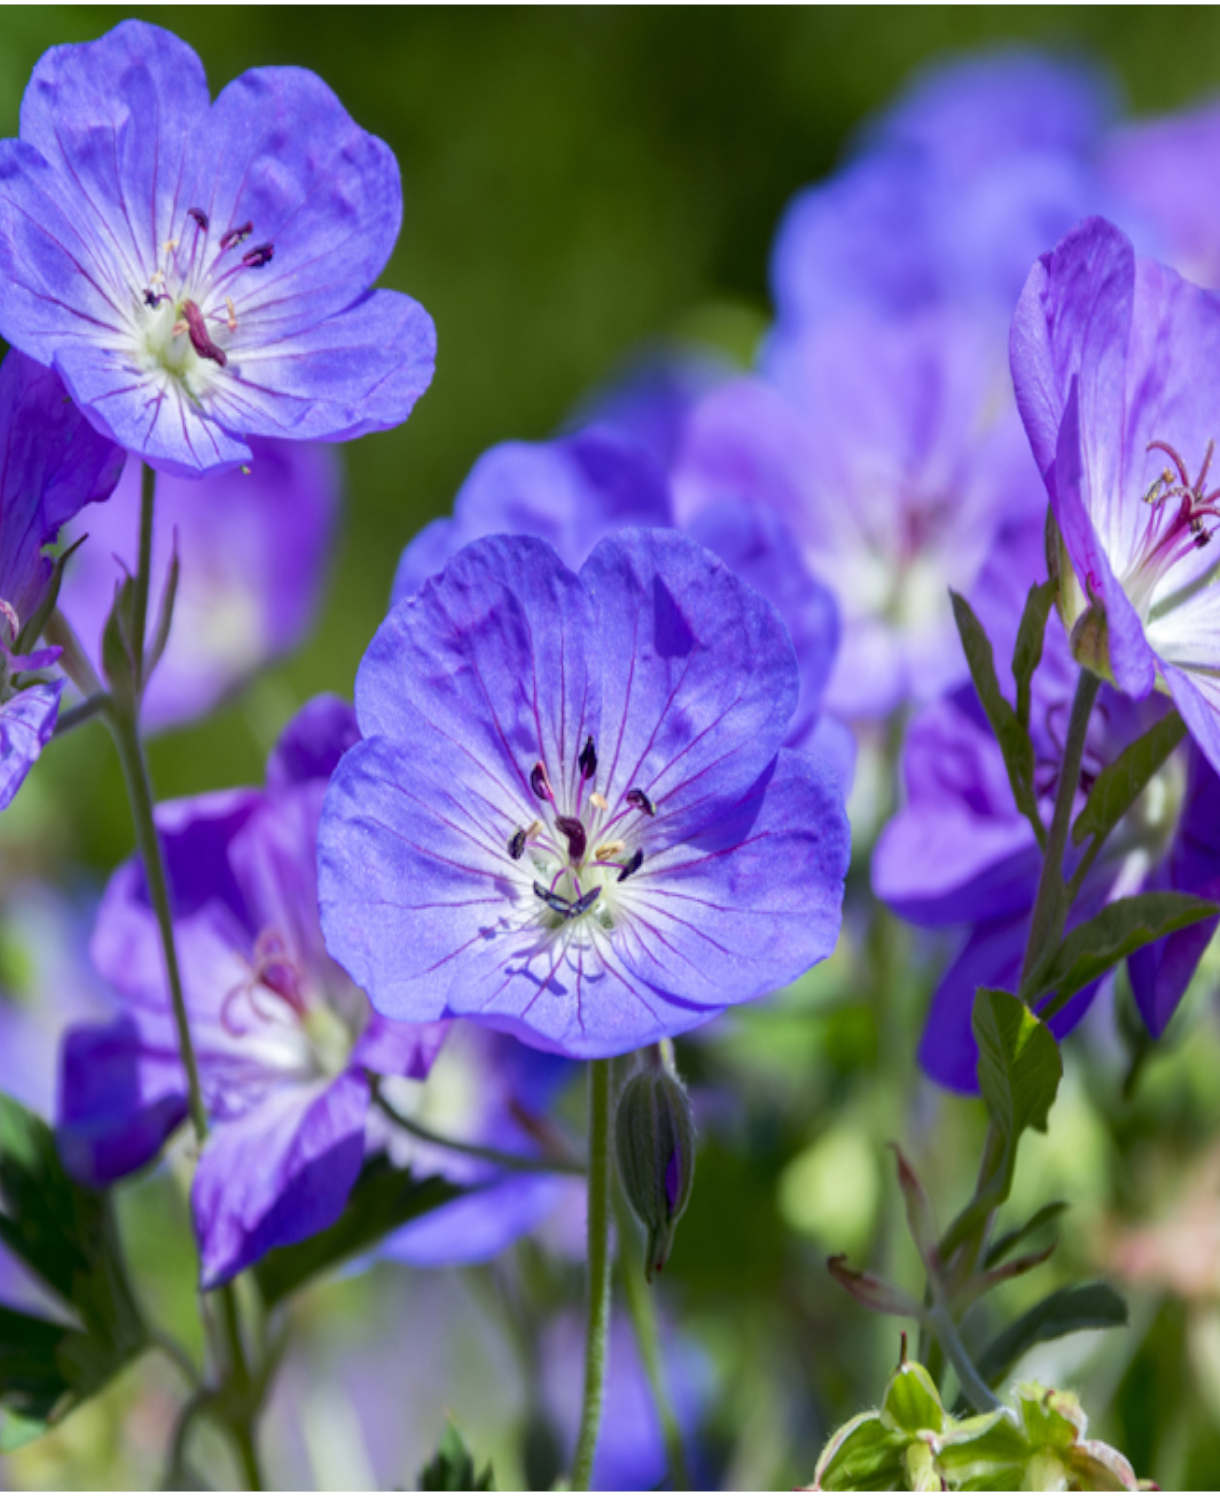
Best placed in the middle or back of the border where the vivid blooms can shine, many plants look great next to timeless and elegant Baptisia. We love the combination of silver foliage, and violet and orange flowers – try growing Baptisia australis in a large mixed border with Stachys Byzantina, Geum ‘Scarlet Tempest’, Salvia x jamensis ‘Nachtvlinder’, Geranium ‘Brookside’, Agastache ‘Mango Tango’, and Hosta ‘Blue Mouse Ears’.
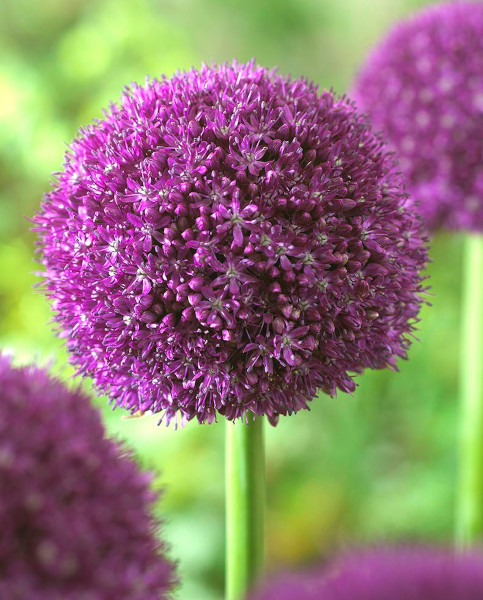
Baptisia australis also looks fabulous supported by a cast of summer cottage garden favourites such as Aquilegia, Verbascum, Alliums, Oriental Poppies, Phlox, and Bearded Iris.
Please do contact our friendly and helpful Customer Care team at Hayloft if you would like any further growing advice for your Baptisia australis, we would love to help.
How to care for Baptisia
Do not be disappointed if your Baptisia australis plant does not flower in its first year. These plants can take a little time to establish, but you will reap the rewards for many years to come with some patience. A mature plant can produce up to 100 spikes of stunning blue flowers over a 6-week period in summer.
Once settled, Baptisia plants do not need feeding or watering (unless in periods of severe drought) as their roots have nitrogen-fixing nodules, and their large taproot is excellent at taking up water.
The flower stems make excellent cut flowers, adding a beautiful twisting spire to floral arrangements, slightly airier than their cousin the Lupin.
It comes down to personal preference whether or not to deadhead faded flowers. Many gardeners like the look of the dark grey seedpods in winter as they add texture and interest to the border.
As an herbaceous perennial, the foliage of Baptisia dies back to ground level in winter. In spring, just before new shoots appear, last years stems and leaves can be removed and composted. Cut back to 20-30cm above ground level with a pair of clean secateurs.
If slugs and snails are a problem for young shoots, avoid using slug pellets as these are harmful to wildlife. Instead, encourage wildlife such as birds, frogs, and toads to your garden to keep your slug and snail population down. A layer of grit or eggshells around the base of your plants, or beer-traps can act as good natural repellents.
A top dressing of homemade compost in winter can help to protect new shoots as they emerge as well as improve soil health.
How to propagate Baptisia
Dividing Baptisia is not usually recommended as the deep roots resent disturbance. It is possible however, to split large mature plants into several smaller specimens, but care must be taken to dig out as much of the root as possible and replant divided sections immediately before they dry out.
It is also possible to grow Baptisia from cuttings, but the most reliable form of propagation is by sowing fresh seed from your plants.
Harvest the seeds in August to September and prepare to sow them straight away as stored seed often fails to germinate. The seeds have a hard outer shell which should be softened by soaking them in hot water overnight. Sow the seeds 1cm deep into individual pots of multipurpose compost with a layer of grit or vermiculite on top and place in a cold-frame or unheated greenhouse for autumn and winter. Ensure the soil does not fully dry out and plant young plants out into the garden in spring.


