


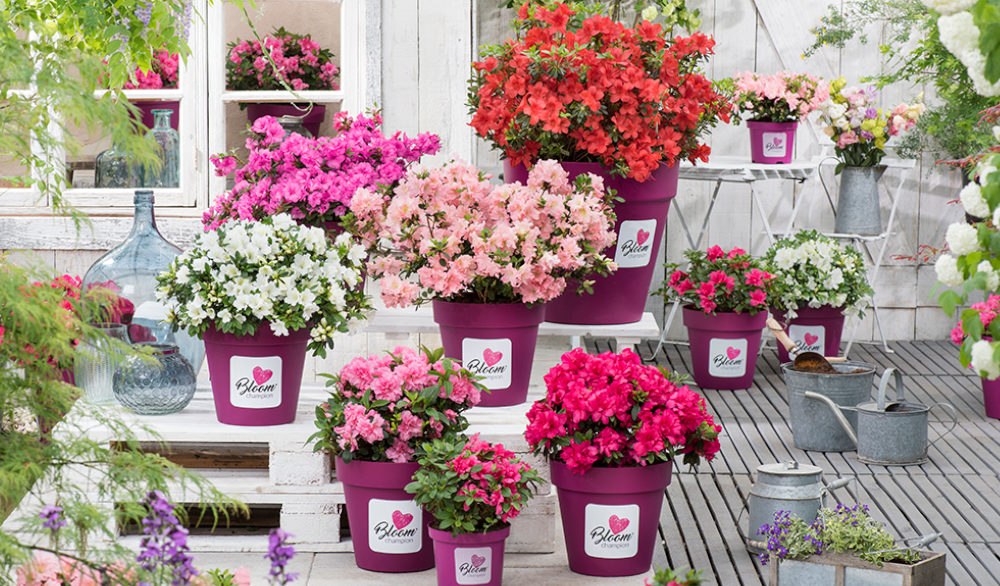
How to grow Azalea 'Bloomchampion'
A hardy, semi-evergreen perennial which comes in a rainbow of colours and is mostly petite in comparison to its cousin – the rhododendron. Prefers a sheltered location in part sun, part shade which is consistently moist but not waterlogged – the edge of a woodland border is ideal. Azalea can be planted at almost any time of year and are great for attracting bees and pollinators when in bloom between April and October (dependent upon variety). With a height and spread of up to 1.2 metres they are also ideal for planting in containers. Plant in humus rich soil and mulch annually with an ericaceous top dressing.
Key Information
Soil pH

Position
Hardiness

Where & when to plant Azalea 'Bloomchampion'
Azalea ‘Bloomchampion’ are semi-evergreen shrubs which flower for several weeks in April and May and put on a second lighter display of blooms usually between July and September, and sometimes until the first frosts.
Often referred to as Rhododendron ‘Bloomchampion’ for they botanically fall under the genus of Rhododendrons, Azalea ‘Bloomchampion’ have been developed in the US as petite shrubs with show-stopping large, ruffled and often double blooms in an array of colours.
Azalea ‘Bloomchampion’ grows into a neat domed shape, reaching up to 1.2m tall and wide dependent on variety. This type of azalea therefore makes a wonderful plant for the front to mid border and is excellent for a large pot where it will still look structurally beautiful in winter with all, or most, of its dense green leaves intact.
Your chosen planting spot should be in an area where the soil is moist, well-drained, and never becomes waterlogged. Full sun or part-shade is essential for bountiful blooms and thriving plants. Azalea ‘Bloomchampion’ requires at least 6 hours of sunlight to ensure repeat flowering in late summer.
Like all azaleas and rhododendrons, Azalea ‘Bloomchampion’ loves to grow in humus-rich, acid soil. Planting on the edge of a woodland, or woodland border is perfect where the soil will naturally bear the right conditions. If this is not possible, then your planting hole should be amended with a thick layer or leaf-mould or ericaceous compost prior to planting, and grit for added drainage if you garden on heavy soil.
How to plant Azalea 'Bloomchampion'
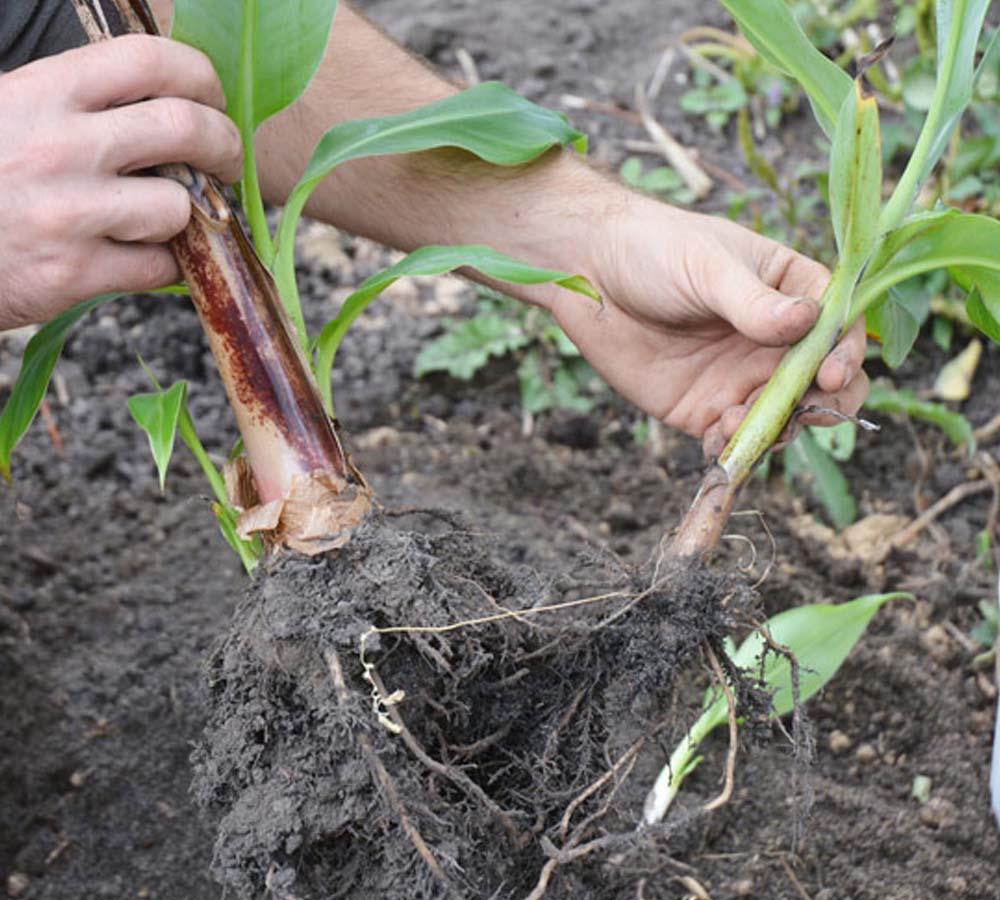
The roots of azaleas do not like to be planted too deeply underground, so plant your young shrub with the root-ball just below the soil surface. You can place a cane horizontally over the top of your freshly dug hole to check the depth before you fill in around the edges with soil. Firm your azalea into place gently with your foot and water in well afterwards and every other day until established.
If you are planting your Azalea ‘Bloomchampion’ in a pot, use peat-free ericaceous compost with added grit for drainage. Ensure you use a large pot which has room for your azalea to reach its final size, and one which has large holes in the bottom for drainage.
What to plant with Azalea 'Bloomchampion'
Unique Azalea ‘Bloomchampion’ provides a welcome splash of colour in late spring and autumn when the plant is smothered with flowers, so plant where you will enjoy the beautiful show – perhaps near a seating area, patio, or towards the front of the border. The semi-evergreen foliage gives structure and texture all year round.
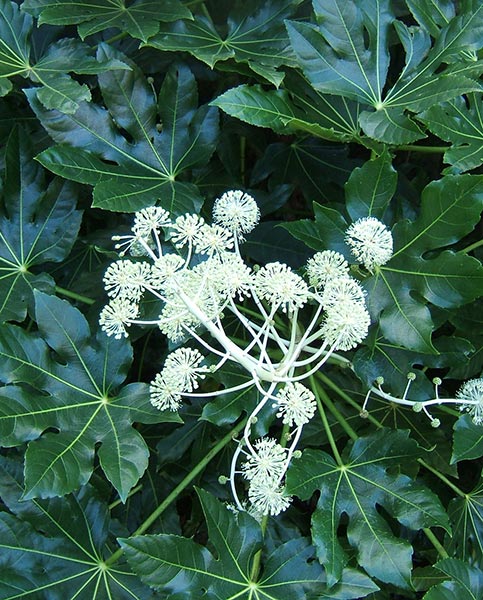
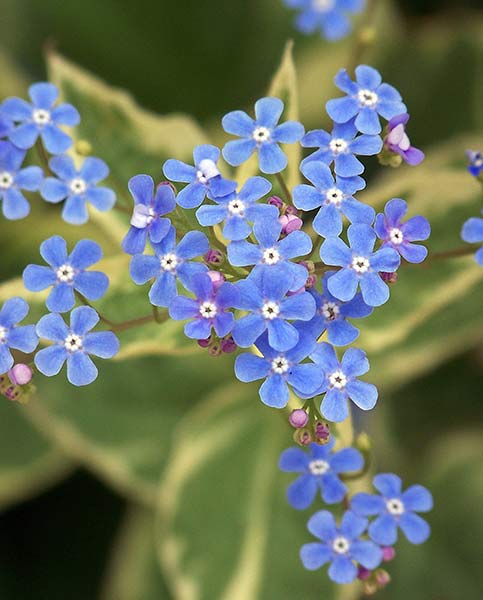
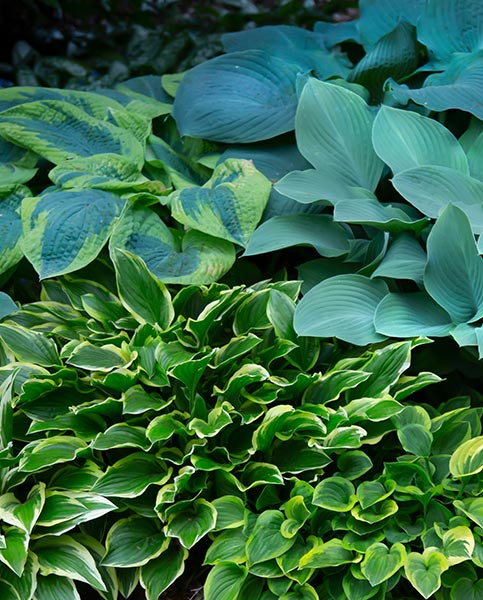
Azaleas make a fabulous addition to an Oriental Garden or planting scheme and look stunning when grown near a pond or lake where their colours will be reflected in the water on a bright day. Lush and leafy plants such as ferns, hostas, heuchera, Fatsia Japonica, small bamboo, and brunnera will all add to a fresh abundant look and grow happily next to azaleas.
How to care for Azalea 'Bloomchampion'
Azalea ‘Bloomchampion’ are fully hardy when grown in the ground, but those grown in pots risk their roots being exposed to freezing temperatures which could damage or even kill young shrubs. Pot grown azaleas should be brought undercover into an unheated greenhouse or sheltered area for the first few winters. Or you could wrap the outside of your pot in bubble wrap or insulating material and use pot feet to raise your container off the ground.
An annual mulch of leaf-mould, ericaceous compost, or well-rotted bark is hugely beneficial for azaleas - it will provide essential nutrients and will maintain acidity in your soil as well as suppress weeds and help to maintain moisture levels. Apply a thick layer of your chosen mulch around the base of your shrubs, or on the top of your pots in autumn.
Azalea ‘Bloomchampion’ will also benefit from feeding with liquid ericaceous fertiliser in March and immediately after the first flush of flowers. Dilute and apply to the soil according to the instructions on the bottle.
Ensure potted azaleas do not dry out in hot or dry spells of weather by watering regularly with rainwater. Tap water can be too alkaline for azaleas. Shrubs grown in the ground should not need watering once established.
Deadhead azaleas soon after flowering to ensure your plant focuses its energy on the next set of buds rather than producing seedpods.
There is no need to prune azaleas which are slow growing and naturally form a neat shape. However, you can remove any dead or diseased branches at any time of the year or prune long or congested branches immediately after flowering to maintain a more compact shape.
When pruning, ensure you cut branches with sharp saw or pair of secateurs right back to a stronger branch and avoid leaving a stub which could be susceptible to decay.
How to propagate Azalea 'Bloomchampion'
Azalea can be propagated by cuttings, layering, grafting, or by sowing seed. All methods take patience and time as azaleas are slow growing. However, propagating your own plants is extremely rewarding and it is always worth trying to increase your own stock or growing to share new plants with friends and family.
The easiest and most reliable form of azalea propagation is by taking semi-ripe heel cuttings in mid to late summer. Use a sharp knife to remove a cutting which is around 15cm long just below the point where leaves are attached to the stem. Remove the leaves from the lower third of the cutting and any flower buds.
Dip the cut end of your cutting into hormone rooting powder or gel before inserting the lower third into a pot of ericaceous compost mixed with a little grit for drainage purposes. Water the pot carefully and place it in a bright spot to take root such as an unheated greenhouse or cold frame. Check your cuttings every few days to ensure they are kept moist, watering and misting, as necessary. The cuttings should take 6-8 weeks to root. Once the roots have filled the container, pot the cutting on into a larger pot.