


How to grow Astilbe x arendsii
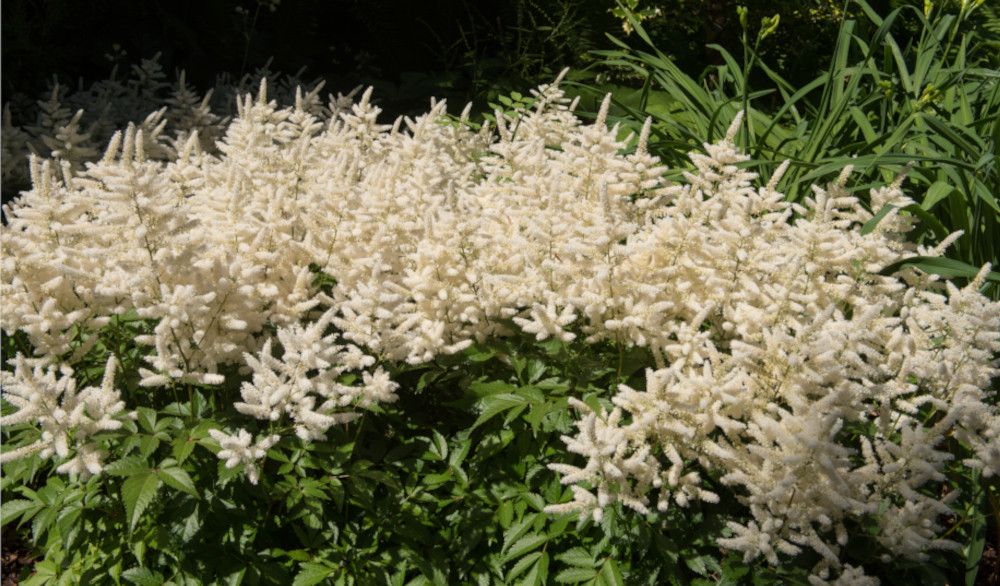
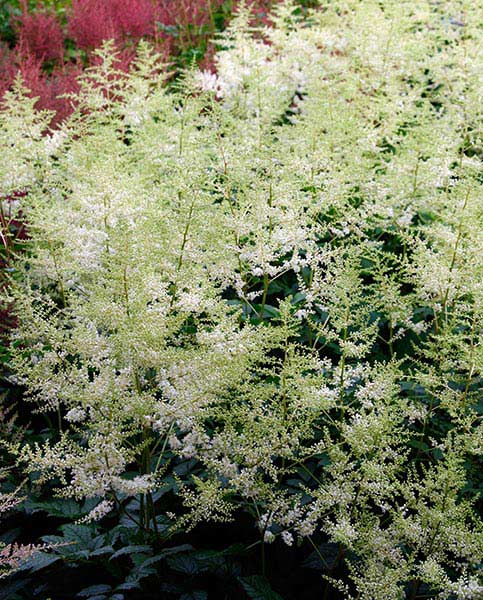
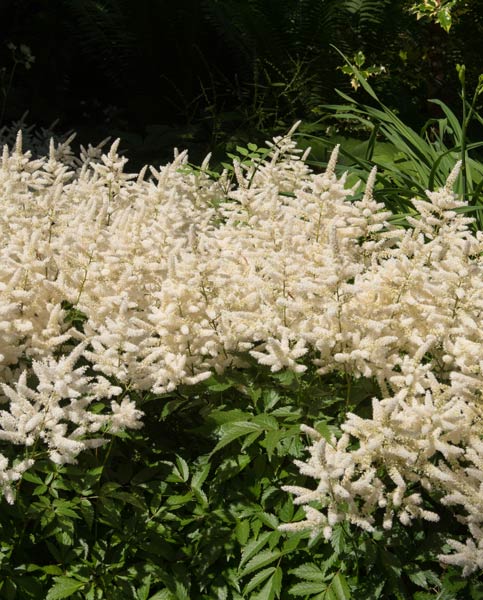
Astilbe x arendsii likes a degree of shade, particularly at midday, and moist damp soil that is rich in organic matter to thrive. Foliage is deciduous and emerges in March, lasting through to October and beyond. Flowers are fluffy spires in pinks, reds and whites that tower over the foliage on strong, wiry stems. Some varieties have more open blooms than others so check your chosen type if this is of particular importance. They also vary in height from 60cm to 1.2m and in spread from 40cm – 1m. A fully hardy perennial, Astilbe are best planted from January through to September each year, thus allowing them a growing season to establish and for you to appreciate their nectar rich flowers which are enticing to bees and other pollinators from late spring to early autumn.
Key Information
Soil pH

Position
Hardiness

Where & when to plant Astilbe x arendsii
Plant Astilbe in spring or autumn when the soil is warm enough for young plants to put down a decent root system ready to burst into life in summer. If you have bought your Astilbe plants in the winter months, we recommend leaving them in their containers in a sheltered location until the weather warms up before planting out after the frosts. Keep the potted plants watered, especially during dry weather.
For summer planting, extra care should be taken to ensure newly planted Astilbe are kept well-watered and do not dry out. A generous watering a couple of times a week to ensure the roots are fully moistened is much better than watering ‘little and often’ which may not reach the deeper roots.
Astilbe x arendsii is best grown in rich soil which does not dry out but is still well-drained in order to thrive. An area in dappled shade next to a permanent water source such as a stream or pond is the perfect spot for Astilbe which will light up the shade with its glorious feathery flower plumes in late summer and autumn.
How to plant Astilbe x arendsii
Dig a hole which is deeper and wider than your potted Astilbe. Add a layer of horticultural grit to the planting hole if your garden on heavy clay soil or ground which is prone to waterlogging. A generous shovel full of well-rotted manure or homemade compost added to the base of the hole will improve soil structure and add essential nutrients for your plants.
Carefully tease your Astilbe chinensis out from its pot and loosen the roots with your hands before placing in the hole with the crown of the plant just below ground level. Fill around the sides and top of your plant with loosened garden soil and firm in around the base before watering well.
It is important to water young plants regularly until they have established themselves, never allowing the roots to dry out.
More petite varieties of Astilbe x arendsii can also be grown in pots. Choose a container with drainage holes which is fairly large such as our large Plum Tedi Pot. You could include other smaller plants as part of your display such as Heuchera Little Cutie Coco to add further texture and interest. Choose companion plants which thrive in similar conditions and remain small in size.
Place a layer of crocks, followed by grit to the base of the pot for drainage and use good quality multi-purpose compost enriched with organic matter for planting into.
What to plant with Astilbe x arendsii
Astilbe x arendsii are perfect plants for a woodland planting scheme or shady border and thrive best when planted next to water.
The interesting blooms are long lasting and appear in shades of pink, red, cream, or white with green or reddish-purple dense attractive foliage.
Some suggestions for other plants which share similar growing conditions and make fabulous growing companions for Astilbe x arendsii are listed below:
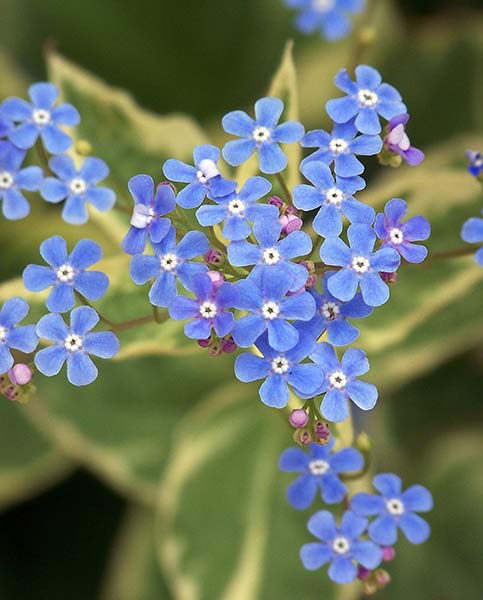
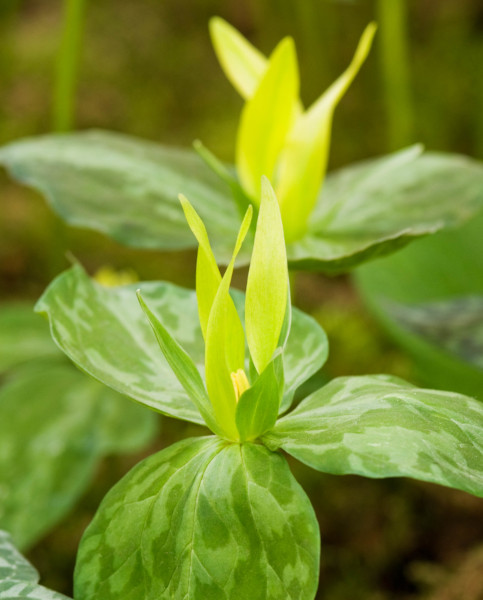
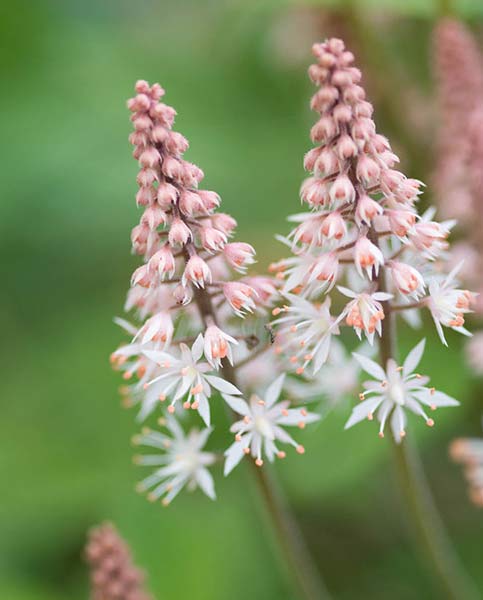
Hosta, Ferns, Dicentra, Solomon’s seal, Brunnera, Lily of the valley, Bergenia, Astrantia, Trillium, Pulmonaria, Heuchera, Tiarella, Liriope muscari, and Candelabra primulas all make excellent planting companions.
Please contact our Customer Care Team at Hayloft if you would like any further growing guidance or planting ideas for your Astilbe x arendsii.
How to care for Astilbe x arendsii
Astilbe x arendsii are reliable hardy perennials which require very little care. If you have planted your Astilbe in a favourable spot, no watering or feeding should be necessary once established.
Pot grown plants will need some additional care - namely watering all year round, especially during dry weather. A liquid feed of balanced fertiliser twice a year will ensure your plant receives essential nutrients for growth.
Sought after by florists - Astilbe make wonderful long-lasting cut flowers, adding volume and interesting texture to floral arrangements. Keep the water fresh and flower plumes will last up to 2 weeks in the vase.
The faded plumes can be left on your plants to provide interest throughout the winter months next to the changing colours of the foliage. In January or February, you should prune back and compost last year’s growth to make way for the new shoots in spring.
Apply a mulch of several inches of leaf mould or homemade compost to the base of plants in autumn or spring, particularly if you garden on clay soil, as this will help to retain moisture and feed the soil.
How to propagate Astilbe x arendsii
Astilbe x arendsii can be grown from seed but are more reliably and quickly propagated by division in spring.
Dividing your plants every 3-4 years will keep them healthy by reinvigorating growth and this has the added bonus of providing you with new plants.
To divide Astilbe - firstly, water your plants generously which will help to loosen the roots. Then dig around each plant with a garden fork, lifting out the whole clump. Split the root ball into several smaller sections by slicing it apart with a sharp spade.
Either pot up or re-plant the new divisions into new planting holes as before. Water in your new plants straight away and every few days until established.