


How to grow Asters
Also known as Michaelmas or September daisies, Asters are fabulous long-flowering perennial plants which are excellent for cutting and adding to floral arrangements. The cut flowers will easily last two weeks and sometimes even longer in the vase.
Whether mass planted or woven into a tapestry of summer and autumn plants, Asters add a whimsical yet natural feel to the garden borders with their profusion of tiny, daisy-like flowers.
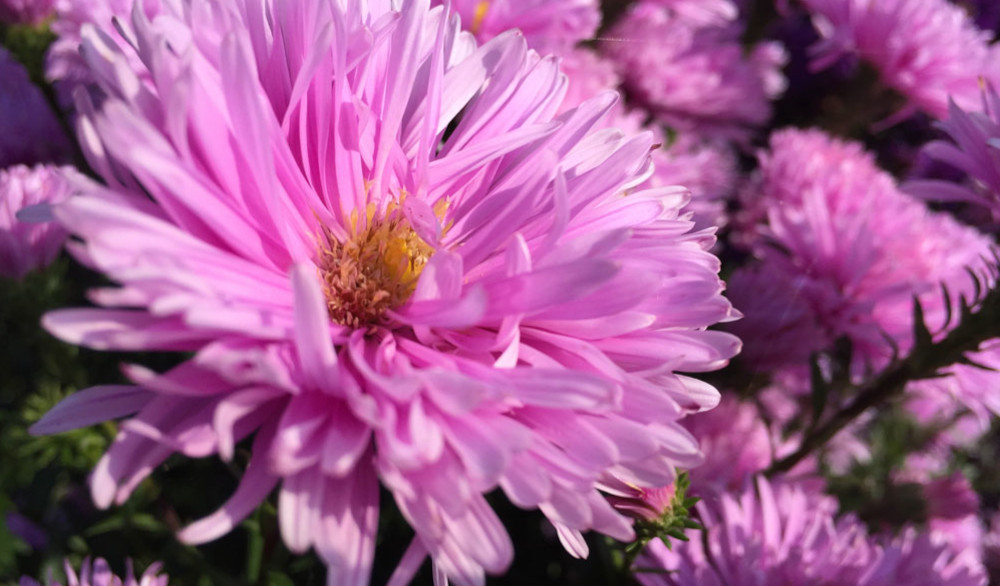
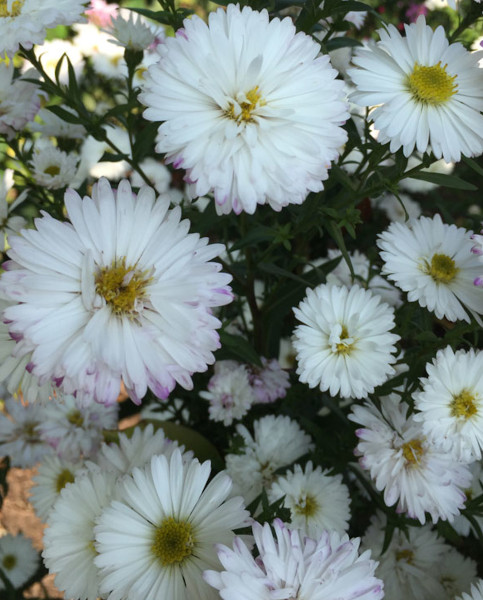
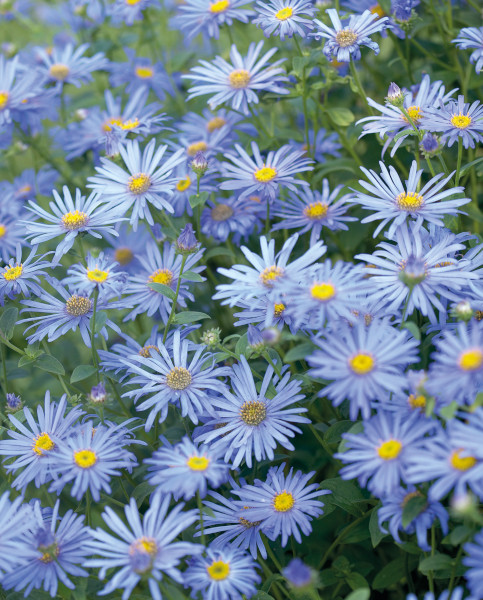
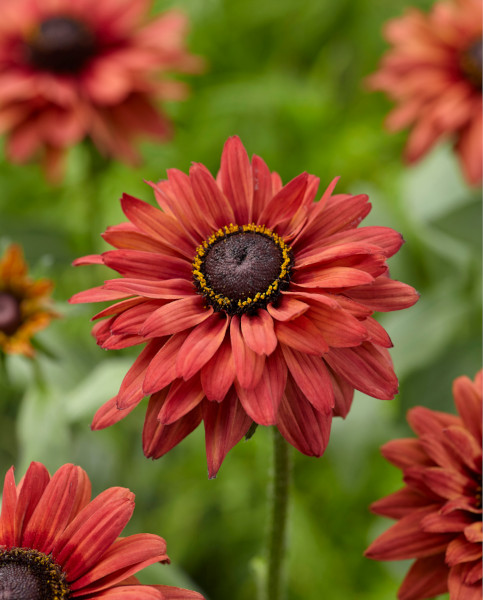
Asters are available in a beautiful range of colours from the pure white Aster White Ladies, through a palette of lavenders and pinks to saturated ruby red and deep purple varieties such as Aster Helen Picton.
Key Information
Soil pH

Position
Hardiness

Where & when to plant Asters
Young Aster plants can be planted straight into the ground in spring, ready to flower later in summer and autumn. Alternatively, you can plant Asters in autumn when the soil is still warm and they will develop a healthy root system, establishing themselves ready to flower the following year.
Several plants grown together can look more impactful in the borders than dotting one or two plants in the garden. You should ensure you space plants well apart (at least 30cm depending on variety) as they can be susceptible to mildew without adequate airflow between plants.
Some varieties of Aster can grow up to over 1m tall with a spread of up to 50cm so bear this in mind when choosing a site for your plants. The height of most Aster cultivars makes them great plants to grow at the back of the border, perhaps next to tall grasses which look wonderful in autumn sunlight.
How to plant Asters
Dig a hole slightly deeper and wider than your potted plant in order to accommodate your new Aster. If you grow on heavy clay, add a decent layer of grit to the bottom of the planting hole then add plenty of organic matter in the form of homemade compost, well-rotted cow or horse manure or a couple of handfuls of chicken-manure pellets to help young plants get off to the best start.
Gently tease your Aster from its pot and loosen its roots before placing in the hole with the top of the root-ball level with the surface of your soil. Fill in around the edges of the plant with soil and firm around the base of the plant before watering in well.
Keep young plants well-watered until they have established themselves.
Asters may also be grown in pots or containers of multipurpose compost with added grit to aid drainage.
What to plant with Asters
Asters add a light and airy look to the garden and their tall delicate forms look beautiful with the autumn sunlight glowing through.
Taller varieties are best placed near the rear of the garden border and work well in informal or cottage gardens and prairie-style planting schemes.
Please contact our wonderful Customer Care Team at Hayloft if you need any further guidance or planting suggestions for your Asters.
Below we have a few ideas for some summer and autumn flowering companions for these wonderful plants.
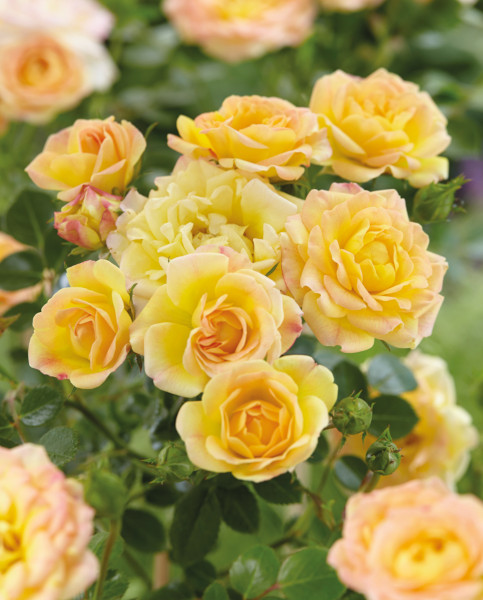
Phlomis, Dahlias, Achillea, Roses, Foxgloves, Ornamental grasses, Verbena bonariensis, Phlox, Antirrhinums, Cosmos, Allium sphaerocephalon, Scabious, Rudbeckia, Lavender, Astrantia, Hardy geraniums, Geums, Echinacea, Salvias, Penstemon, Monarda, Veronica, Japanese anemones.
However you choose to include these in your garden you will not be disappointed with the extra splash of colour they provide and their reliability as a continual performer.
How to care for Asters
Asters do not usually require watering unless the weather has been particularly dry. Damp conditions can cause mildew problems so try to avoid watering unless absolutely necessary. Plants grown in pots should not be allowed to completely dry out so keep an eye on these in summer and water as and when you need to.
Asters also do not need regular feeding and will thrive with mimimal care. An annual mulch or feed of general-purpose fertiliser will be beneficial to maintain healthy plants and a great show of blooms.
Asters can be cut back by one third in summer after the initial flush of blooms to encourage new growth and extend the flowering season.
After your Asters have finished flowering, they can either be cut down near to the ground in late autumn, or you can leave the flowers to fade on the plants – the seeds provide a source of food for wild birds over winter. You would then need to cut them back in early spring just as fresh growth begins to emerge.
Pot grown Asters should be cut back hard and brought under cover for winter.
How to propagate Asters
Every 3-4 years, Asters should be divided in spring when new growth begins to emerge above the soil. This will not only maintain the vigour of your plants but will increase your stock of Asters for planting in other parts of the garden or sharing with friends and family.
If you are planning to replant new sections of your Asters in your garden, then dig new planting holes and organic matter and grit as before. Or, have pots with gritty compost at hand ready to plant the divisions into.
Dig around your plant with a spade or garden fork, slightly wider than the visible growth and remove the whole clump. Separate the plant into several smaller sections by using two forks back-to-back in the centre of the mass and pulling them apart. This can be tricky with very dense clumps, and you may need to use a spade to slice the Aster into smaller pieces. Trim away and discard the centre of the clump if it is woody - the healthiest growth will be on the outside of your plants.
Plant your new divisions into their holes or pots and water well until established.