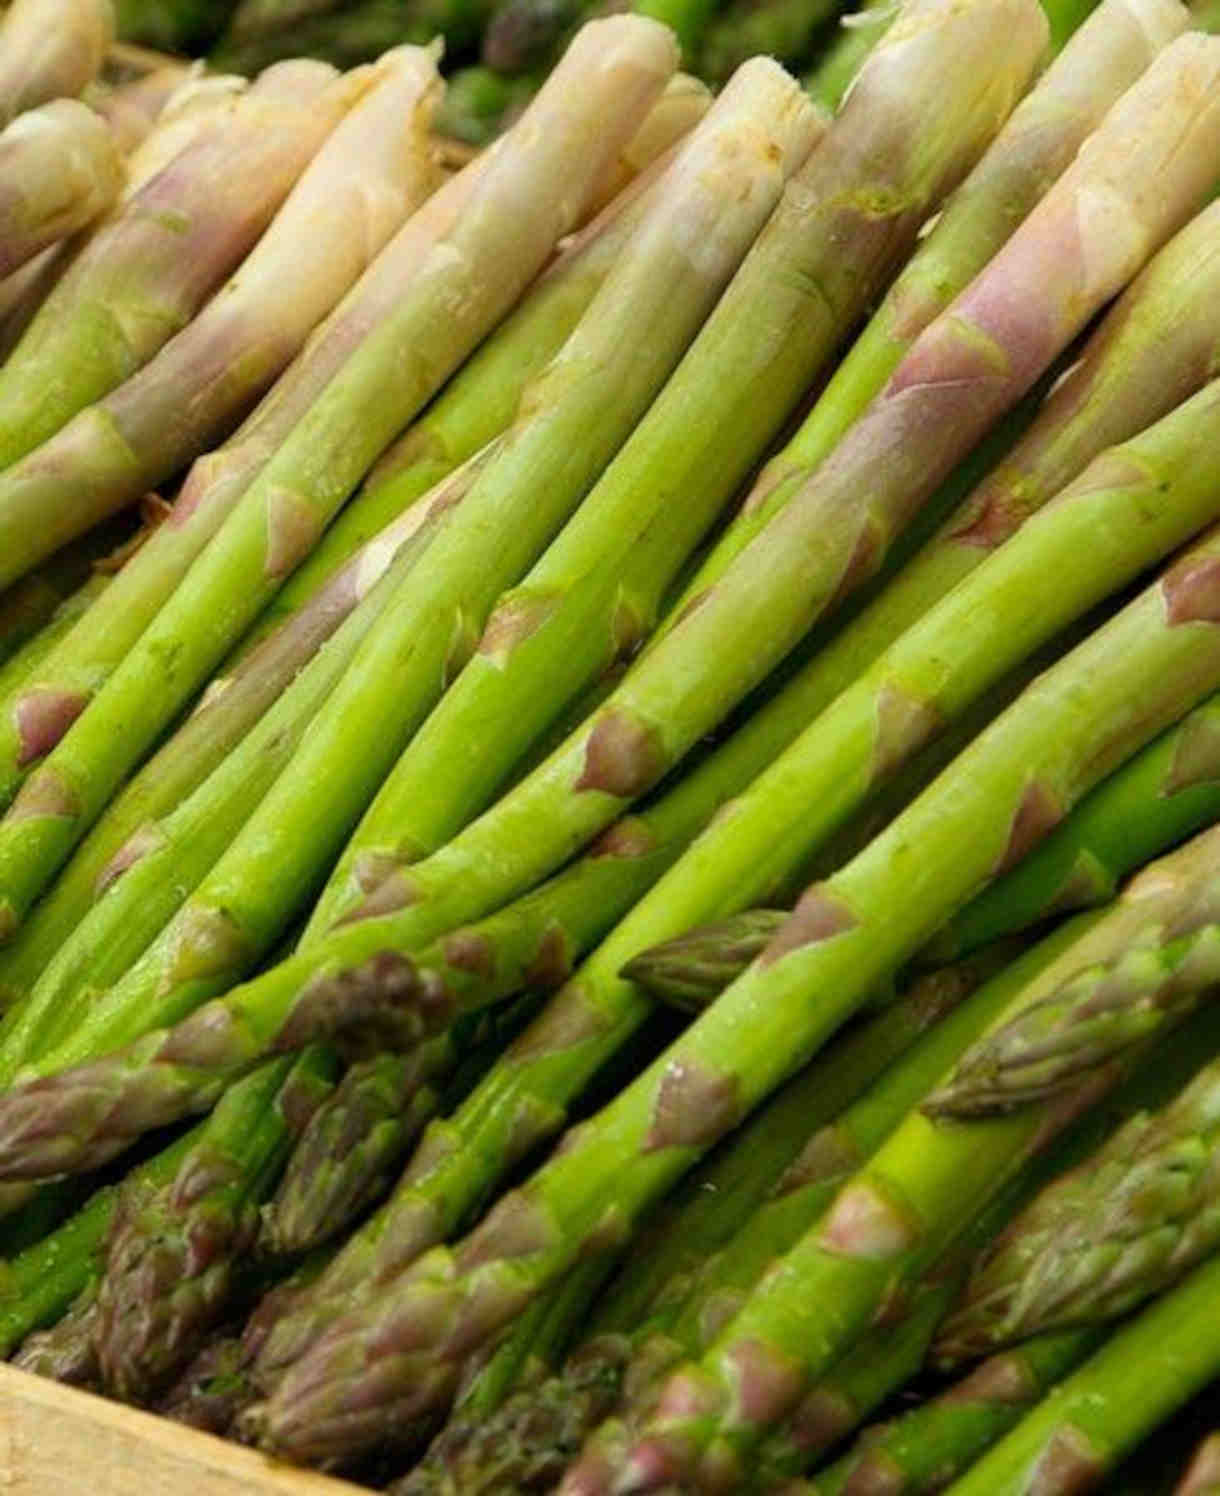
How to grow Asparagus
Edible asparagus plants (Asparagus officinalis and cultivars) are long term perennial crops which can last up to twenty years, meaning they require a permanent spot in the garden. Whilst a little effort and patience is required initially, once established these plants need little maintenance, and produce much sweeter and more flavoursome spears than those bought in the supermarket
Asparagus plants tend to be offered as bareroot one year old crowns during dormancy, though they may also be grown from seed. Patience is key: those bought as crowns must be left untouched for two years before a harvest is taken, while the wait increases to three years for plants grown from seed. This is so they can establish healthy root systems to power cropping in future years.
For information on cultivating close relatives the asparagus ferns, go to our ‘How to Grow Asparagus Fern’ growing guide.
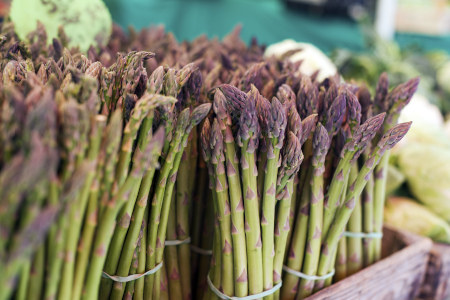
Key Information
Soil pH
Position
Hardiness

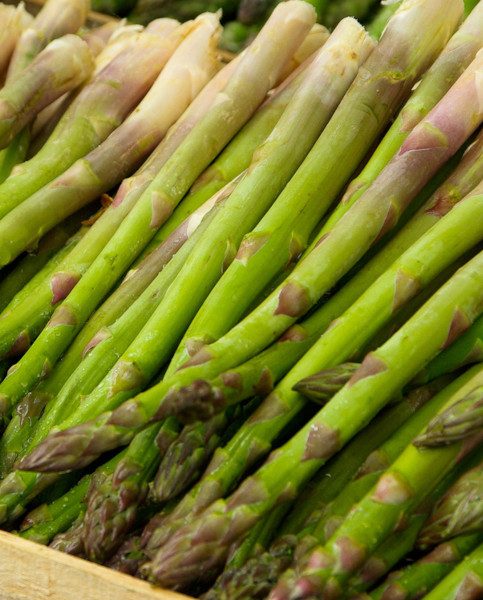
Where to plant Asparagus
Position- A sunny, open spot is best, though light, dappled shade will be tolerated. Asparagus plants need plenty of room to grow and do best when given their own, dedicated bed.
Soil- Well-draining soil, ideally with a pH between 6.5 and 7.5, i.e., slightly acid, neutral, or alkaline.
Flowering Period- Late summer
Hardiness- Hardy – generally rated H4 or H5 depending on the cultivar. This means plants should be fine in the average UK winter provided there is adequate drainage.
For best results, plant bareroot asparagus crowns in March or April (this is generally when they’re available to buy). Note that these are likely to be very dry when they arrive, so should be soaked in a bucket of water for at least an hour prior to planting. The roots are brittle, so should be handled with great care.
A dedicated section of an allotment or vegetable garden is a good idea, or a raised bed if you garden on heavy, damp soil (fill this with some bought in, well-draining topsoil). It’s best to avoid planting where asparagus has grown before, as there can be a build-up of soil-borne pests and diseases.
When choosing a spot, it’s crucial to work out how great an area you will need. For this, work on the basis that each individual plant can be expected to produce around 10 spears each year and should be spaced approximately 45cm from its neighbour. It’s worth spending time on these early stages of planning and preparation, as, all being well, the plants may remain in place for a good couple of decades.
Asparagus is best grown in the open ground, however if you don’t have the space or perhaps garden in a rented property where it’s not feasible to make such a long-term commitment, you may have success in a container. Note, however, that the expected lifespan of asparagus is dramatically reduced when grown in this way. After the two-year establishment period, plants are likely to have between two and four years of cropping before their restricted roots run out of steam.
How to plant Asparagus
- For planting in the garden, dig the soil area removing any large stones and weeds and breaking up any lumps. Eradicating weeds is especially important at this stage, as once established, asparagus roots form a tightly knitted mat from which it is very difficult to dig out unwanted invaders.
- Mix in a generous amount of organic matter such as manure or garden compost, aiming for a bucketful every square metre.
- Dig a trench of about 30cm width and 20cm depth.
- Using the excavated soil from the trench, create a ridge down the centre of the trench on which the bare root crowns will sit. Aim for a height which means the growing tip of the crown is just below soil level.
- Carefully lay the bare root plants on top of the ridge, fanning the roots out down either side. Remember, the plants must be soaked in water for at least an hour prior to this and be handled with great care to avoid breaking the brittle roots.
- Space each crown 45cm apart.
- Use the rest of the excavated soil to cover over the ridge and the growing tips.
- Soak well with water.
- Mulch with a 5cm layer of well-rotted organic matter.
- For planting in a container, you’ll need to give each plant its own individual container (multiples don’t grow well together in the same pot) of at least 50-60cm width and depth.
- It can be a good idea to fill and plant each pot in situ, to save yourself the trouble of moving them later. Locate in a sunny, sheltered position.
- Part fill with a very well-draining, loam-based compost mix (add extra grit if necessary), creating a mound inside the pot. If not already present in the compost (check the label), add some slow-release general fertiliser granules.
- Place the bareroot crown on top of the mound, carefully fanning its roots out. The growing tip should sit several centimetres below the top of the container.
- Cover over with the same gritty compost, leaving a small gap between the surface of the compost and the top of the container.
- Soak well with water.
- A mulch with horticultural grit will look attractive and help to prevent a ‘cap’ or crust forming on the top of the compost (something container plants can suffer due to the artificial nature of their watering).
How to care for Asparagus
Harvesting
It’s vital when growing your own asparagus to allow plants sufficient time to establish before you begin to harvest. For plants bought and planted as bare root crowns, this means leaving them untouched for two years, beginning to cut spears only in year three. For plants grown from seed, add a year on to this.
Traditionally, the asparagus harvesting period starts on St Georges day (late April). In the first year of harvesting, cut spears every two to three days for up to six weeks. In subsequent years you can continue until Midsummers Day (late June). It is important not to keep cutting beyond this, as the plants need time to grow freely and build up energy reserves for the following year’s crop.
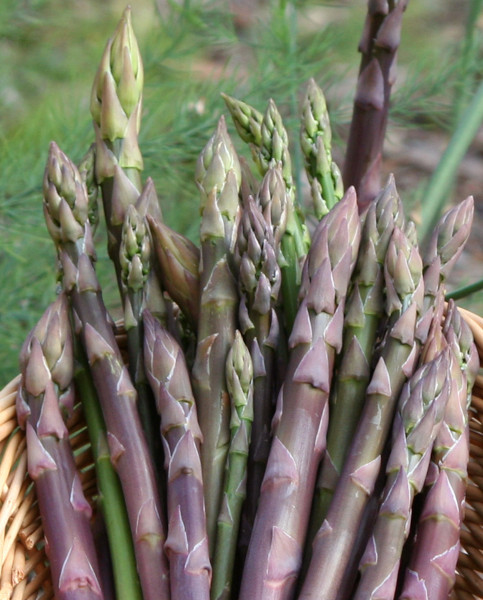
Spears are ready to harvest when they are around 18cm tall. Use a sharp knife to cut them a couple of centimetres below the surface of the soil. The best flavour comes from eating these fresh, though you can also store in the fridge for a few days.
Staking and pruning
After harvesting has finished, asparagus grow into tall, feathery plants. These are likely to need staking to prevent windy weather blowing them over and causing damage to the crown. The simplest way to do this is using bamboo canes and string to make a ‘fence’ on either side of each row.
When it comes to pruning, asparagus is very simple. Simply cut back each autumn once plants begin to turn yellow – taking the whole lot down to ground level.
Watering
Asparagus plants should be watered on initial planting, and then regularly throughout their first growing season in the ground. After this, they are relatively drought hardy and will need watering only in prolonged periods of hot, dry weather.
Asparagus in a container will need to be watered regularly throughout every growing season. Allow the top few centimetres of compost to dry out between soakings – a finger wiggled down until moisture can be felt is the best way of checking this. From mid-autumn onwards the UK weather tends to take over watering needs, though do remember to step in in the event of an unseasonably dry spell.
Feeding
Asparagus in the ground will thank you for a ready supply of nutrients – best supplied in two forms.
The first is a mulch of well-rotted organic matter in late winter, which not only adds goodness to the soil but also helps lock in moisture and prevent the germination of annual weeds (once established these are very difficult to remove from amongst the roots of asparagus).
The second is an early spring application of a high potassium general fertiliser such as Vitax Q4, used at a rate of two handfuls per square metre. You can also repeat this after harvesting in any year when growth has seemed lacklustre.
Container-grown asparagus should be fed with a balanced liquid feed once a month throughout the growing season (roughly March to September).
Cold Protection
The biggest threat to the winter survival of asparagus is not cold, but wet. Drainage is therefore key – which is where choosing a well-draining spot and planting on a ridge come in (see above).
Young asparagus spears may be damaged by a late frost. A thick, late winter mulch will help protect against this, though where it does occur simply remove any blackened, shrivelled spears at the base with a sharp knife.
Pests and Diseases
Asparagus beetle is the key pest to look out for on this plant. In larval stage it looks like a grey grub, and in adulthood it is a black beetle with yellow blotches and a red thorax. Both stages eat asparagus foliage, as well as the ‘bark’ of the stems.
Small populations tend not to cause too much overall damage and are best tolerated. Larger numbers can defoliate plants to the point of reducing their vigour and yield the following year. As ever, we encourage natural, sustainable methods of control, including handpicking the larvae off the plant in late spring, and encouraging natural predators into the garden. These include birds, frogs, ground beetles, and social wasps. Removing and disposing of pruned plant material in autumn is also advisable to interrupt the life cycle of overwintering pests.
Where infestations persist, a biological control is available containing the nematode Steinernema carpocapsae (a microscopic parasitic worm).
How to propagate Asparagus
Asparagus can be propagated by dividing established clumps in late winter to early spring. Allow at least three years recovery time before you repeat this – plants need time to settle and re-establish.
- Choose a day when the soil is not frozen or waterlogged.
- Carefully dig the plant out of the ground.
- Gently prise it apart into several smaller sections, each with a few growing points and healthy roots. The strongest parts are usually found around the edge of the clump. You may find it necessary to cut some roots in order to separate the sections.
- Discard any old, woody parts.
- Replant new sections straight away, following our ‘How to plant asparagus’ guide above.
Asparagus can also be grown from seed, though don’t expect to collect your own. Most asparagus available to home growers are male hybrids which don’t produce flowers or seeds. Instead, source them from a seed supplier.
* Many plants carry Plant Breeders Rights and cannot be propagated for commercial purposes.
Common Asparagus questions
What’s the difference between male and female asparagus plants?
Male plants produce better and more numerous spears than females, because female plants expend some of their energy on flowering and setting seed. Most modern cultivars and hybrids are therefore all male, including those sold by Hayloft. If you grow female plants (as many of the older, heritage cultivars can be), it is important to weed out any resulting seedlings to avoid congestion.
What is white asparagus?
Something of a delicacy, asparagus spears which have been ‘blanched’, or grown without access to sunlight are white, tender, and have a mild, nutty flavour. Blanching can be achieved either by mounding extra soil over the plant in the spring or covering it with an upturned bin or pot (in much the same way as forced rhubarb). Some cultivars, such as ‘Vittorio’, are especially well-suited to this treatment.
Plants need to be at least three years old before they have the strength to withstand blanching.
