


How to grow Argyranthemum
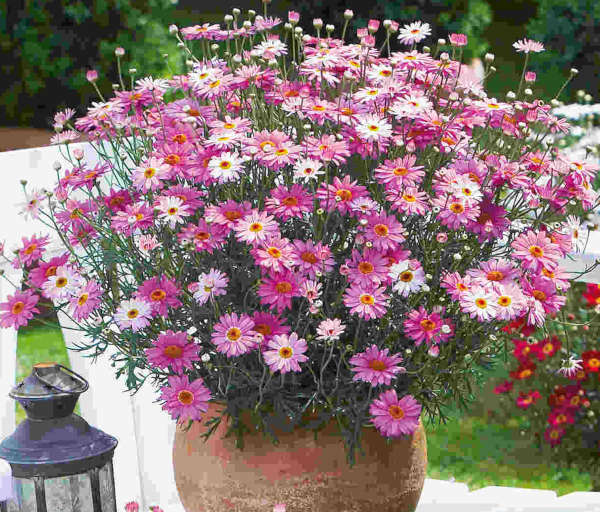
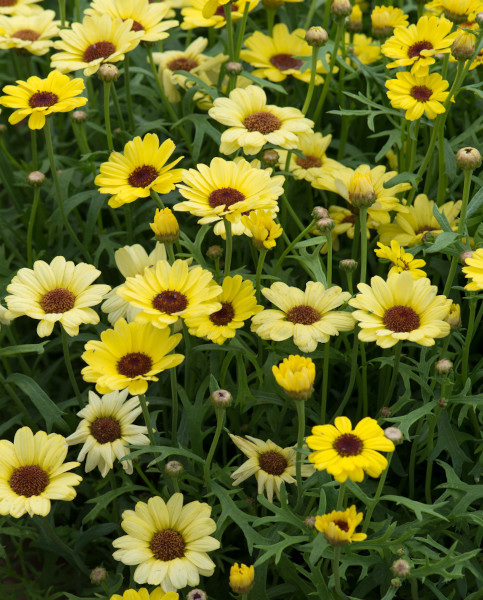
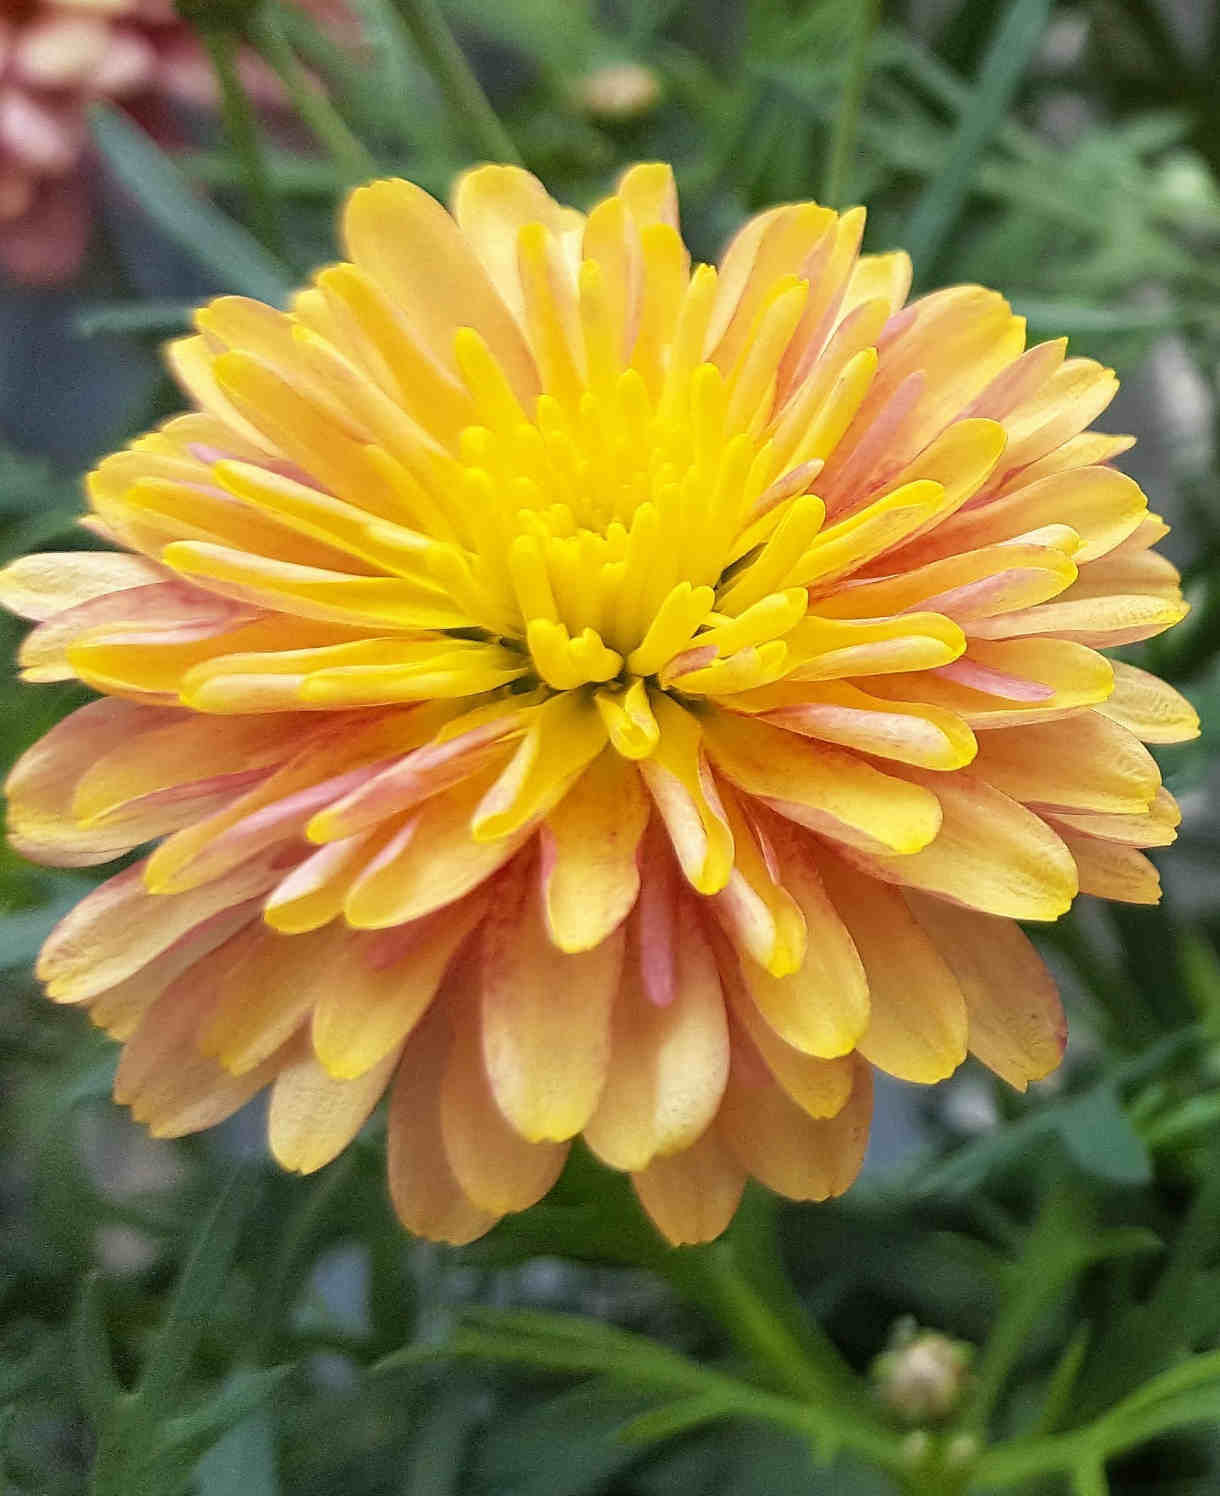
Hailing from the Canary Islands and Madeira, argyranthemum are tender, evergreen, mound-forming subshrubs grown for their profusion of showy, daisy-like flowers, which can be either single or double. There are 23 species as well as the many hybrids created over the years, resulting in a huge range of bright, vibrant colours.
Argyranthemum have attractive, feathery foliage and will stand up well to British summertime weather. They flower long and hard for up to half the year and provide an invaluable source of nectar for many pollinators.
Argyranthemum are also known as marguerite, or everlasting daisy.
Key Information
Soil pH

Position
Hardiness

Where to plant Argyranthemum
Argyranthemum make an ideal container plant and are often used on patios and balconies. Also happy in the ground, providing the soil is not too damp. Argyranthemum needs a sunny spot, and will tolerate salty, coastal winds very well.
Our argyranthemum plants are available from early spring. If they arrive before the last risk of frost has passed in your area (generally around mid to late May), pot them up and keep in a cool, frost-free environment such as an unheated conservatory or greenhouse until it is safe to move them outside.
How to plant Argyranthemum
In a container
- Pinch out the growing tip of your plant, snipping it off just above a slightly lower set of leaves. This will encourage it to become bushier and more floriferous.
- Choose an appropriate container; argyranthemum grows quite quickly so do not be fooled by its initial size. We recommend a pot with a top diameter of approximately 35 – 40cm. Ensure there are plenty of drainage holes in the bottom.
- Use a good quality potting compost with plenty of horticultural grit mixed in, and, if not already present in the compost (check the description on the bag) some slow-release fertiliser granules.
- Start by partially filling the pot with compost; enough so that when placed on it the upper surface of the root ball is about 3cm lower than the top of the pot.
- Infill all the space surrounding the root ball with compost, firming down with your fingers then adding a little more so the plant is held tight.
- Pick up the pot (if you can!) and lightly tap on the potting bench or ground a few times to help further settle the compost around the plant.
- Soak well with water.
- A mulch with horticultural grit will look attractive and help to prevent a ‘cap’ or crust forming on the top of the compost (something container plants can suffer due to the artificial nature of their watering).
In the ground
- Pinch out the growing tip of your plant, snipping it off just above a slightly lower set of leaves. This will encourage it to become bushier and more floriferous.
- Clear the chosen area of weeds.
- Dig a planting hole several times larger than the root ball. If you are gardening on soil that is poor, dry, or stony it is a good idea to mix in some well-rotted organic matter at this stage. Avoid heavy, clay soil if possible.
- Place the plant in the hole, ensuring the top of the root ball sits level with the surface of the soil. Too low and the plant may rot, too high and the roots can dry out.
- Backfill with soil and firm in gently with your foot.
- Soak well with water.
- Mulch around the base with well-rotted organic matter.
How to care for Argyranthemum
Pruning and Deadheading
With regular deadheading, argyranthemum will bloom for an age. Snip off spent flowers down to just above a branching stem.
Watering
Though drought tolerant, argyranthemum still requires regular watering when grown in containers. Allow the compost to dry out almost completely between thorough soakings.
Those grown in the ground should be watered regularly until established, then in very dry periods thereafter.
Cold Protection
This tender perennial tends to be treated as an annual in frost-prone climates such as ours. Whilst winter protection can keep it going, its appearance and vigour rarely matches that of the first year. Added to the fact it is spectacularly quick and easy to propagate by cuttings, and most gardeners see little point in overwintering it.
If you do wish to give it a go, trim lightly after flowering then move container grown specimens to a cool, frost-free environment such as an unheated conservatory or greenhouse, or apply a generous dry mulch to those grown in the ground.
Pests and Diseases
Argyranthemum is fairly problem-free, though on the odd occasional may succumb to leaf miner and crown gall.
Leaf miner is largely a cosmetic issue and rarely affects the overall health of the plant. It can be identified by pale, meandering ‘tracks’ on the foliage, made by the miners tunnelling through the insides of leaves. As with many ‘harmless’ pests, we would always recommend leaving these alone as part of a balanced garden ecosystem. If leaves become very unsightly, they can simply be removed and disposed of.
Crown gall is a bacterial infection in the roots or stem which causes swollen, tumour-like growths. Though plants can sometimes tolerate this with little impact on growth, the best practice is to remove and dispose of any infected plant and the soil or compost around it.
How to propagate Argyranthemum
Argyranthemum is exceptionally easy to grow from cuttings, which can be taken anytime during the growing season.
- Find non-flowering shoots 5-10cm long and snip off the plant.
- Put them in a plastic bag straight away to prevent drying out.
- Fill a container with a compost mix which is at least 50% perlite (or if you prefer, as we do, 100% perlite).
- Trim the end of the cutting to just below a node (point at which leaves grow).
- Remove the lowest leaves and soft tip, leaving 2-4 leaves.
- If the remaining leaves are large, cut them in half with a sharp knife (to reduce water lost through transpiration).
- Insert the cuttings into the compost and water lightly. Several cuttings can be put in the same container if there is enough space to do this without them touching.
- Place in a greenhouse or propagating unit if you have one, or covered with a plastic bag on a windowsill if not (out of direct sunlight).
- Keep the cuttings misted and occasionally watered until they root. You will know this has happened when roots emerge out of the bottom of the container.
- Gently remove rooted cuttings and pot them into individual pots. Overwinter in a cool yet frost-free environment such as an unheated conservatory, greenhouse, or cold frame, before planting out in late spring (once all risk of frost has passed).