


How to grow Arctotis
Arctotis are a part of the Asteraceae family; more well-known members of the Asteraceae family include daisies and sunflowers. Also known as African Daisy, Arctotis are native to the dry slopes of southern Africa. Named by famous botanist Carl Linnaeus, Arctotis’ origin came from a combination of the word ‘arktos’ (bear) and ‘otis’ (ear).
While its native habitat is undeniably warm, Arctotis can survive and thrive in UK temperatures and growing conditions. In fact, one cultivar A. x hybrida ‘Flame’ has even been awarded the Award of Garden Merit by the RHS (Royal Horticultural Society) because of this. For those of you who live in colder climates, Arctotis can be grown as a half-hardy annual rather than a perennial plant.
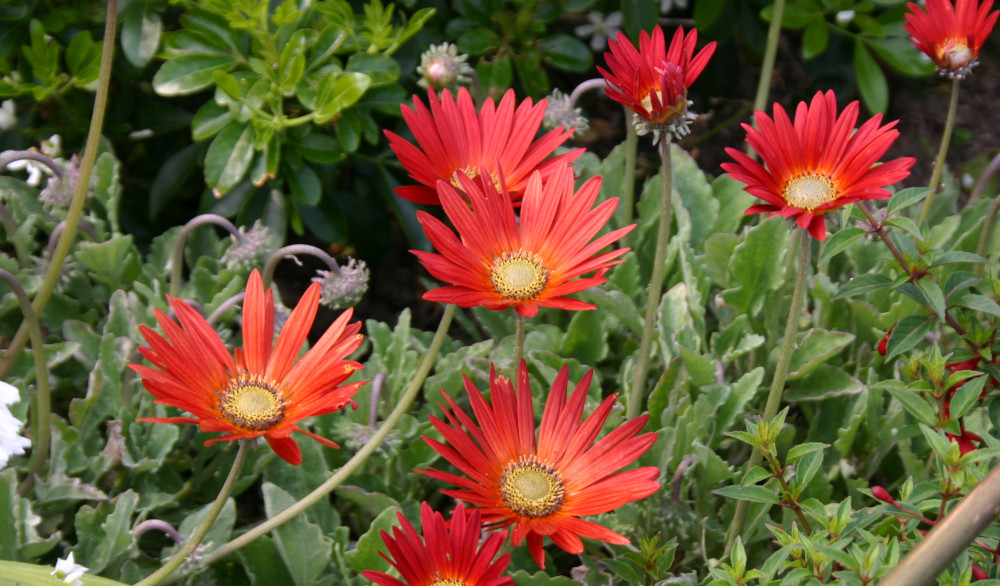
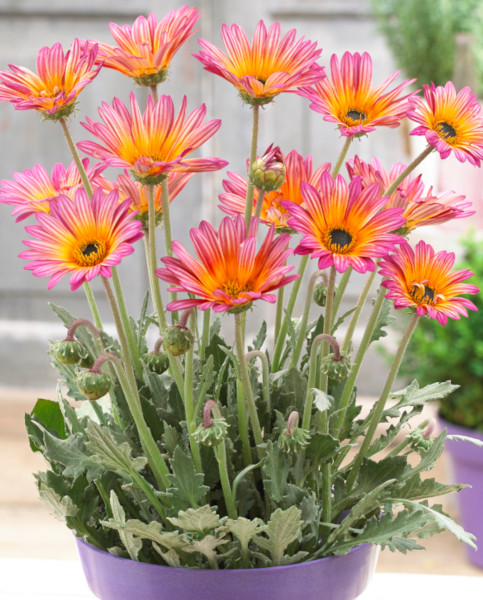
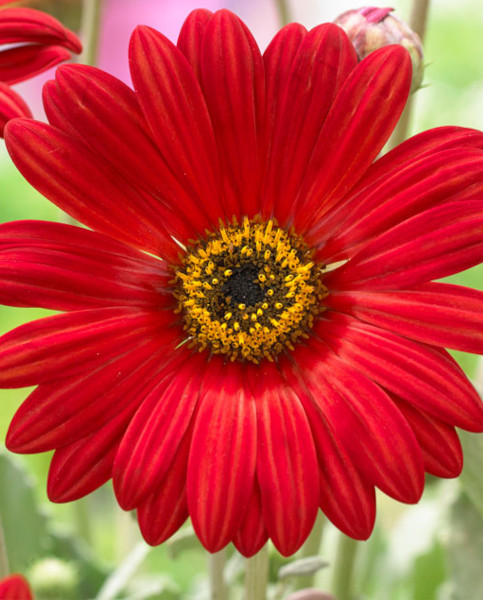
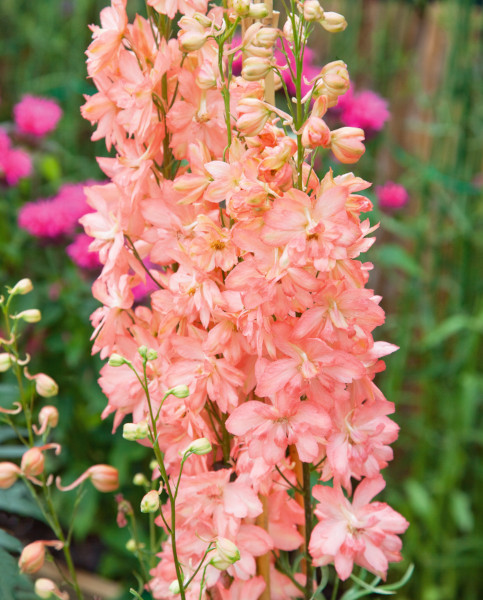
Arctotis enjoys full sun and well-draining soil. It is drought-tolerant and blooms during the summer and autumn months. Large, daisy-like blooms come in vibrant displays of pinks, yellows and reds with subtle ombré effects. Interestingly, the flower of Arctotis plants may close in the later afternoon of each day or in dull weather - you will see them re-open at the first sign of sun and warmth. Arctotis also has simple green foliage with a shimmering underside and the full plant has an upright, bushy growth habit.
Ready to learn more about this fast-growing plant? Read on to learn everything you need to know about Arctotis...
Key Information
Soil pH

Position
Hardiness

Where & when to plant Arctotis
Plant your arctotis outside once all risk of frost has passed in your area. This can vary depending on the region, though is usually around mid-May. If your young plants arrive before it is safe to plant them out, pot into 9cm containers using a well-draining compost mix and keep in a frost-free environment such as a greenhouse, conservatory, or sunny windowsill.
When the time comes, arctotis is useful as a front of border plant or cheerful edging for a path. It also makes an excellent container plant and is often mixed with other summer flowering annuals for a vibrant display of colour. It is particularly heat and drought tolerant, making it a good choice for those sunbaked spots where other plants may struggle.
How to plant Arctotis
- For planting in the garden, dig the soil area removing any large stones and weeds and breaking up any lumps. Mix in some organic matter such as manure or garden compost. Rake level and firm with your heels. Rake level again.
- Water plants well and allow to drain before planting.
- A good tip is to dig a hole twice the size of the root-ball. Fill with water and allow to drain before placing in the plant.
- Place the plant in the hole, ensuring the top of the root ball sits level with the surface of the soil. Too low and the plant may rot, too high and the roots can dry out.
- Backfill with soil and firm in gently with your foot.
- Soak well with water.
- Mulch around the base with well-rotted organic matter.
- For planting in containers, first choose an appropriately sized pot. You may wish to grow your arctotis on its own in a pot, or as part of a larger, mixed container display. Either way, ensure there are plenty of drainage holes in the bottom.
- If you are using a large or heavy pot, it can be a good idea to fill and plant it in situ to save yourself the trouble of moving once full.
- Use a good quality potting compost with plenty of horticultural sand or grit mixed in and, if not already present (check the labelling on the bag) some slow-release fertiliser granules.
- Start by partially filling the pot with compost; enough so that when placed on it the upper surface of the root ball is about 3cm lower than the top of the pot.
- Fill around the plant with compost, firming down with your fingers then adding a little more so it is held tight.
- Pick up the container (if you can!) and lightly tap on the potting bench or ground a few times to help further settle the compost around the plant.
- Soak well with water.
- A mulch with horticultural grit will look attractive and help to prevent a ‘cap’ or crust forming on the top of the compost (something container plants can suffer due to the artificial nature of their watering).
What to plant with Arctotis
While arctotis mixes easily in almost any brightly coloured planting scheme, nothing quite beats seeing it grown alongside fellow South African companions. These may include beauties such as osteospermum, gerbera, bulbine, kniphofia, and nerine.
How to care for Arctotis
Pruning and Deadheading
Deadheading your arctotis regularly throughout the flowering period will keep it looking neat and encourage further blooming.
Arctotis can be tricky to overwinter (it is very tender and prone to basal rotting in winter), so is therefore usually treated as an annual in the UK. This means once it has finished flowering, it is simply removed to the compost heap.
Watering
Water newly planted arctotis regularly until established (i.e., for the first few weeks in the ground), and then in very hot dry spells after this. Annuals (or those plants grown as annuals) don’t have time to put out extensive root systems, so need to be kept an eye on during warm weather, even very drought tolerant plants such as this. Aim for consistently moist but not soggy soil – allowing the top couple of centimetres to dry out before watering (insert your finger into the soil to check this).
Container-grown arctotis need to be watered regularly throughout the growing season as these can dry out very quickly, especially those in smaller containers. Again, allowing the top few centimetres of compost to dry out between soakings is a good way to avoid overwatering.
Feeding
To get the most out of hungry summer bedding plants such as arctotis, regular feeding is a must – particularly when grown in a container.
In a container, arctotis should be potted in a good quality compost with slow-release fertiliser granules mixed in, then fed with a high potassium liquid feed, such as tomato feed, at weekly intervals throughout the growing season to boost flowering.
In the open ground, mulch newly planted arctotis with well-rotted organic matter, i.e., a layer of manure or garden compost applied to the soil around the plant. As well as boosting the nutrient content of the soil, this has the added benefit of suppressing weeds and locking in moisture.
After this, a weekly or fortnightly application of high potassium liquid feed, such as tomato feed, will boost performance significantly.
Cold Protection
Arctotis is tender, which means it can be damaged by temperatures falling below 5°C. Such is its widespread and affordable availability each spring, most gardeners dispose of their plants each autumn and start afresh with new each spring.
If you wish to try your hand at overwintering yours (noting that they are notoriously tricky), give a trim after flowering and move into a warm, protected spot such as a heated greenhouse or conservatory. Keep barely moist over winter – just enough to prevent the compost from drying out completely, then resume watering in spring. Feed as above, and move outside once all risk of frost has passed.
Pests and Diseases
Aphids are sometimes partial to the sap of arctotis. While unsightly, these are part of a balanced garden ecosystem, and the best approach is to leave them to their natural predators (e.g. birds, ladybirds, wasps, frogs). When numbers are so large, however, that their feeding starts to inhibit and disfigure growth, you may feel it necessary to take action. Regularly blasting off with a hose or wiping away with a cloth or piece of kitchen paper can help to keep numbers down without harming beneficial organisms.
How to propagate Arctotis
Arctotis can be propagated by stem cuttings taken at any time during the growing season.
- Find non-flowered shoots 5-10cm long and snip off the plant.
- Put them in a plastic bag straight away to prevent drying out.
- Fill a container with a compost mix which is at least 50% perlite (or if you prefer, as we do, 100% perlite).
- Trim the end of the cutting to just below a node (point at which leaves grow).
- Remove the lowest third of leaves.
- If the remaining leaves are large, cut them in half with a sharp knife (to reduce water lost through transpiration).
- Insert the cuttings into the compost and water lightly. Several cuttings can be put in the same container if there is enough space to do this without them touching.
- Place in a propagating unit with bottom heat if you have one or covered with a plastic bag on a windowsill or in a greenhouse if not (out of direct sunlight).
- Keep the cuttings misted and occasionally watered until they root. You will know this has happened when roots emerge out of the bottom of the container.
- Gently remove rooted cuttings and pot them into individual pots. Grow on in a warm, protected environment such as a heated greenhouse, conservatory, or sunny windowsill until they are large enough to be planted out as above.
* Many plants carry Plant Breeders Rights and cannot be propagated for commercial purposes.
Common Arctotis Questions
- How do you tell arctotis apart from gerbera?
While these close relatives look similar, gerberas are shorter plants with larger flowers, often in more intense and fiery-toned colours. - Is arctotis poisonous?
Arctotis has no toxic effects reported.