


How to grow Anthurium
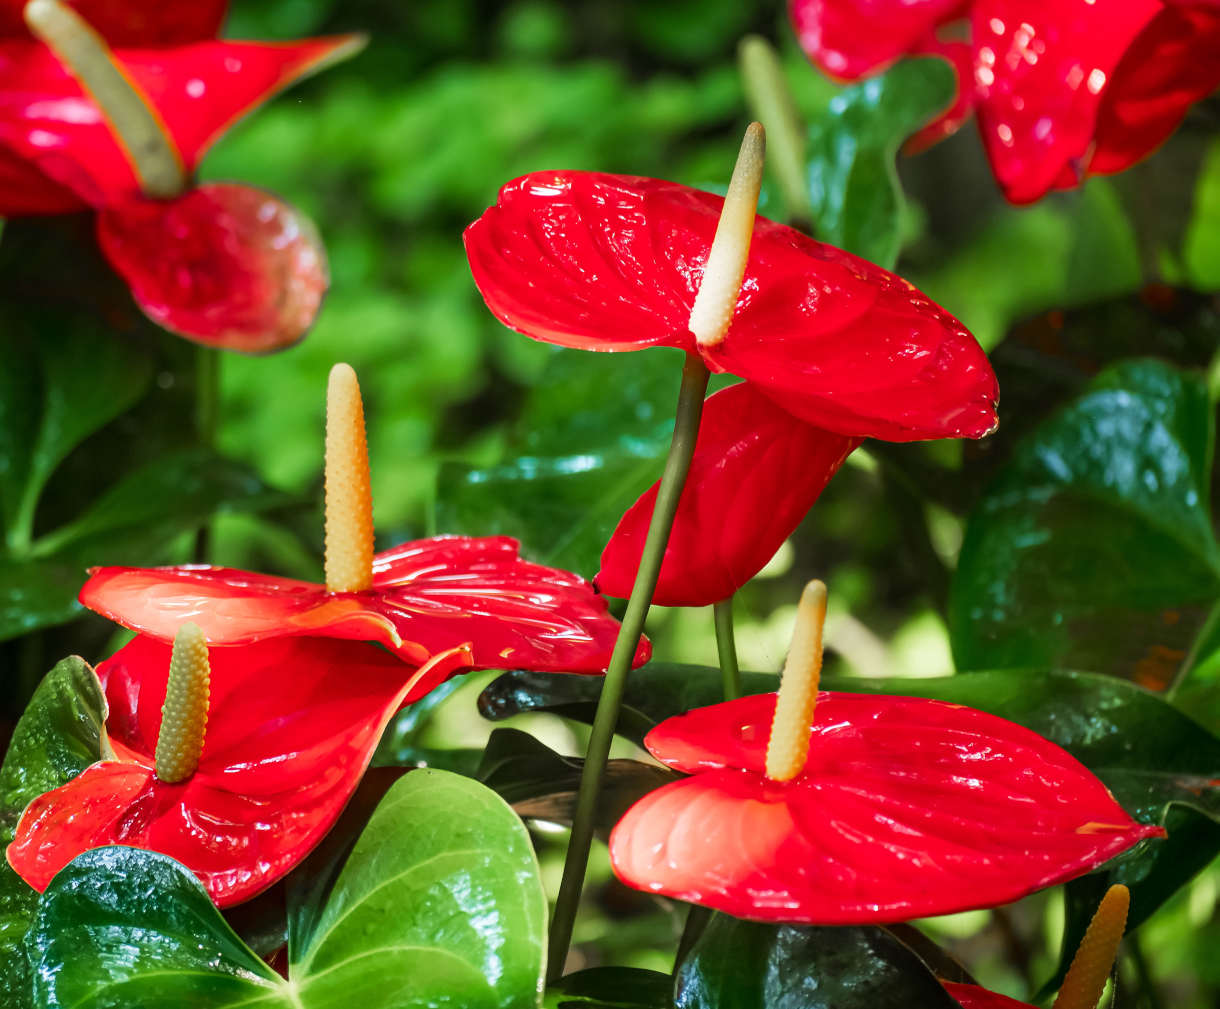
Known as the Flamingo flower, Anthurium are beautiful tropical plants, native to South America where they grow wild in the rainforests in the cracks and crevices of trees.
Due to the nature of their favoured growing conditions, Anthurium andreanum are usually grown in the UK as houseplants, although in warmer Southernly regions they may survive outdoors all year round.
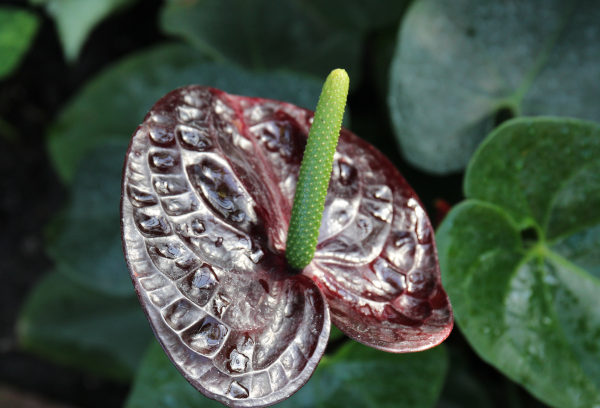
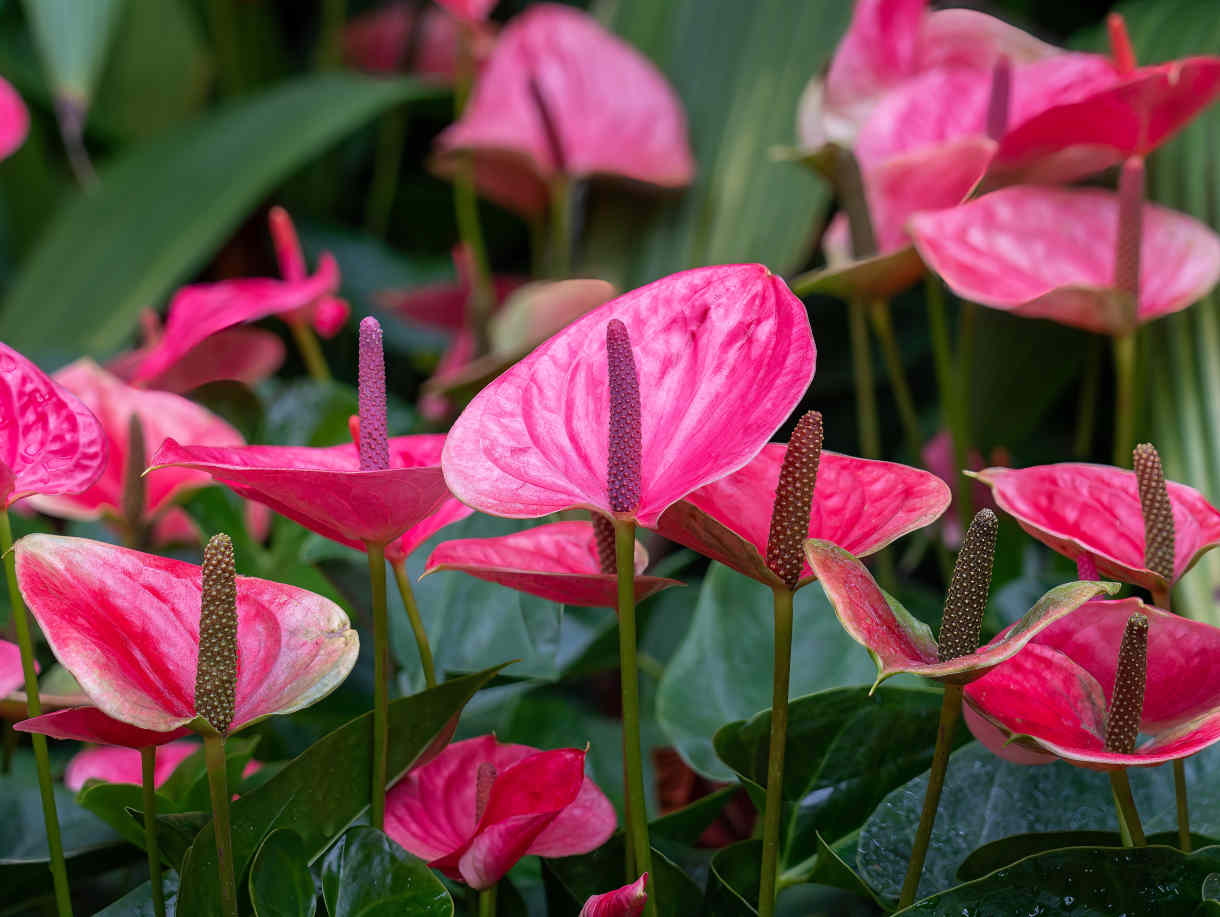
The glossy, heart-shaped leaves (which are sometimes variegated) are an attractive feature, but perhaps the best and most recognisable asset of Anthuriums is the long-lasting, vibrant ‘flowers’, known as inflorescences. The blooms appear year-round and are made up of two parts – a colourful, waxy-looking ‘spathe’ which is a type of modified leaf rather than large petal, and a prominent ‘spadix’ which looks like a large stamen and is packed with tiny flowers.
The interesting and long-lasting blooms are often used as cut flowers and look extremely architectural in the vase or in floral arrangements.
These fascinating plants have been proven to be effective at removing toxins from the air and so make valuable and attractive houseplants. All parts of the plant are poisonous if ingested, so keep well away from children and pets and use gloves for repotting.
Key Information
Soil pH

Position
Hardiness

Where & when to plant Anthurium
When choosing a place in your home for your Anthurium, you will need to choose a spot which is as close to its natural growing environment as possible. Bearing in mind that these plants thrive in the Rainforest and in the Caribbean, a warm, humid environment with indirect light will provide the best conditions. A bathroom which receives natural light is ideal.
Anthuriums thrive in a constant temperature of roughly 15-20°C away from direct sun, draughts, and radiators.
To increase humidity, you can regularly mist the leaves of your plant with water. Your plant will soon tell you if the air is too dry as the edges of the leaves will turn brown.
How to plant Anthurium
If your soil is not well-drained, you should mix in some horticultural grit or organic matter to increase drainage. If in doubt, you can always start your bulbs in pots in a protected area over winter, and plant out in spring.
If planting in the ground, dig a hole and place in your bulb, pointed side upwards. When planting your bulbs, you should make sure they are partially visible above the soil, around 3cm showing, then fill in the hole with soil. Space the bulbs approximately 30-60cm apart to allow room for each one to spread.
If you are growing your Urginea in containers, chose a large one and add some stones or crocks to the bottom, this will help with drainage and also with stability. Use a good quality multi-purpose compost and plant the bulb as above.
Once planted, water thoroughly and deeply to settle your bulbs in place and to encourage a healthy root development system.
Urginea have been used medicinally for centuries but can be toxic in large doses, so please wash your hands after handling.
What to plant with Anthurium
Urginea are imposing plants, creating a dramatic statement when planted alone, creating quite an impressive clump when they have naturalised.
However, when grown amongst grasses or interspersed Allium they look incredible.
When choosing companion plants, think about the growing conditions that are preferred by each plant. Maybe grow Urginia maritima with Allium Forelock, Moly or Hair – the almost globe-like spheres of blooms will hover above the foliage but will have faded by the time the Urginea flowers have fully developed so will not detract from the spectacle.
Whether grown in borders or containers, the period when the foliage is absent could be filled with a low growing, evergreen carpet of Delosperma Suntropics Purple, Copper or Red, which become covered with bright almost neon coloured daisy-like flowers from spring until the first frosts.
How to care for Anthurium
Many of us like to show off our houseplants in an attractive pot which is non-porous to protect surfaces and compliment foliage and flowers. You should always ensure that plants remain potted in a plastic or terracotta pot which has holes in the base and is placed inside the container which is on show. It is a good idea to add a layer of gravel or small pebbles to the base of the outer pot to ensure roots are never sat in any water which may drain through as this can stagnate and will rot the roots.
Water your Anthurium andreanum only when the planting medium feels dry, allowing the water to drain away before replacing the pot. Sometimes the top of the compost might appear dry but is still quite wet below the surface. You should check this by inserting your finger into the soil a few cm’s before you water. The leaves will start to turn yellow if you are overwatering.
In spring and summer, feed your Anthurium andreanum once a month with diluted houseplant liquid feed or tomato food to encourage blooms and add nutrients to the soil. There is no need to feed your plants in winter and watering should be sparse.
Plants push out flowers intermittently all year round and tend to have a period of around 2-3 months where they rest and gather energy. This is usually in winter when light levels are low. If you can, move your plant into a brighter spot for the winter months.
Pull away spent flowers and foliage once they have withered and wipe the leaves gently with a soft cloth to remove dust and keep them looking shiny and healthy.
If you notice roots emerging from the surface of the pot, do not be concerned - these are aerial roots which Anthuriums use to cling onto host plants in their natural habitat and should be misted with a fine water spray to keep moist or pushed gently back into the soil.
Repot your Anthurium once the roots have filled their pot, usually every 2-3 years. Slide your plant out from its container and gently loosen the roots. Place it into a slightly larger pot filled one third with houseplant compost and perlite or orchid compost before filling in around the edges and surface. Water the pot well and allow to drain before moving to its final spot. Anthuriums like a tight-fitting pot so do not jump up to a much larger size too quickly.
How to propagate Anthurium
The easiest, fastest, and most reliable form of propagating Anthurium andreanum is by dividing plants. Do this at the same time as repotting a plant which has outgrown its pot in spring.
Tease the plant apart gently into several smaller sections and re-pot each division into its own smaller pot. Use good quality houseplant compost mixed with perlite or orchid compost for repotting and keep plants well-watered until roots have established.
You could also try producing more plants by taking cuttings from your Anthurium andreanum. Remove non-flowering stems 8-10cm long just below a leaf node (this is where a leaf joins the stem) and place the cuttings in a glass or jar of fresh water away from direct sunlight. Keep the water level topped and you will notice roots appearing within a week or two. The roots should be a decent size within 4-5 weeks when your cuttings will be ready to pot up. Pot each rooted cutting into a small pot of houseplant compost, water in and keep the cuttings moist with regular spritzing until roots reach the bottom of the pot. You can then pot on into a larger container if you wish and enjoy more of these fantastic plants in your home or share with friends and family!