


How to grow Antennaria
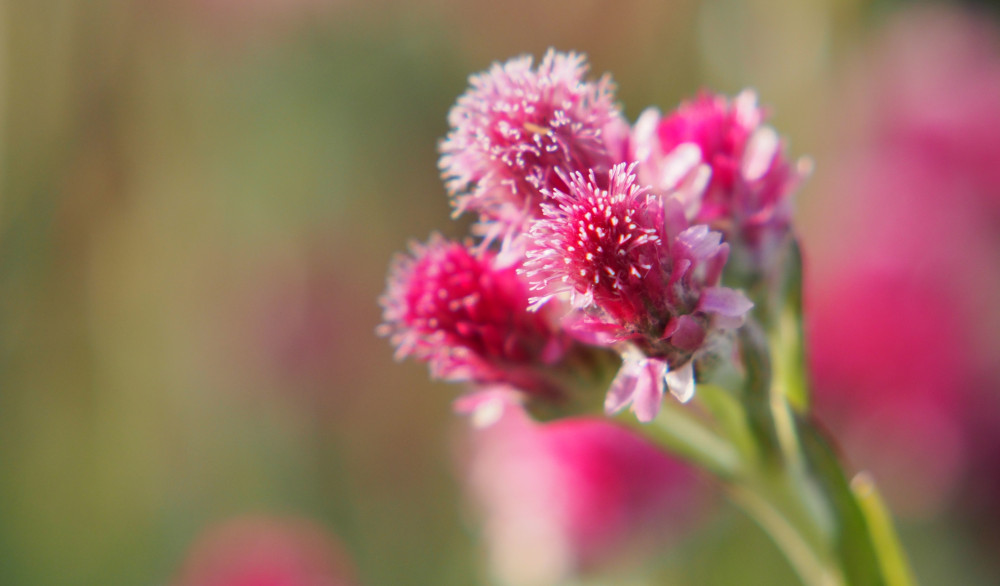
This member of the daisy family is an evergreen, mat-forming perennial grown for its silvery, ground covering basal foliage and pretty, ‘everlasting’ flowerheads from spring to late summer. These are particularly good for drying and are a favourite of flower arrangers.
There are around 45 species found growing in sunny, open habitats throughout the northern hemisphere, though many are concentrated in North America. Antennaria is a hardy, robust plant which is far tougher than its delicate appearance suggests. It also goes by the common names of cat’s ears, pussy toes, and cat’s foot – a nod to the resemblance of the flower clusters to the paw of a cat.
Key Information
Position
Soil Conditions

Hardiness


Where & when to plant Antennaria
For best results, plant in autumn or spring. An autumn planting can be done by those gardening in mild conditions (and broadly speaking, this is the southern half of the UK). For those liable to cold winters, it is best to wait until spring (generally the northern half of the UK). Planting can also be carried out in summer, though be prepared to water regularly.
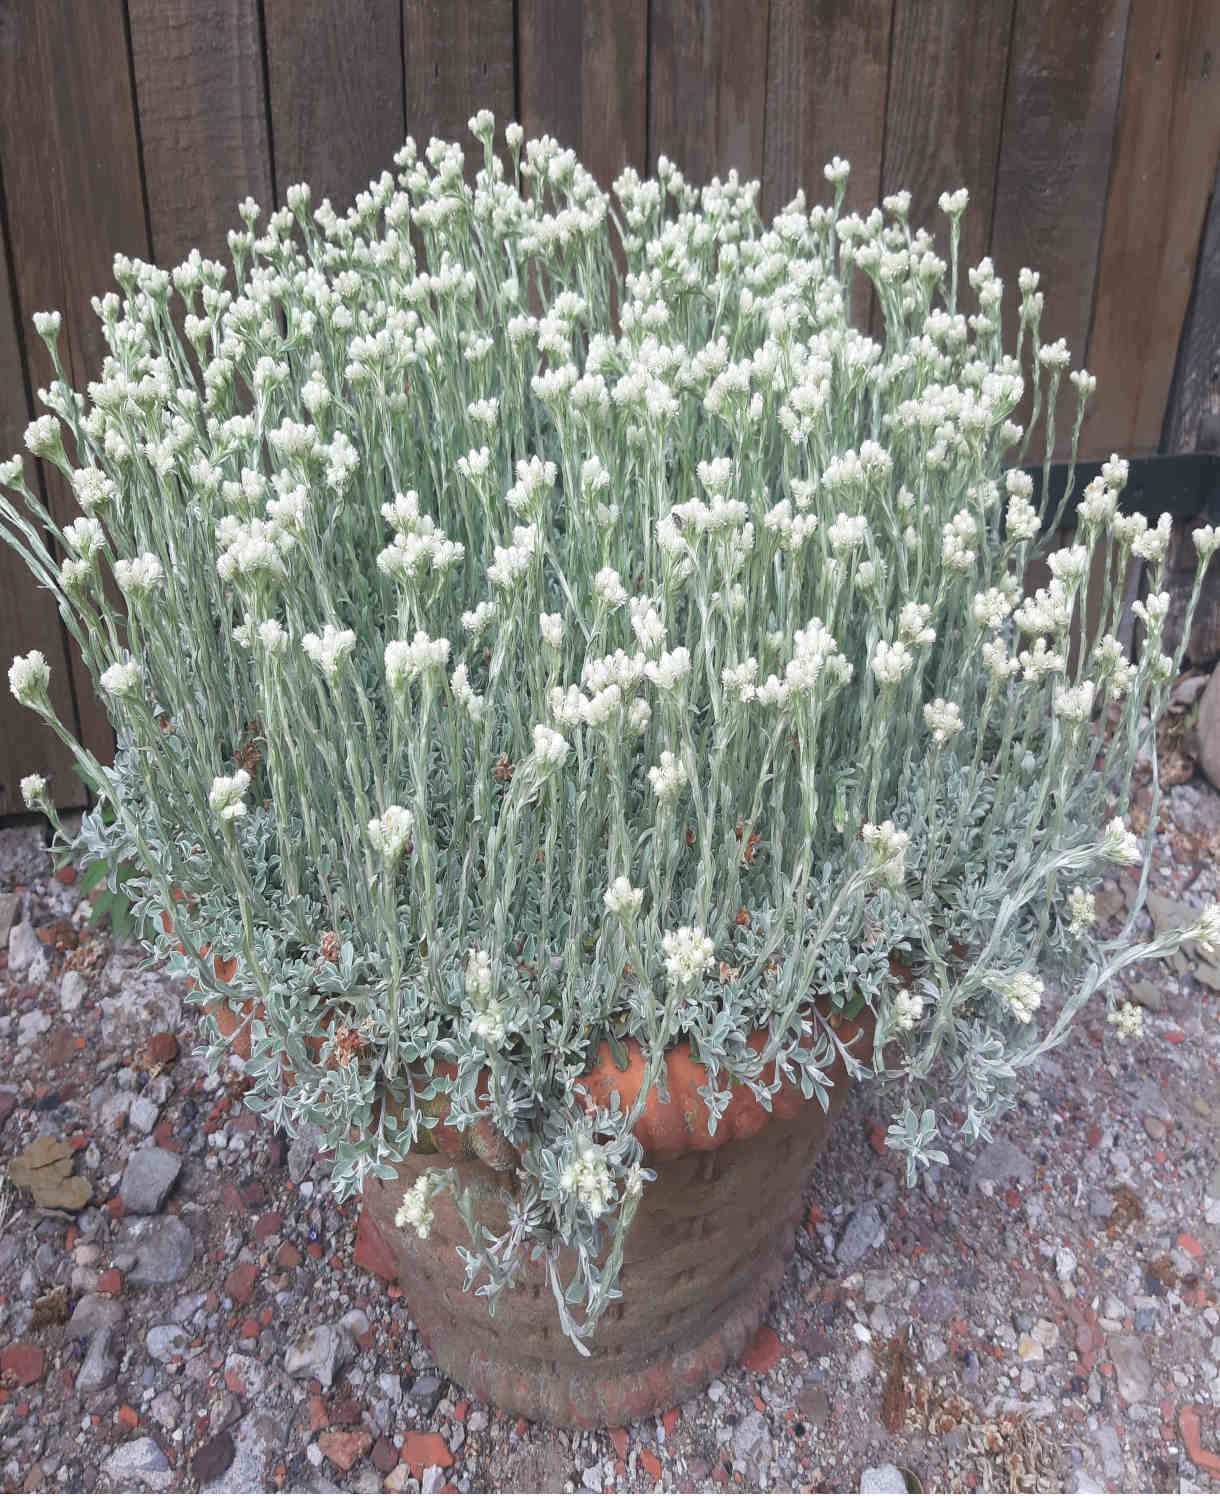
This is a sun-loving plant which thrives in open, well-draining spots such as rock gardens, the front of a dryish border, crevices in walls or paving, or scree and gravel beds. It can also be grown in alpine troughs, or containers filled with a well-draining compost mix.
How to plant Antennaria
- For planting in the garden, dig the soil area removing any large stones and weeds and breaking up any lumps. If you have it, mix in some organic matter such as manure or garden compost. Rake level and firm with your heels. Rake level again.
- Water plants well and allow to drain before planting.
- Dig a hole twice the size of the root-ball.
- Place the plant in the hole, ensuring the top of the root ball sits level with the surface of the soil. Too low and the plant may rot, too high and the roots can dry out.
- Backfill with soil and firm in gently with your foot.
- Soak well with water.
- Mulch around the base with well-rotted organic matter.
- For planting in containers, first choose an appropriately sized pot. You may wish to grow your antennaria on its own in a pot, or as part of a larger, mixed container display. Either way, ensure there are plenty of drainage holes in the bottom.
- If you are using a large or heavy pot, it can be a good idea to fill and plant it in situ to save yourself the trouble of moving once full.
- Use a good quality potting compost with plenty of horticultural sand or grit mixed in and, if not already present (check the labelling on the bag) some slow-release fertiliser granules.
- Start by partially filling the pot with compost; enough so that when placed on it the upper surface of the root ball is about 3cm lower than the top of the pot.
- Fill around the plant with compost, firming down with your fingers then adding a little more so it is held tight.
- Pick up the container (if you can!) and lightly tap on the potting bench or ground a few times to help further settle the compost around the plant.
- Soak well with water.
- A mulch with horticultural grit will look attractive and help to prevent a ‘cap’ or crust forming on the top of the compost (something container plants can suffer due to the artificial nature of their watering).
What to plant with Antennaria
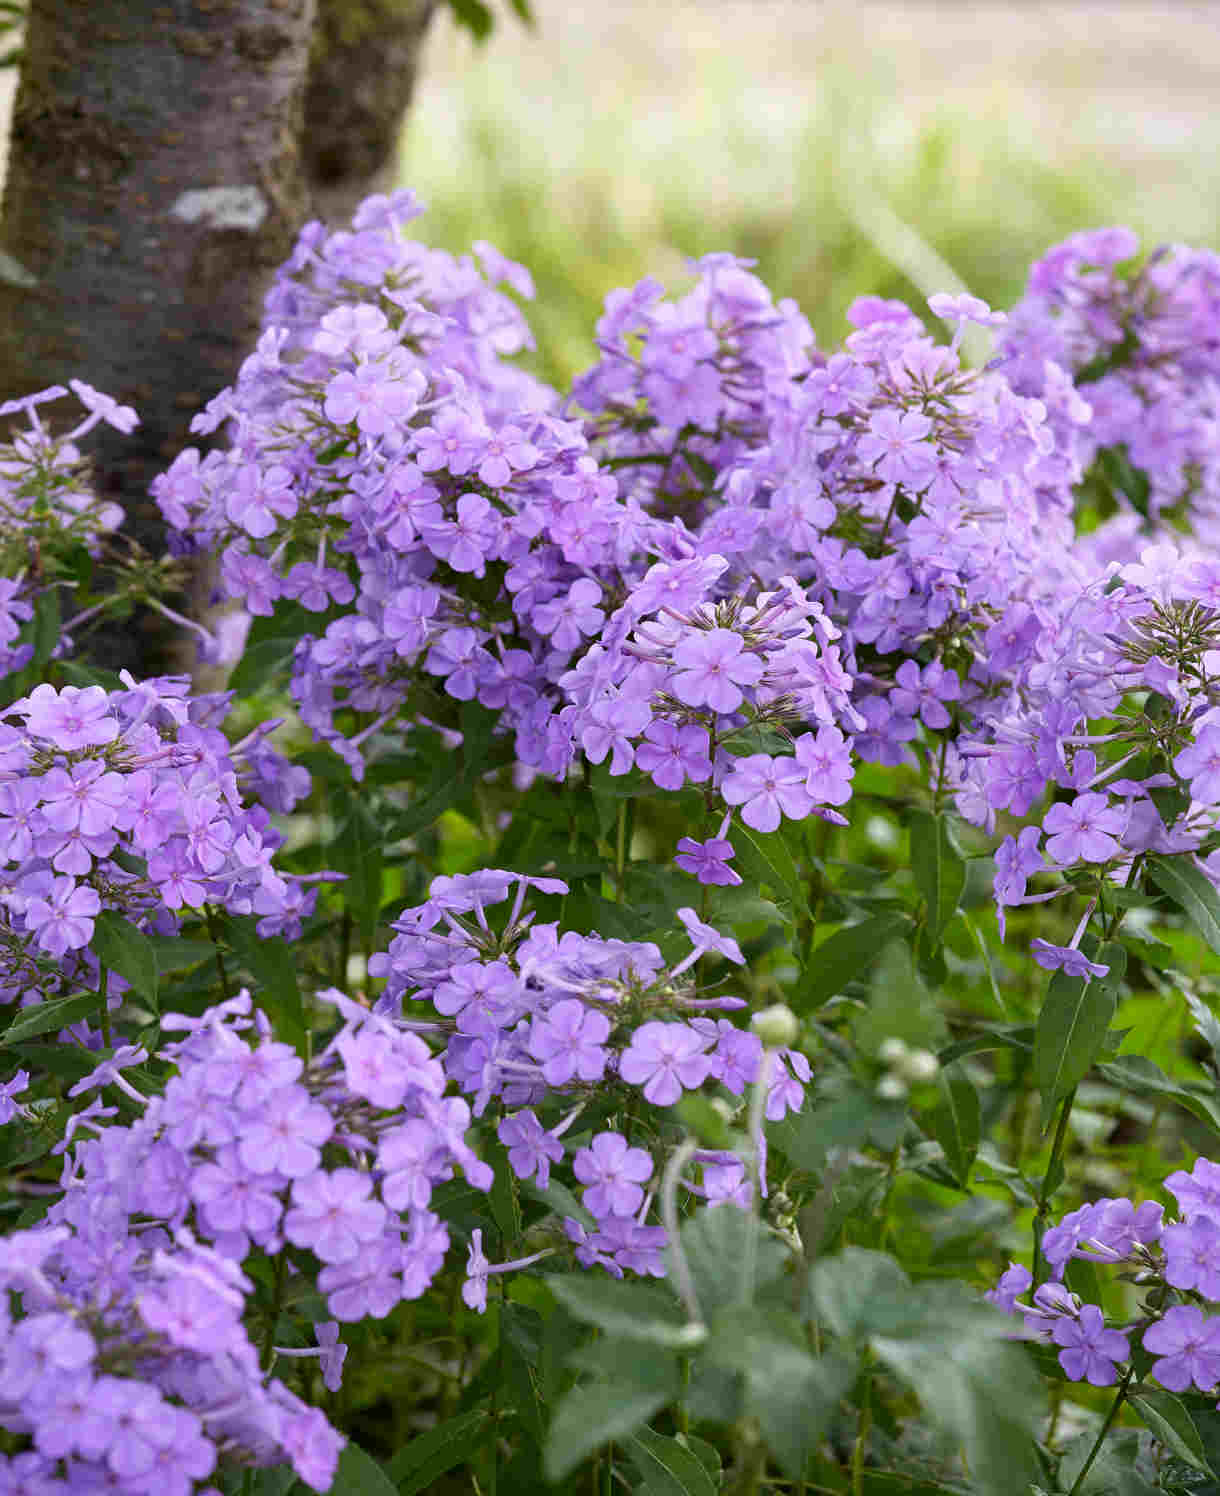
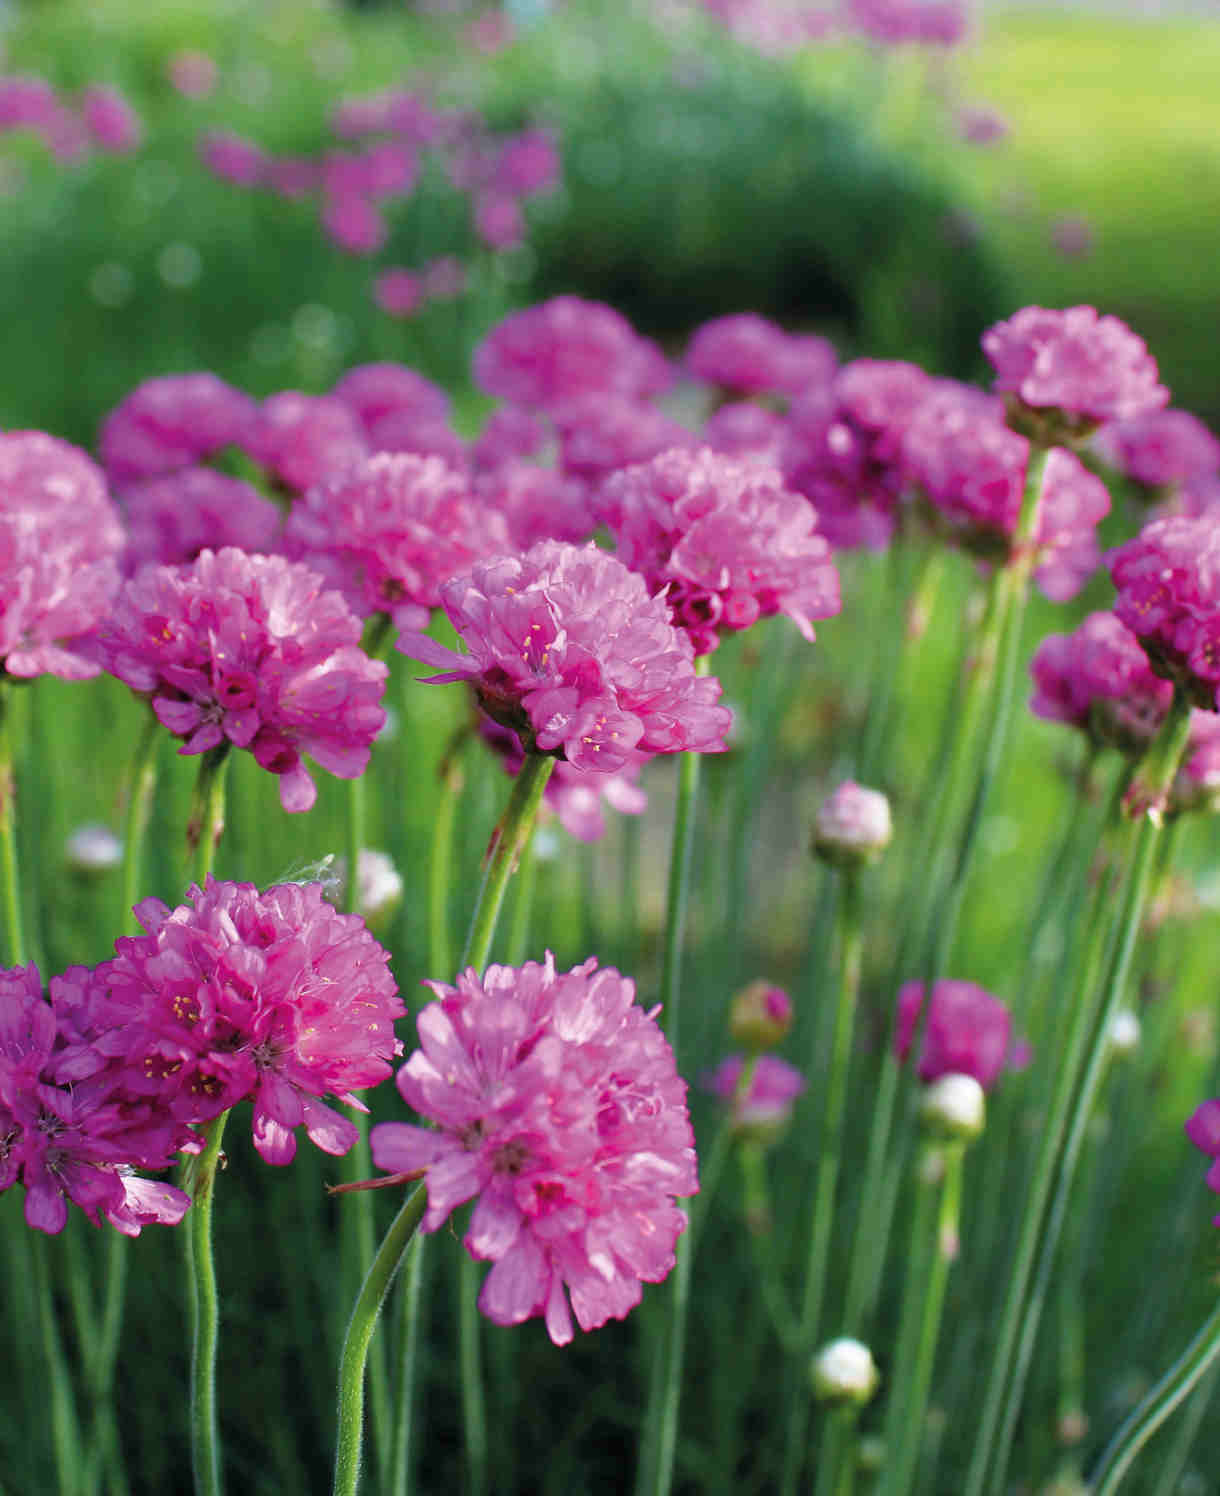
Antennaria makes a natural companion for other low-growing, sun-and-drainage loving companions such as creeping thyme, armeria, creeping phlox, erodium, and helianthemum.
How to care for Antennaria
Pruning and Deadheading
Simply cut or shear flowers off after blooming and remove any tatty foliage in spring.
Watering
During its first year in the ground, water your antennaria regularly until established (i.e., during the first few weeks after planting), and then only in very hot dry spells after this. From year two onwards, antennaria is known to be extremely drought tolerant so shouldn’t require any attention in this respect.
Container-grown antennaria has a much more limited root run and will need watering throughout every growing season. Aim to water deeply and thoroughly, then allow the compost to almost dry out completely before repeating. This is to avoid having the roots sitting too wet, something these drainage-loving plants dislike.
Feeding
On healthy, fertile soil, an annual mulch of well-rotted organic matter (i.e., a layer of manure or garden compost applied to the soil around the plant) should provide more than enough nutrients to sustain your antennaria. This has the added benefit of suppressing weeds and locking in moisture. Autumn or spring are the best times to mulch.
Container-grown plants are different, as they rely solely on the gardener for nutrition. Get off to a flying start by making sure you use a good quality potting compost with slow-release granules mixed in. These generally provide nutrients for around 6 to 8 weeks, after which you’ll need to apply a balanced liquid feed every 2-3 weeks until the end of the growing season.
Remember also to repot your antennaria every few years, going up slightly in pot size and using fresh compost containing slow-release fertiliser granules. Once the plant reaches full size, an annual top dress is advisable: each spring, scrape off the top 5cm of compost and replace with fresh compost, again containing slow-release granules.
Cold Protection
Antennaria is hardy enough to withstand the average UK winter without the need for additional protection. If you garden in a particularly cold or exposed spot prone to harsh winters, either go for one of the super hardy species such as A. parvifolia or A. margaritacea, or else apply a dry, insulating mulch (straw, bracken, or bark chippings are all ideal), around the roots in autumn.
Like all plants, those grown in containers can be more susceptible to the cold, and so it can be worth wrapping the base in hessian, fleece, or bubblewrap. This insulates the roots while also protecting the pot from frost damage.
Pests and Diseases
Antennaria is considered trouble-free.
How to propagate Antennaria
Sow seeds in autumn or spring.
- Seeds are typically ready for collecting in late summer to autumn when they’ve turned dark.
- Snip the seedheads from the plant using scissors or secateurs. Try to do this in dry conditions, and shake the seeds into a small, labelled paper bag or envelope.
- Store somewhere cool and dry until you are ready to sow in autumn or spring.
- Fill a seed tray, module tray or small pots with a well-draining compost mix, compressing the surface lightly with a flat piece of wood or the bottom of another pot.
- Sprinkle the seeds evenly over the surface.
- Use a garden sieve to cover with a fine layer of compost.
- Water the soil gently with a fine spray until it is evenly moist but not waterlogged.
- Place the tray or pots in a sheltered spot outside, such as in an open cold frame or in the lee of a wall.
- When the seedlings have developed their first ‘true leaves’, carefully prick out into individual pots and grow on until they are large enough to plant out into the garden, following our ‘How to plant antennaria’ section above.
* Many plants carry Plant Breeders Rights and cannot be propagated for commercial purposes.
Common questions about Antennaria
- Does antennaria spread?
Many species, including the popularly grown dioica, spread gently by underground stolons, hence their popularity as ground cover plants. - Is there anything to avoid when growing antennaria?
Steer clear of anywhere prone to sitting wet, particularly in winter. Shade is another ‘no-no’ for this sun-worshipper.