


How to grow Anaphalis
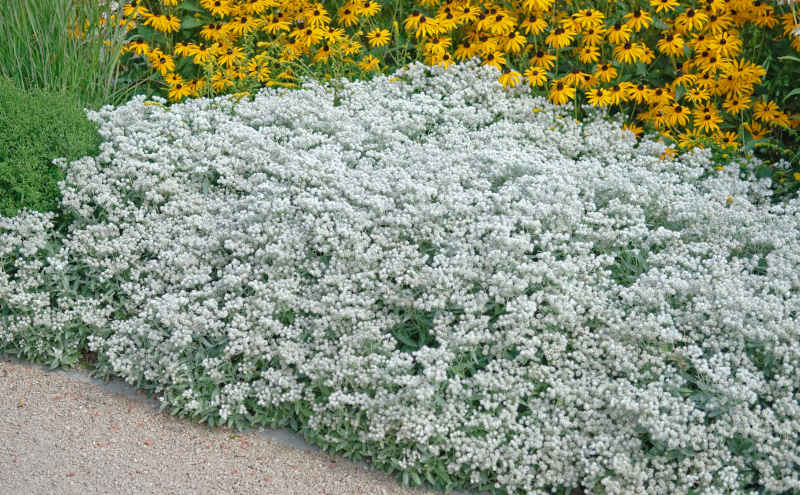
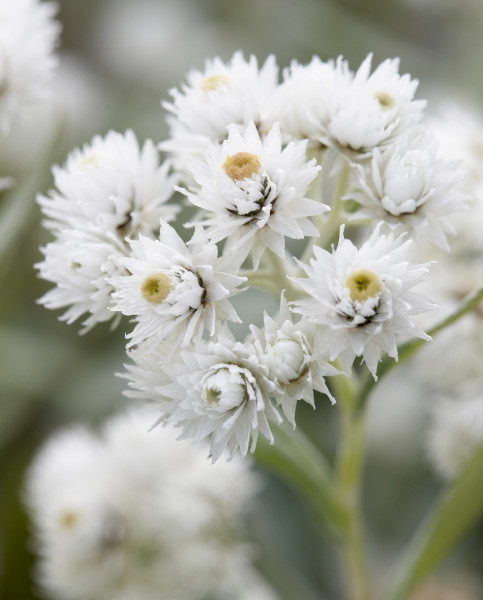
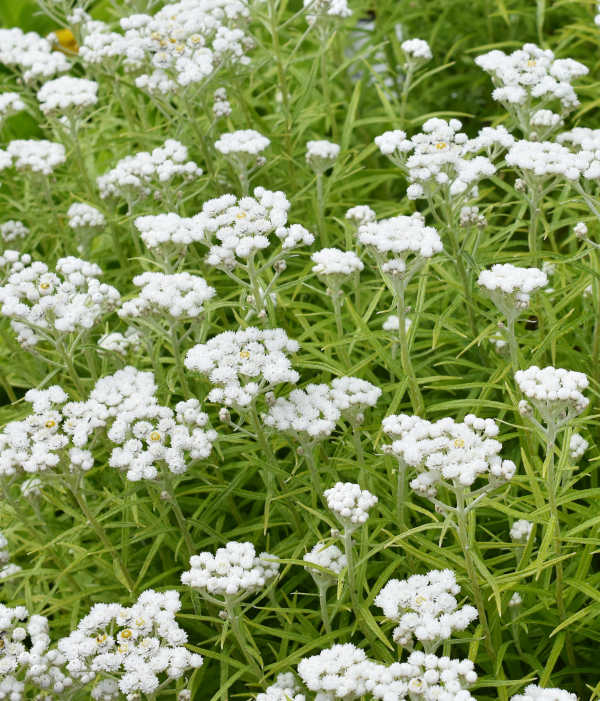
Also known as ‘pearl everlasting’ due to its long-lived clusters of papery, button-like white blooms, this member of the daisy family is a favourite among florists and gardeners alike. For florists its main attributes are an impressively long vase life as well as a suitability for dried arrangements and pot pourri. For gardeners, it is appreciated as one of the few silvery plants to cope well with moist, heavy soils, while also doing well in drier places such as gravel and rock gardens. Added to this impressive adaptability is a long and prolific flowering period along with a good resistance to pests and diseases.
Key Information
Soil pH

Position
Hardiness

Where to plant Anapahlis
For best results, plant in autumn or spring. An autumn planting can be done by those gardening in mild conditions (and broadly speaking, this is the southern half of the UK). For those liable to cold winters, it is best to wait until spring (generally the northern half of the UK). Planting can also be carried out in summer, though be prepared to water regularly.
Anaphalis makes an unusual addition to moist herbaceous borders where few silvery leaved plants thrive. It also does well in containers, and smaller species and cultivars make long-lived additions to rockeries and gravel gardens.
How to plant Anaphalis
- For planting in the garden, dig the soil area removing any large stones and weeds and breaking up any lumps. Mix in some organic matter such as manure or garden compost. Rake level and firm with your heels. Rake level again.
- Water plants well and allow to drain before planting.
- A good tip is to dig a hole twice the size of the root-ball. Fill with water and allow to drain before placing in the plant.
- Place the plant in the hole, ensuring the top of the root ball sits level with the surface of the soil. Too low and the plant may rot, too high and the roots can dry out.
- Backfill with soil and firm in gently with your foot.
- Soak well with water.
- Mulch around the base with well-rotted organic matter.
- For planting in containers, first choose an appropriately sized pot. You may wish to grow your anaphalis on its own in a pot, or as part of a larger, mixed container display. Either way, ensure there are plenty of drainage holes in the bottom.
- If you are using a large or heavy pot, it can be a good idea to fill and plant it in situ to save yourself the trouble of moving once full.
- Use a good quality potting compost with some horticultural grit mixed in and, if not already present (check the labelling on the bag) some slow-release fertiliser granules.
- Start by partially filling the pot with compost; enough so that when placed on it the upper surface of the root ball is about 3cm lower than the top of the pot.
- Fill around the plant with compost, firming down with your fingers then adding a little more so it is held tight.
- Pick up the container and lightly tap on the potting bench or ground a few times to help further settle the compost around the plant.
- Soak well with water.
- A mulch with horticultural grit will look attractive and help to prevent a ‘cap’ or crust forming on the top of the compost (something container plants can suffer due to the artificial nature of their watering).
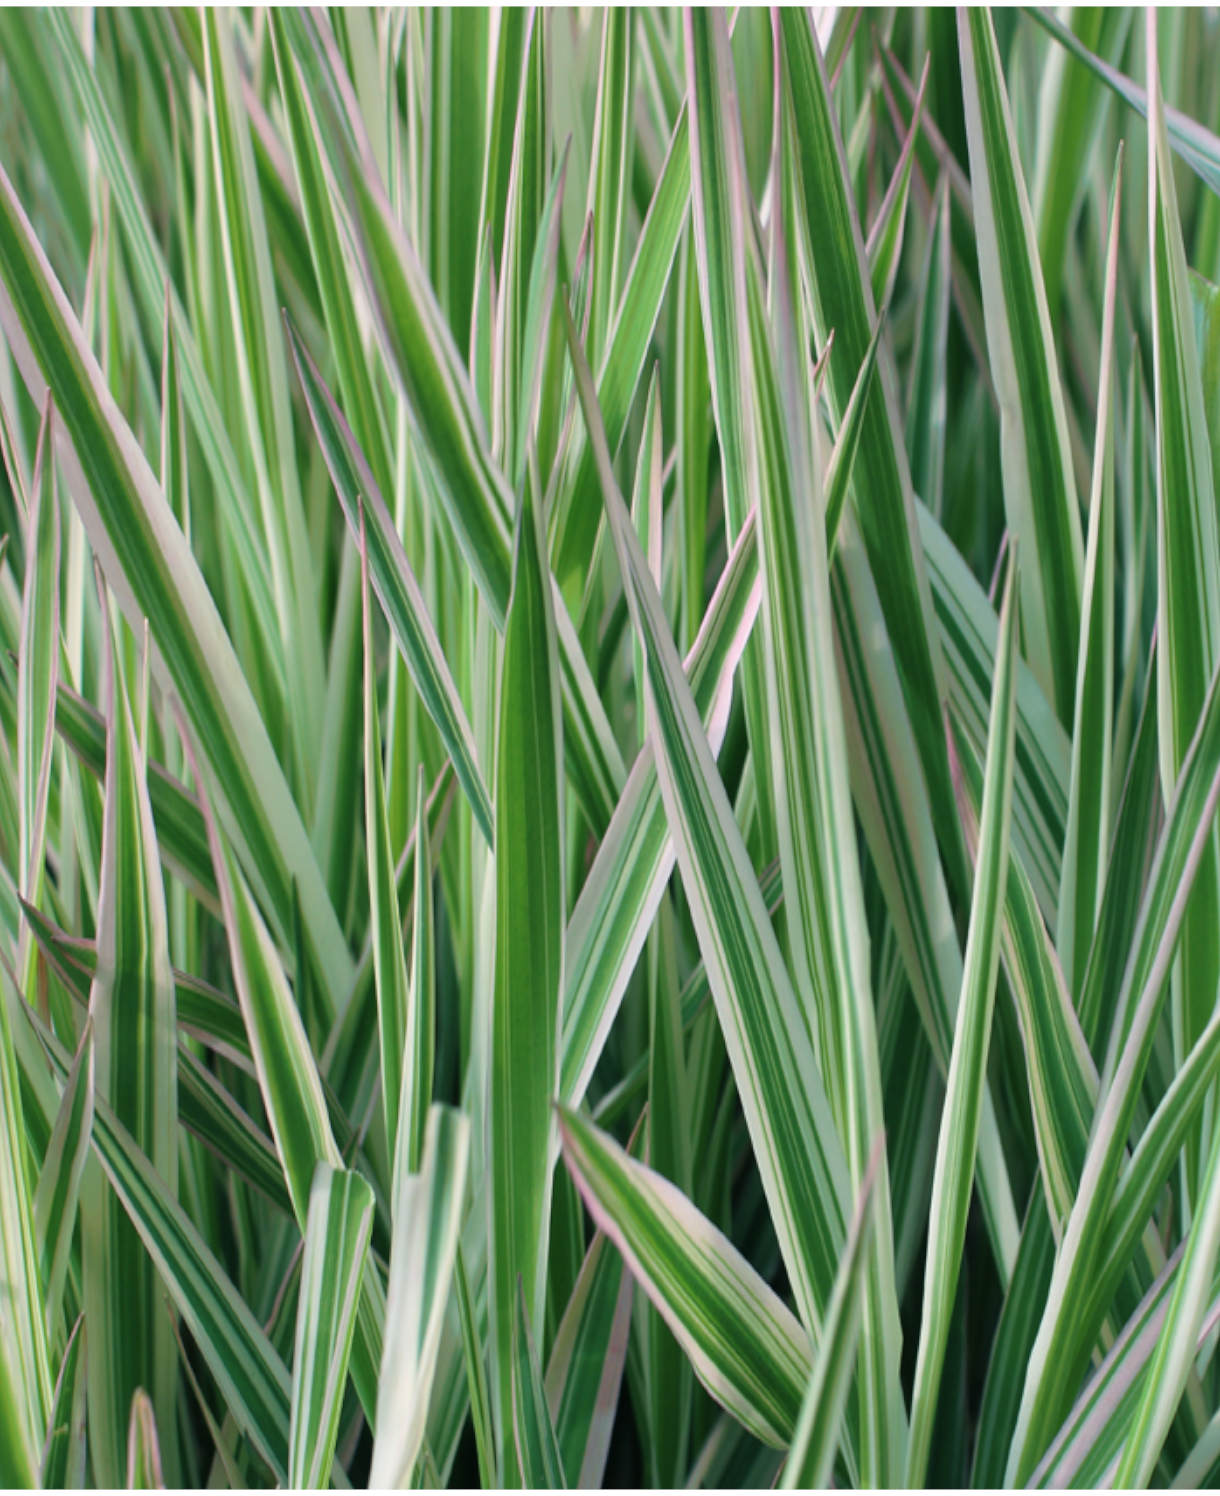
What to plant with Anaphalis
How to care for Anaphalis
Pruning and Deadheading
No deadheading required for this highly floriferous plant.
Spent flowerheads can be left intact over winter to provide seasonal interest and a habitat for overwintering insects. Cut back in spring.
Cut the foliage of deciduous species back in spring, and give evergreens a light tidy, removing any tatty, old growth.
Watering
Anaphalis should be regularly watered during its first growing season in the ground, after which it should need watering only in very hot, dry weather. Pay particularly close attention to A. nepalensis, which should not be allowed to dry out.
Container-grown anaphalis have less access to moisture so need regularly watering throughout every growing season. Allowing the top few centimetres of compost to dry out between soakings is a good rule of thumb, being aware that in the height of summer this can be as often as every day. To check, wiggle your finger down until you hit moisture. From mid-autumn, the British climate tends to take over watering needs, though do remember to step in in the event of an unseasonably dry spell.
Feeding
On healthy, fertile soil, an annual mulch of well-rotted organic matter (i.e., a layer of manure or garden compost applied to the soil around the plant) should provide more than enough nutrients to keep your anaphalis going. This has the added benefit of suppressing weeds and locking in moisture. Autumn or spring are the best times to mulch.
Container-grown plants are different, as they rely solely on the gardener for nutrition. Get off to a flying start by making sure you use a good quality compost, then throughout the growing season (March to September) apply a fortnightly liquid feed.
Cold Protection
Anaphalis is very hardy and can be expected to survive a UK winter without the need for additional protection.
Pests and Diseases
Anaphalis is considered pest and disease free.
How to propagate Anaphalis
The quickest and easiest way to propagate anaphalis is by lifting and dividing established clumps in early spring. Aim to leave a 2-3 year recovery period each time you do this.
- Choose a day when the soil is not frozen or waterlogged.
- Dig the plant out of the ground.
- Shake off any excess soil.
- Separate the plant into sections using either swift, cutting blows with a sharp spade, or two forks inserted back-to-back with tines touching, handles then pushed together to prise the plant apart.
- Discard old, damaged, or surplus pieces, keeping healthy, vigorous material.
- Replant decent-sized pieces where desired, and any smaller bits can be potted up.
- Water well until fully established.
Another approach is to take cuttings in spring to early summer.
- Find non-flowered shoots 5-10cm long and snip off the plant.
- Put them in a plastic bag straight away to prevent drying out.
- Fill a container with a compost mix which is at least 50% perlite (or if you prefer, as we do, 100% perlite).
- Trim the end of the cutting to just below a node (point at which leaves grow).
- Remove the lowest third of leaves.
- Nip off the soft tip.
- Insert the cuttings into the compost and water lightly. Several cuttings can be put in the same container if there is enough space to do this without them touching.
- Place in a propagating unit with bottom heat if you have one or covered with a plastic bag on a windowsill or in a greenhouse if not (out of direct sunlight).
- Keep the cuttings misted and occasionally watered until they root. You will know this has happened when roots emerge out of the bottom of the container – expect it to take 2-4 weeks.
- Harden off the cuttings by taking them out of the propagating unit or removing the plastic bag, and leaving uncovered like this for a couple of weeks.
- Gently remove rooted cuttings and pot them into individual pots. Grow on in a frost-free environment such as a conservatory, greenhouse, or sunny windowsill, until they are large enough to be planted out.
* Many plants carry Plant Breeders Rights and cannot be propagated for commercial purposes.