


How to grow Adenophora
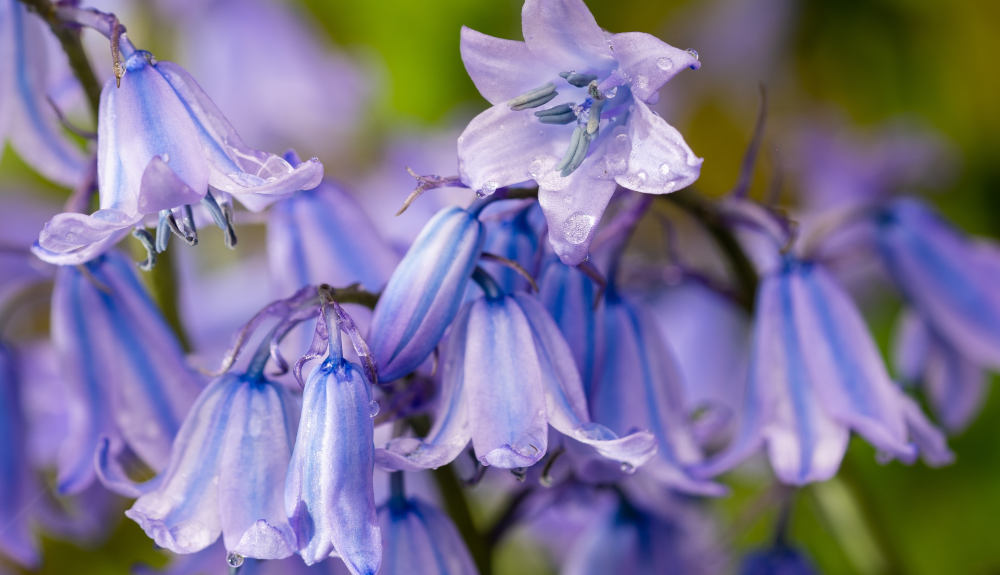
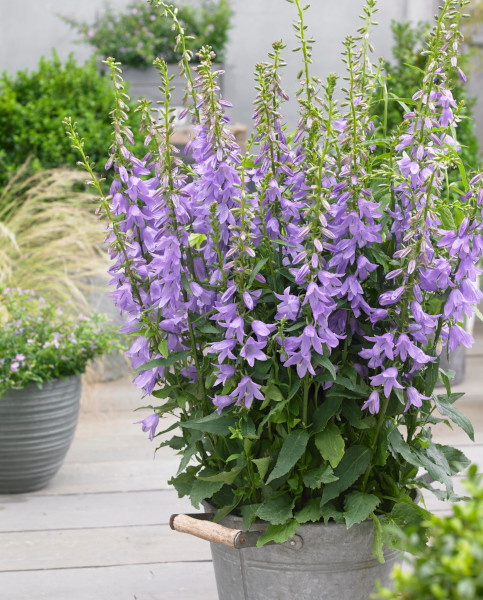
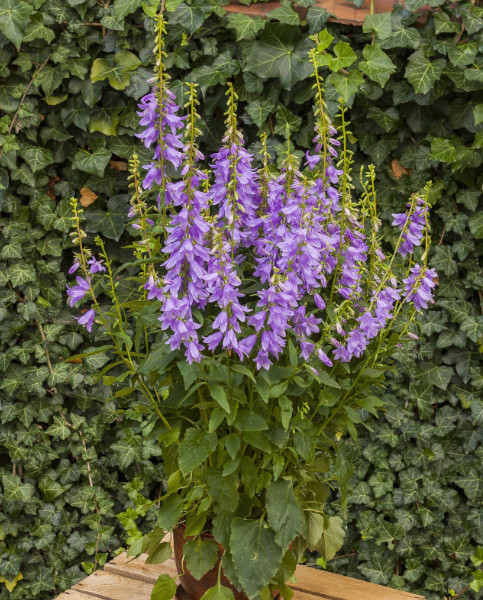
Adenophora is a close relative of campanula. It is mostly native to China and Siberia, with a few species also occurring in Europe. So similar is its appearance to campanula that the two can be difficult to tell apart – the only significant difference being a disc inside the adenophora flower, found at the base of the styles.
Also going by the common name of ladybells, adenophora is grown for its long lasting, bell-shaped, lavender-blue flowers and easy, reliable nature. Though lesser known by UK gardeners, many species have been used in traditional Chinese medicine for centuries.
Key Information
Soil pH

Position
Hardiness

Where to plant Adenophora
For best results, plant in autumn or spring. An autumn planting can be done by those gardening in mild conditions (and broadly speaking, this is the southern half of the UK). For those liable to cold winters, it is best to wait until spring (generally the northern half of the UK). Planting can also be carried out in summer, though be prepared to water regularly.
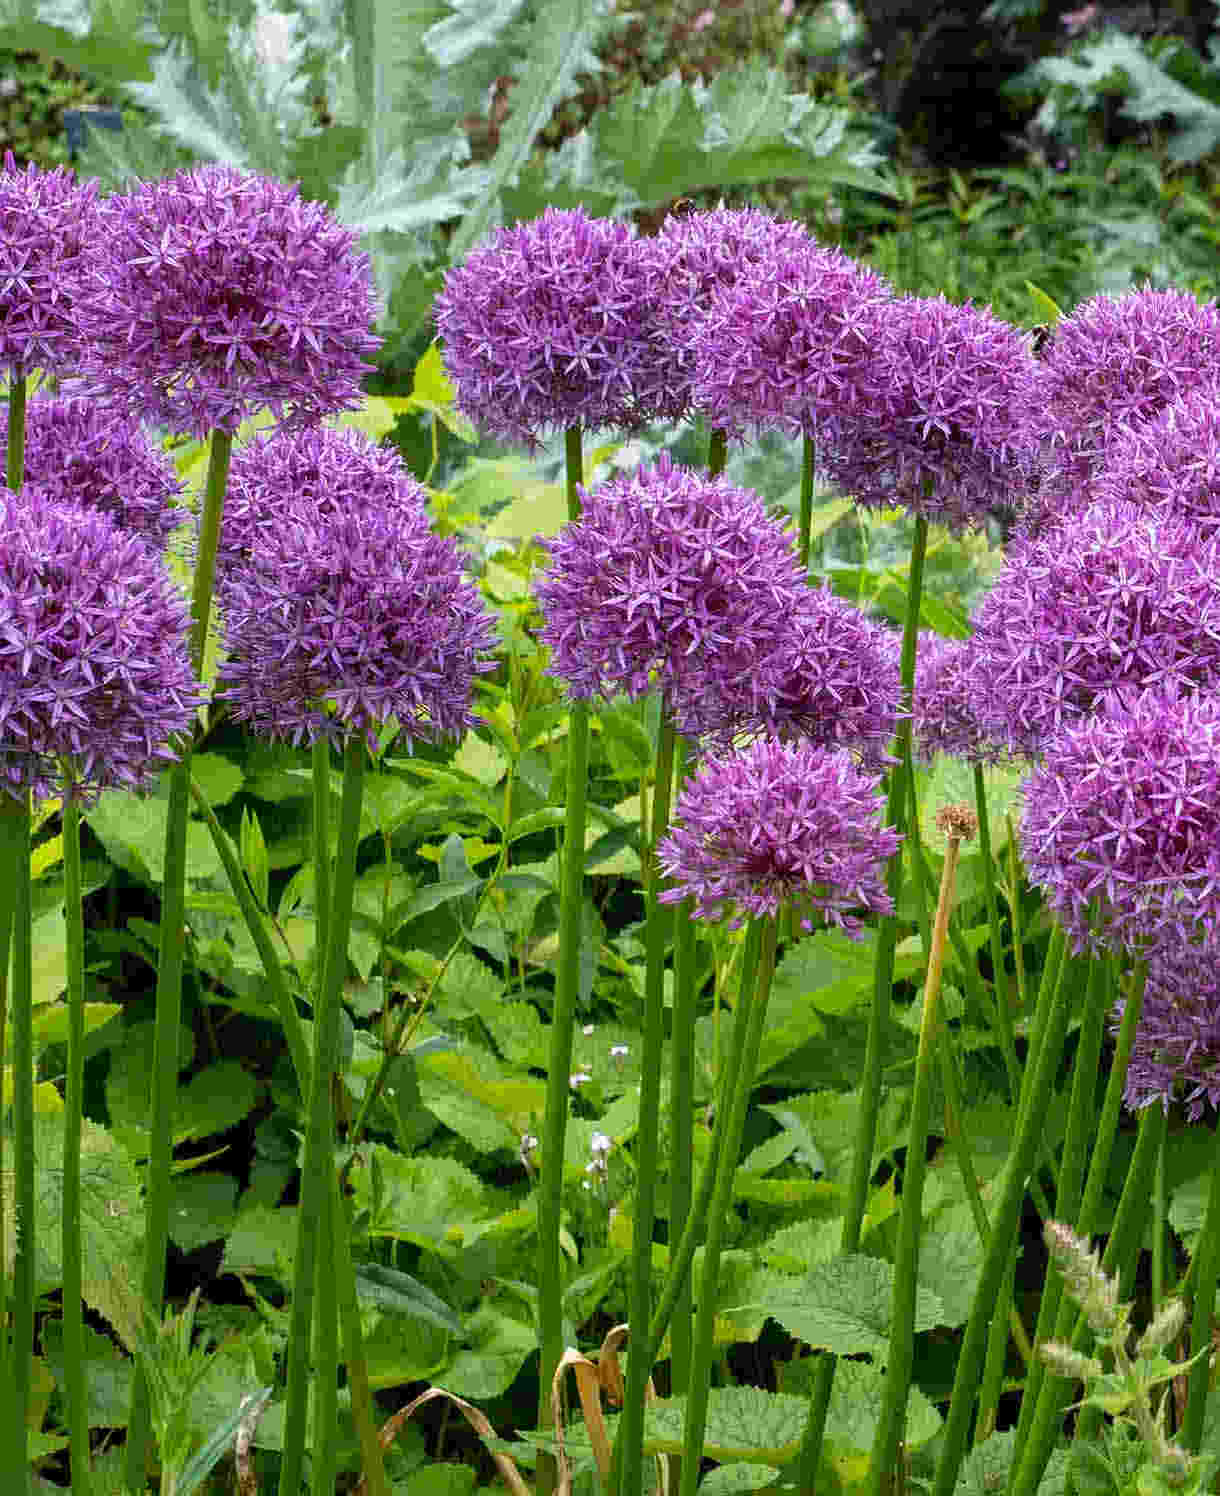
Adenophora fits easily into a cottage garden style scheme or mixed border. It is attractive to pollinators so can be a good choice for companion planting in a vegetable garden. It also lasts well as a cut flower. For best results, plant generously in a group or drift.
How to plant Adenophora
- For planting in the garden, dig the soil area removing any large stones and weeds and breaking up any lumps. It’s a good idea at this stage to improve the soil with organic matter, such as manure or garden compost.
- Rake level and firm with your heels. Rake level again.
- Water plants well and allow to drain before planting.
- A good tip is to dig a hole twice the size of the root-ball. Fill with water and allow to drain before placing in the plant.
- Place the plant in the hole, ensuring the top of the root ball sits level with the surface of the soil. Too low and the plant may rot, too high and the roots can dry out.
- Backfill with soil and firm in gently with your foot.
- Soak well with water.
- Mulch around the base with well-rotted organic matter.
- For planting in containers, go for as deep a pot as you can, as adenophora strongly resents root disturbance. Giving the fleshy, brittle roots plenty of room now will mean repotting in a couple of years is less likely to cause damage. Ensure there are plenty of drainage holes in the bottom.
- If you are using a large or heavy pot, it can be a good idea to fill and plant it in situ to save yourself the trouble of moving once full.
- Use a good quality potting compost with some horticultural grit mixed in and, if not already present (check the labelling on the bag) some slow-release fertiliser granules.
- Start by partially filling the pot with compost; enough so that when placed on it the upper surface of the root ball is about 3cm lower than the top of the pot.
- Fill around the plant with compost, firming down with your fingers then adding a little more so it is held tight.
- Pick up the container (if you can!) and lightly tap on the potting bench or ground a few times to help further settle the compost around the plant.
- Soak well with water.
- A mulch with horticultural grit will look attractive and help to prevent a ‘cap’ or crust forming on the top of the compost (something container plants can suffer due to the artificial nature of their watering).
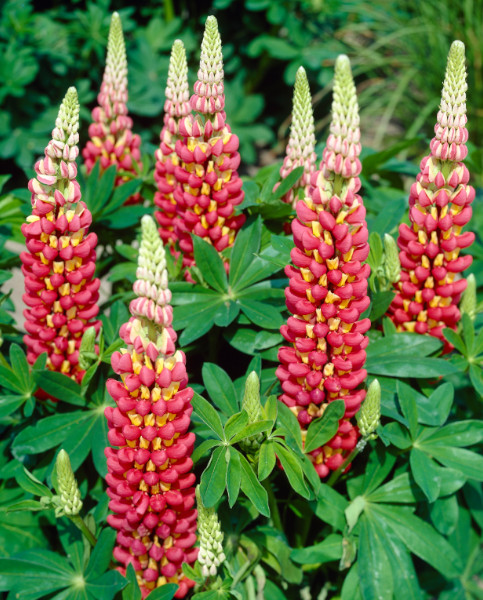
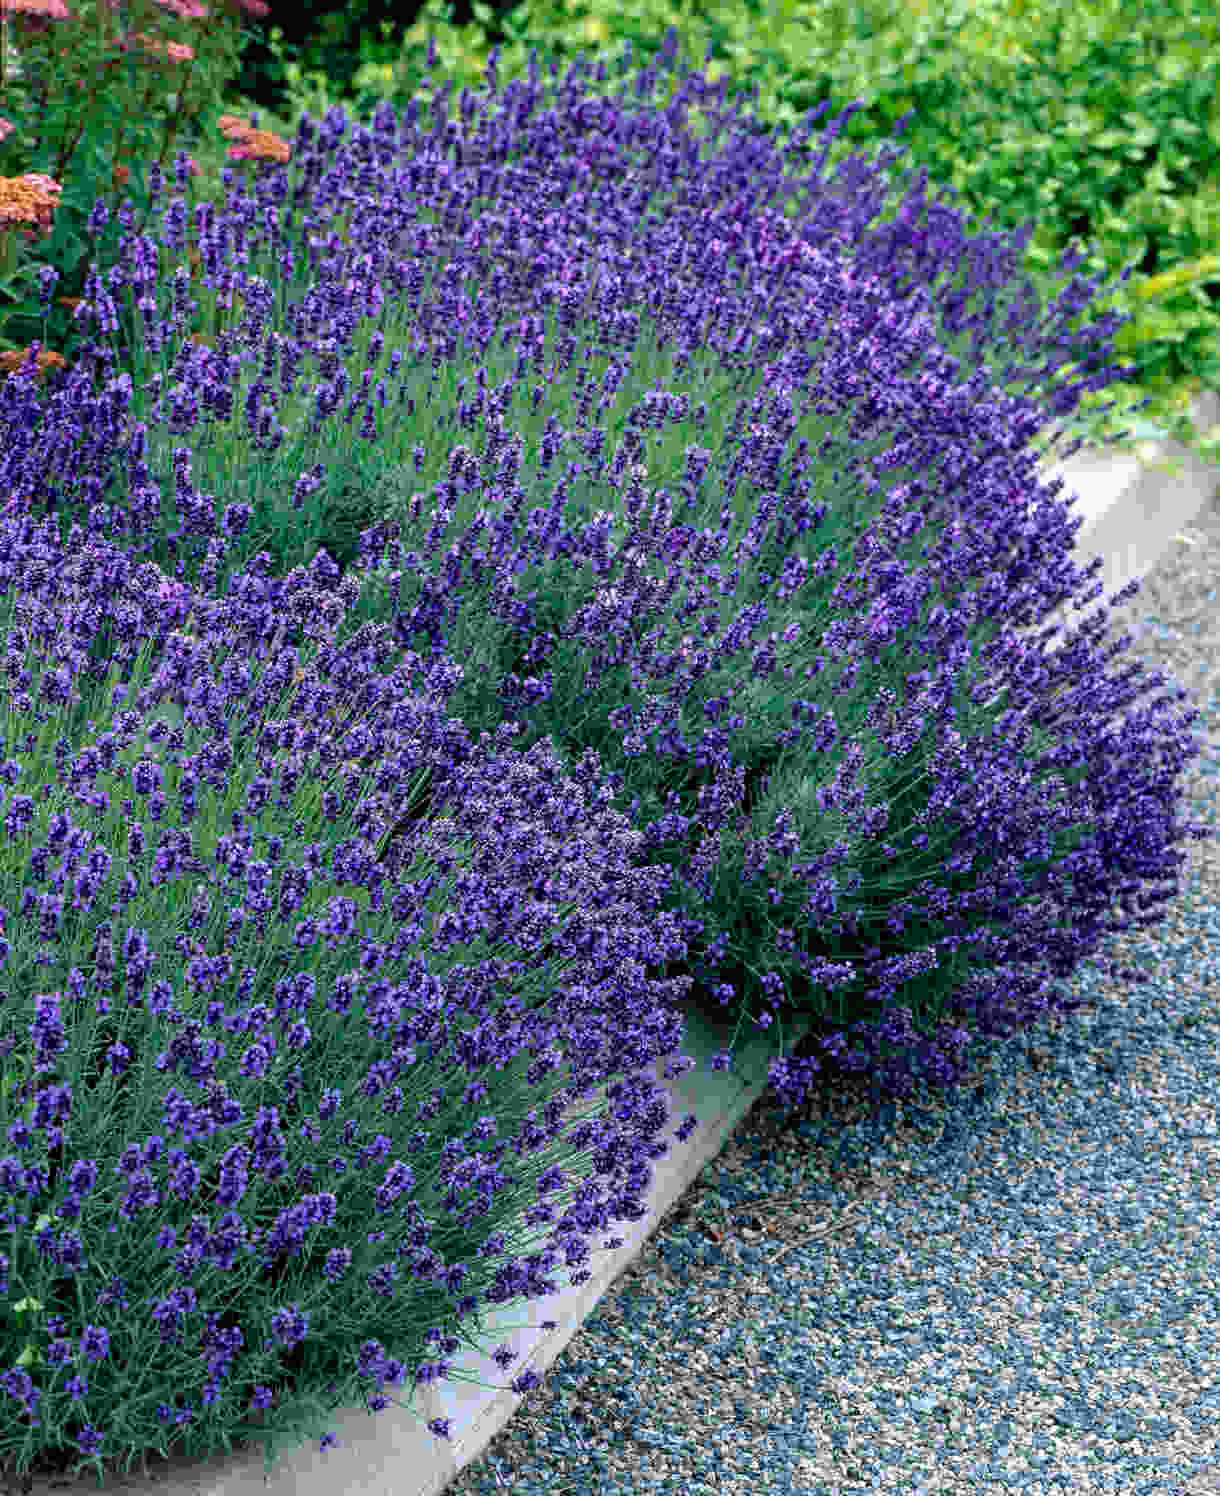
What to plant with Adenophora
How to care for Adenophora
Pruning and Deadheading
Deadheading is not essential, though will keep plants looking neat and encourage them to keep flowering. Simply cut spent flowerheads down to the basal foliage.
If you wish to encourage your adenophora to self-seed or collect seed for propagation, leave a few flowerheads intact from midsummer onwards.
Cut the whole lot down to the basal foliage in mid to late autumn.
Watering
Adenophora in the ground should be given a good watering in on planting, followed by a thick layer of mulch to lock the moisture in (see next section for more on this). Water again a few more times in the coming weeks, after which it should be largely self-sufficient in all but the hottest, driest weather.
Adenophora in a container requires regular watering throughout the growing season. To avoid overwatering, a good rule of thumb is to allow the top couple of centimetres to dry out between soakings. To check this, wiggle your finger down into the compost until you feel moisture. Be aware that in the height of summer containers can need watering every day, particularly smaller ones in full sun.
Feeding
On healthy, fertile soil, a mulch of well-rotted organic matter (i.e., a layer of leaf mould, manure, or garden compost applied to the soil around the plant) should provide enough nutrients for your adenophora. This has the added benefit of suppressing weeds and locking in moisture. Mulch when planting, and then again each year in autumn or spring.
If you garden on poor soil or your adenophora looks in need of a boost, applying a granular general-purpose feed to the surface of the soil and lightly working in can reap benefits. This is known as a top dress and is best done in spring.
Container-grown plants are different as they rely solely on the gardener for nutrition. Get off to a flying start by making sure you use a good quality compost with slow-release granules mixed in. These generally provide nutrients for around 6 to 8 weeks, after which you’ll need to apply a balanced liquid feed every 2-3 weeks until the end of the growing season (i.e., September-ish).
Remember to repot your adenophora every few years into a slightly larger pot using fresh compost. When it has reached full size, instead of repotting simply scrape away the top few centimetres of compost and replace with a fresh mix of compost and slow-release granules.
Cold Protection
Adenophora is hardy and able to withstand even a cold UK winter without the need for additional protection.
Like all plants, those grown in containers can be more vulnerable to cold damage. If kept in an exposed position it can be worth wrapping the container in hessian, fleece, or bubblewrap. As well as insulating the roots this helps prevent the pot cracking.
Pests and Diseases
Slugs and snails munching on the foliage can be an issue, particularly when this is young and fresh. Encouraging natural predators into your garden, such as birds, frogs, toads, and hedgehogs, will make a big difference. Torchlight searches after dark (when slugs and snails are at their most active) are also effective, allowing you to collect the offending molluscs in a bucket and dispose of as you see fit. Relocating to a nearby woods or bagging up and putting in your freezer before popping them in the bin are said to be the most humane approaches.
Another potential pest, particularly when grown in a container, can be vine weevils.
In their adult form, vine weevils feed on the edges of leaves, causing a distinctive notching. While unsightly, this damage rarely causes problems, although it does serve as a red flag for greater issues to come. The adults are likely to lay eggs in the compost, leading to the far more damaging larval stage which feed on the fleshy roots of the plant. Between the months of September and March, these grubs can eat their way through entire root systems, often resulting in plant death.
Again, encouraging natural predators into the garden is the most sustainable line of defence. These include birds, frogs, toads, shrews, hedgehogs, and ground beetles. Evening, torchlit searches can also be very effective here too, allowing you to pick off and destroy the nocturnal adult form. Once you have seen evidence of vine weevil on a plant, it is important to check the compost regularly for the white larvae – removing and destroying as many as you can.
How to propagate Adenophora
The best ways to propagate this plant are sowing seed or taking basal root cuttings. Division seldom works, due to an intolerance for root disturbance.
To collect and sow your own seed:
- Seeds are typically ready for collecting in mid to late summer when they’ve turned hard and black.
- Snip the seedheads from the plant using scissors or secateurs. Try to do this in dry conditions, and shake or separate the seeds into a small, labelled paper bag or envelope. These can either be sown straight away or in late winter/ early spring. If the latter, store somewhere cool and dry until it is time to sow.
- Fill several small pots with a well-draining compost mix, compressing the surface lightly with a flat piece of wood or the bottom of another pot.
- Sprinkle the seeds thinly (i.e., spaced apart) over the surface of the compost.
- Use a garden sieve to cover with a fine layer of compost.
- Water the soil gently with a fine spray until it is evenly moist but not waterlogged.
- Place the seed tray or pots outdoors in a sheltered position, such as in the lee of a wall.
- Plant out potfuls of seedlings when young (rather than pricking out individually), to avoid disturbing the roots.
To take basal cuttings:
- In spring, find several strong, basal shoots (originating from the crown) around 10-12cm long.
- With sharp secateurs or a knife, sever cleanly from as close to the base as possible.
- Put them in a plastic bag straight away to prevent drying out.
- Fill a container with a compost mix which is at least 50% perlite (or if you prefer, as we do, 100% perlite).
- Pinch out the soft tip.
- If there are leaves, remove the lowest third. If the remaining leaves are large, cut in half with a sharp knife to reduce water lost through transpiration.
- Insert the cuttings into the compost and water lightly. Several cuttings can be put in the same container if there is enough space to do this without them touching.
- Place in a greenhouse or propagating unit if you have one, or covered with a plastic bag on a windowsill if not (out of direct sunlight).
- Keep the cuttings misted and occasionally watered until they root. You will know this has happened when roots emerge out of the bottom of the container.
- Plant out each pot as it is, rather than separating into individual plants as you would usually. This reduces root disturbance.
* Many plants carry Plant Breeders Rights and cannot be propagated for commercial purposes.
Common Adenophora questions
- My adenophora hasn’t grown much. What’s the problem?
Don’t worry. This plant can be a little slow to establish, often taking a year or two to settle. Have patience and you will be rewarded with a long-lived, easy-going, floriferous member of the garden.