


How to grow Acidanthera
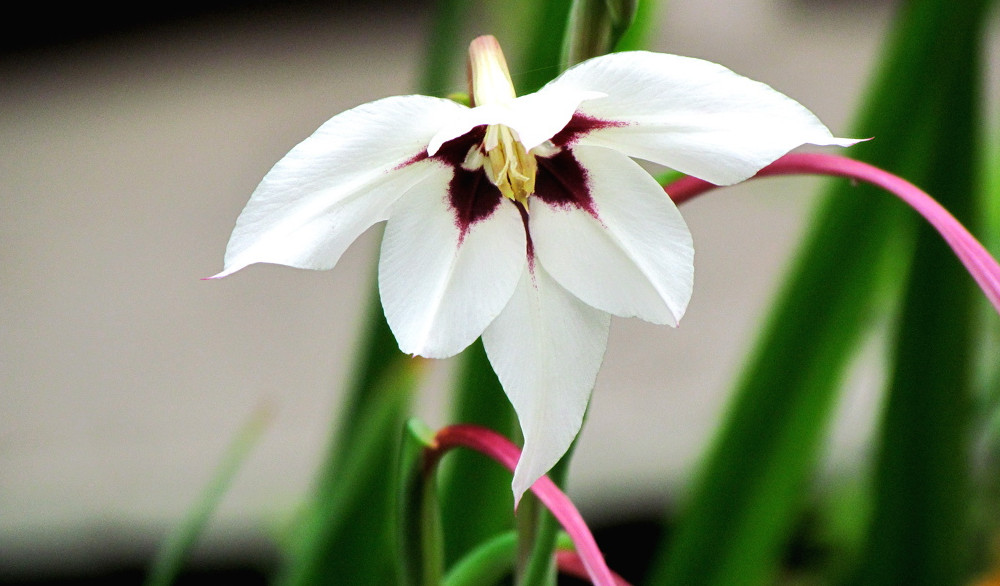
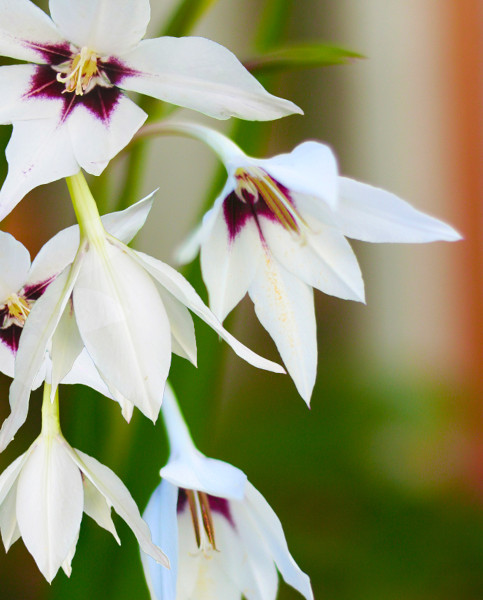
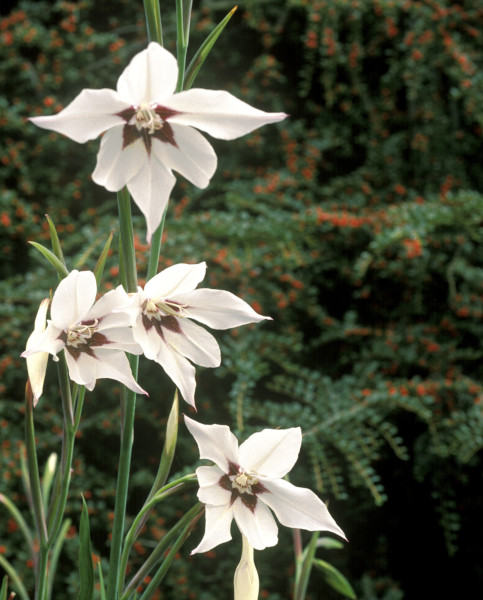
This close relative of gladiolus hails from East Africa, where it can be found growing on dry, rocky slopes and grassland. Its strappy leaves stand up tall and erect, and its long, stiff flower stems reach up to a metre, each bearing up to ten nodding, white, funnel-shaped flowers with a purple throat. Acidanthera is grown for its delicate, late season beauty, rich fragrance, and high value to pollinators.
Acidenthera murielae was formerly known as Gladiolus murielae and can often be found referred to by its previous name. Common names include peacock lily and sword lily.
Key Information
Soil pH

Position
Hardiness

Where & when to plant Acidanthera
Acidanthera can be sold as bare corms (sometimes referred to as ‘bulbs’, for ease), or potted plants.
Bare corms
If these arrive before the last risk of frost has passed in your area (generally around mid to late May), pot up as below and grow on in a cool, frost-free environment such as an unheated conservatory or greenhouse. Keep them here until it is safe to move them outside, whether that be into a permanent container or planted into the ground.
Alternatively, you can simply store the dry corms in a cool, frost-free environment until planting them out in mid to late May, though the head start achieved from potting on arrival will result in an earlier and longer flowering period.
Potted plant
These can be planted out anytime during the growing season, though doing so in spring (once all risk of frost has passed, as above) will give you the best results.
Acidanthera goes well in a traditional cottage-garden-style scheme, or planted as a drift in a naturalistic, prairie-style garden. It can also be grown as a container plant, and in fact this approach is recommended if the soil in your garden is heavy and wet.
How to plant Acidanthera
In a container
- Choose an appropriate container. This may be a large, decorative container in which the acidanthera will remain throughout the growing season, or individual plastic pots used as an early, temporary measure before planting out into the ground. Either way, ensure there are plenty of drainage holes in the bottom.
- If you are using a large pot, it can be a good idea to fill and plant it in situ to save yourself the trouble of moving once full.
- Use a good quality potting compost with added horticultural grit, and, if not already present in the compost (check the description on the bag) some slow-release fertiliser granules.
- Start by partially filling the container with compost; enough so that when placed on the surface the corms are about 18cm lower than the top of the pot.
- For permanent containers of multiple plants allow approximately 10cm between each corm.
- Fill the remainder of the container with compost, firming down with your fingers so the corm is held tight. Make sure there is a gap of around 3cm between the surface of the compost and the top of the container.
- Pick up the container and lightly tap on the potting bench or ground a few times to help further settle the compost around the plant.
- Soak well with water.
- For permanent containers, a mulch with horticultural grit will look attractive and help to prevent a ‘cap’ or crust forming on the top of the compost (something container plants can suffer due to the artificial nature of their watering).
In the ground
- Clear the chosen area of weeds.
- For a naturalistic drift, scatter several handfuls of corms over an area and plant wherever they land (adjusting if necessary to ensure they are at least 10cm apart). Alternatively, weave informally throughout a border in groups of three or five.
- Dig a planting hole several times larger than the corm (or root ball if pre-potted). It is a good idea to mix in some horticultural grit or sharp sand at this stage.
- Place in the hole, ensuring the corm is at a depth of around 15cm. Planting it at this depth reduces the need to stake the flowering stems later on.
- Backfill with soil and firm in gently.
- Soak well with water.
What to plant with Acidanthera
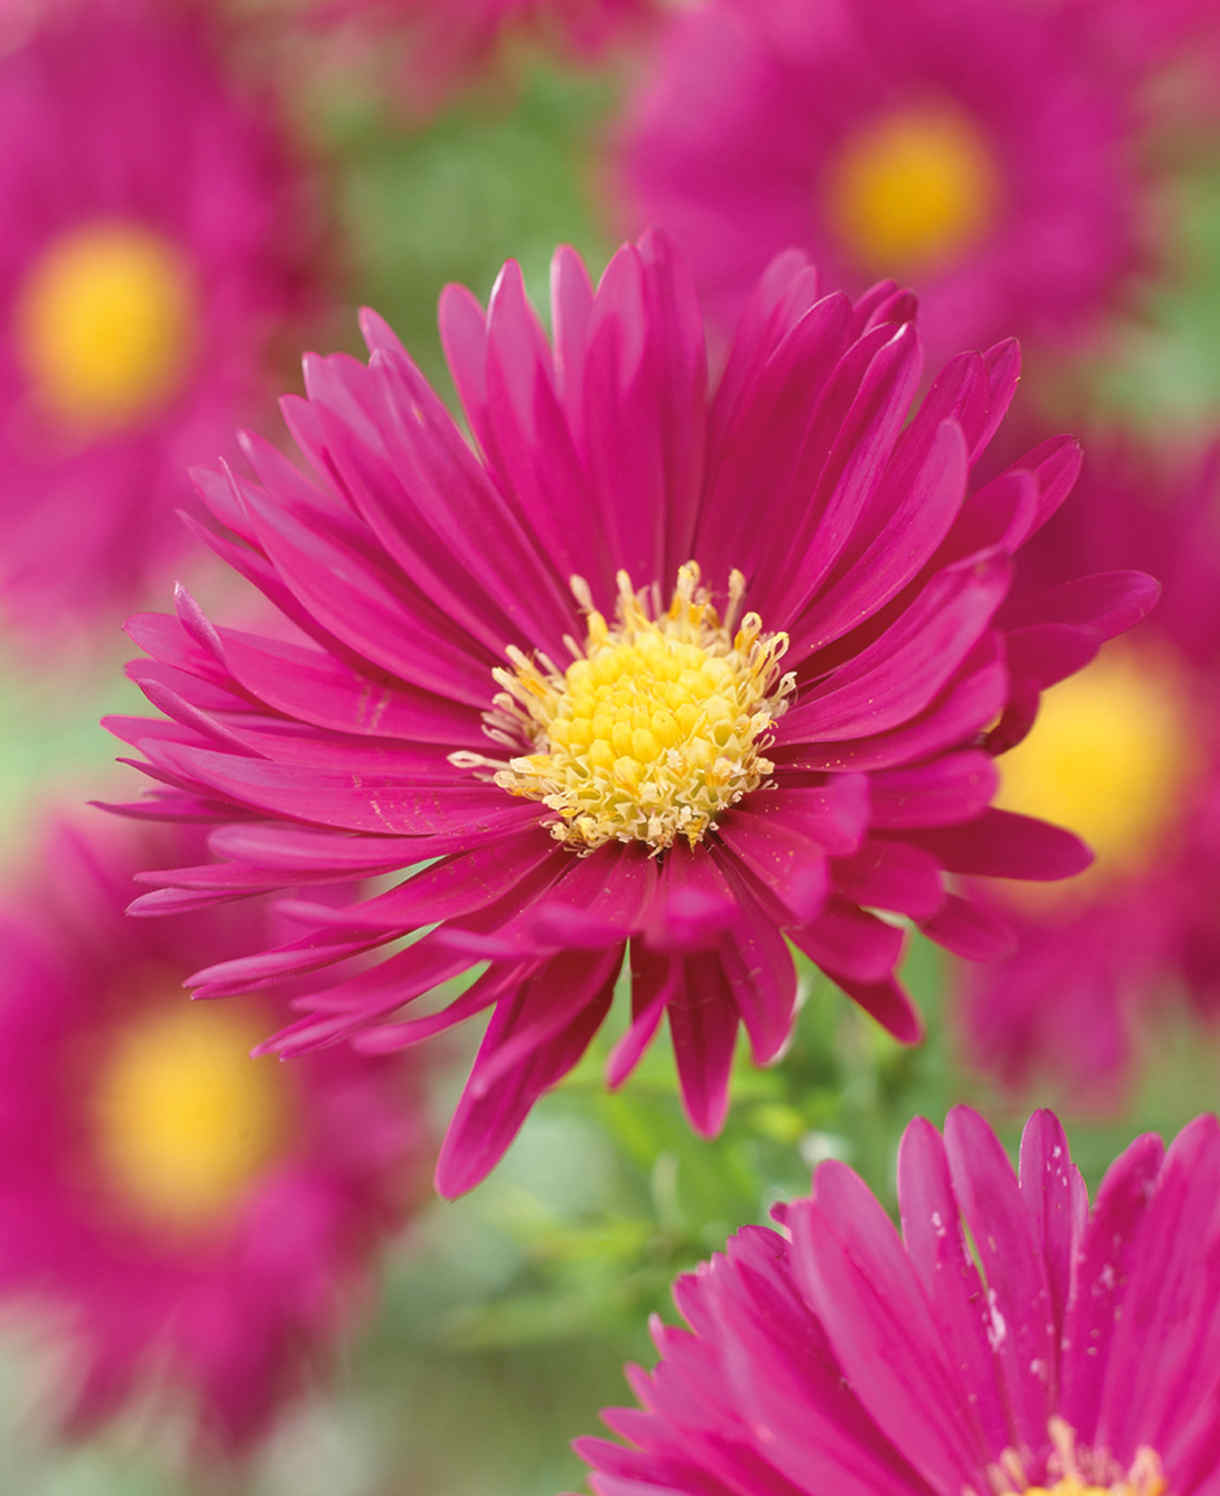
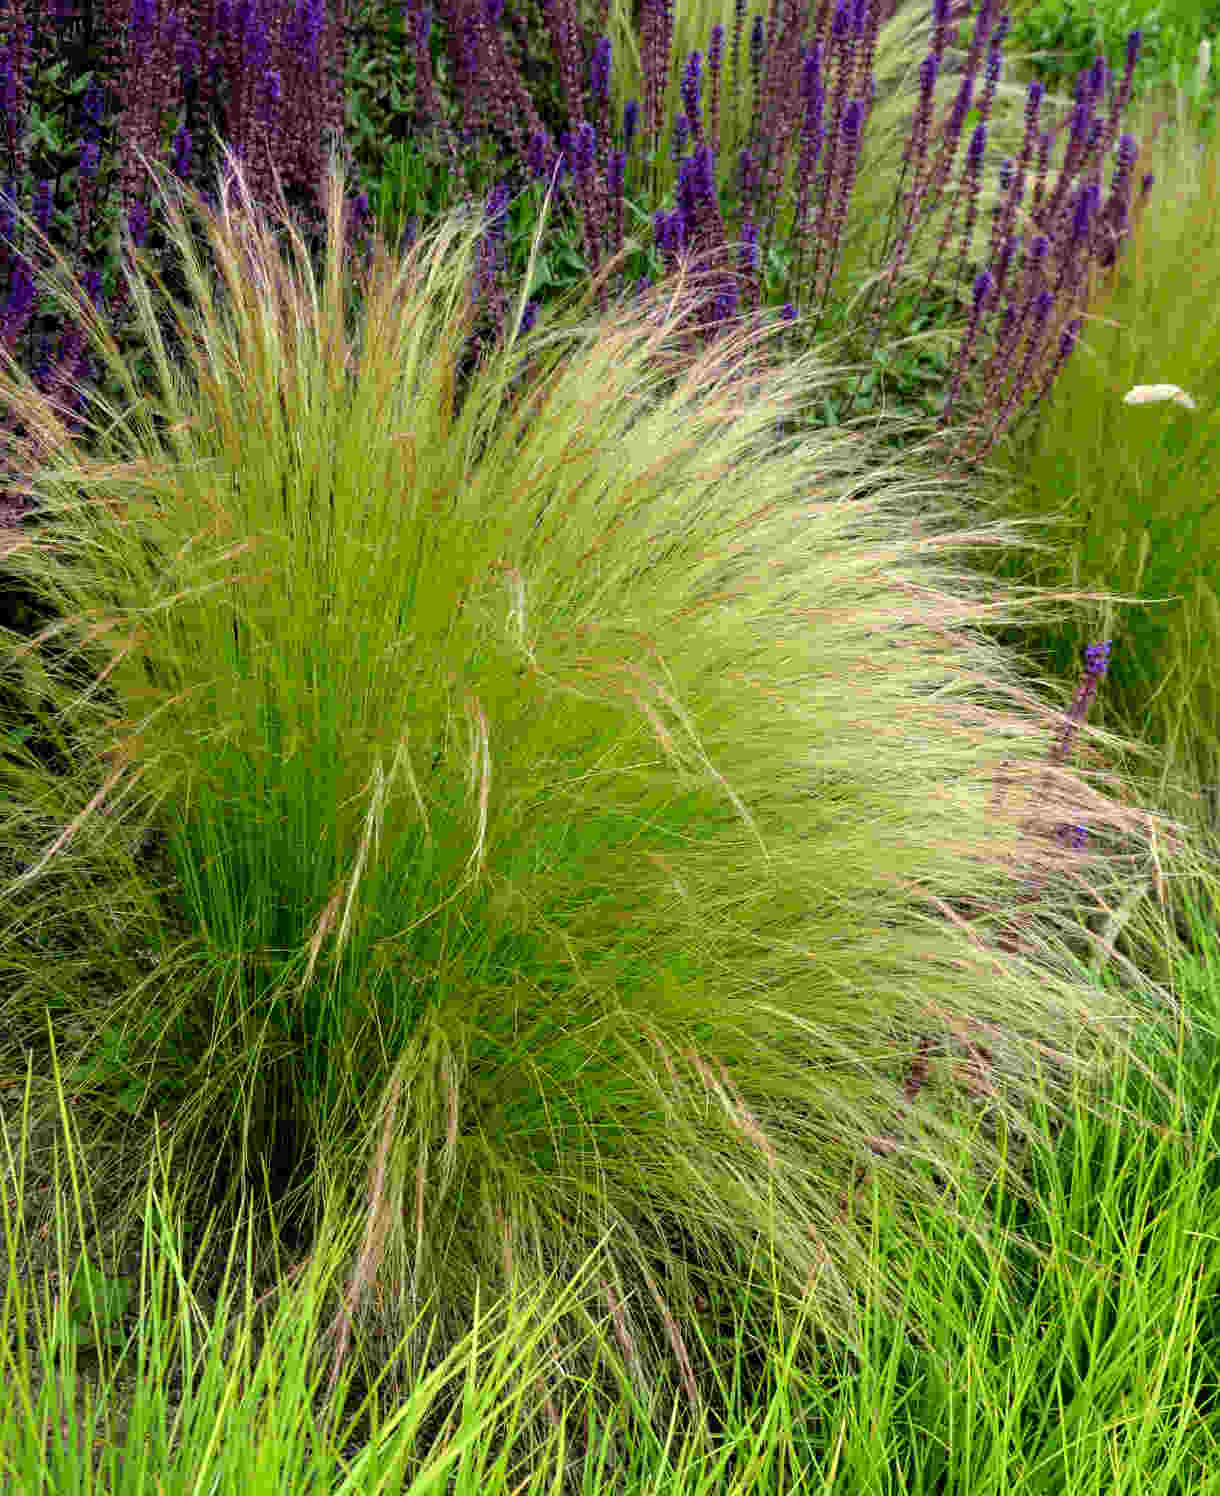
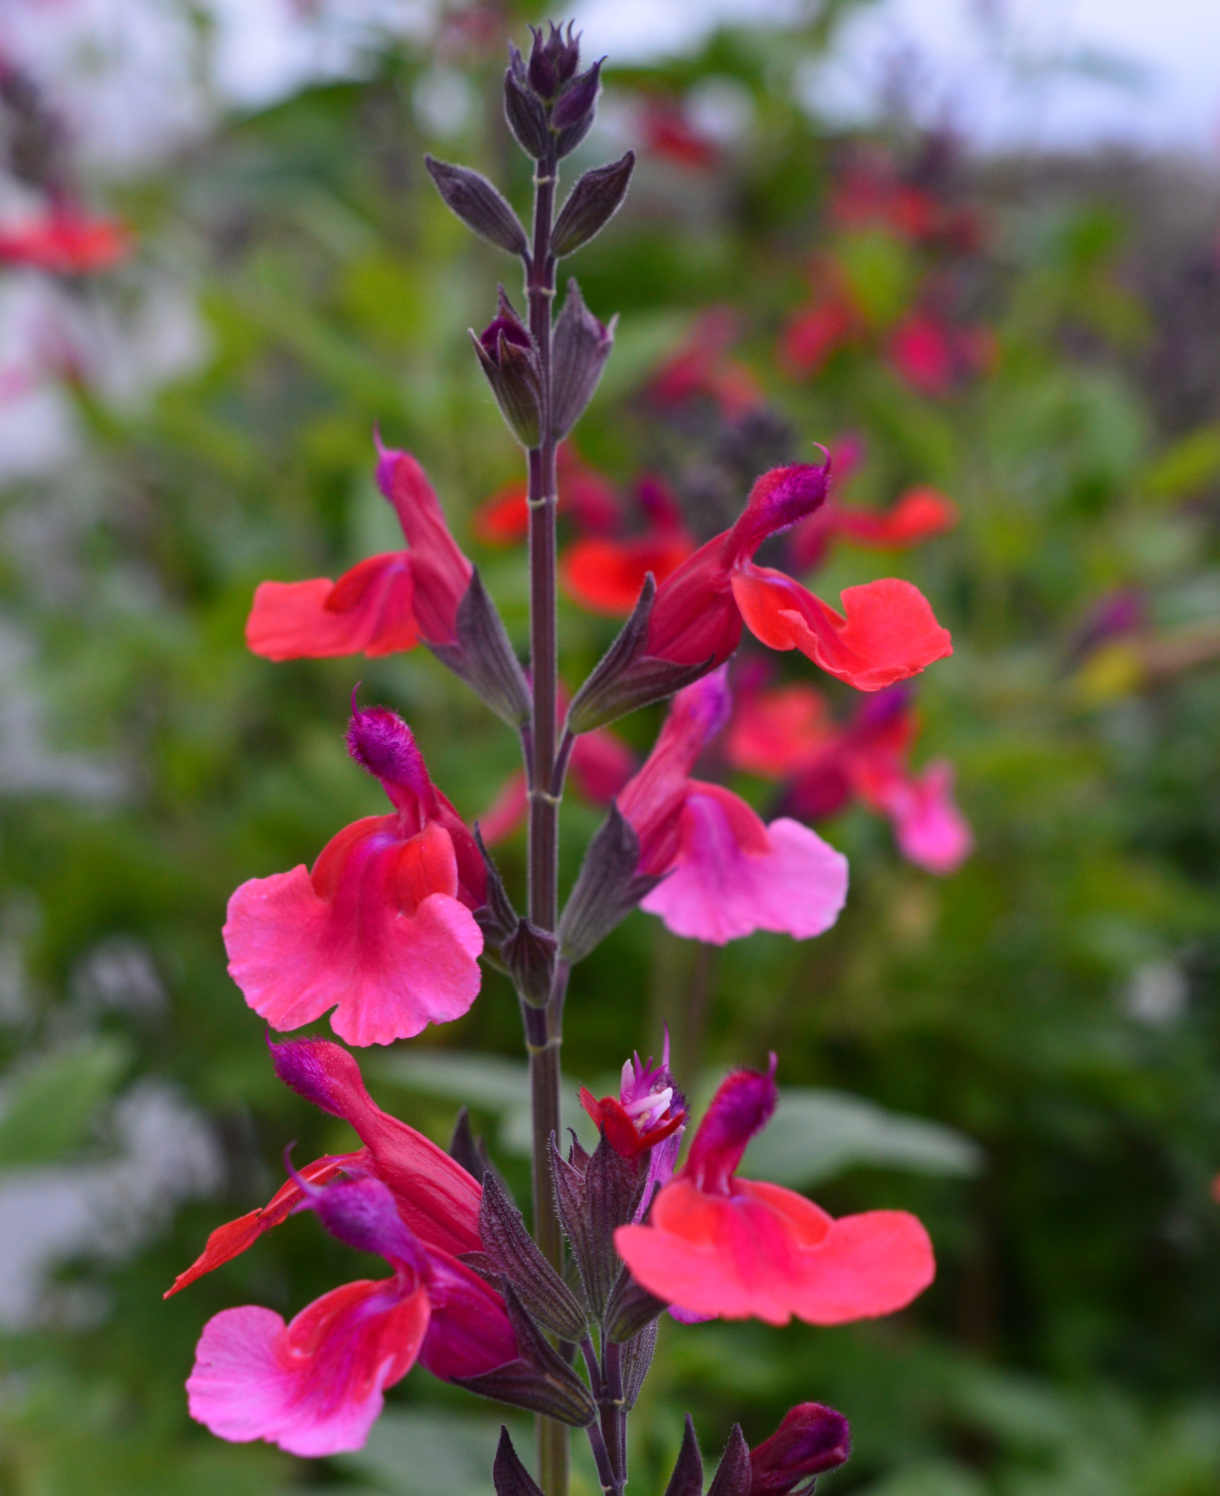
Pair this late season beauty with other summer to autumn companions such as symphyotrichum (formerly aster), echinacea, eupatorium, kalimeris, dahlia, and salvia, with a few late golden grasses thrown in to catch the soft, low light. Think stipa, pennisetum, and miscanthus. Dreamy!
If you would like any further planting ideas or growing advice for your acidanthera, please contact our friendly and knowledgeable Customer Care Team - we will be more than happy to help you.
How to care for Acidanthera
Pruning and Deadheading
Deadhead after flowering so corms can conserve energy for next year’s flowers, rather than wear themselves out producing seed.
Leave foliage to die back naturally, only removing once withered by the frosts. Again, this is all part of boosting energy reserves in the corms for healthy growth the following year.
Watering
Water until established, after which acidanthera will tolerate short periods of drought.
Container-grown acidanthera needs to be watered regularly throughout the growing season and fed with a balanced liquid feed every two to four weeks.
Cold Protection
Much like dahlias, acidantheras need a little help to get through a UK winter.
The safest approach is to lift corms in autumn so they can be stored somewhere frost-free and dry over winter (a shed, garage, or greenhouse are all ideal). Having cut back the foliage, carefully dig the corms out of the ground, and shake and then rinse off as much soil as possible. Leave somewhere to dry out fully, then pack in a pot/ box/ crate with dry material such as compost, vermiculite, or newspaper.
If you live in a milder region and don’t have heavy clay soil, you may get away with cutting back the foliage and leaving the corms in the ground with a thick, dry, winter mulch for protection.
An alternative approach is to treat your acidanthera as annuals, which means throwing corms on the compost heap after they’ve finished flowering and buying new ones each spring.
Pests and Diseases
Acidanthera tends to be relatively trouble-free, though you may find slugs and snails develop a taste for its leaves, particularly when they are newly emerging.
Encouraging natural predators into your garden, such as birds, frogs, toads, and hedgehogs, will make a big difference. Torchlight searches after dark (when slugs and snails are at their most active) are also effective, allowing you to collect the offending molluscs in a bucket. Place on the compost heap, or in a part of the garden containing less vulnerable plants.
How to propagate Acidanthera
The quickest and most effective way to propagate acidanthera is by separating offsets (baby corms which form on the ‘mother’ corm). This should be done once the first frosts have knocked back the foliage.
- Once you are certain your acidanthera is dormant (indicated by withered, yellow foliage), carefully use a fork to lift corms out of the ground.
- Shake and rub off any soil.
- Gently tease away any offsets which have formed around the main corm.
- Place the offsets and larger corms in a cool, dry place for a few weeks to allow them to fully dry out.
- Pack in a pot, tray, or box with dry compost, vermiculite, or newspaper.
- Store somewhere cool and dry such as a shed, garage, or unheated greenhouse, until ready to pot up the following spring (as above in the ‘How to plant acidanthera’ section).