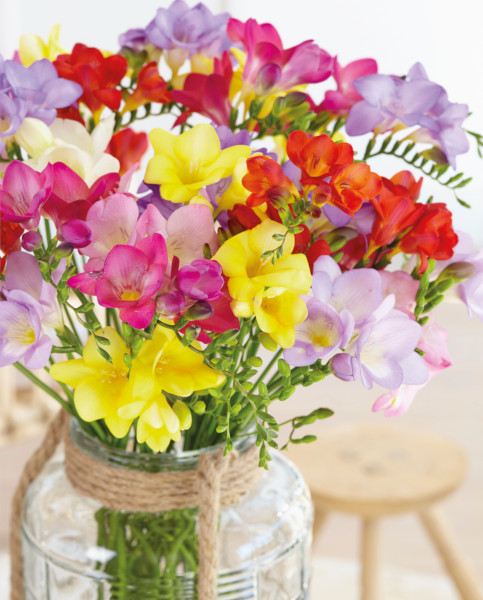
How to grow Freesia
Freesias are one of the worlds most popular cut flowers, loved for their broad range of colours, long stems, and strong scents. Freesias are deciduous cormous perennials, native to South Africa where they are winter flowering plants. The foliage grows in pointed straps giving way to elegant stems which make a beautiful display in sunny borders near seating areas where their fragrance can truly be appreciated.
Key Information
Soil pH

Position
Hardiness

Where & when to plant Freesia
In warmer parts of the UK, Freesias can be planted in the spring when any danger of frost has passed, ready to flower from August to September. For a higher rate of success, corms are usually heat treated to mimic the hot South African summers. Quite often this results in corms only having one true season and therefore are unofficially used as Annuals in some cooler regions of the UK where winter temperatures often drop below 5°C.
Freesias prefer moderately fertile but well drained soils in spots where they will receive much of the day’s sunlight. Should you choose unprepared corms and live in a mild region, plant outside in August or September for flowers the following spring.
How to plant Freesia
When buying your corms, it is our recommendation that you buy them as soon as you see them in shops to avoid picking up corms which are past their best from sitting on the shelf for too long. Look through the packaging where possible to ensure the corm looks fresh and light in colour. Check for the size of the corm, bigger corms will produce more flower spikes. Last but definitely not least, check for firmness. If the corm feels softer than the centre of your palm, then we would suggest you look for another pack.
Plant corms 5cm deep and 5-8cm apart with the pointy end of the bulb pointing upwards into a most and free draining soil or compost. ‘Firm’ the corms in using your knuckles to remove air pockets. Water once to wake them up and then water sparingly through the winter to avoid rot.
What to plant with Freesia
Ranunculus
Pair with Spring flowering Ranunculus for a truly vibrant Easter display. Plant on masse interspersed with evergreens that need a little colour boost to show off their unique topiary shapes. Ranunulcus would work well in a mixed planter on the patio or in the border where their zesty colours can really pop out.
Dianthus
Dianthus are evergreen perennials with a clump forming habit, available in a range of heights and spreads depending on which variety they choose. The Dianthus should be just ramping up by the time your Freesia. Dianthus would work well with Freesias as part of a mixed planter or as a harmonious accompaniment in the borders. Dianthus are also lightly scented.
Primroses and Primulas
Primroses and Primulas are excellent perennials to plant underneath taller neighbouring plants. They form a beautiful carpet and naturalise easily whilst providing good cheer in the early months of the year. As both Freesias and Prims come in a range of colours it should be vary simple to find a colour scheme that works for you and your garden. Primroses also work well in a variety of containers and are very easy to maintain.
Pulmonaria
Pulmonaria are beautiful gentle little additions to the border, they never fail to bring a smile. The ease into any open gaps and are a magnet for early rising bees. Pulmonarias typically come in shades of blue and white and flower when all the other plants in your garden are just thinking about waking up.
How to care for Freesia
Pruning & Deadheading
Prune out expired flower stalks to encourage new stems to pull through and really make the most of the season. As Freesias are not fully hardy, their leaves will begin to yellow and die back in the Autumn. Clear any discarded foliage from the area so you can see where the corms are clearly and avoid ‘chopping’ the corms by accident when lifting them out. Leave the corms in a dry corner in the greenhouse for a few days before trimming off any further foliage. You want to make sure as much of the nutrient content in the leaves has gone into the corm as possible to give you the best results for next year.
To trim the corms of their foliage, use a pair of sharp, clean secateurs and make decisive snips for the best results.
Watering
Water Freesias in pots on a regular basis to keep the soil moist but not wet. We would also recommend keeping the pots in a shaded area to reduce the compost’s moisture levels from fluctuating too much. When the corms begin to sprout, move them out into the sun to really get them going. If you plant your corms in good quality compost or soil you should not need to feed them.
Diseases & Pests
Freesias are susceptible to Red Spider Mite, Aphids and mice who nibble on the new shoots.
Cold Protection
Whether your Freesias are planted or in pots, it is considered best practice to lift and store corms in the Autumn and winter when temperatures drop too low. Discard and older, shrivelled looking corms and retain pump fresh and firm corms, storing them in dry sand.
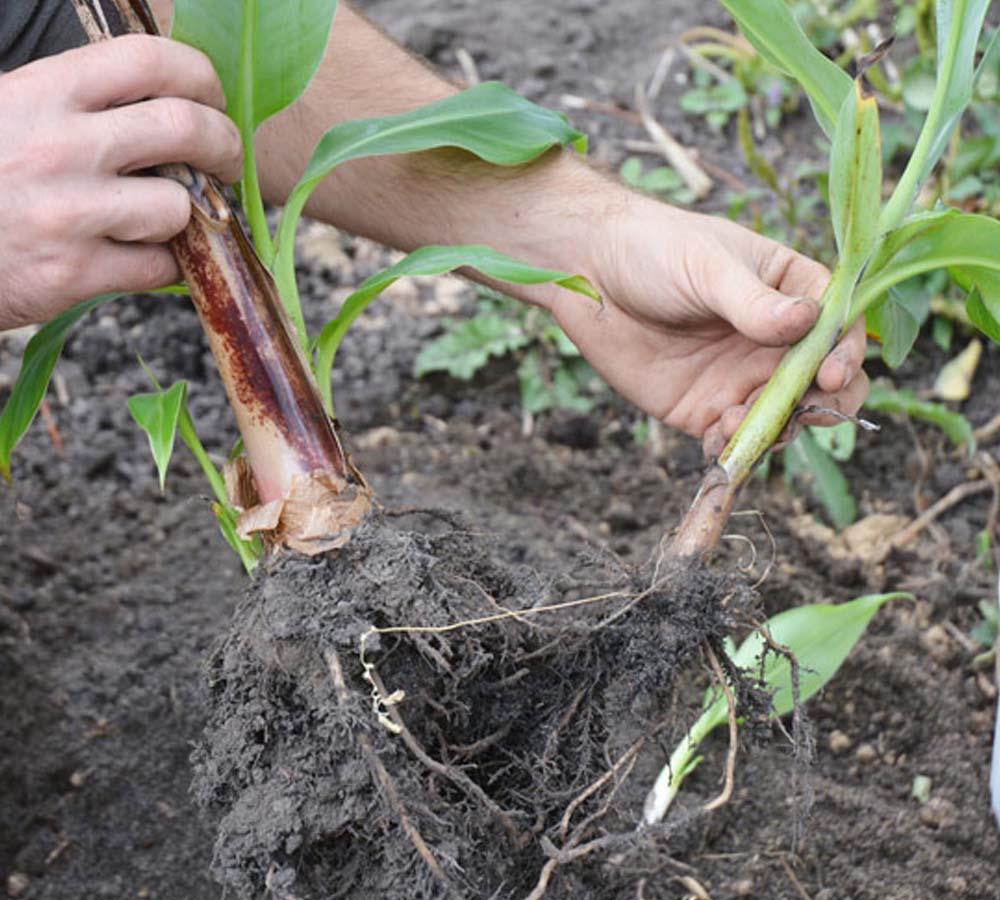
How to propagate Freesia
It is quite tricky to successfully propagate Freesias, however you may find that if you live somewhere very mild and sheltered you can leave them to colonise naturally over the years.
However, if you are curious and want to give it a go, use a sharp knife or a pair of secateurs to separate this year’s growth from the previous using firm cuts to create a clean surface area to heal.